
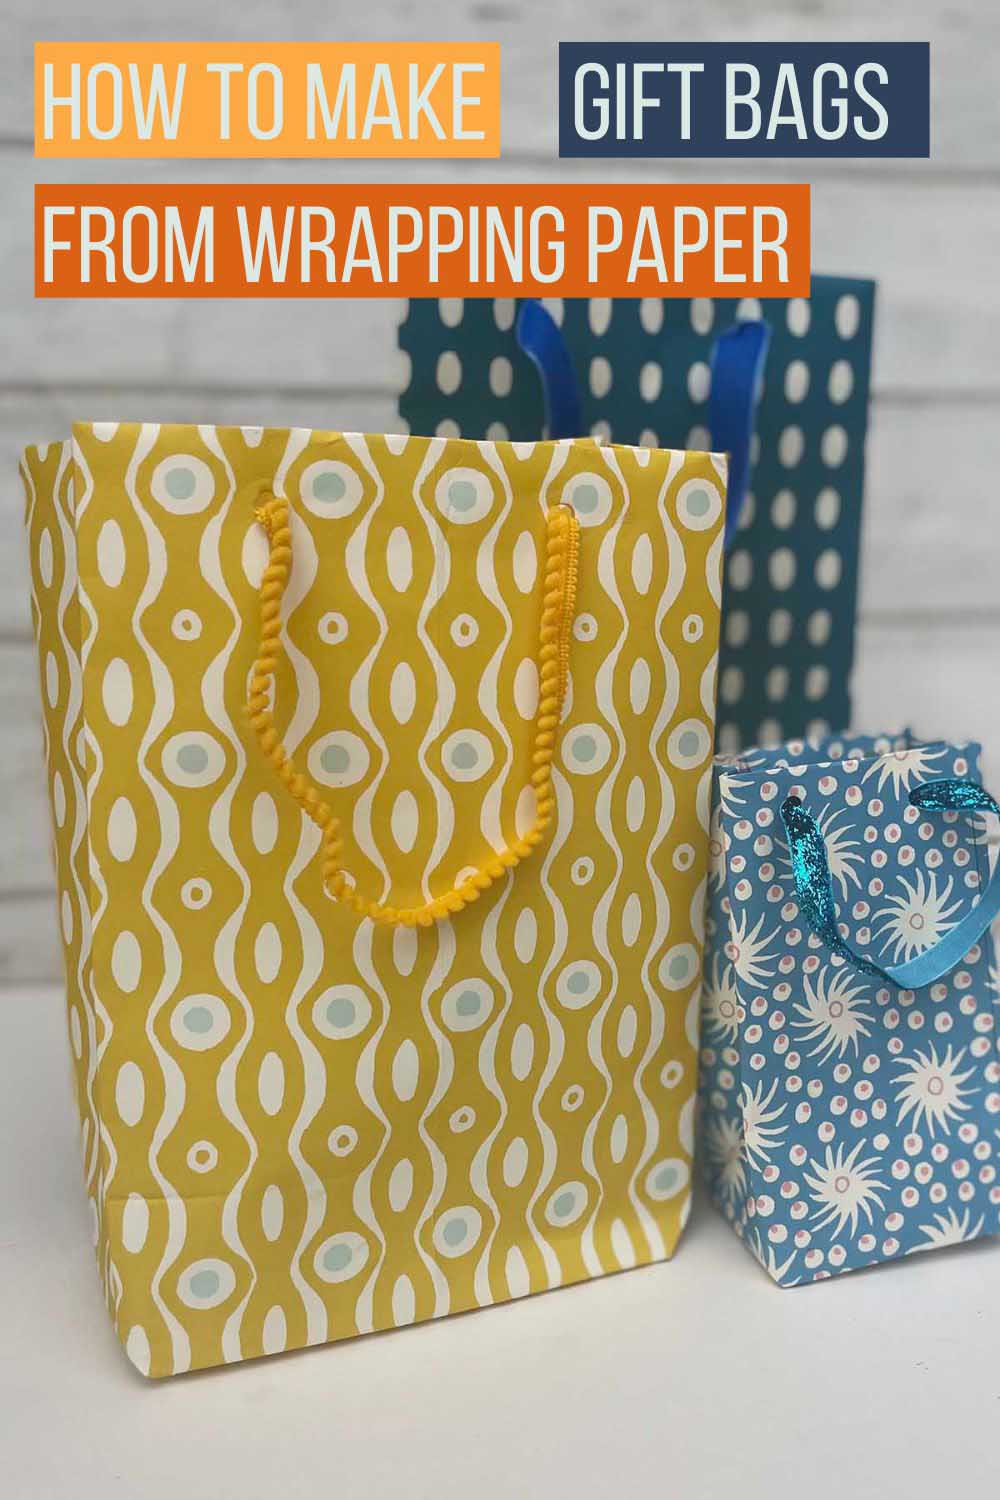
From gift wrap to carry-all, our blog post shows you the fun and creative process of making a gift bag from wrapping paper (and other papers). Read, learn, and create!
There’s a certain satisfaction that comes from creating something out of what you already have, and in this post, we’re going to show you how to make a bag out of wrapping paper.
This crafty project is a wonderful way to reuse leftover holiday or birthday gift wrap paper and can add a touch of creativity to gift-giving.
The exact step-by-step gift bag tutorial can be used with other repurposed papers besides leftover wrapping paper, such as wallpaper and old road maps.

Why DIY Gift Bags Are A Convenient Option
While a beautifully wrapped gift has charm, a gift bag, especially a DIY one, has several advantages.
- Ease of Use: Wrapping a gift can be tricky, especially for oddly shaped items. A gift bag provides a hassle-free solution – place your gift inside, add some tissue paper, and voila!
- Reusable: Gift bags can be reused. Once your recipient has admired your DIY creativity, they can pass on the joy by using the bag for someone else’s gift.
- Personal Touch: A homemade gift bag adds a personal, heartfelt touch to your gift that can’t be replicated with store-bought wrapping paper.
A gift bag isn’t just a great way to wrap your presents; it’s also a statement of your creativity and care for the environment.
And the best part? Every time you make one, you create a unique piece of art. Now that’s what we call a gift that keeps on giving!
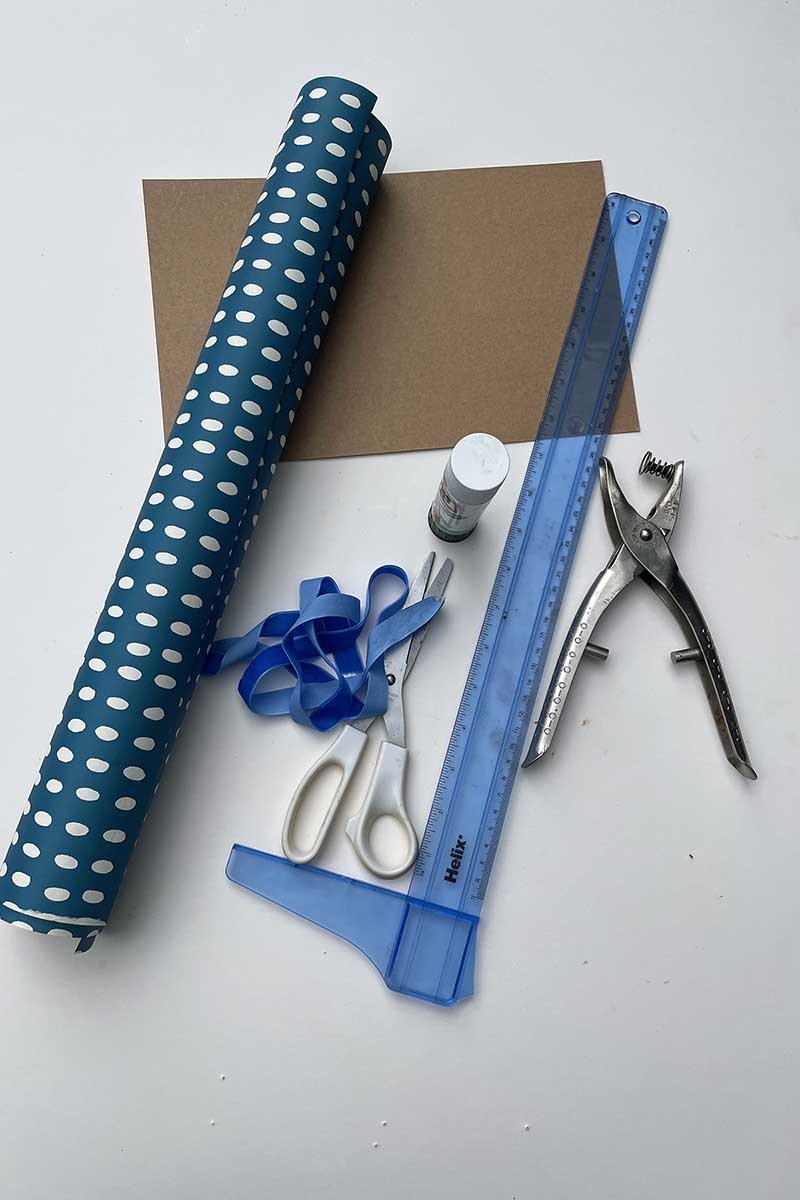
Materials You’ll Need to Make a Bag Out of Wrapping Paper
Before we dive into the tutorial, let’s gather our materials.
- Leftover Wrapping Paper
- Small piece of scrap cardstock
- Scissors
- Adhesive (glue or double-sided tape)
- Hole punch
- Ruler and pen
- Ribbon or cord

Step-by-Step Guide to Make a Bag out of Wrapping Paper
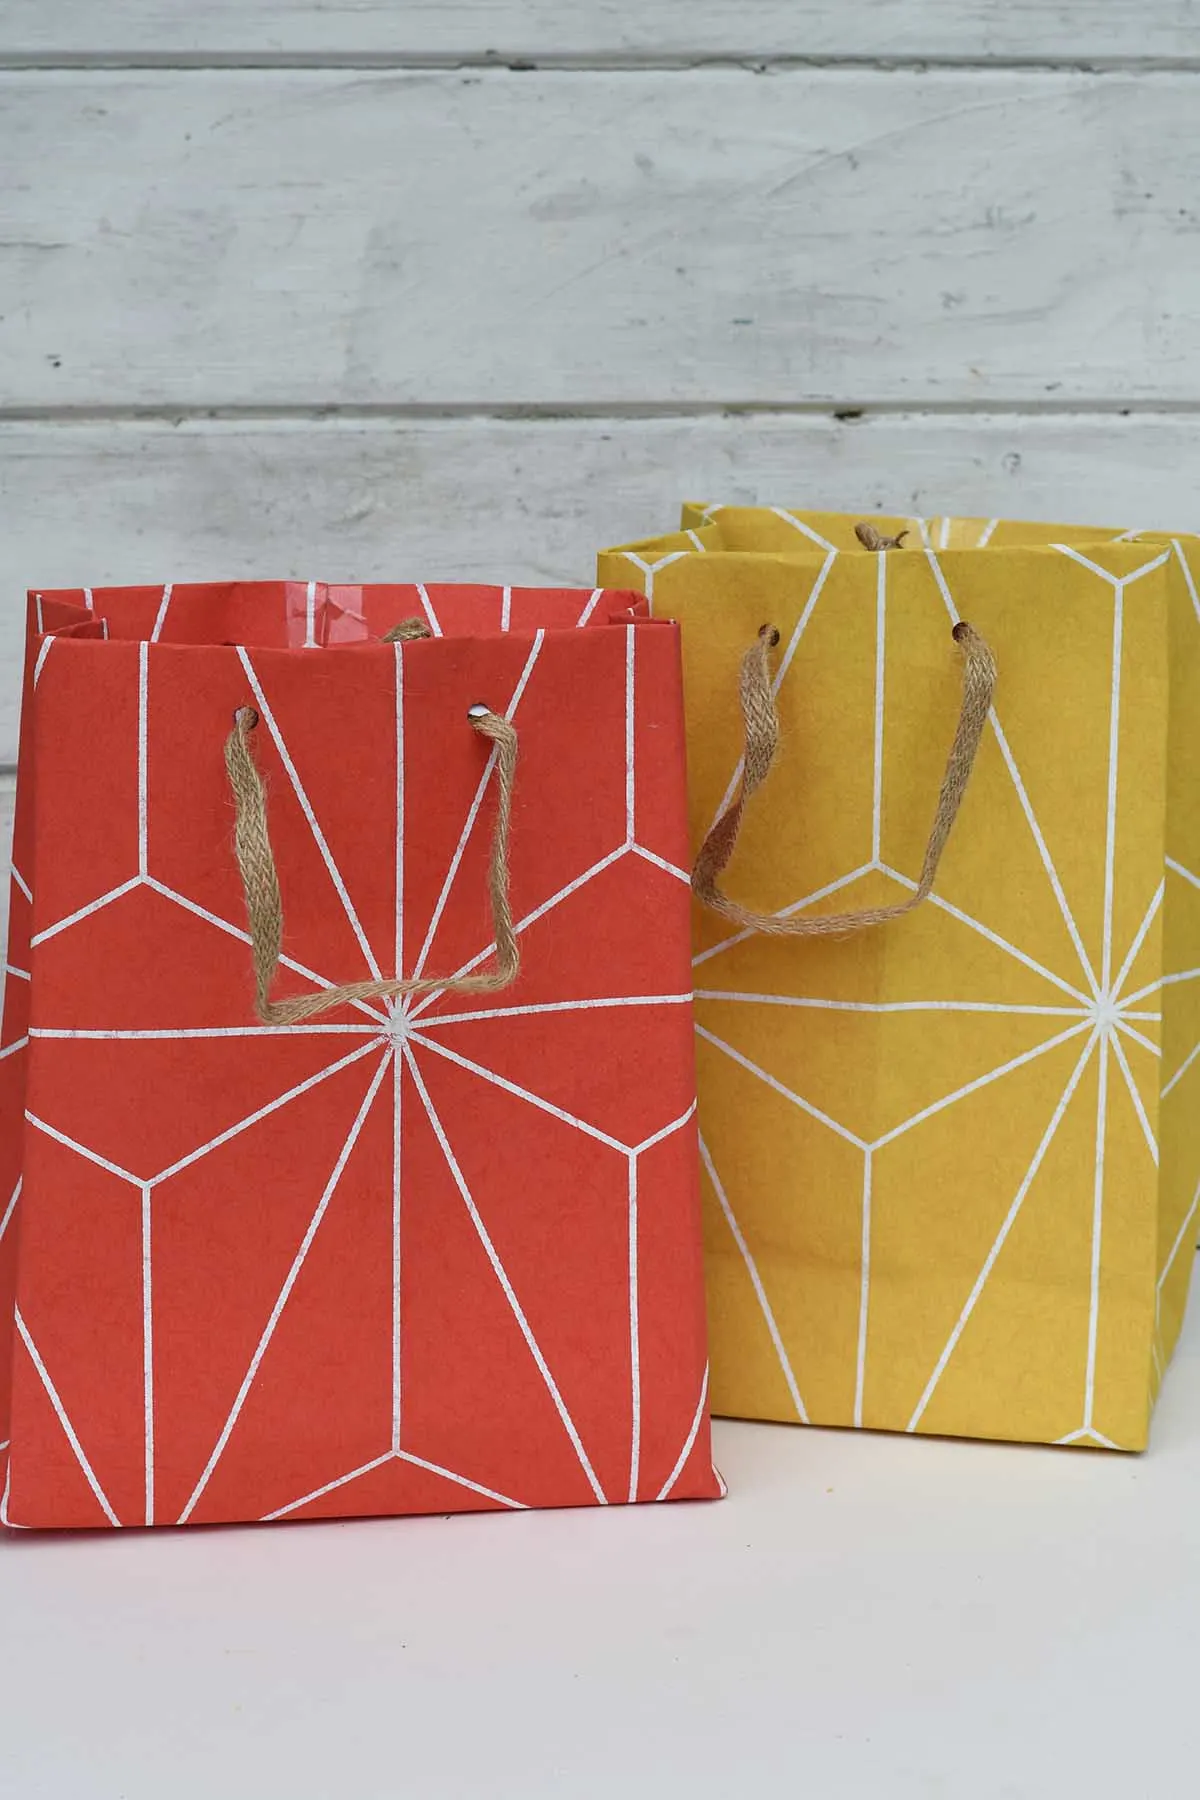
These wrapping paper gift bags resemble my paper luminary bags on the blog.
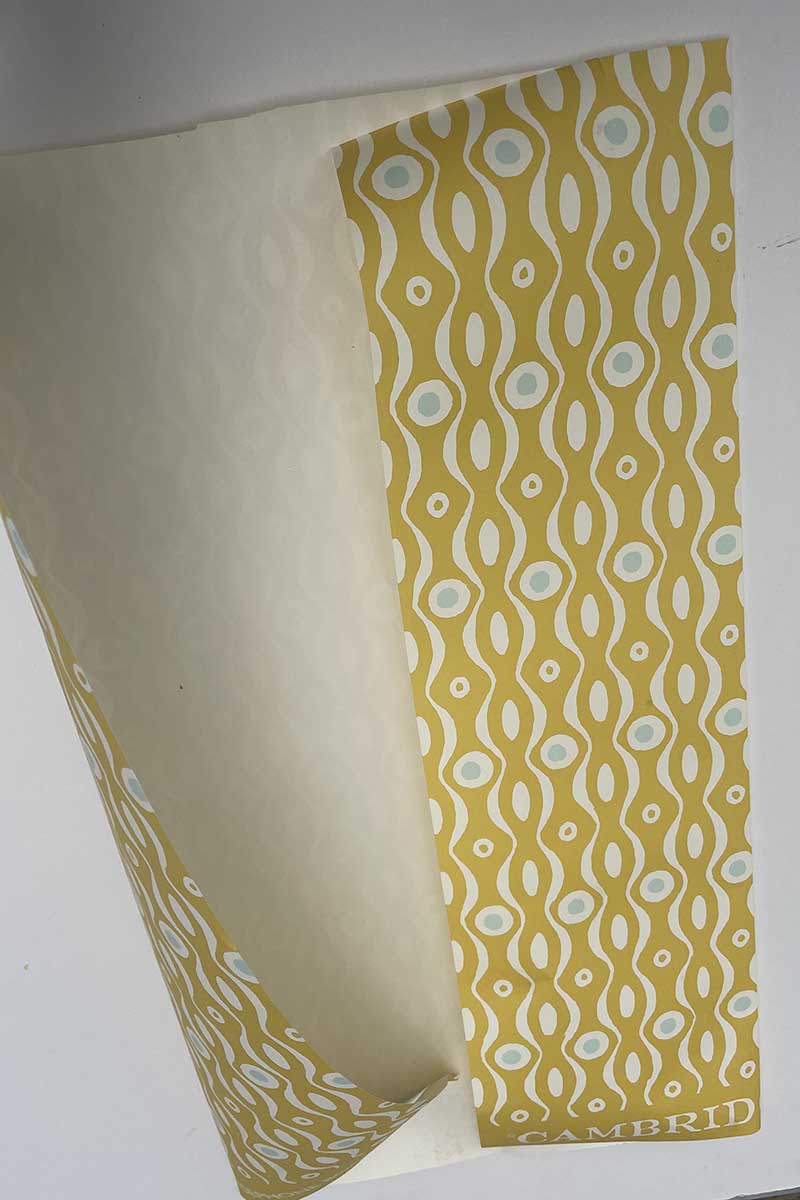
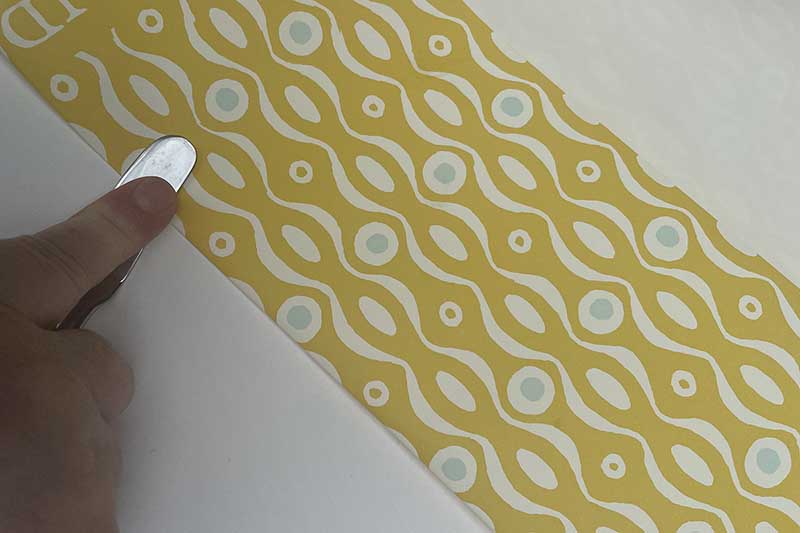
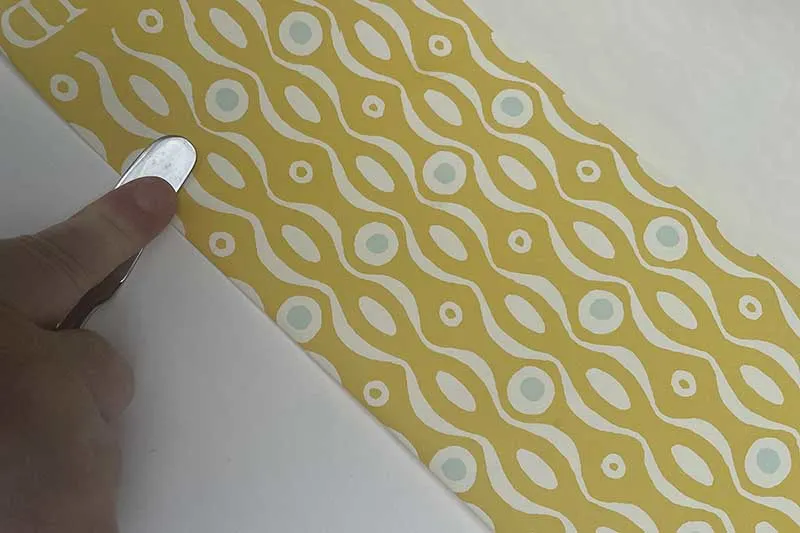
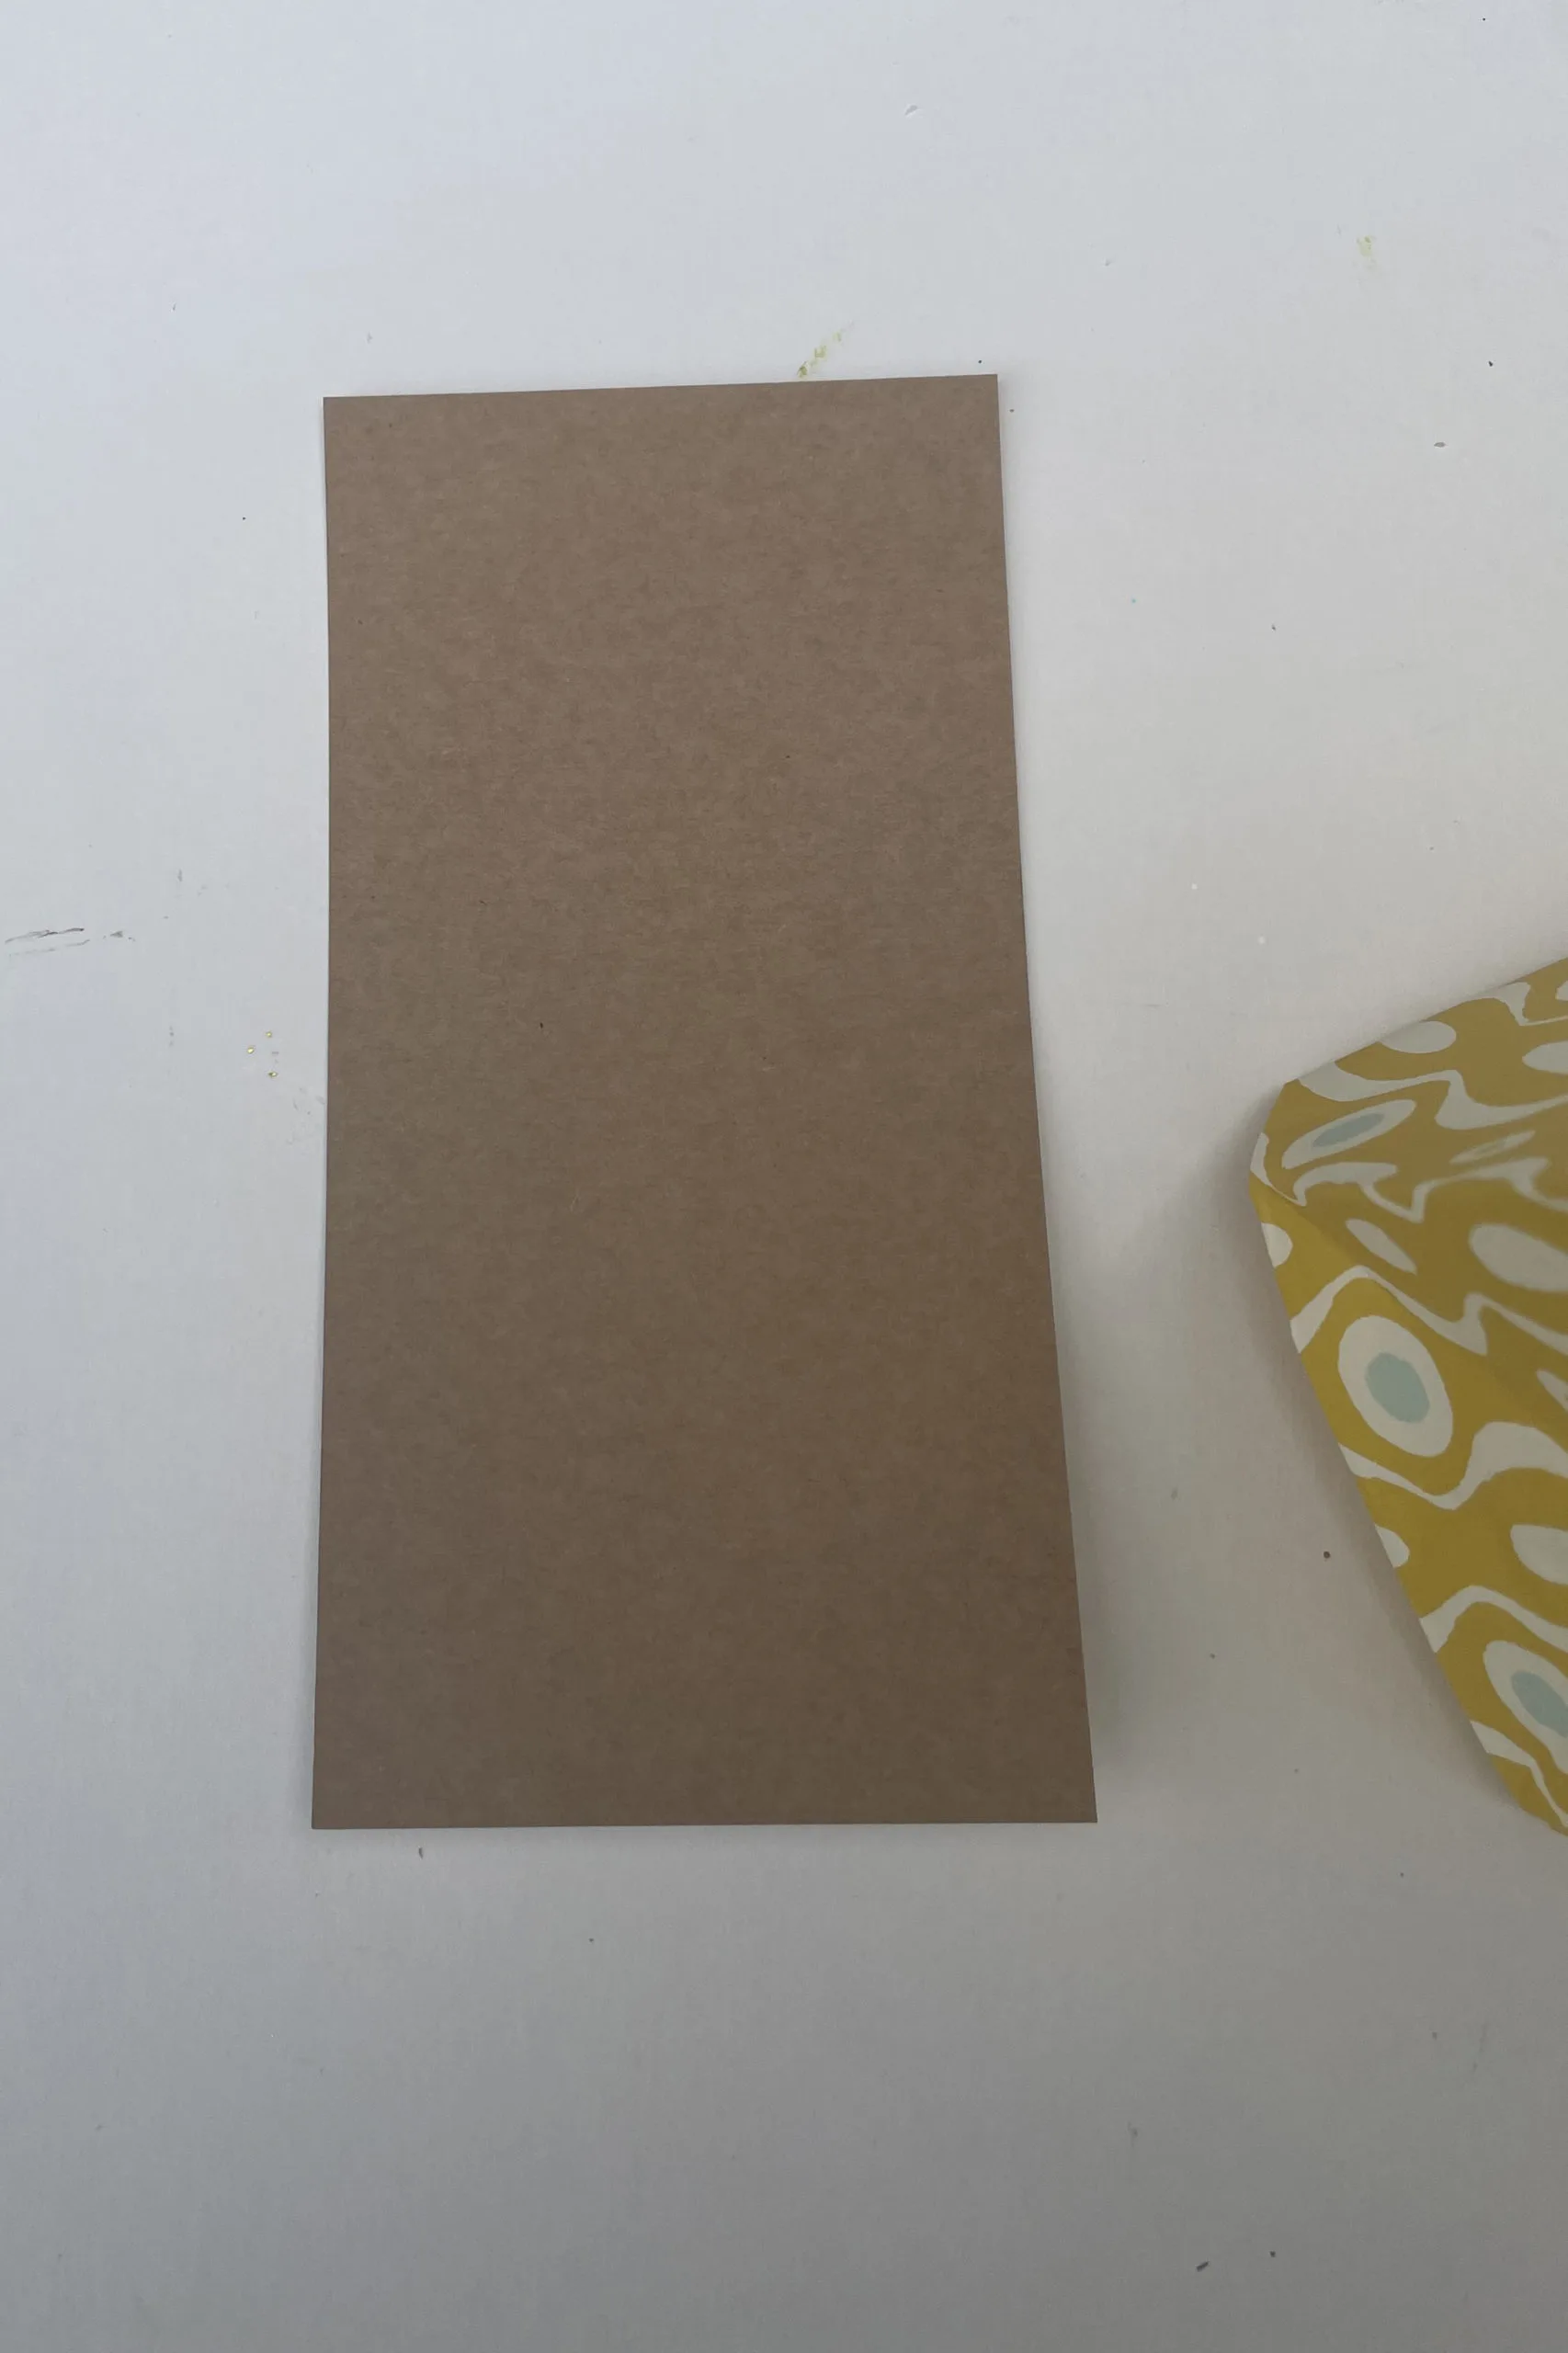
Step 1: Measure and cut the wrapping paper: The size of your wrapping paper will determine the size of your bag. For a medium-sized gift bag, a 40cm by 50cm (15-inch by 20-inch) piece works well. However, feel free to adjust the measurements according to your preference. Once you have marked your measurements, cut your wrapping paper carefully.
Step 2: Folding the gift wrap paper: Fold that paper in half lengthwise, bringing the shorter edges together. This forms the base width of your bag. This will give you a centre point.
Step 3: Unfold the paper. Then, fold each of the shorter sides towards the centre crease. The edges should cross over at the centre crease enough so that you can glue or tape the ends together to form a tube.

Pull a blunt knife/scissors along the crease to get sharper edges.
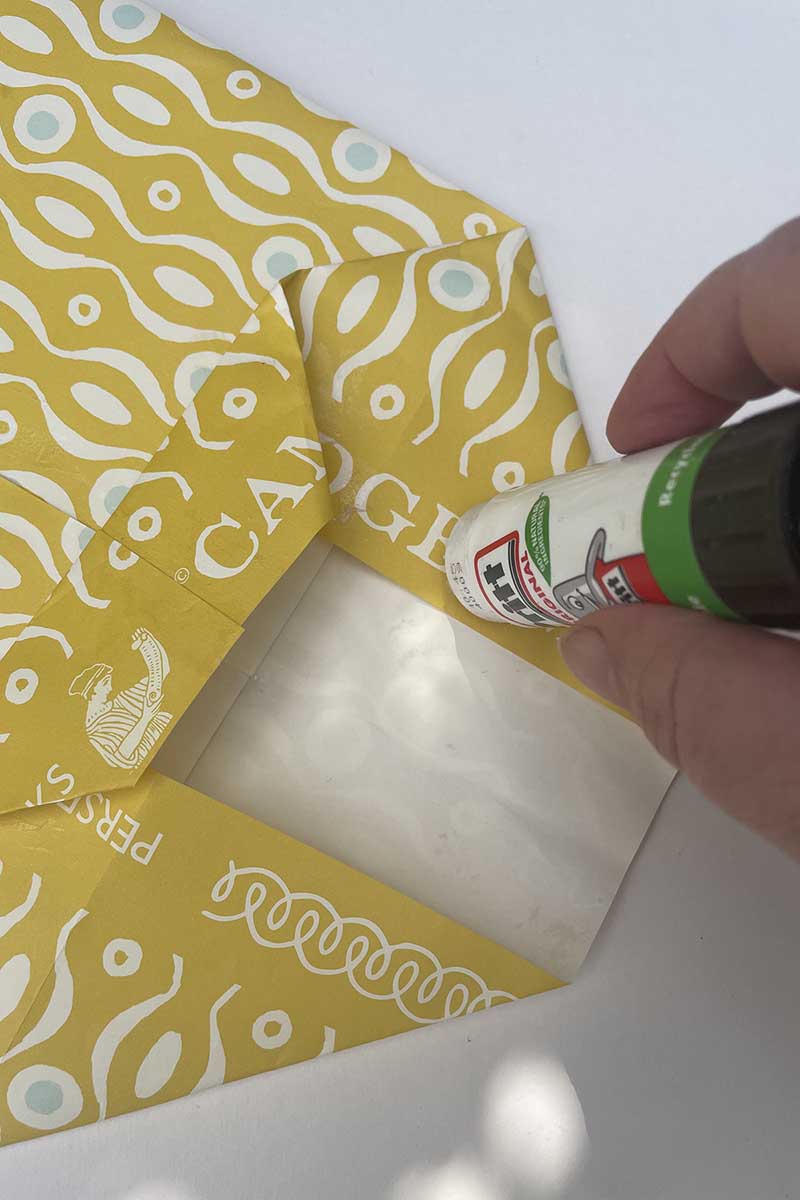
Step 4: Create the base of your bag by folding up the bottom edge 5cm (about 2 inches). Unfold it, and you’ll notice two corner flaps formed by the creases.


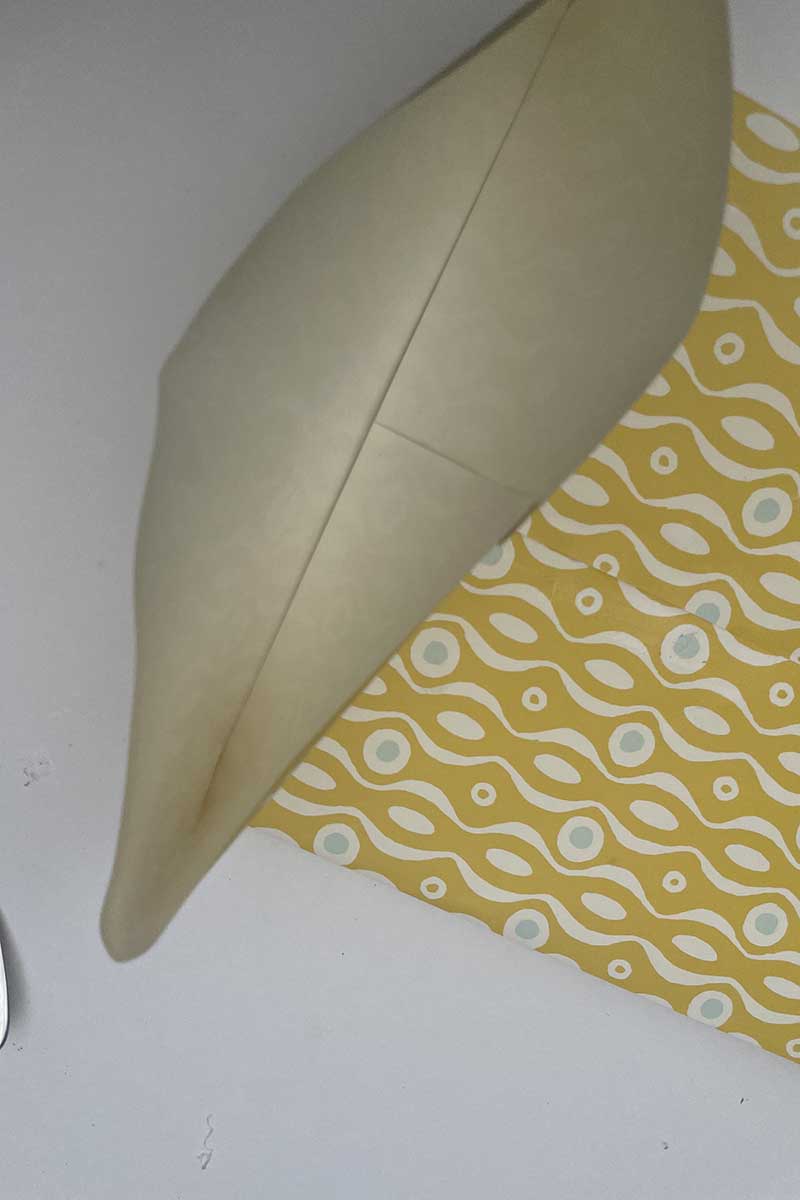
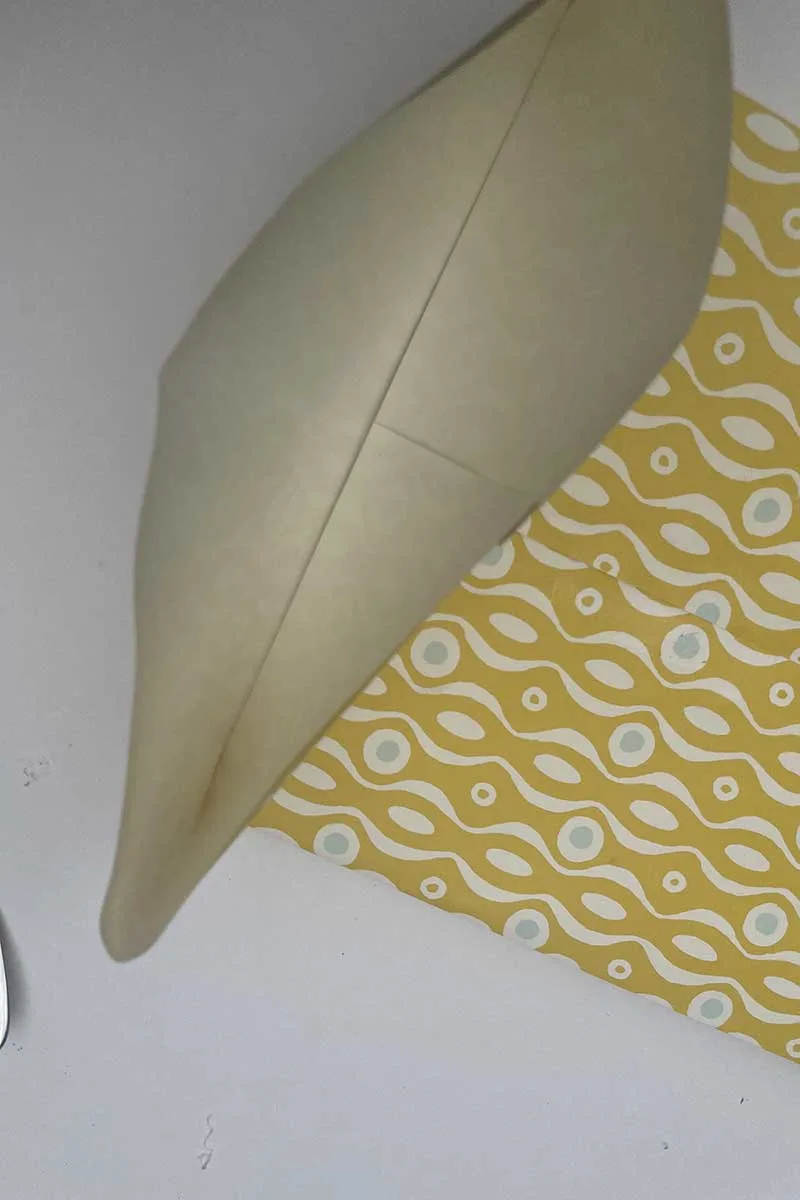
Step 5: Open up the corner flaps and press them inward, creating a diamond shape at the bottom edge of your paper. Fold the top and bottom points of the diamond towards the centre. Secure these folds with adhesive.

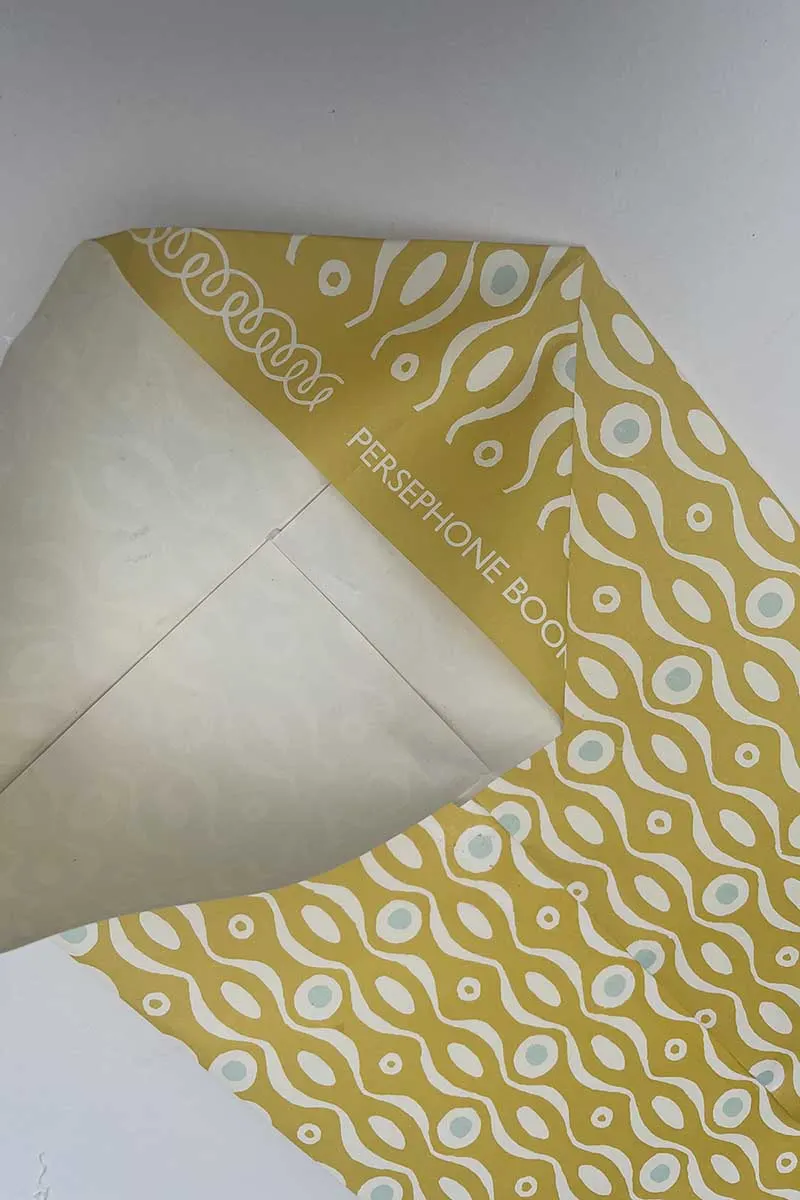

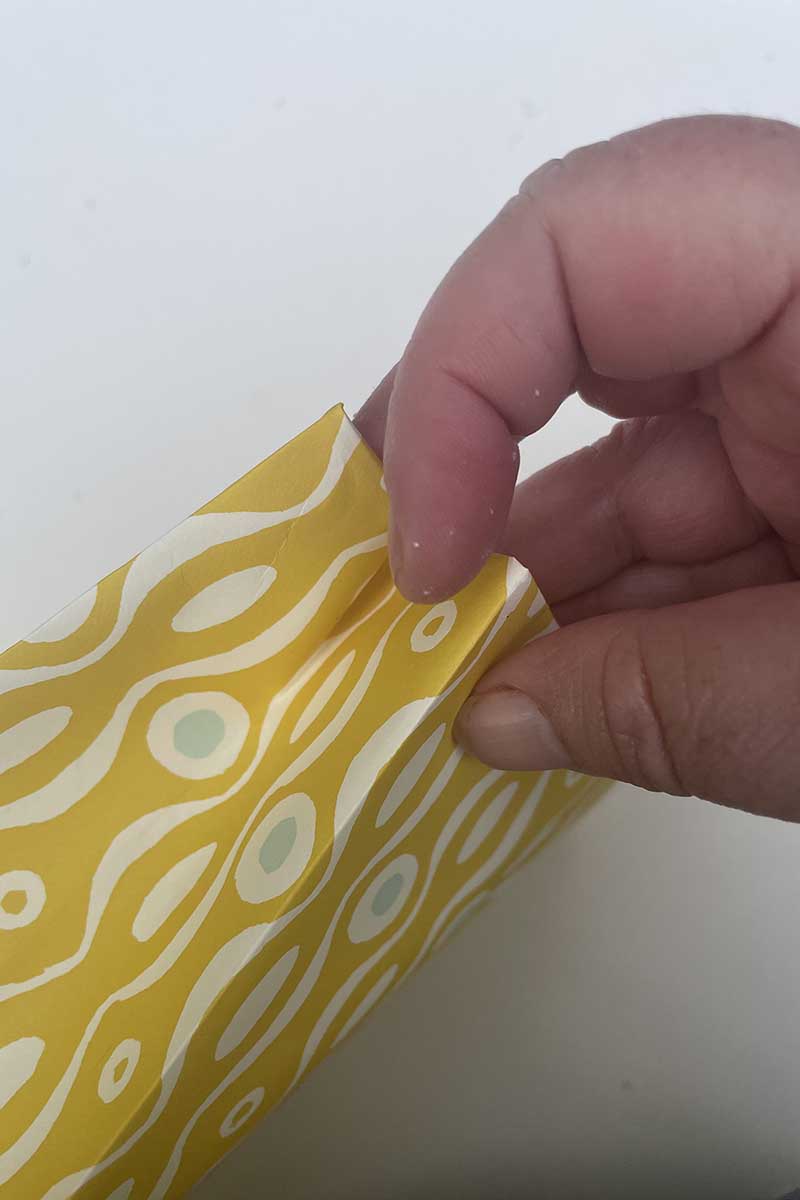
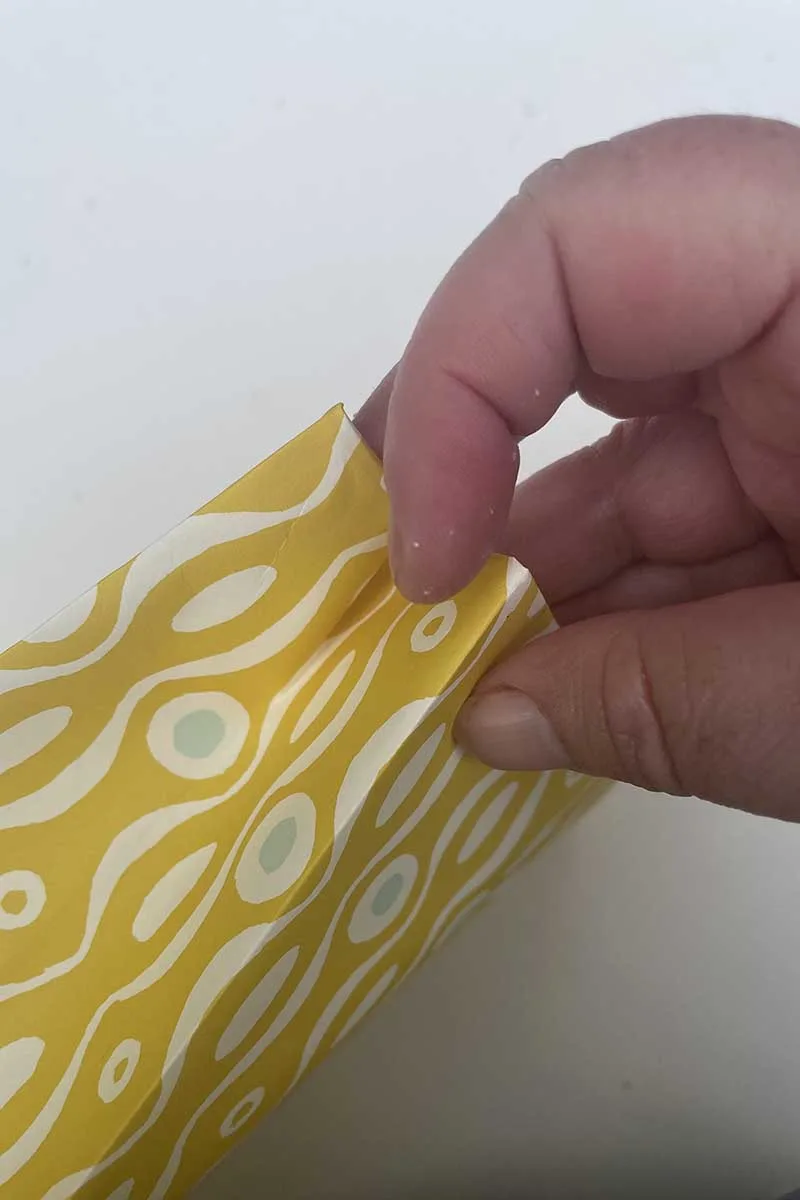
Step 6: To make the sides of the bag, fold and crease approximately 5cm (2 inches) along each side.

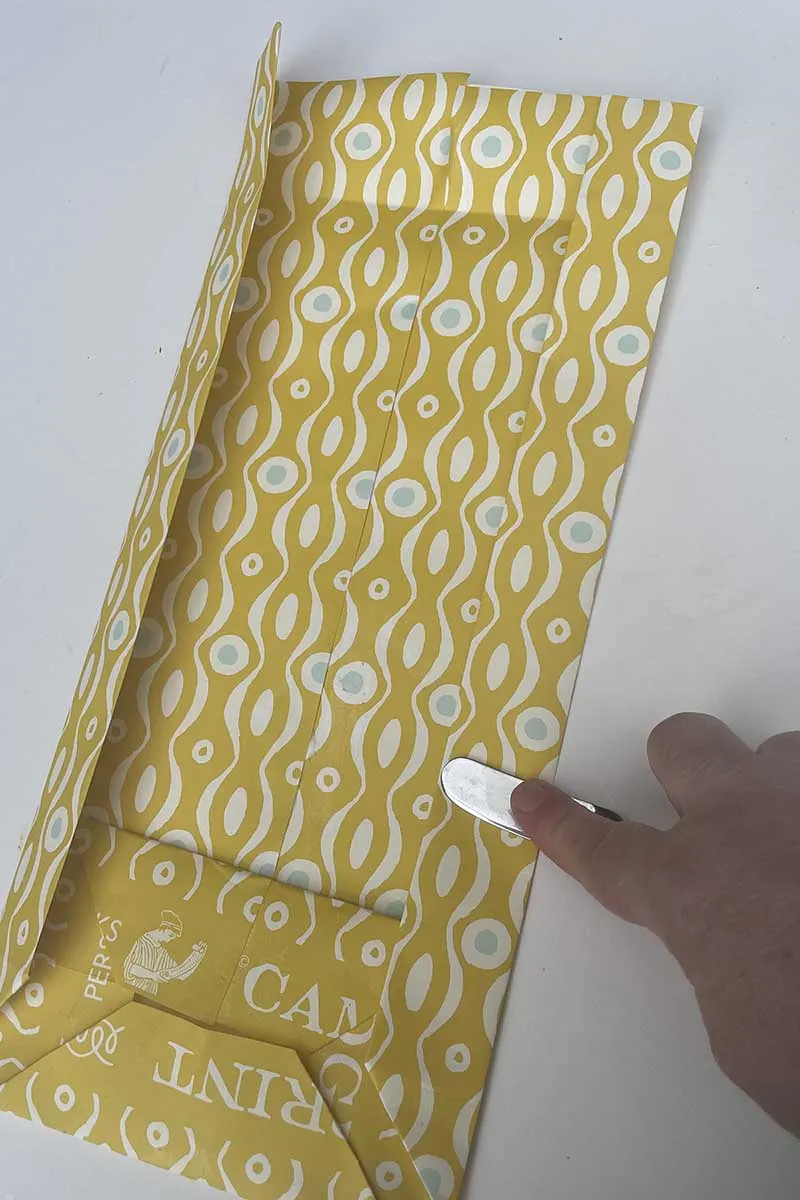
Step 7: At the same time, fold over the top and crease by about 5cm. And then unfold.
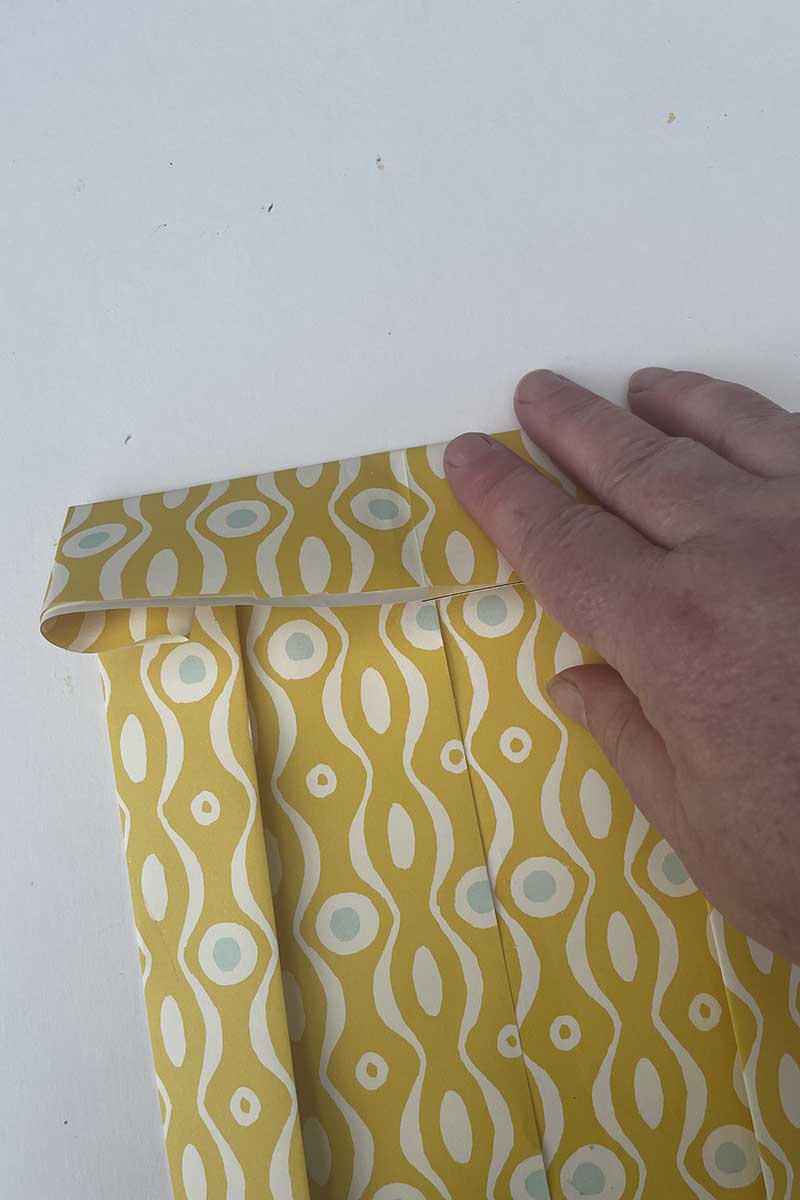

Step 8: Open up the paper bag, and fold over the paper along the top crease inside the bag to form a neat edge.
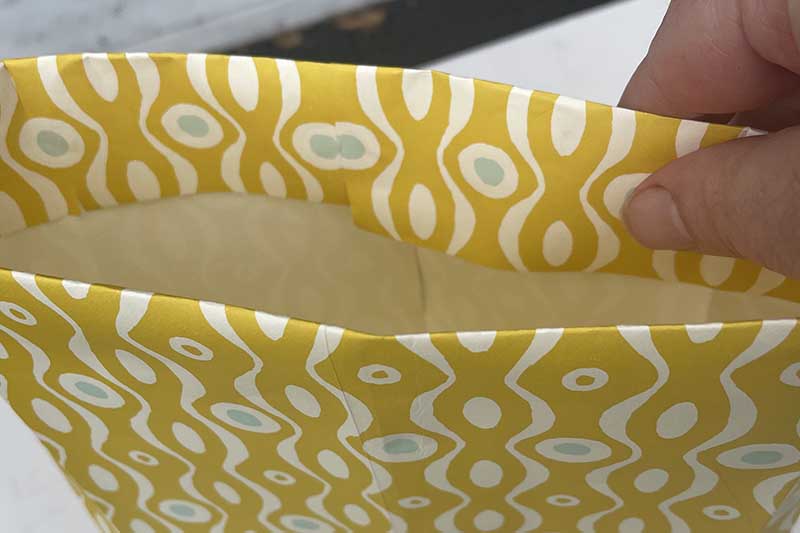

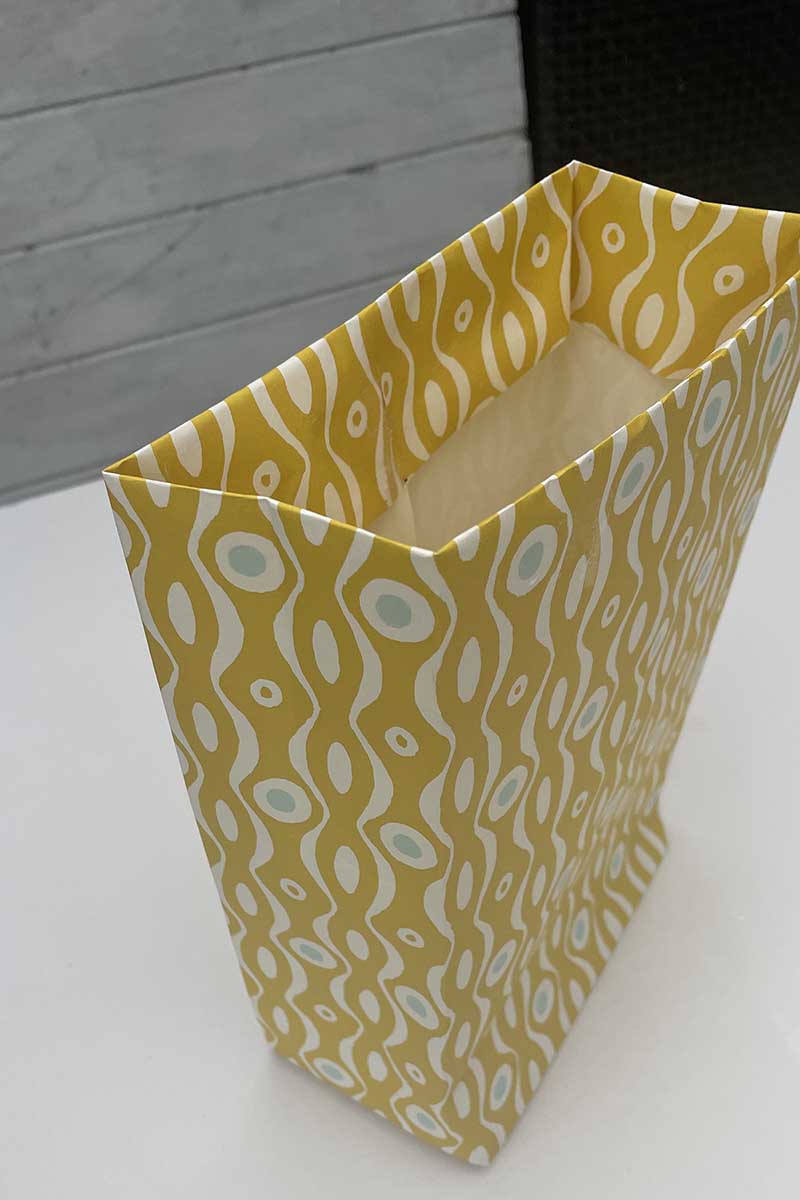

Step 9: With your fingers, pinch the creases along the sides of the open bag so that they fold the other way.
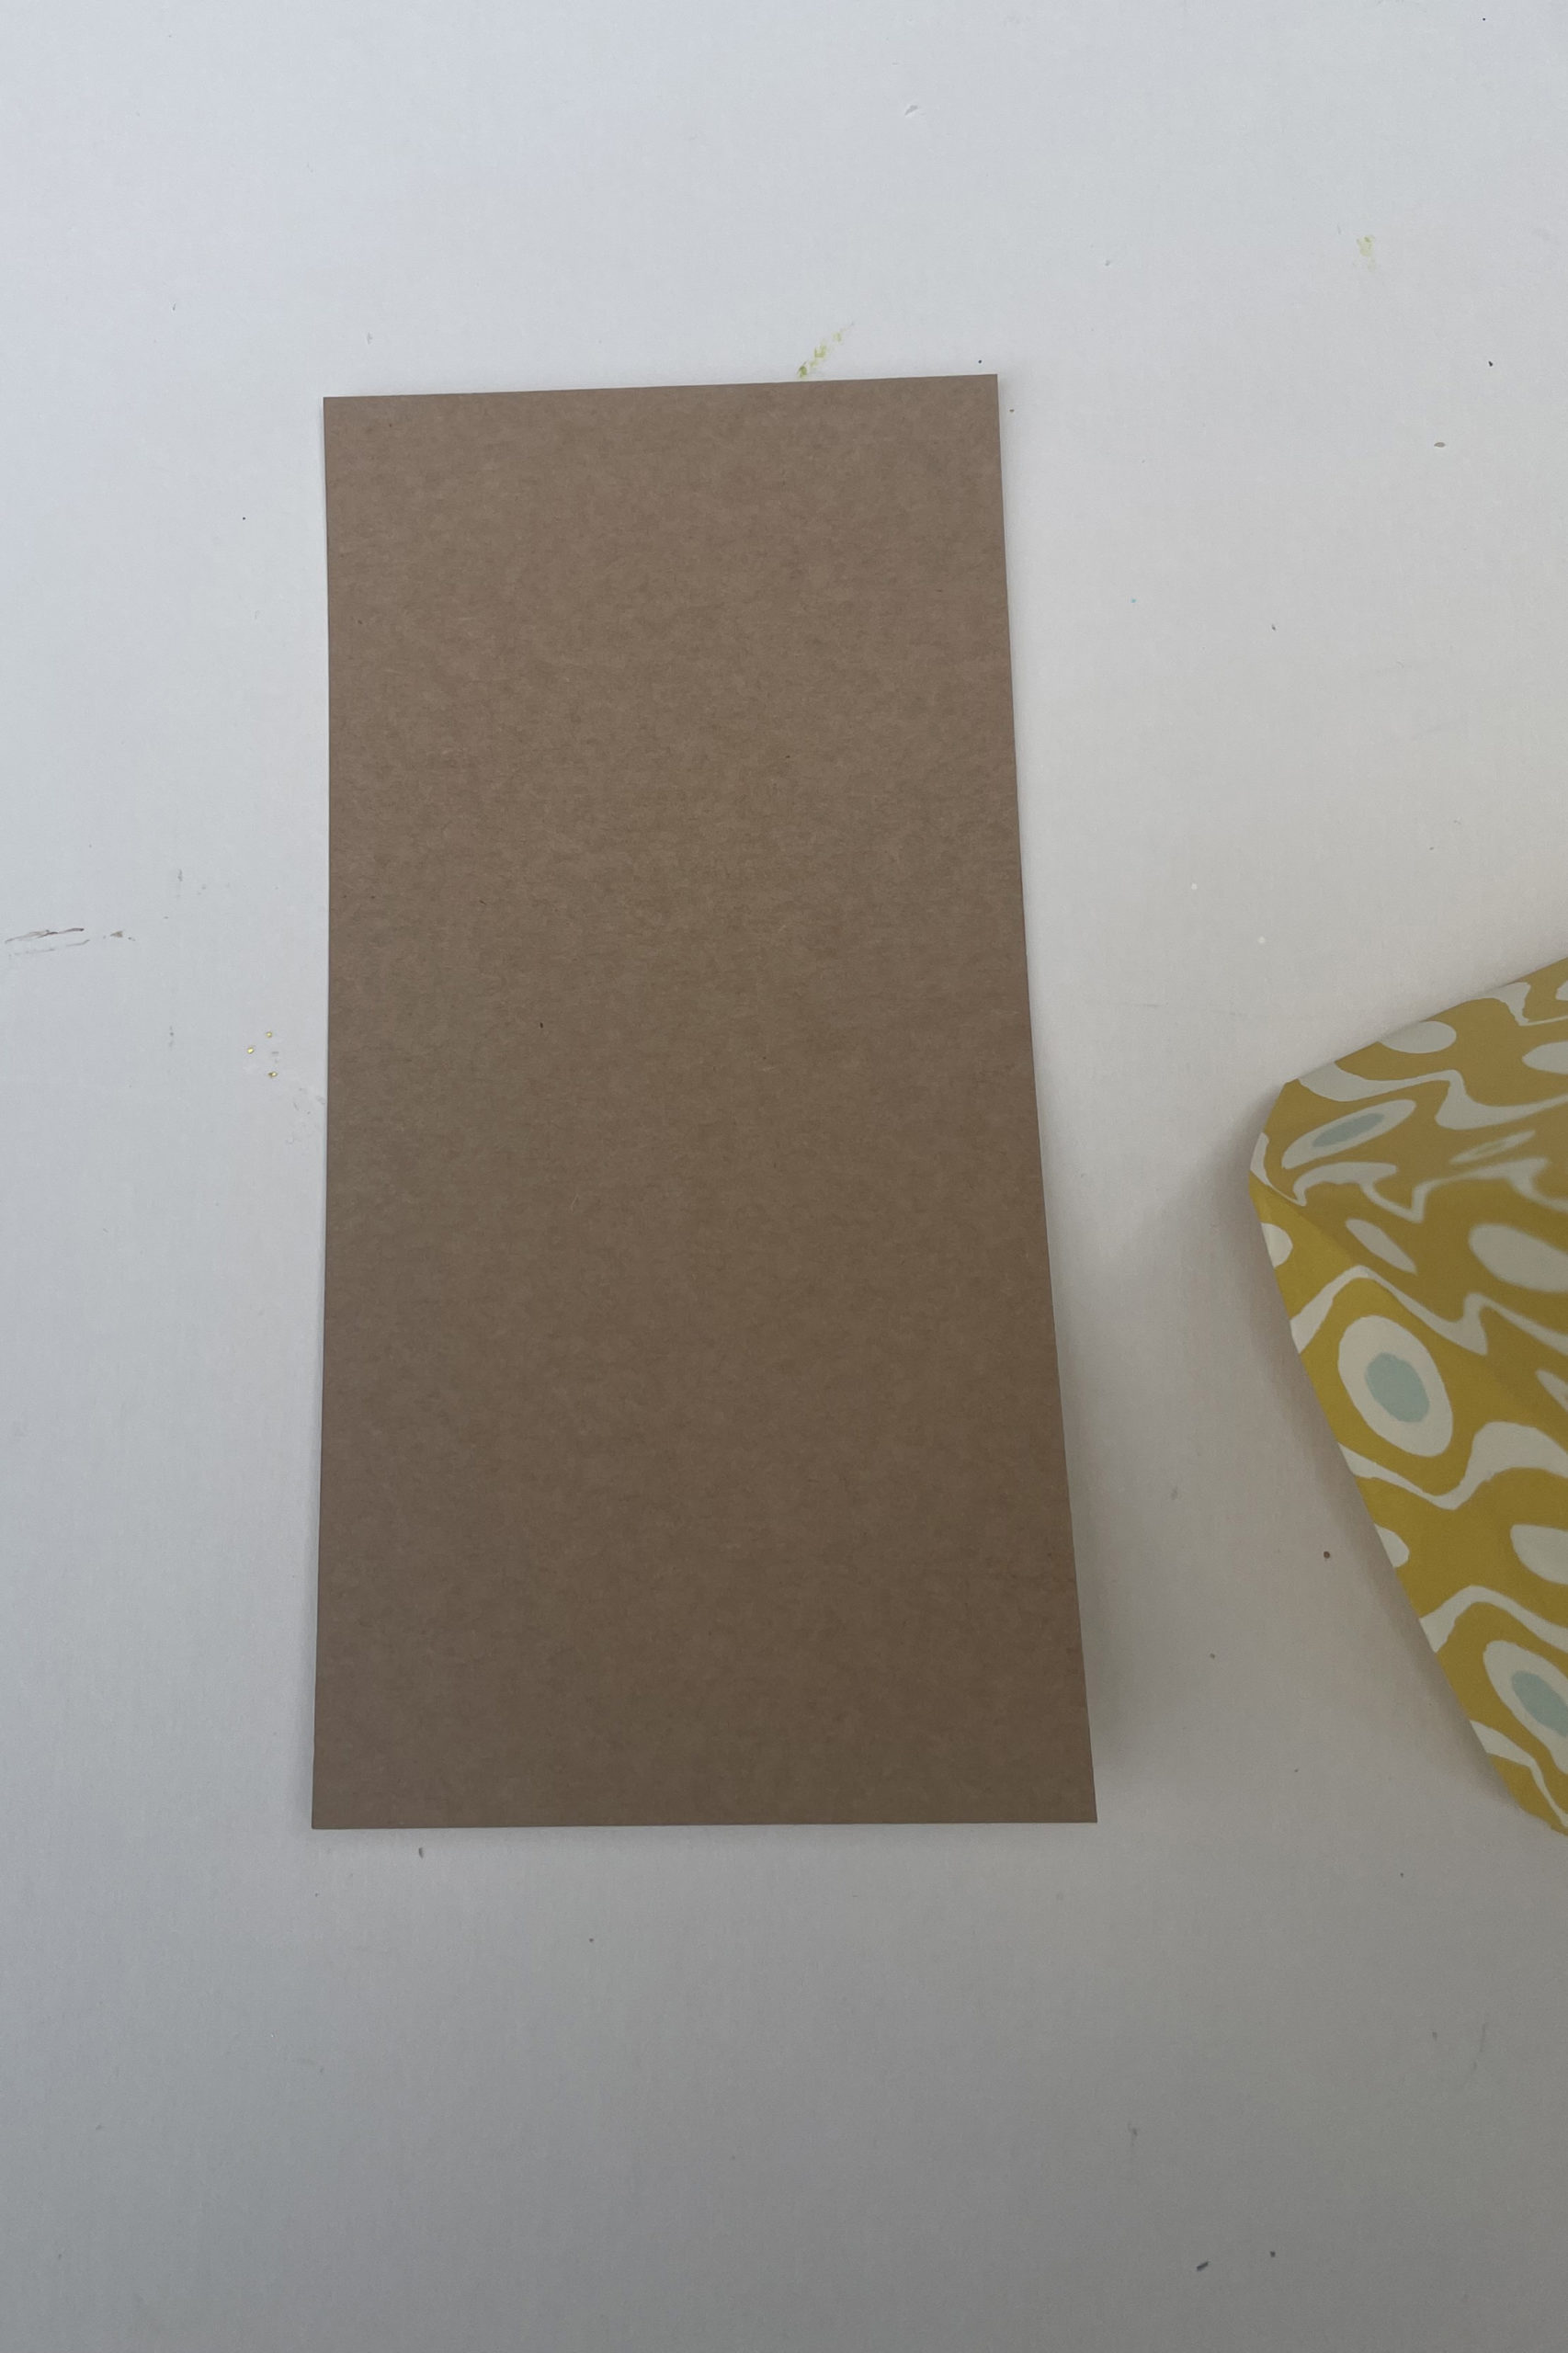
Reinforcing the DIY Paper Gift Bag
Step 10: Determine the dimensions of the bag’s base and trim a piece of cardstock accordingly. Insert this cardstock at the bottom of the bag to reinforce the base and make it more stable.
Making Handles
Step 11: Use your hole punch to create two holes on either side of the top of your bag. The holes should align about 3cm (1-1.5 inches) from the edge.
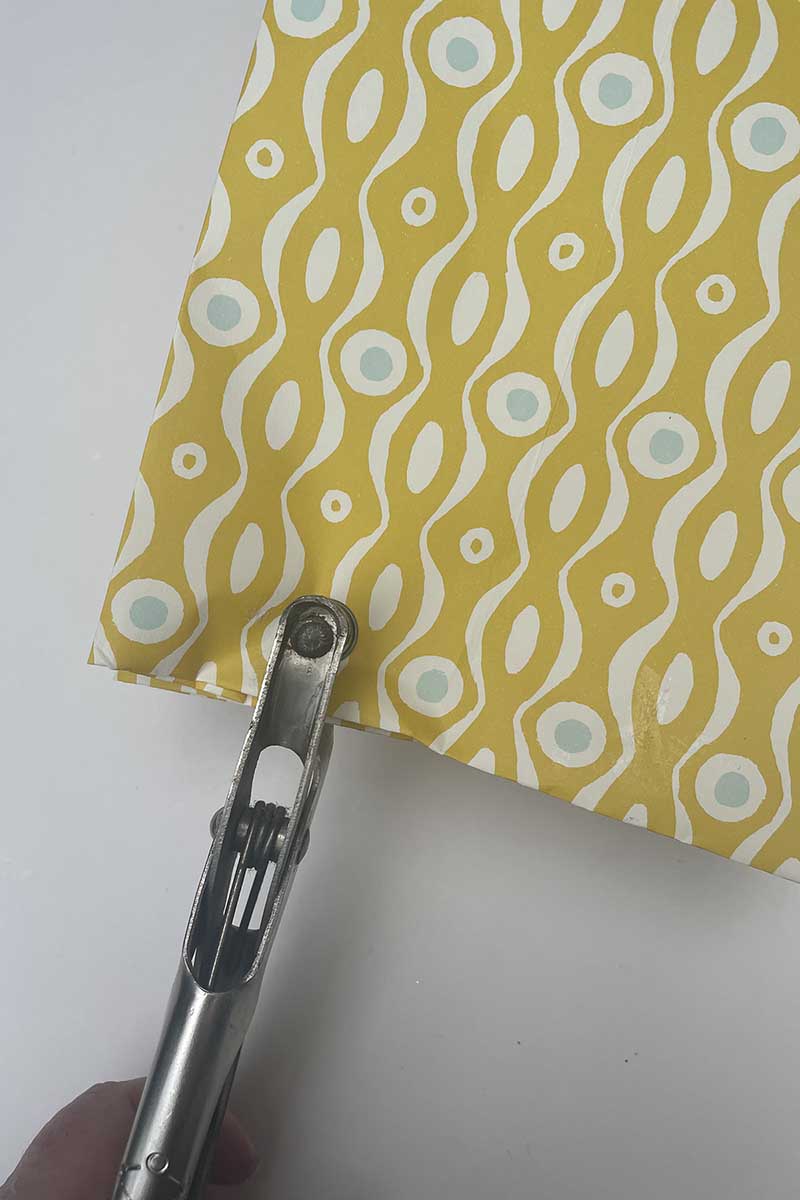

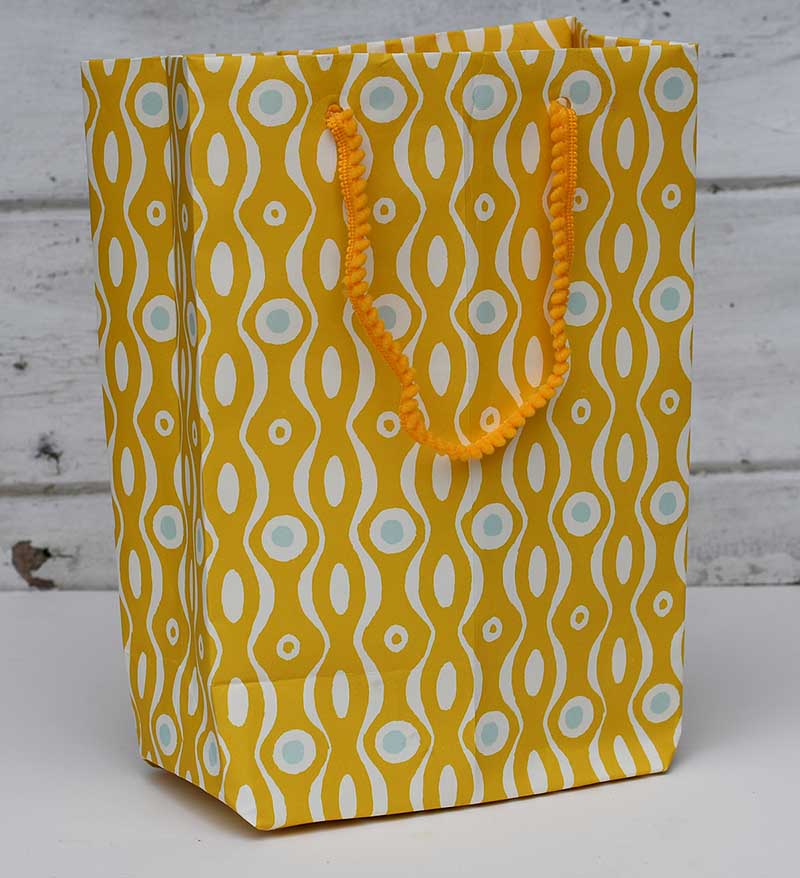
Step 12: Decide on the length of your handles and cut two pieces of ribbon or cord accordingly. Thread one end of your ribbon or cord through the inside of one of the holes. Tie a knot on the end to secure it in place. Repeat this step on the other side with the same handle.
Do the same with the other ribbon or cord for the other side of the bag. Make sure that the handles are even in length.

Making More Gift Bags
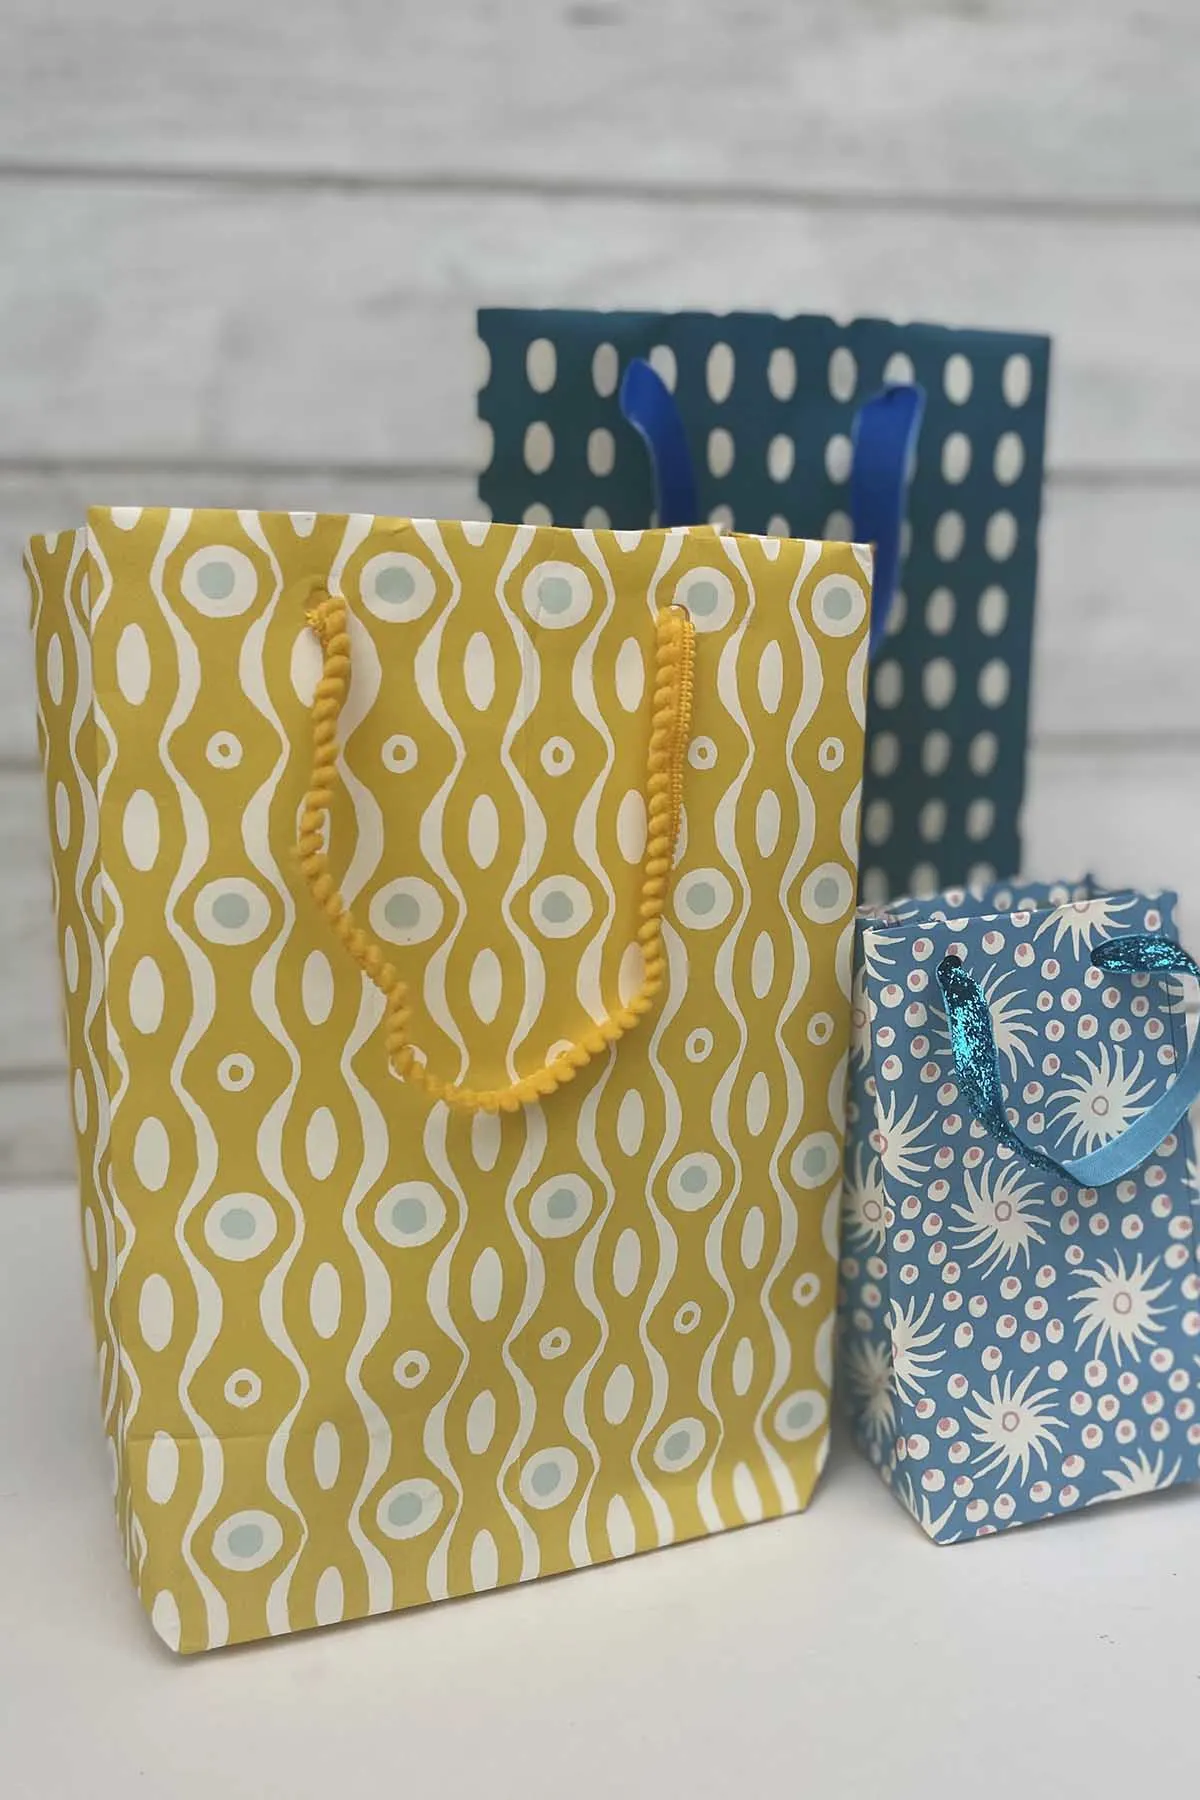
It only takes about 5-10 mins to make each bag, and I have a large stash of wrapping paper, so I made a few more gift bags in different sizes.

Driven by the thrill of creating these delightful gift bags, I set off on a creative hunt through my craft room. There, my cherished collection of wallpaper samples caught my eye. I realized they were perfect for crafting sturdy, wipeable gift bags. And just like that, a wave of charming, unique bags came to life.

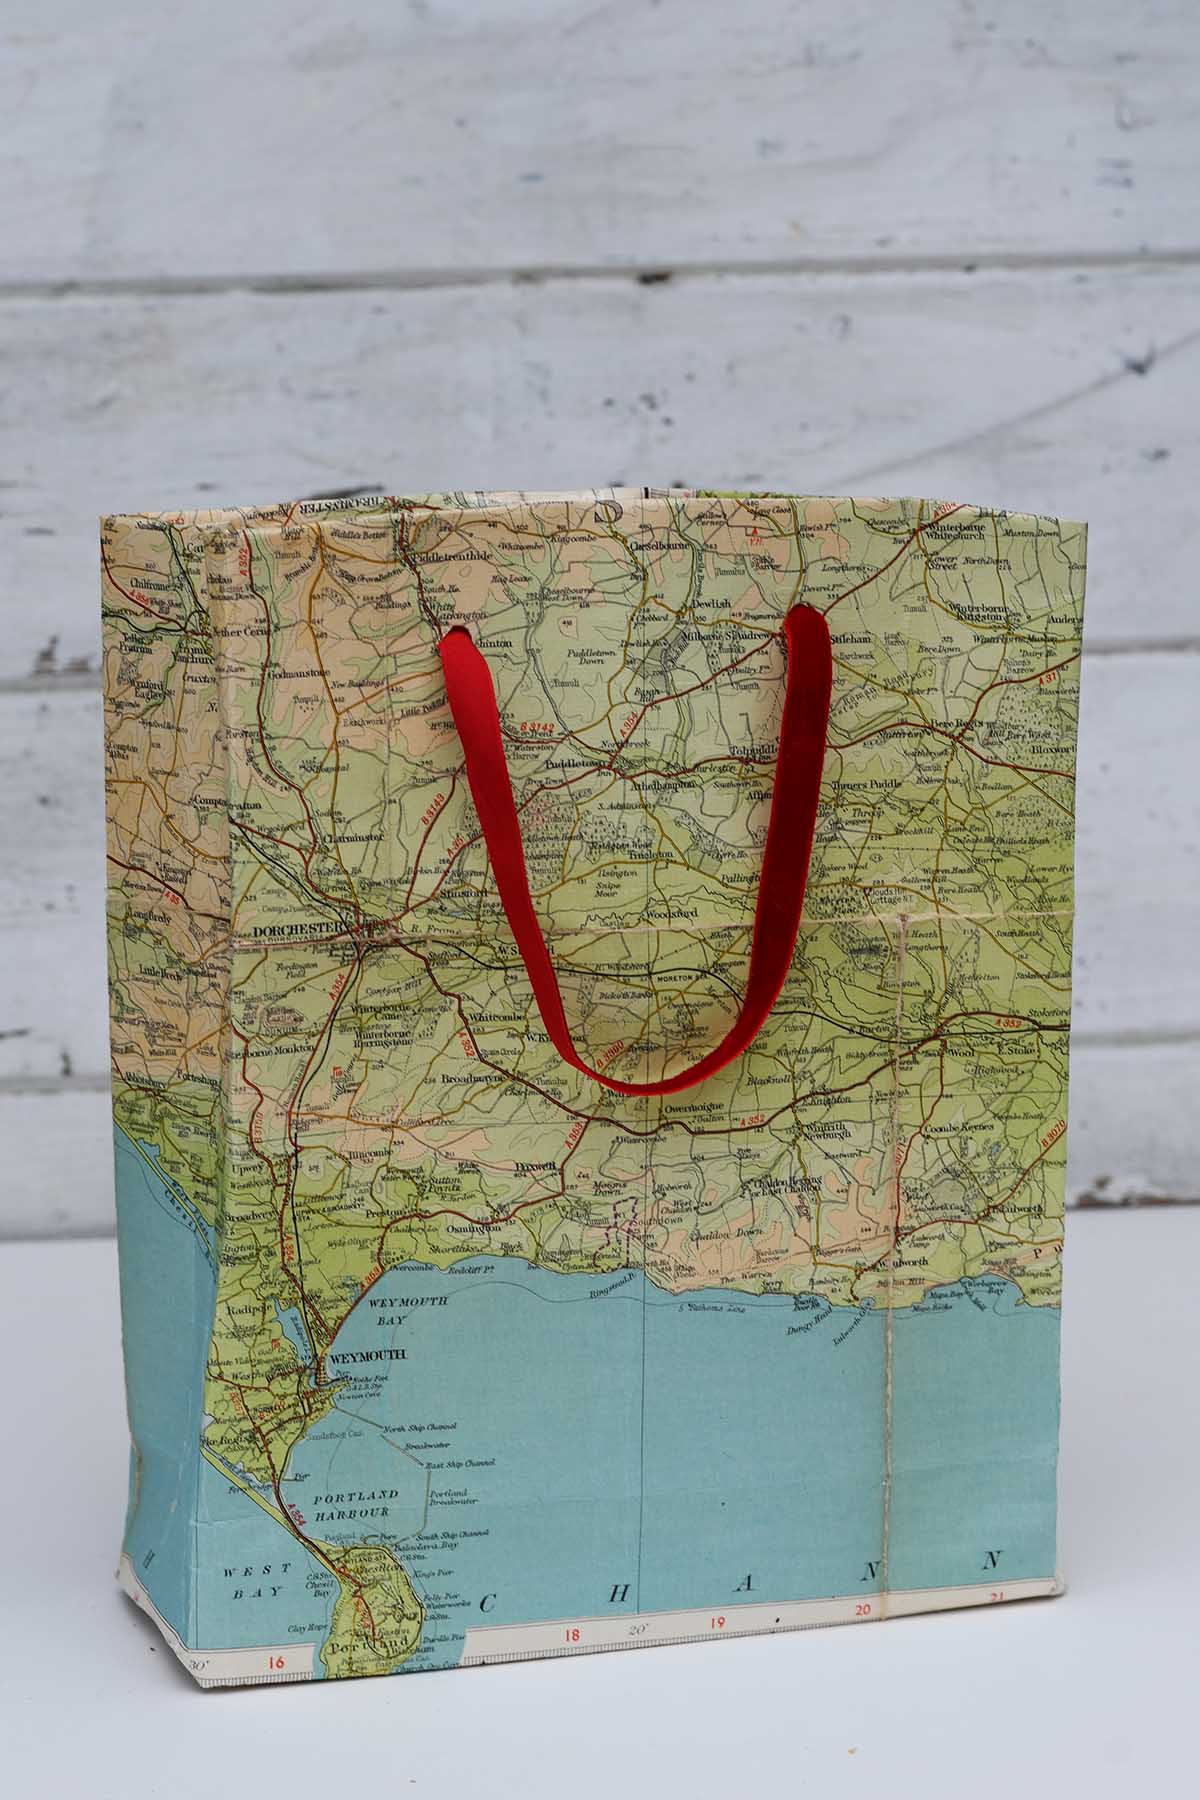
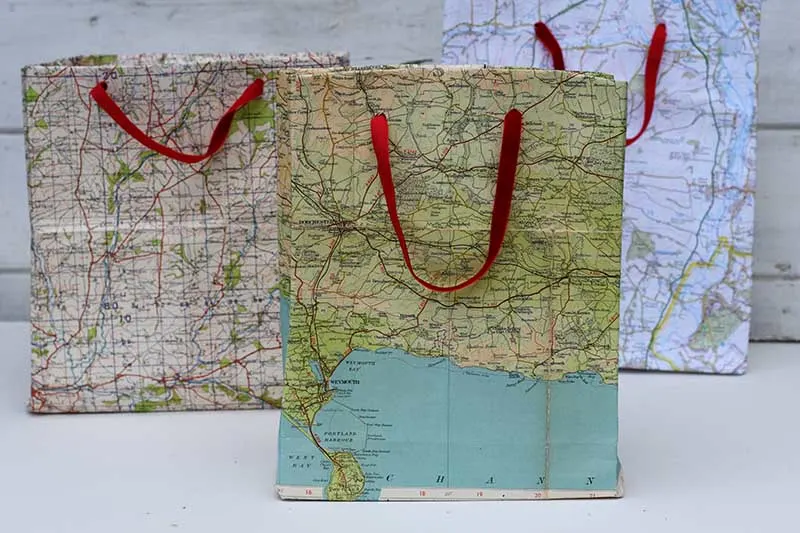
Those familiar with this blog know my passion for crafting and decorating using vintage maps is no secret. Nestled in my craft room, I’ve got a stash of beloved old road maps patiently waiting to be upcycled. With a dash of creativity, these transformed into captivating paper gift bags.
The charm lies in personalizing these bags with road maps of cherished places – making the gift a sentimental journey.
Road maps’ substantial yet flexible nature and expansive sheet size make them an ideal candidate for crafting DIY paper gift bags.


FAQs About Crafting Bags from Wrapping Paper
While most types of wrapping paper can be used, it’s best to choose a sturdy one, preferably a bit thicker than standard wrapping paper. The sturdiness will help the bag hold its shape better and support the weight of the gift.
If your wrapping paper is thin, you might consider doubling it or backing it with a sheet of thicker paper to provide additional strength.
Yes, you can use any adhesive you prefer. However, double-sided tape or hot glue works best for this type of project due to its strong bonding and quick-drying properties.
Consider using materials like ribbon or twine, which are sturdy and visually appealing. Reinforcing the areas where the handles are attached to the bag with extra adhesive or tape can also help.
Yes, you can adjust the size of your gift bag by using a larger or smaller piece of wrapping paper. Just remember that the size of the finished bag will be smaller than the size of the piece of paper you start with.
Absolutely! These bags can be reused if they’re still in good condition. If they’re made solely from paper, they can be recycled when they’re worn.
Apart from wrapping paper, you can also use materials like old maps, newspapers, magazines, or fabric. Each material gives a unique look and feel to the bags.
Reuse old Christmas cards to decorate the front of your holiday bags. Other greeting cards can be used for birthday gift bags.
Other Wrapping Paper Crafts and Ideas
If you have any odd bits of wrapping paper left over, keep them for other crafts and ideas, not just for wrapping presents or making gift bags.
- Matching Gift Tags: Use leftover gift wrap to make Anthropologie-inspired monogrammed gift tags.
- Paper Flowers: You can use paper scraps to make flowers like these map roses.
- DIY Book Covers: Give your books a stylish makeover using wrapping paper to create custom book covers.
- Decoupage: The beauty of gift wrap is that it comes in many wonderful patterns and designs perfect for decoupage.
- Origami: Put your folding skills to work and create beautiful origami art. From birds to boats, the possibilities are endless.
- Plant Pot Covers: Make pretty covers for your planters out of gift wrap, just like the map planter covers.
- Picture Frames: Cut out designs from your wrapping paper and use them to decorate or upcycle picture frames.
- Scrapbooking: Wrapping paper is a fantastic material for scrapbooking and can add colour and pattern to your memories.
- Christmas crackers: Use festively decorated holiday gift wrap to make homemade Christmas crackers.
- Paper Chains: Make decorative paper chains for parties or festive decorations.
- Homemade Envelopes: Craft unique and personalized envelopes for your letters or cards. Or use them for a homemade advent calendar.
Remember, these are just a few suggestions. The potential uses for wrapping paper in crafts are only limited by your imagination!
Check out these paper home decor crafts and Christmas paper DIYs for more gift wrap paper ideas.
A Crafty Mix
Saturday 2nd of September 2023
If I'd known they were this easy to make, I could have saved so much money. Thanks for the tutorial, Claire.
Claire Armstrong
Saturday 2nd of September 2023
Yes, very easy to make and you can use all sorts of paper. I never buy gift bags anymore. Thank you.
creativejewishmom/sara
Saturday 19th of August 2023
Wonderful the map one steals my heart! thanks for sharing on craft schooling sunday the party is back!
Claire Armstrong
Sunday 20th of August 2023
Thank you, I just love crafting with old maps.
Niki | Life as a LEO Wife
Wednesday 2nd of August 2023
What a great idea! It's a good way to save money too since you can make several bags from one roll, and make the perfect size bag for your gift. I'll be featuring your post on tomorrow's Crafty Creators. Thanks for sharing & hope to see you there!
Claire Armstrong
Thursday 3rd of August 2023
Thank you so much, yes it's a very economical way to make gift bags.
Cara ~ Vintage Style Gal
Wednesday 2nd of August 2023
I love the idea of using what I already have at home when it comes to gift wrapping - I am in love with the map bag. It is so cute, I think I would have to hang on to that one, ha! Thank you for sharing Claire.
Claire Armstrong
Thursday 3rd of August 2023
Thank you, and you can make them just the right size to fit the gift.
Esme Slabbert
Thursday 27th of July 2023
WOW, now I can also "try" to make gift bags iso buying them. I visited you via Crafty Creators Link Party 76 I have linked up this week with = 33+34. If you have not joined us at SSPS yet, this is a personal invite to come and share your awesome post/s with us You will find the linkup information (1) In the Top bar under Blogging: Weekly Senior Salon Pit Stop OR 2nd image In the sidebar. We hope to meet you there virtually.
Esme Slabbert
Friday 28th of July 2023
@Claire Armstrong, Thank you for sharing your links with us at #271 SSPS Linky. I will for sure make use of your instructions when I need a new bag.
Claire Armstrong
Friday 28th of July 2023
Thank you so much, yes no need to buy gift bags when they are so easy to make.