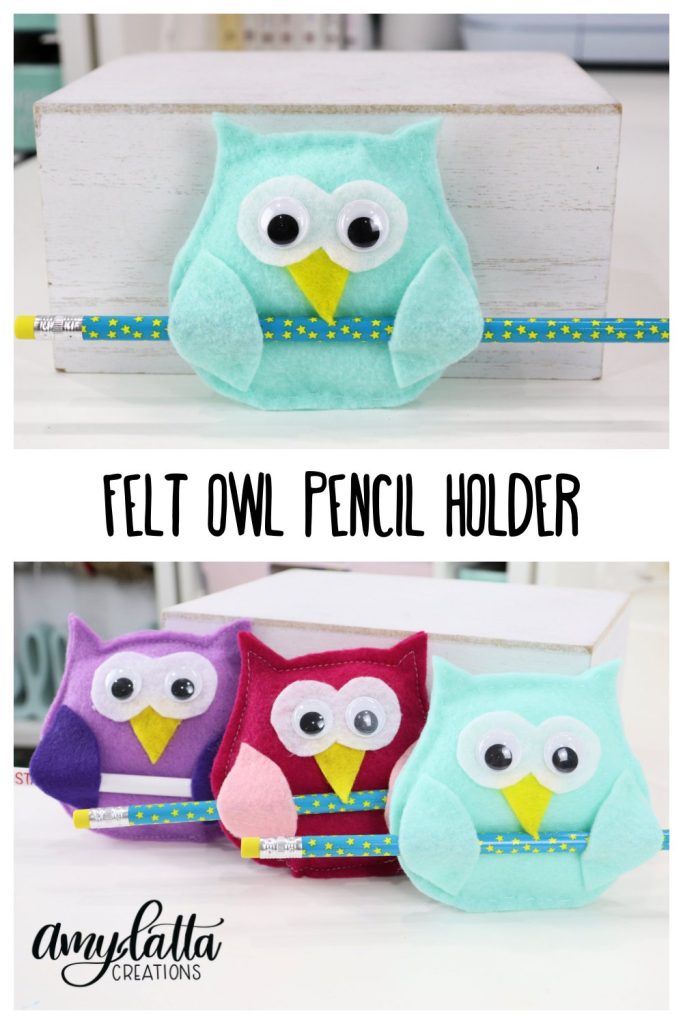
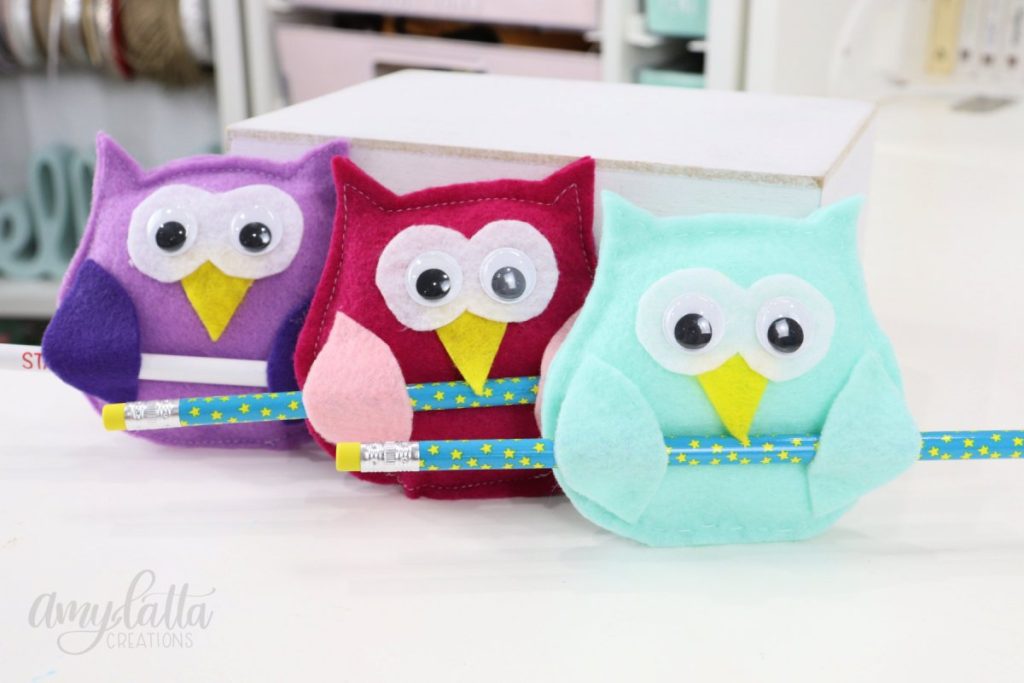
Back to School Owl Pencil Holder
Believe it or not, it’s time to start thinking about the students and teachers who will be heading back to the classroom in a few weeks! This Owl Pencil Holder is a quick and easy gift you can create to help them start the new school year with a smile.
How to Make an Owl Pencil Holder
This little owl is made from felt and is fun to create for crafters of all ages. You can personalize it using your choice of colors, then just add a new pencil, and it’s ready to gift to someone who is heading back to class.
Materials
- felt, your choice of colors
- google eyes
- scissors
- needle and thread or sewing machine
- Poly-Fil
- hot glue and glue gun
- free pattern
Instructions
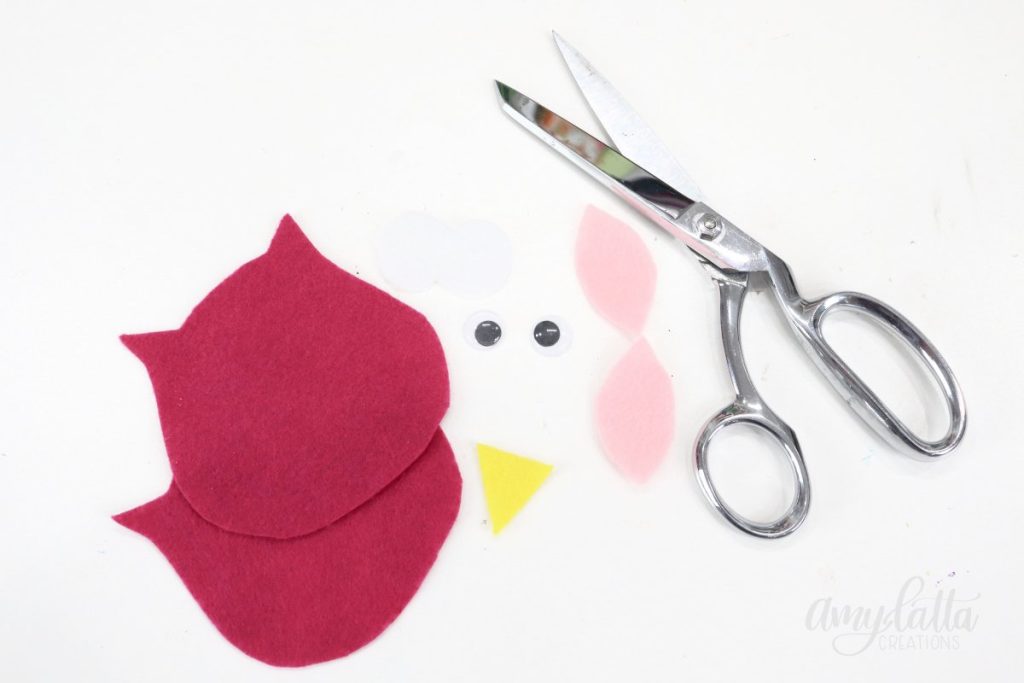
Cut your felt pieces using the free pattern.
You’ll need two body pieces, two wings, one beak, and one eye piece for each owl. You can download the pattern here.
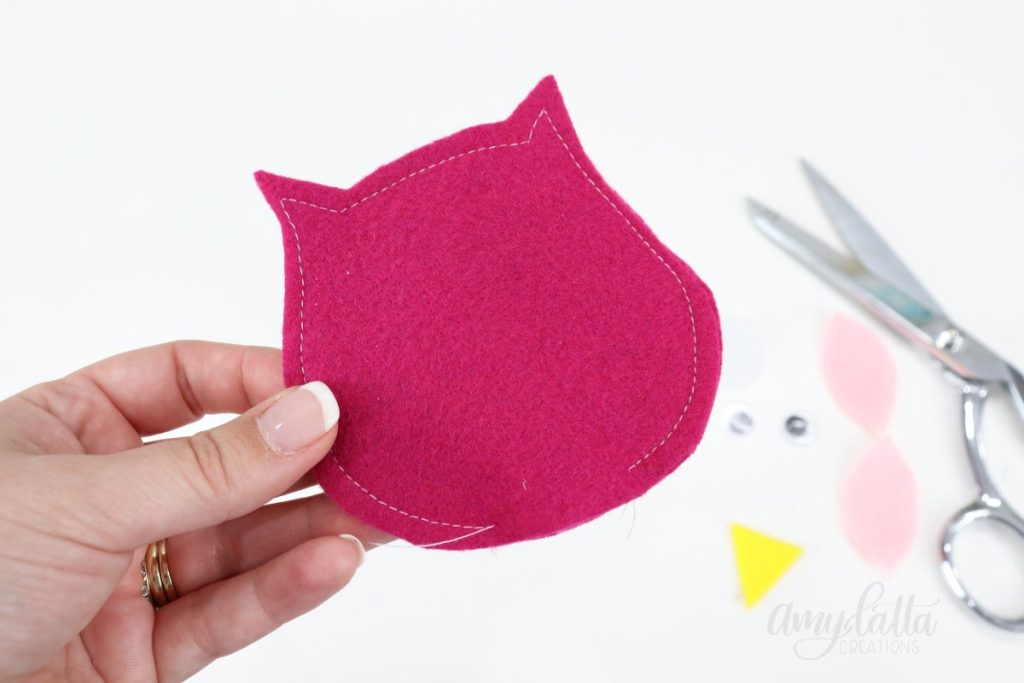
Sew the body pieces together around the outer edges, leaving a small opening at the bottom.
You can sew by hand, or use your sewing machine. If you don’t sew, or are working with young kids, you can use glue instead, just make sure to keep it close to the edges.
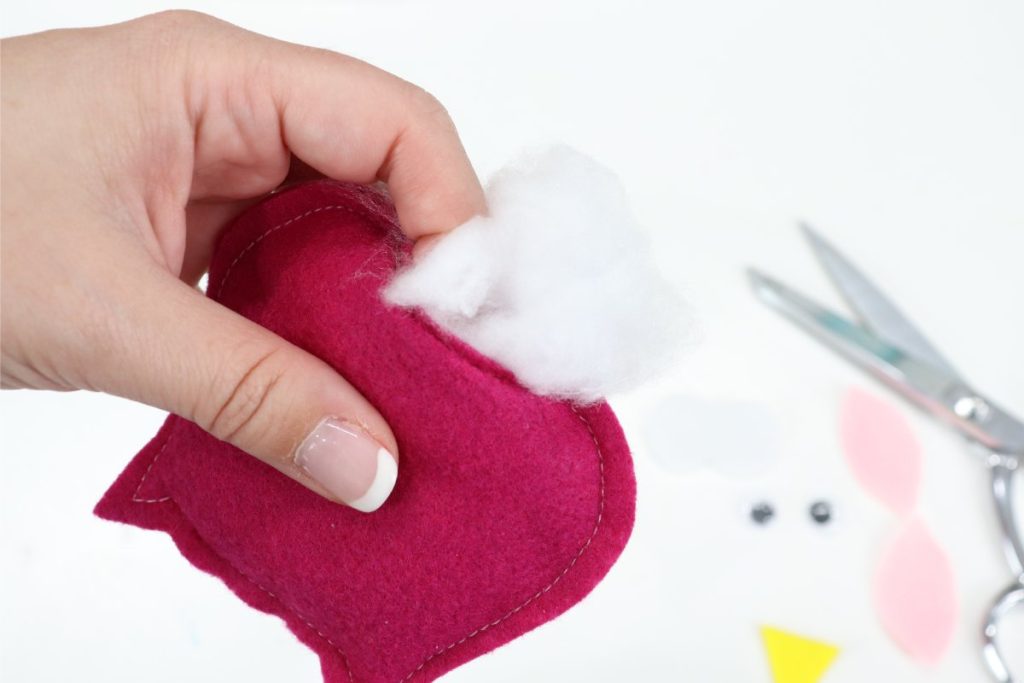
Fill the body with Poly-Fil.
Then, sew or glue the opening shut.
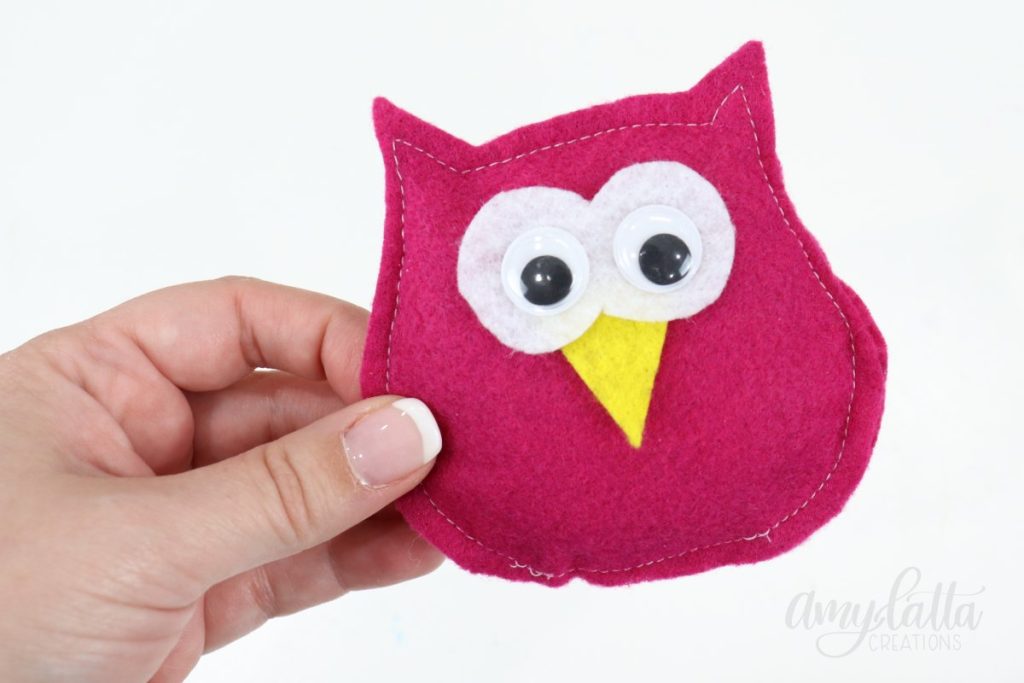
Glue the eyes and beak onto the body.
Start with the beak first, then add the felt eye piece, and finally the google eyes on top.
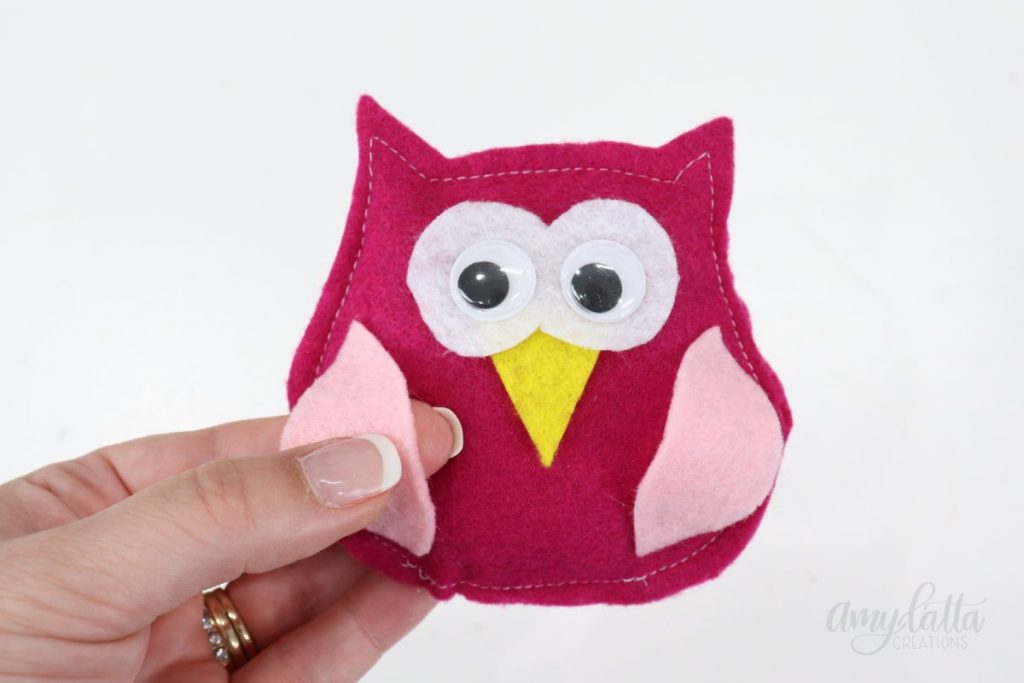
Add the wings.
Glue the wings to the body, making sure to only attach them at the top and bottom. Leave the whole center section open.
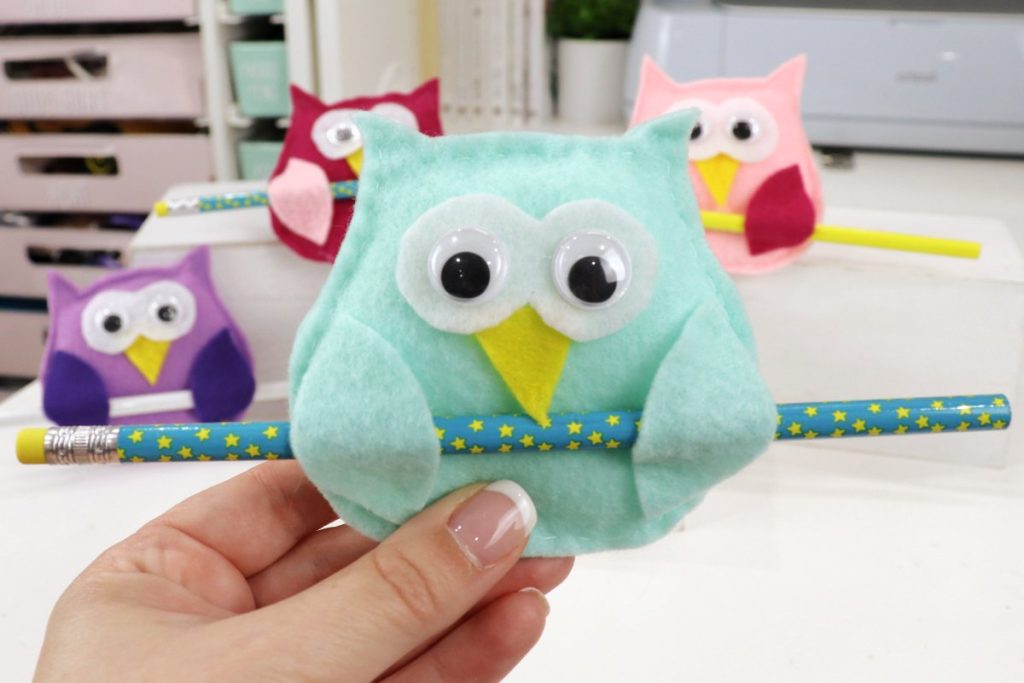
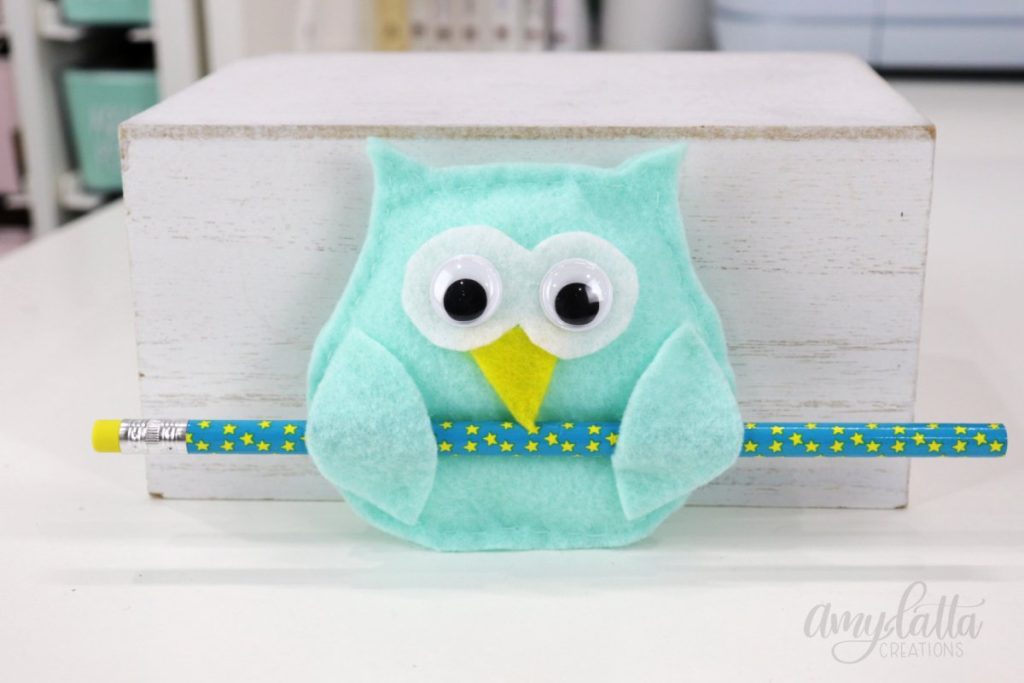
Add a pencil.
Slide a pencil through both wings. Now your owl is ready to gift to a student or teacher who is heading back to the classroom!
Crafting Tips
- These owls can also hold other objects, including markers, pens, candy canes, candy sticks, lollipops, and more.
- I recommend using hot glue for the gluing portions of this project because it dries so quickly and adheres well to felt. When working with hot glue, it’s good to use a craft stick to help you press down on the pieces instead of your finger!
- Have fun experimenting with different color combinations to make your owls really unique. You can also swap out the google eyes for buttons or other craft eyes.
- For a bonus step, add a piece of ribbon or twine to the top of the owl so that after it’s been used as a pencil holder, the recipient can hang it up as a decoration or ornament.
Frequently Asked Questions
Yes, kids can make and/or use this owl! If they’re doing the crafting, you may want to substitute craft glue for the hot glue. For children 3 and younger, avoid using google eyes, which can pop off and become a choking hazard. You can use fabric paint to create eyes instead, or embroider them with a needle and thread.
Everyone crafts at a different pace, and the amount of time required also depends on whether you hand sew, machine sew, or glue your body together. Overall, though, most crafters should be able to make an owl in 10-15 minutes.
Felt is incredibly inexpensive, so if you already have other basic supplies like Poly-Fil and glue on hand, you can make an owl for less than $1.
More Back to School Crafts
If you enjoyed this Owl Pencil Holder, be sure to check out these other back to school craft ideas!


Don’t forget to save this post to Pinterest and share it with a friend. If you try this project, I’d love to see how your owls turn out! Come join the Amy Latta & Friends group on Facebook so you can share your latest project photos and we can all be inspired. See you there.
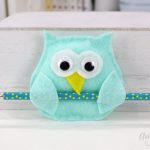
Owl Pencil Holder
Materials
- felt, your choice of colors
- google eyes
- scissors
- needle/thread or sewing machine
- hot glue and glue gun
- free pattern
Instructions
- Cut your felt pieces using the free pattern.
- Sew or glue the body pieces together around the outer edges, leaving an opening.
- Stuff the body with Poly-Fil.
- Sew the opening shut.
- Glue on eyes and beak.
- Glue wings to the body, making sure to only attach the top and bottom tips.
- Slide pencil through the wings.