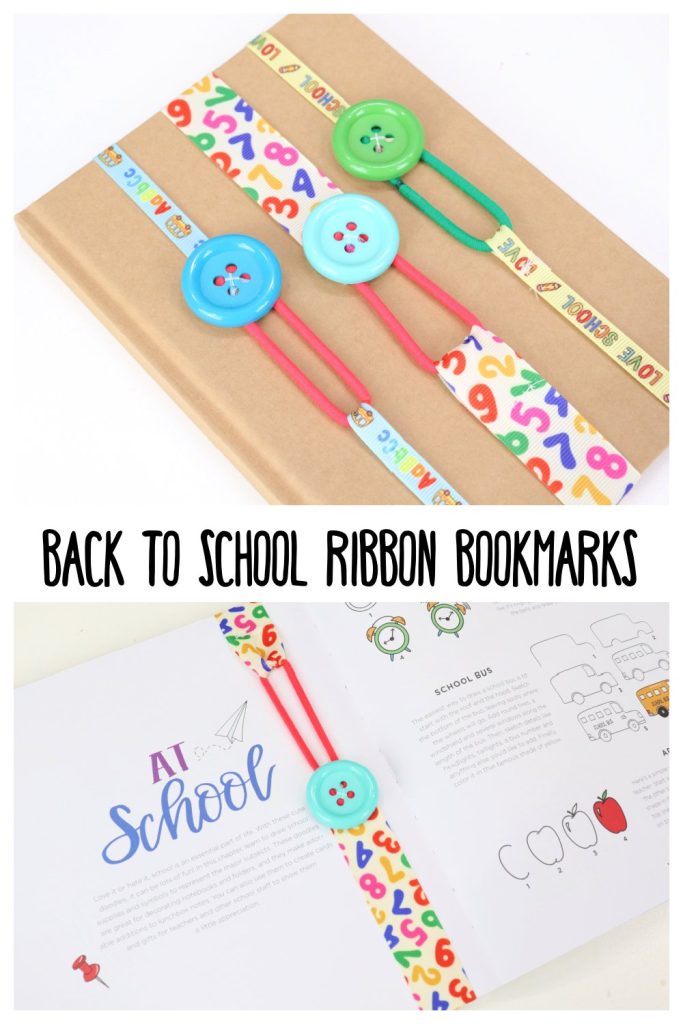
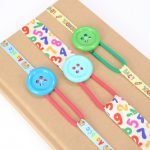
Ribbon Bookmarks
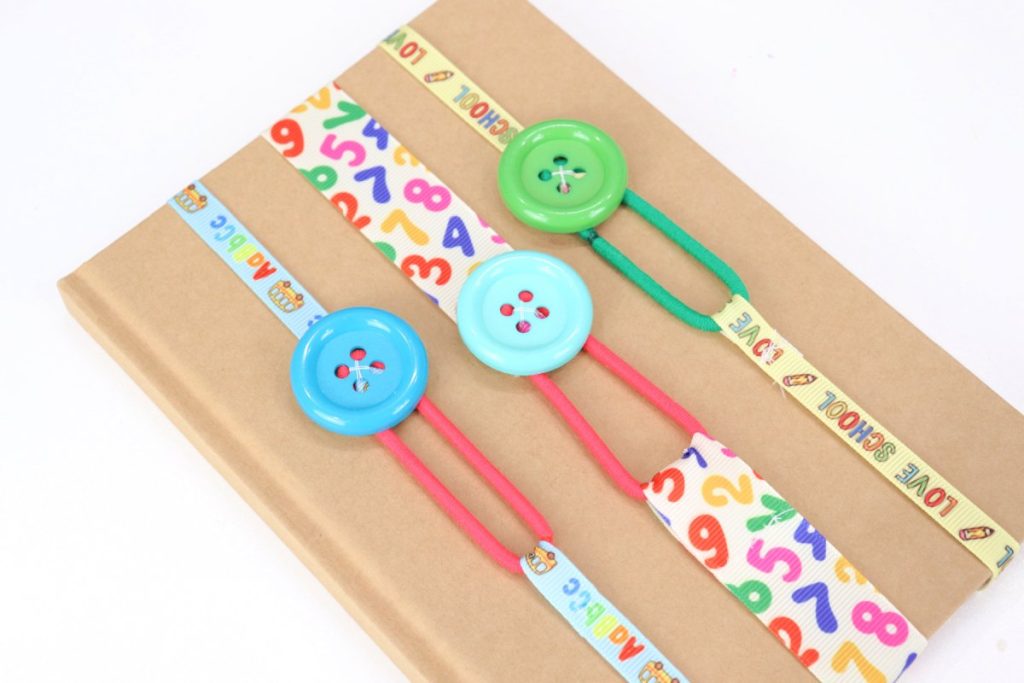
One thing that just about everyone finds useful is a bookmark! These simple ribbon bookmarks are so easy to create, and can be personalized with any colors or patterns you choose. I used school themed ribbons to make these for kids and teachers heading back to the classroom, but you can use whatever you like to customize them for different holidays, occasions, or just your favorite colors!
How to Make Ribbon Bookmarks
These ribbon bookmarks are my favorite kind of craft project, because they’re super inexpensive, quick, and easy! Mine took less than five minutes to make, and they don’t require any fancy skills or supplies. Here’s how you can create your own.
Materials:
- ribbon (I used this Back to School ribbon assortment)
- large button
- needle and thread or sewing machine
- elastic hair tie
- scissors
Instructions:
Cut your ribbon.
If you know what book you’ll be using, you can measure it by wrapping it around the book’s cover to customize your bookmark length. If not, you can use the following size guide:
small book – 12”
medium book – 15”
large book – 18″
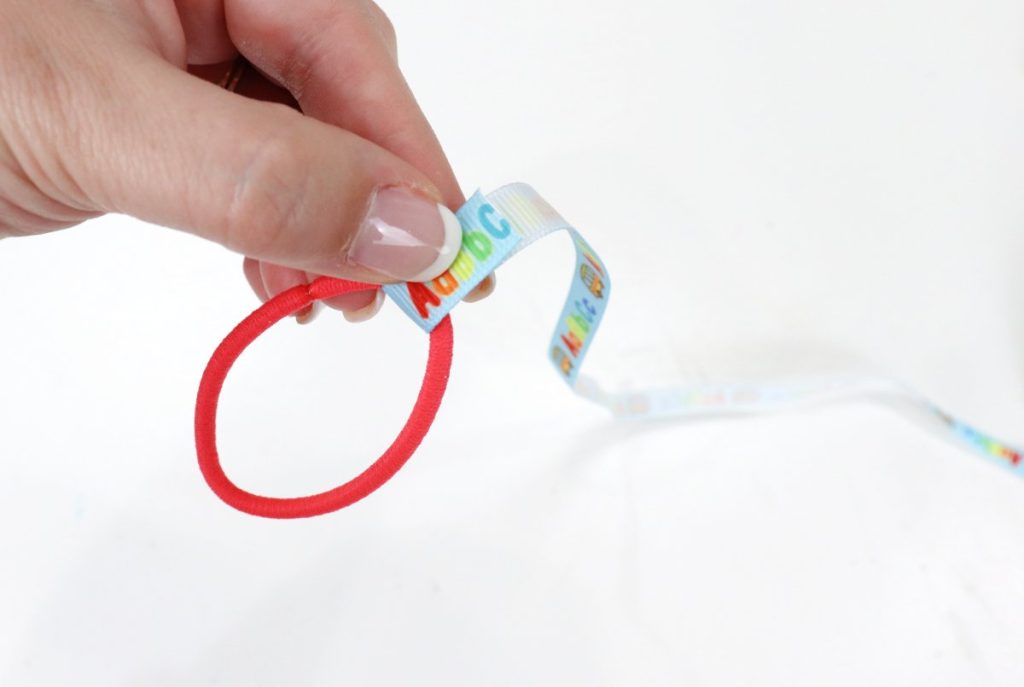
Fold one end of your ribbon around the hair tie, and sew it in place.
You can use a sewing machine or stitch by hand for this step.
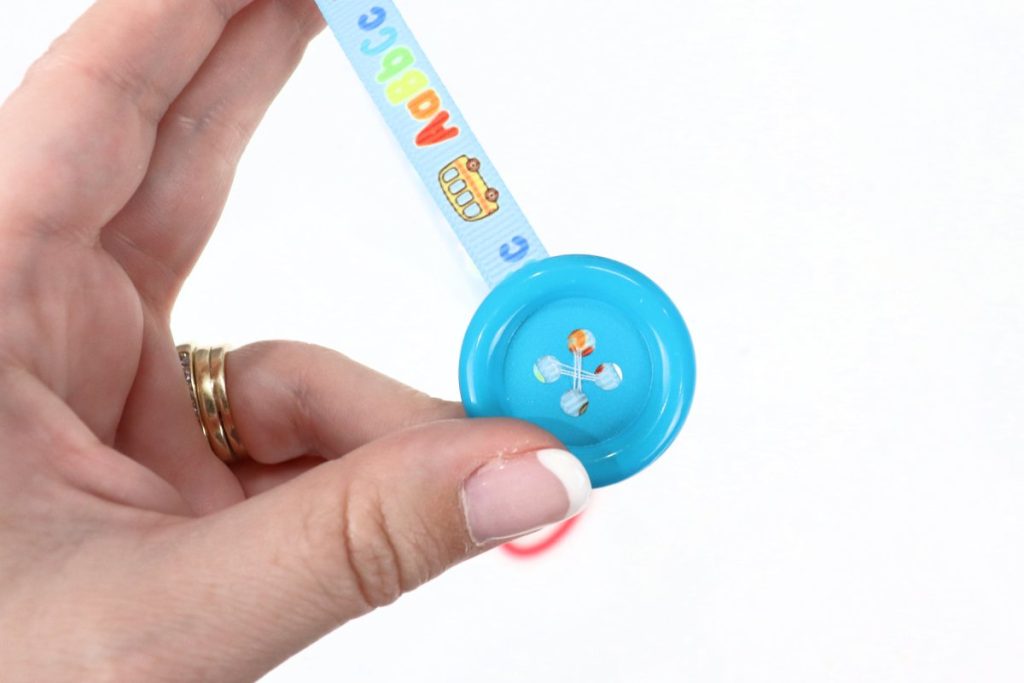
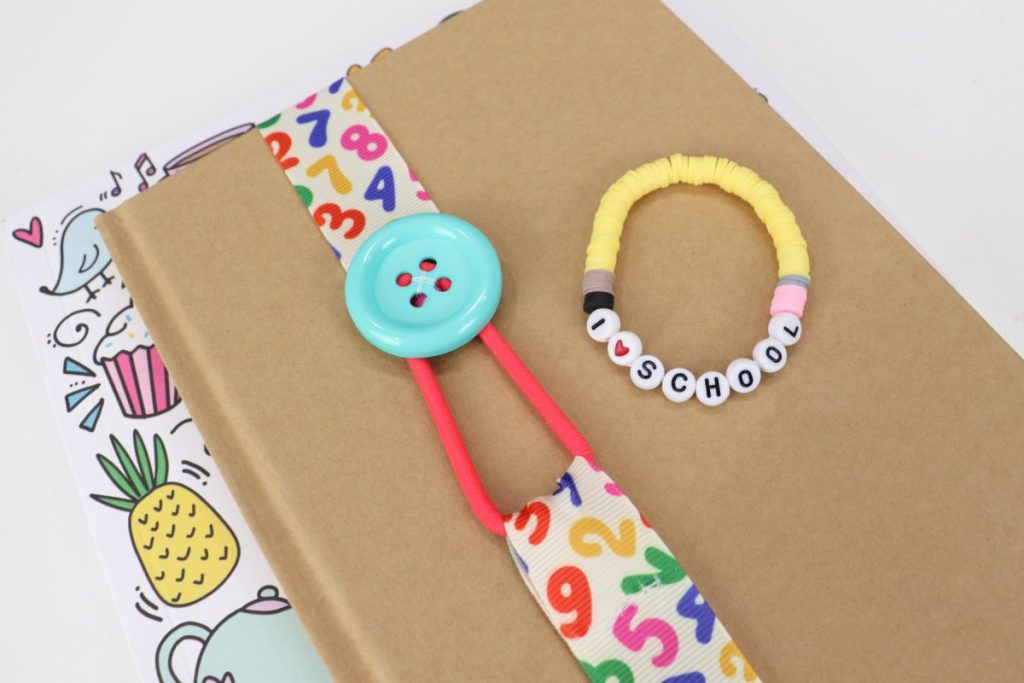
Sew your button on the other end of the ribbon.
You can use any color, size, and shape button you like!
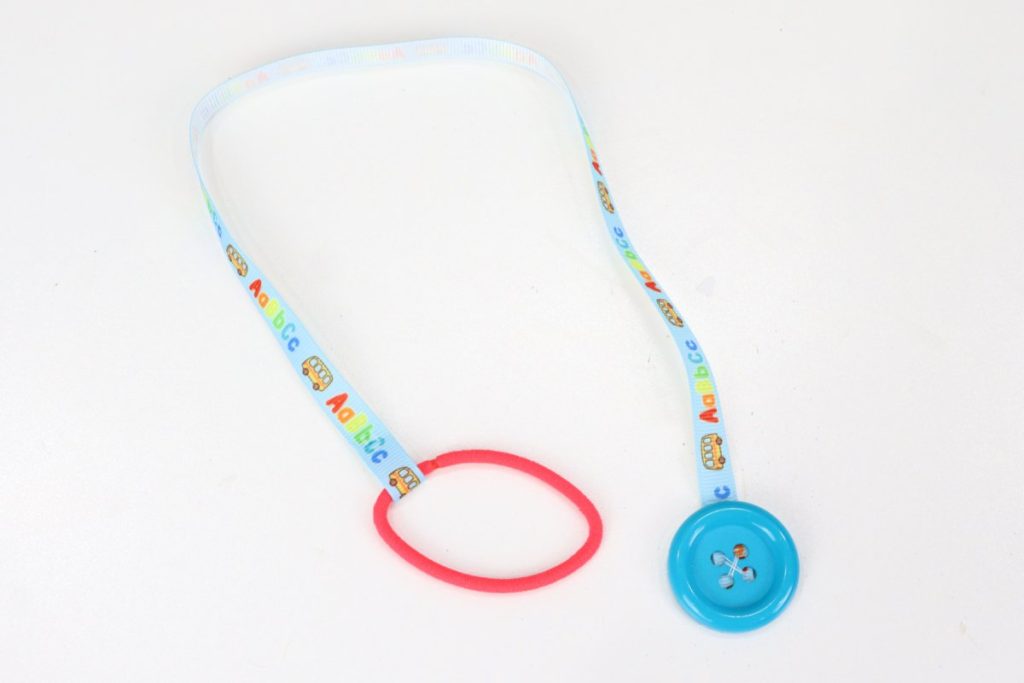
That’s all there is to it! See how quick and easy it is?
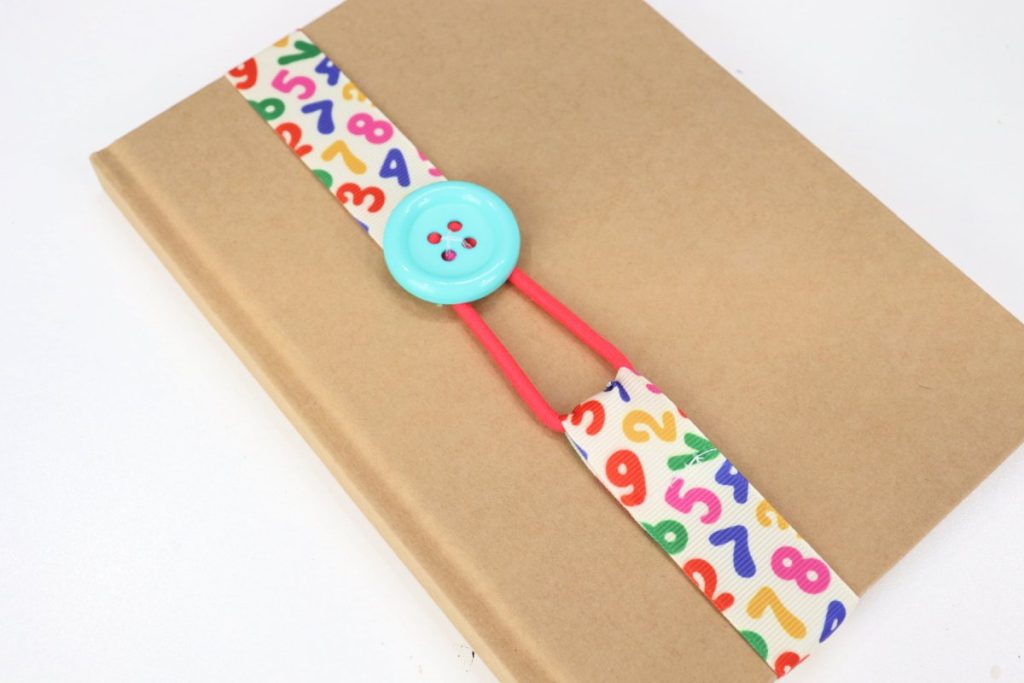
Put your bookmark to use!
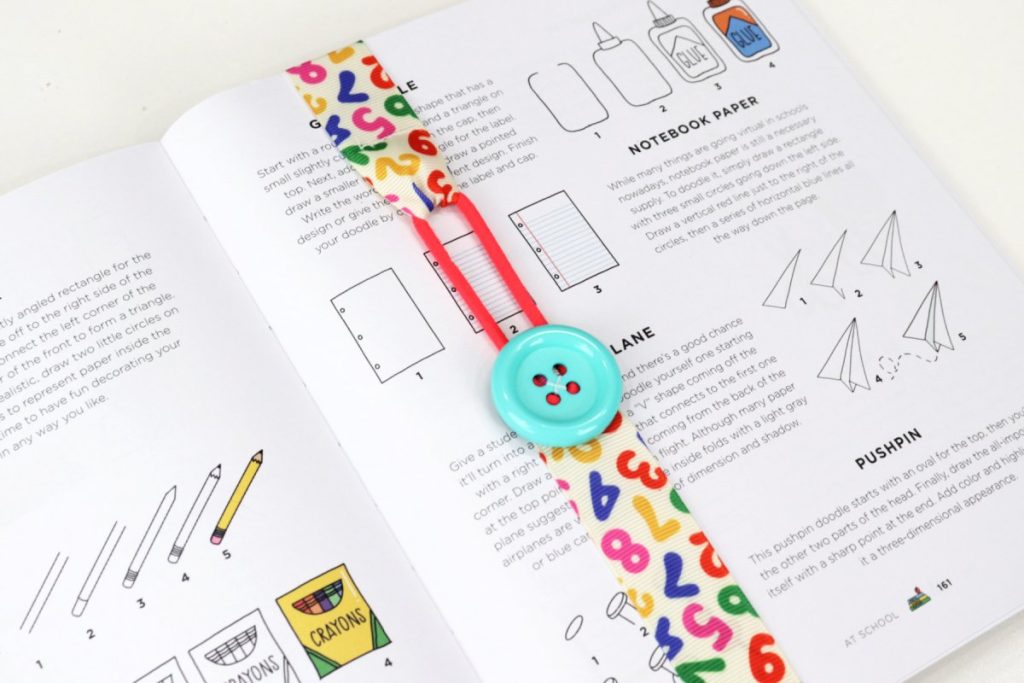
Now, all that’s left to do is wrap your new bookmark around a favorite book and secure it by looping the elastic over the button. As you get further into the book, the elastic will stretch to accommodate the pages.
These bookmarks are perfect for textbooks, notebooks, journals, novels, and more. I think they’re especially great for using with your favorite creative books, like Doodle Everything. 😉
Crafting Tips
- Don’t sew? You can use hot glue to secure the ribbon and button instead. Just make sure you keep the glue in the center of the button so the elastic can still fit around the edges.
- Try different sizes and colors of ribbon and buttons to get totally unique combinations!
- Want to add extra personalization? Use a Cricut or other electronic cutting machine to cut a name or phrase from iron on vinyl, then iron it onto the ribbon.
Frequently Asked Questions
I recommend ribbon between 3/8” wide and 1” wide for this project.
Personally, I like using buttons that are 1”-1 1/2” in diameter.
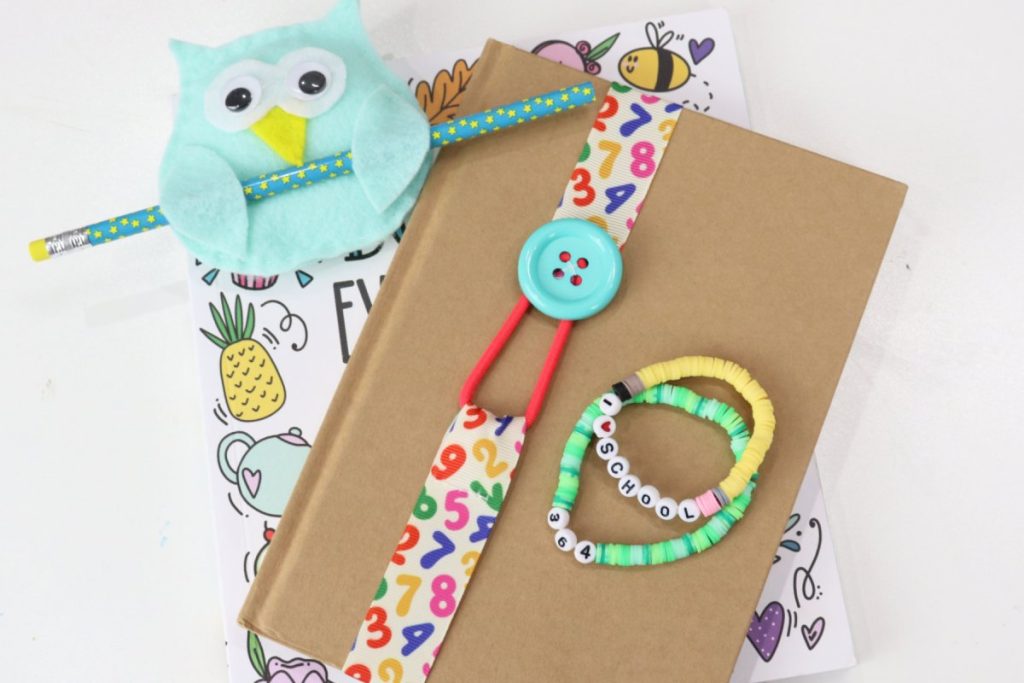
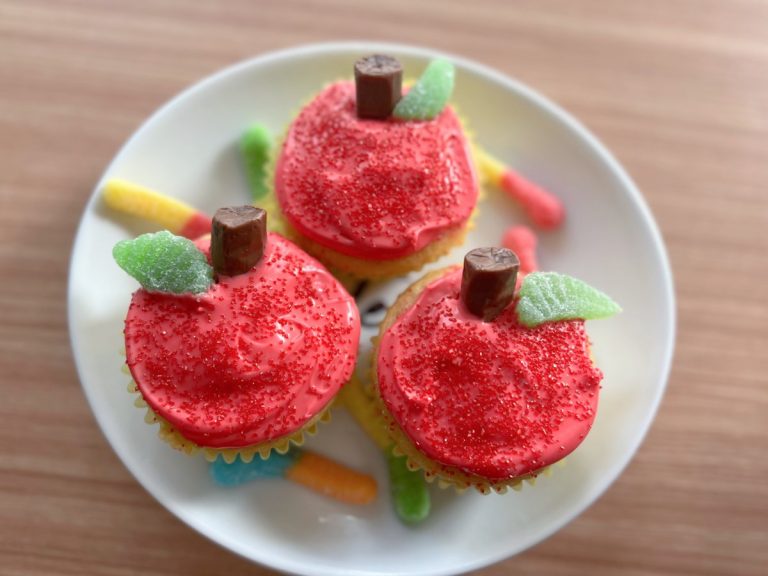
More Back to School Projects
If you enjoyed this tutorial, be sure to check out these other fun and easy back to school crafts!

Like this project? Don’t forget to save it to Pinterest and/or share it with a friend! If you try making your own ribbon bookmarks, I’d love to see how they turn out. Make sure you’re part of the Amy Latta & Friends Facebook Group so you can share your latest project photos and we can all be inspired. See you there!
Ribbon Bookmarks
Materials
- ribbon
- large button
- needle and thread
- scissors
- hair tie
Instructions
-
Cut your ribbon. 12” for a small book, 15” for medium, 18” for large
-
Fold one end of the ribbon around the hair tie and sew to secure.
-
Sew a button to the other end of the ribbon.