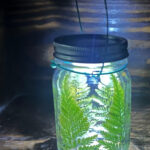
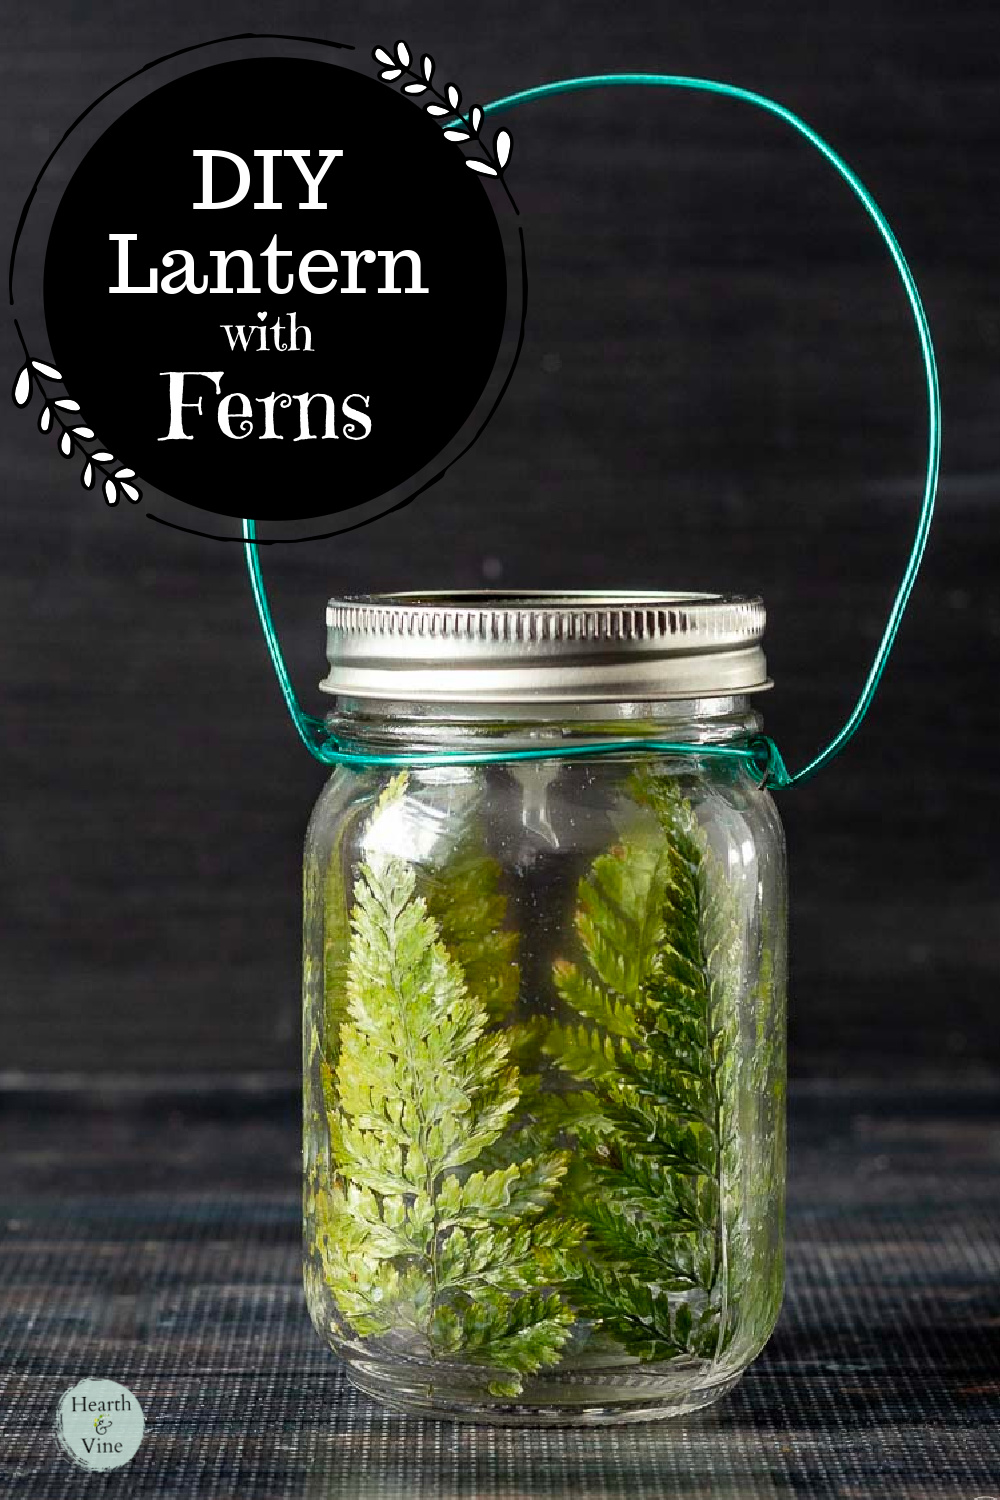
This DIY Lantern craft with pressed fern leaves is easy to create and makes a fun light to carry when camping or a simple way to light your walkway.
There's something really beautiful about ferns. Today I'm sharing a complete tutorial for a fun craft that uses ferns to decorate a mason jar that's turned into a lantern.
This post contains some affiliate links (that means if you make a purchase after clicking a link, there’s no additional cost to you, but I will earn a very small commission. ) i.e. as an Amazon Associate, I earn from qualifying purchases. Click here to read my full disclosure policy.
Join Our Newsletter List!
Be the first to receive new posts and get access to our Subscribers Only Page.
How to Make a Mason Jar Lantern
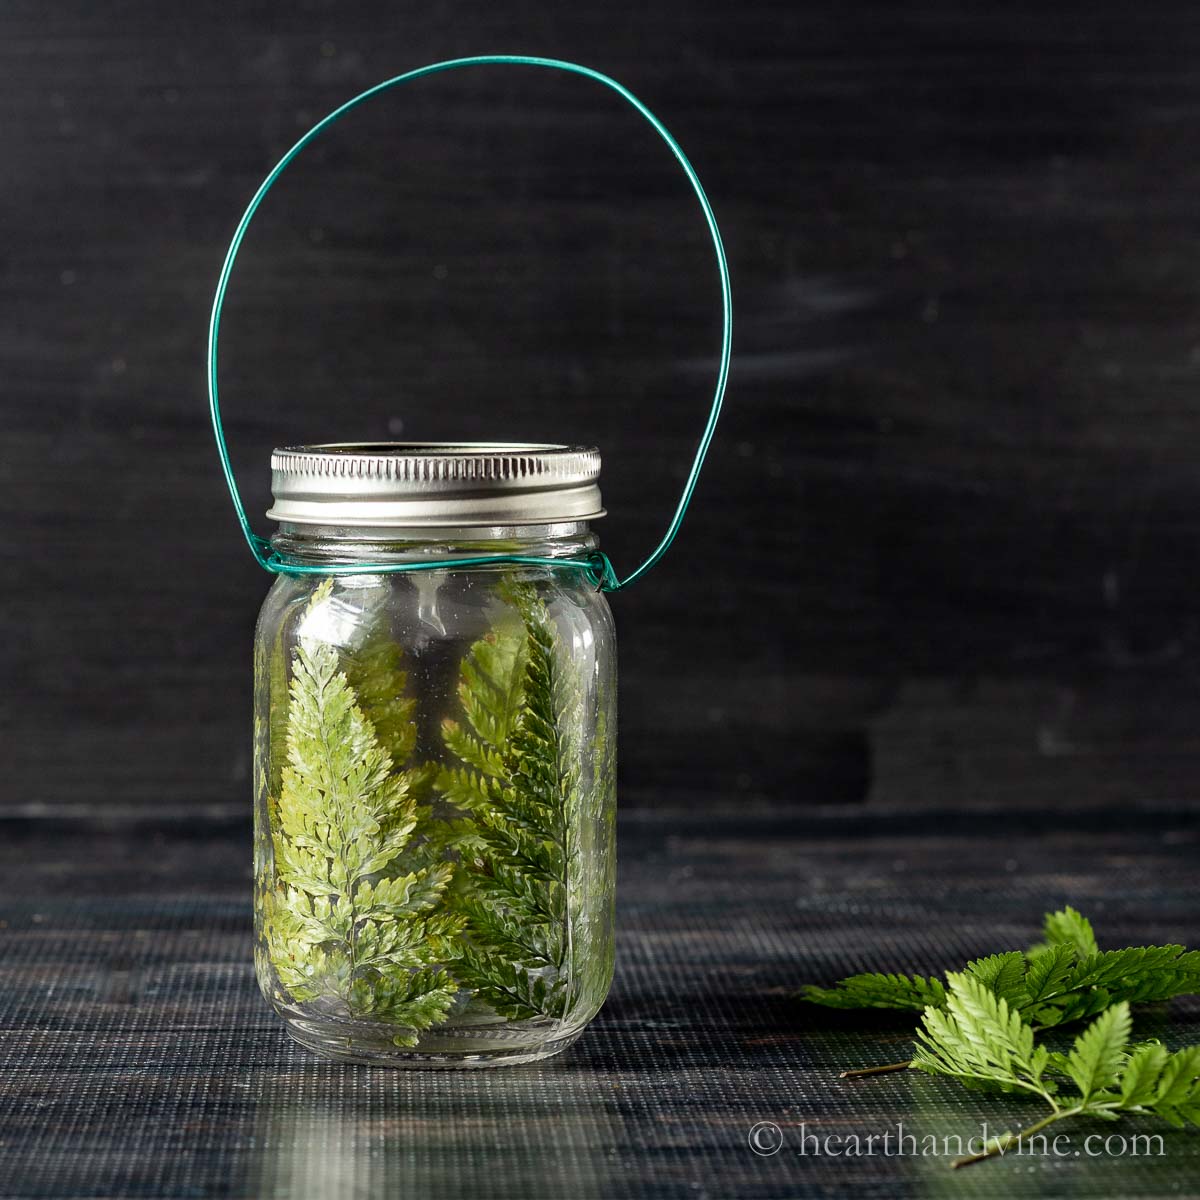
This DIY lantern has a handle so you can carry it in the dark. And because the ferns are on the inside you need to use a flameless or electric candle.
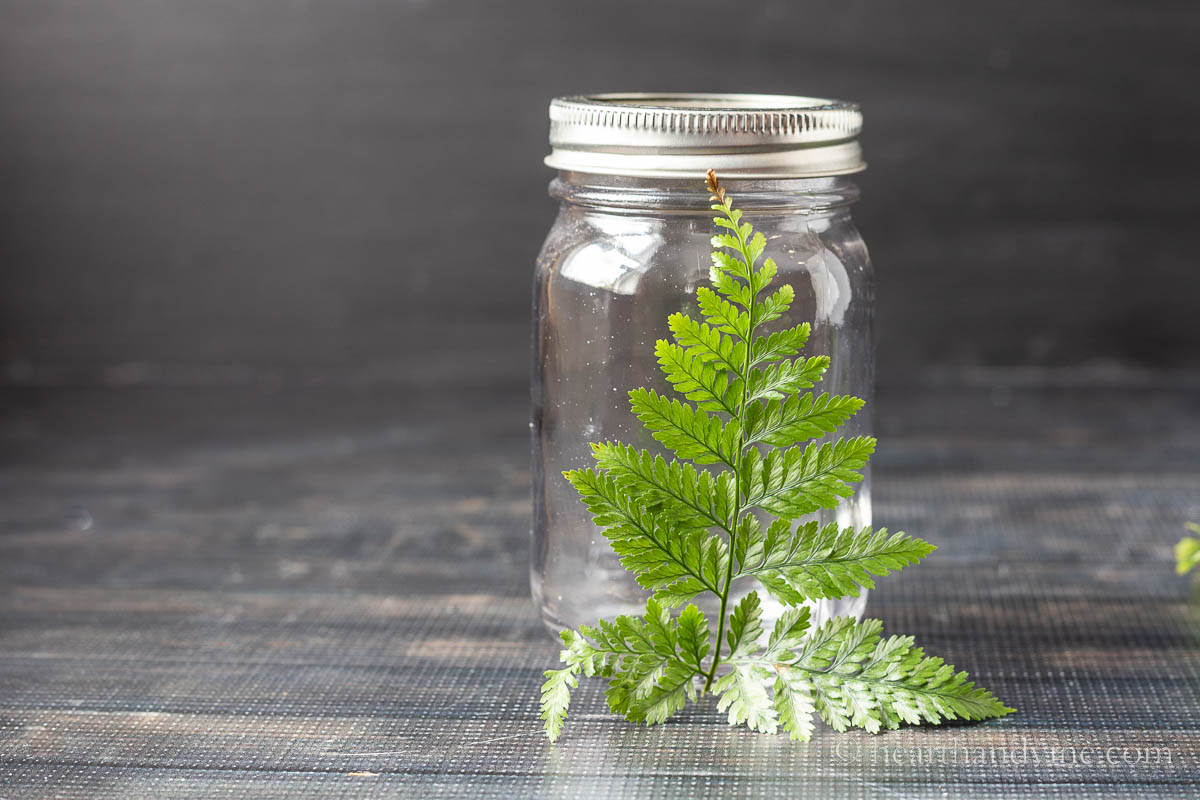
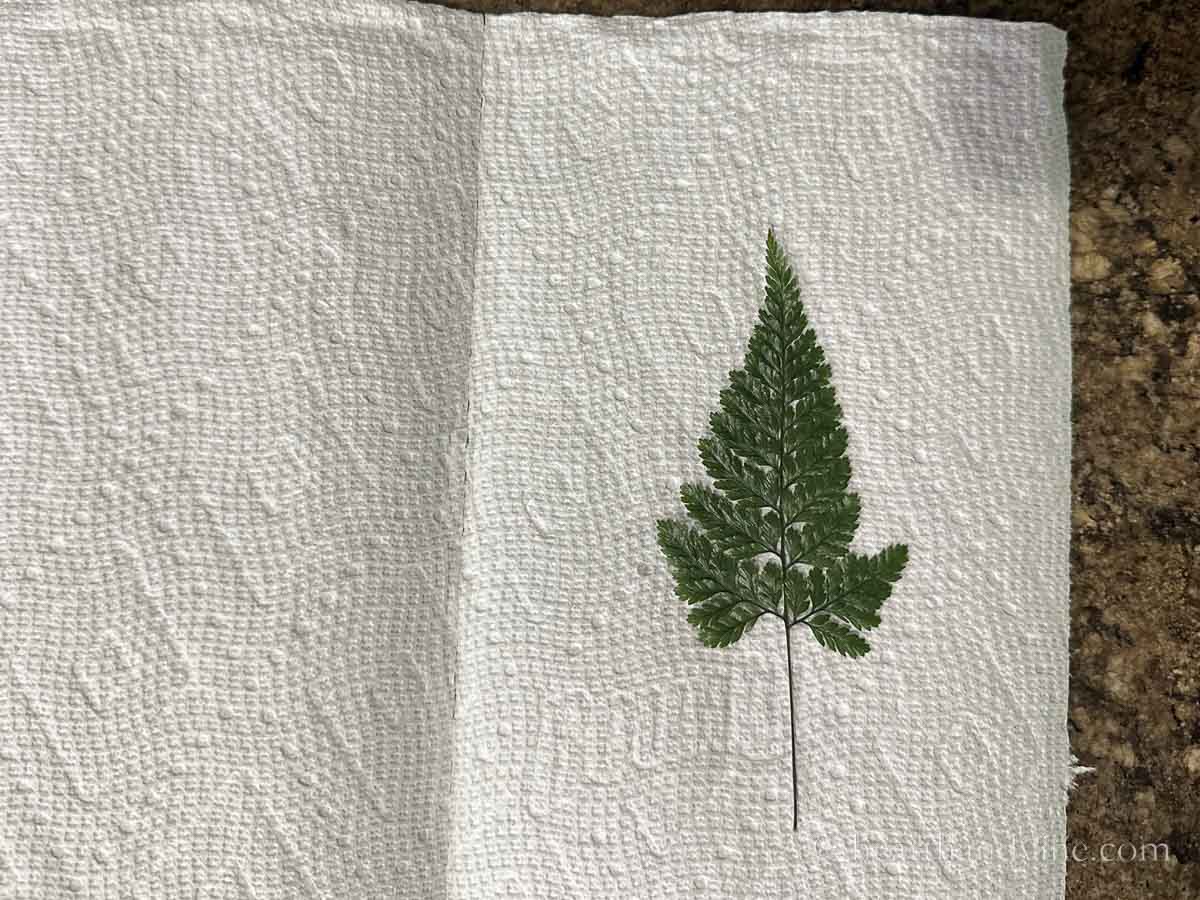
Start by cutting some ferns. Then compare them to the height of the mason jar to see just how much you need to use.
Next, you need to press and dry the ferns. You can do this with a flower press or an old phone book. However, to save time I used the microwave.
How to Press Ferns in the Microwave
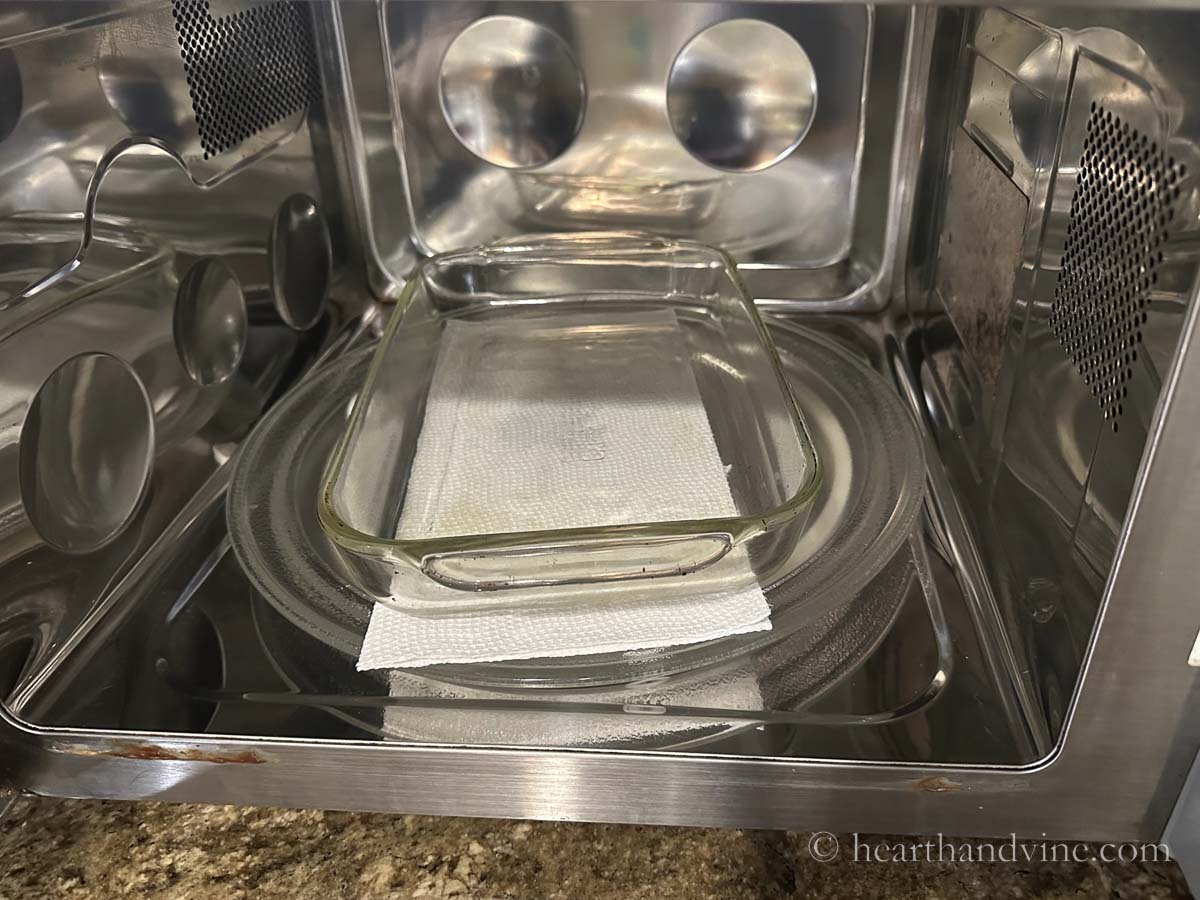
Place the fern or plant material between two pieces of paper towel and weigh it down with a microwave safe pan.
Start with 50% power for 30 seconds to a minute. Then check to see if it's dry and flat. Continue until the ferns are flat and fairly dry.
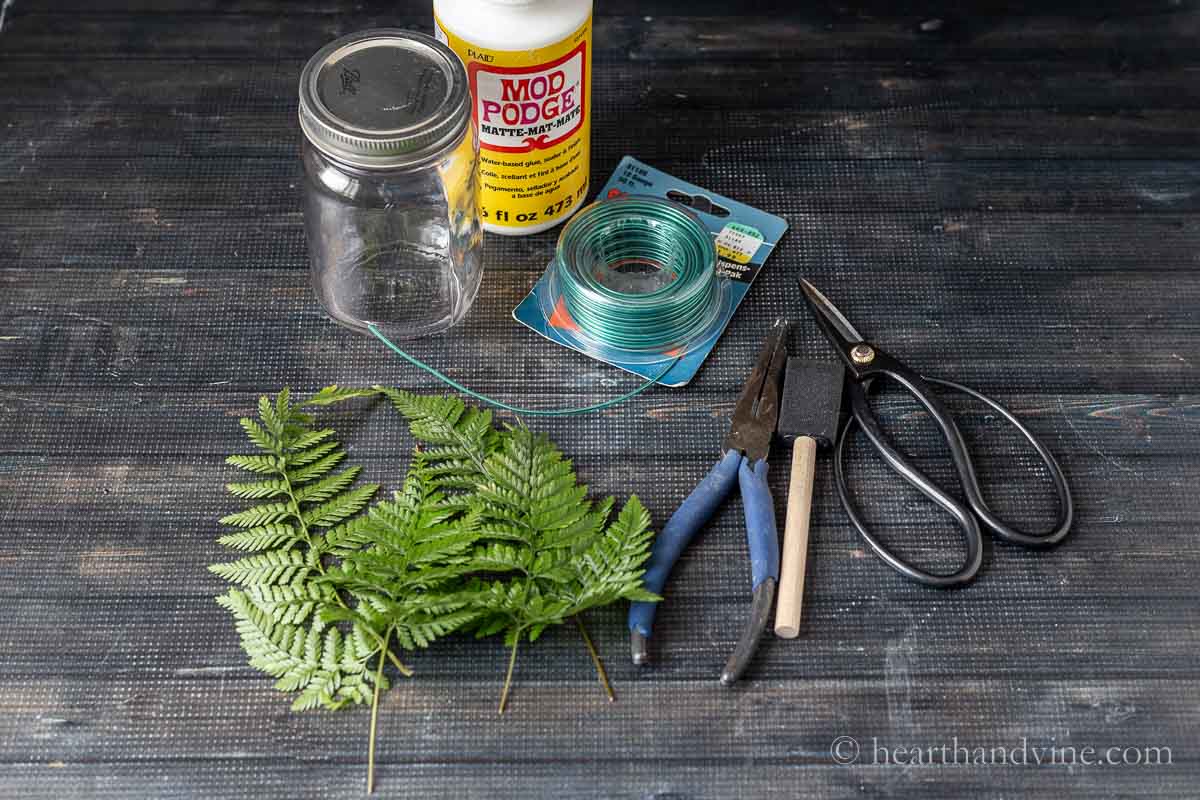
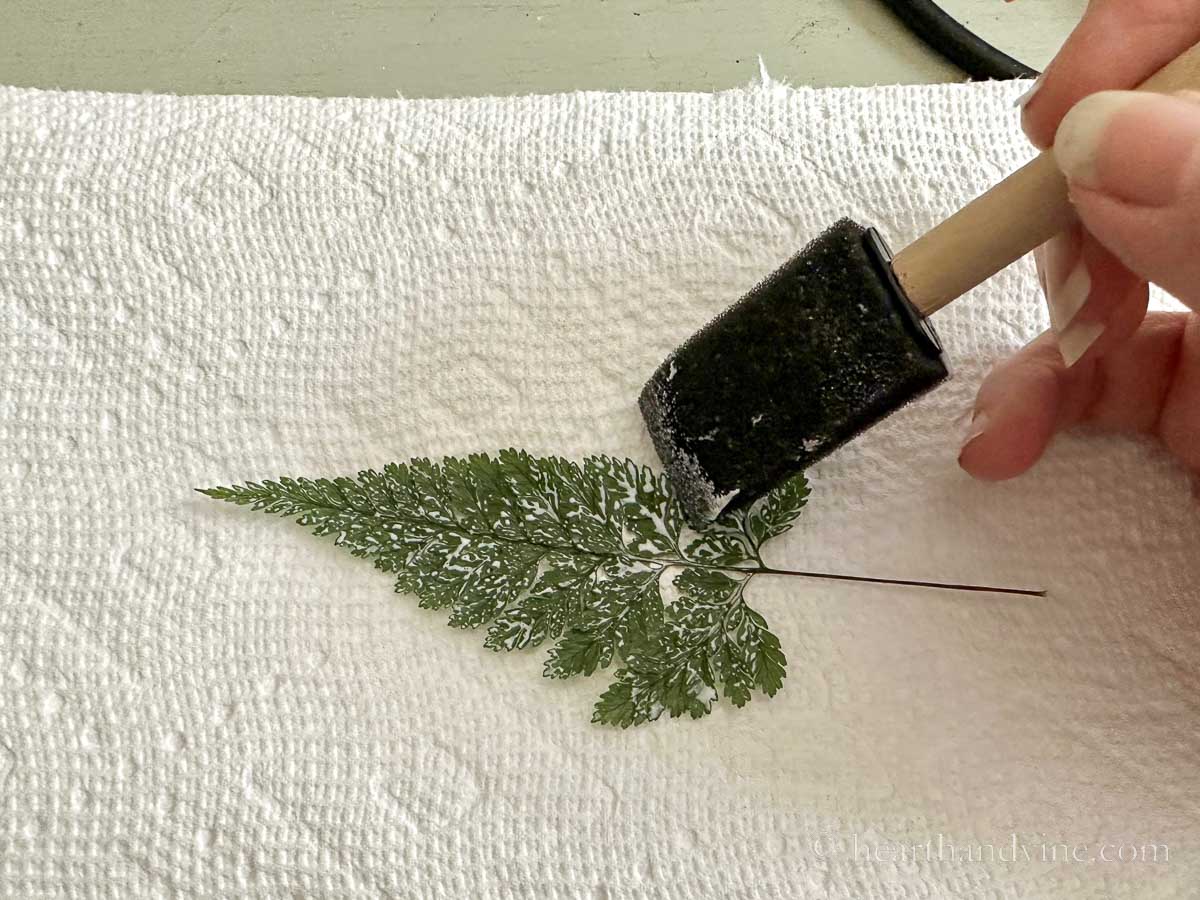
Now you can add some clear drying glue such as Mod Podge or Elmer's to the front of the fern.
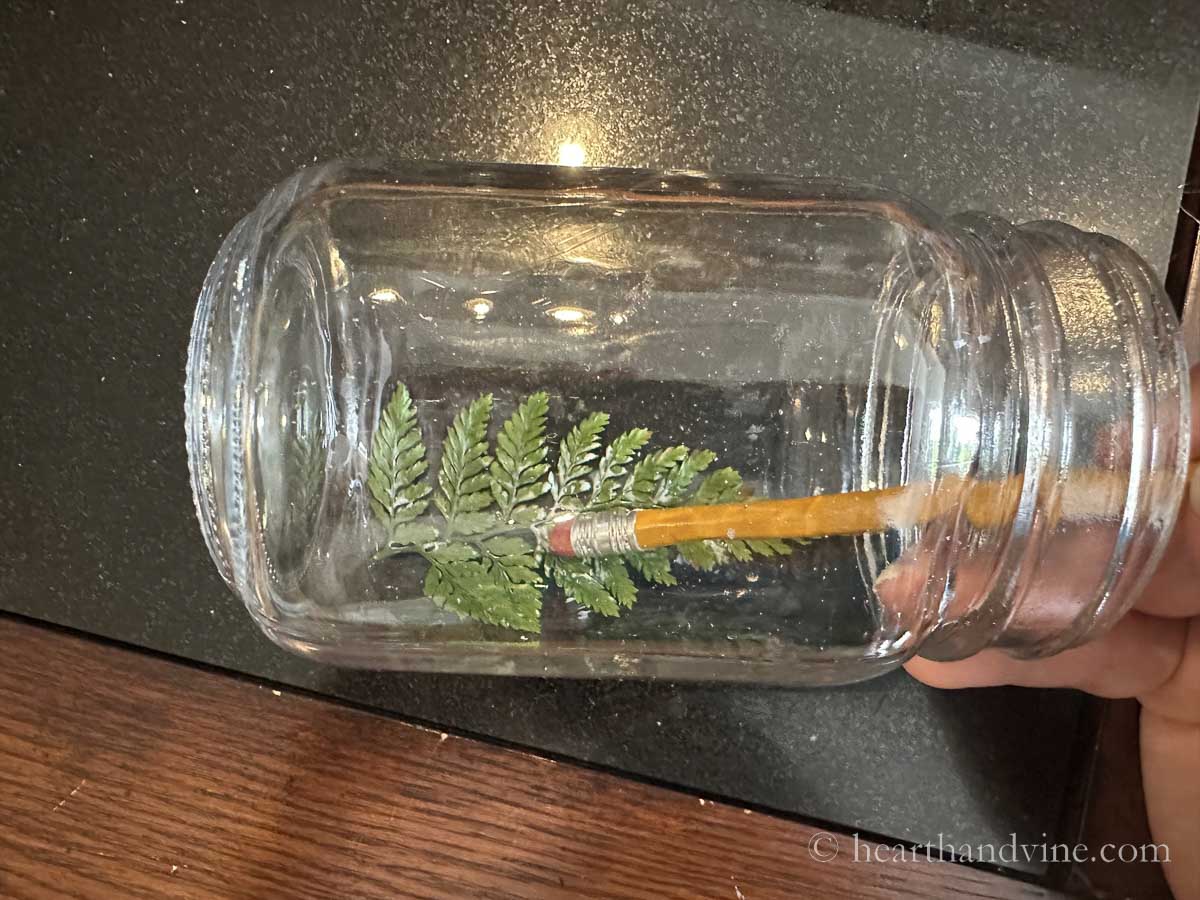
Next, adhere the fern to the inside wall of the glass jar. Use a pencil to help guide the fern in place. Continue with the rest of the ferns until the inside is covered as much as you like.
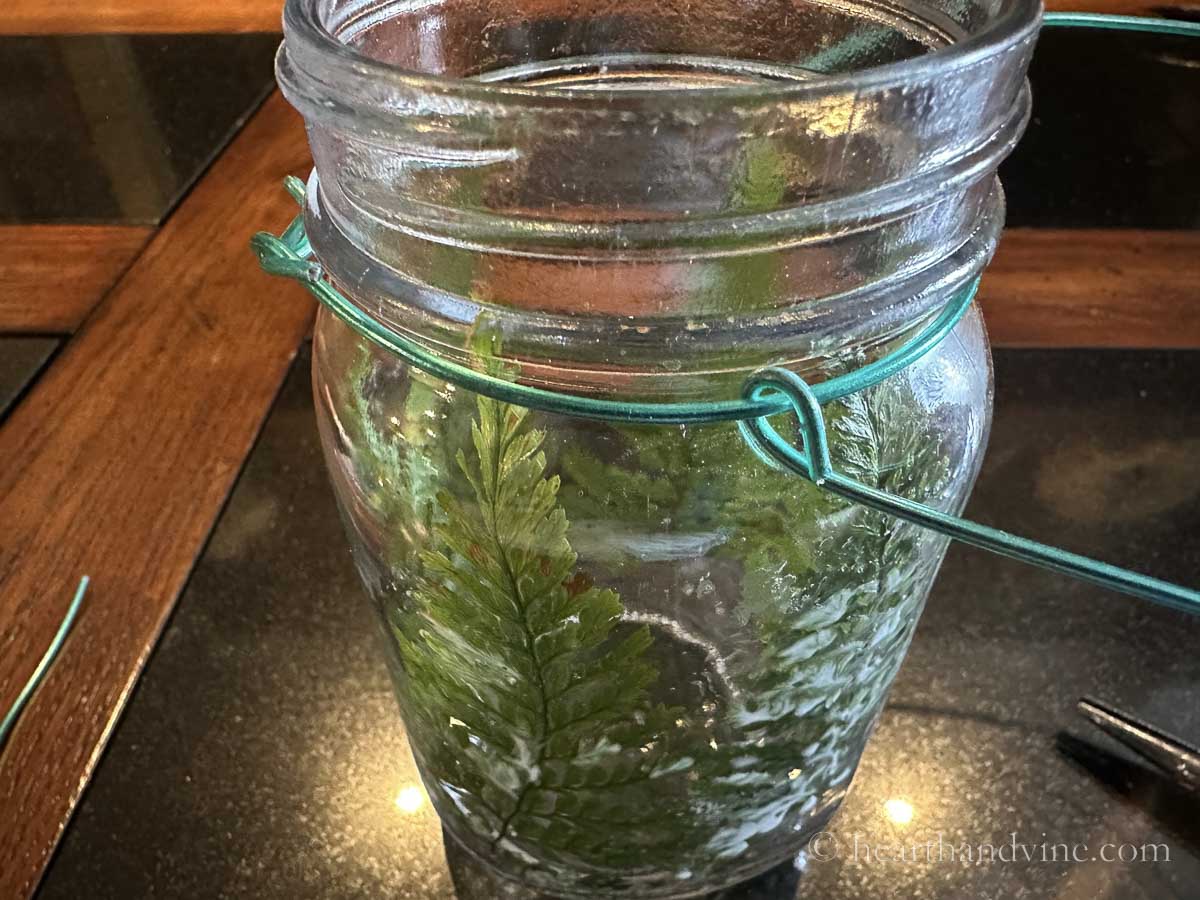
Next, create a handle with some wire. I used some plastic coated wire I had in my craft stash but any wire will do.
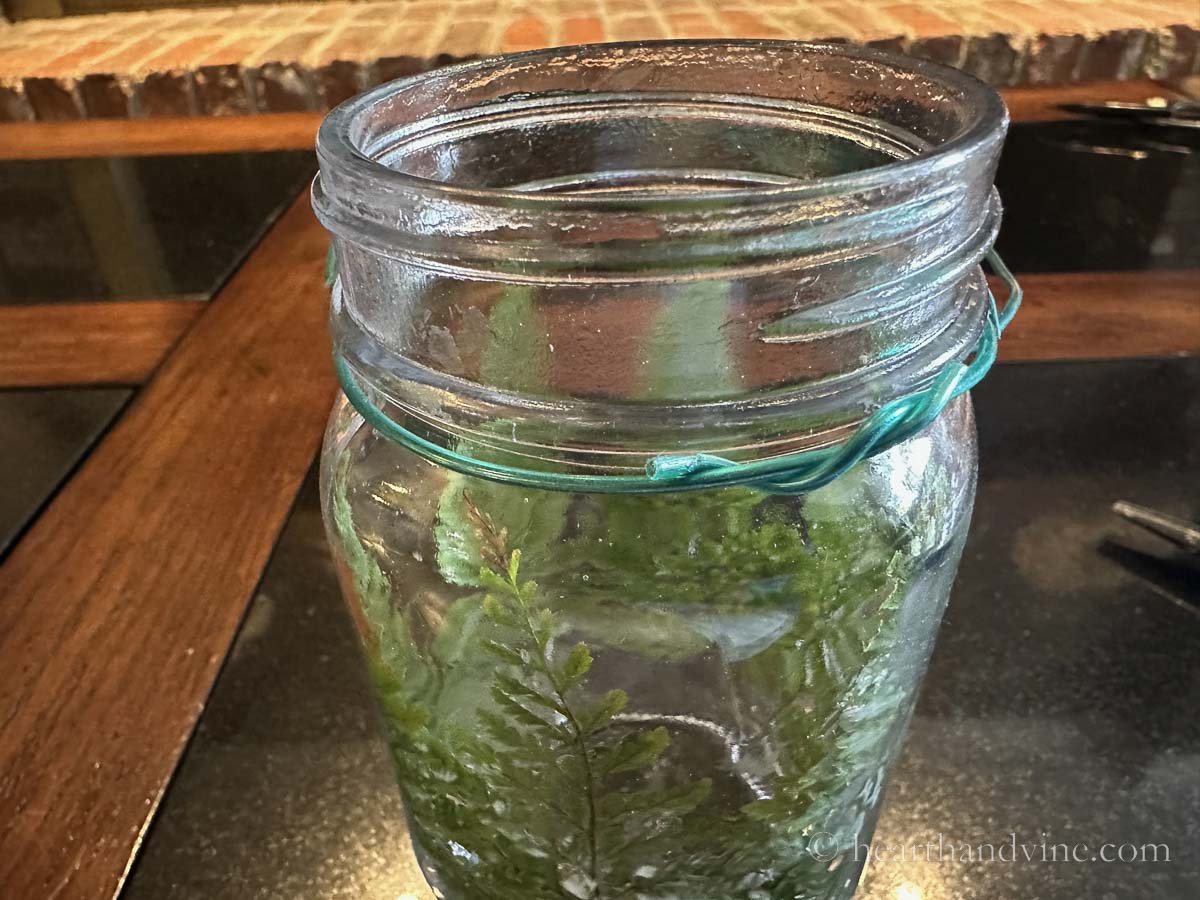
Begin by wrapping some wire around the neck of the jar. Leave it a little loose to start.
This way you will have some extra room to add a piece of wire for the handle. I used about 12 inches of wire and created a loop with needlenose pliers over the base wire on one side and attached the other end of the wire using another loop on the other side.
Then you can cut and tighten the base wire so it will not come off.
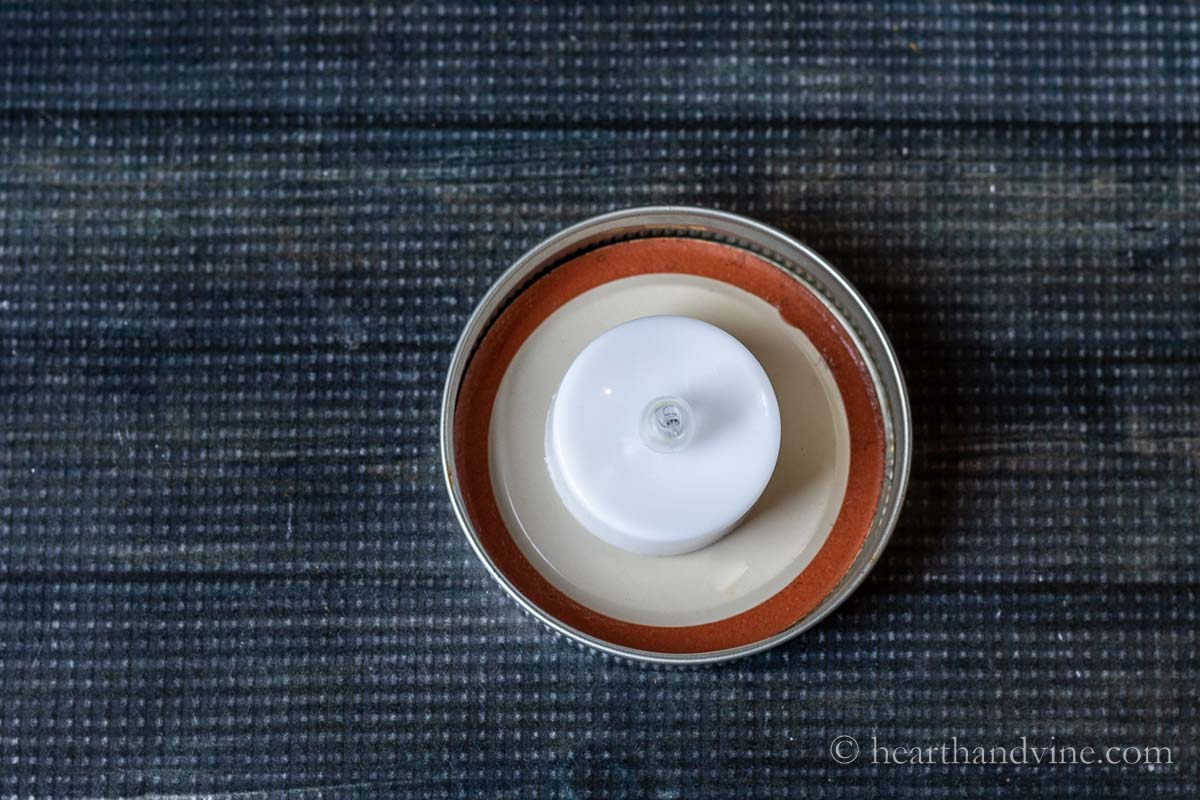
Inside the lid place a velcro dot. Then place the corresponding dot on the bottom of the flameless tealight.
This way you can easily remove the tealight to reach the on/off switch.
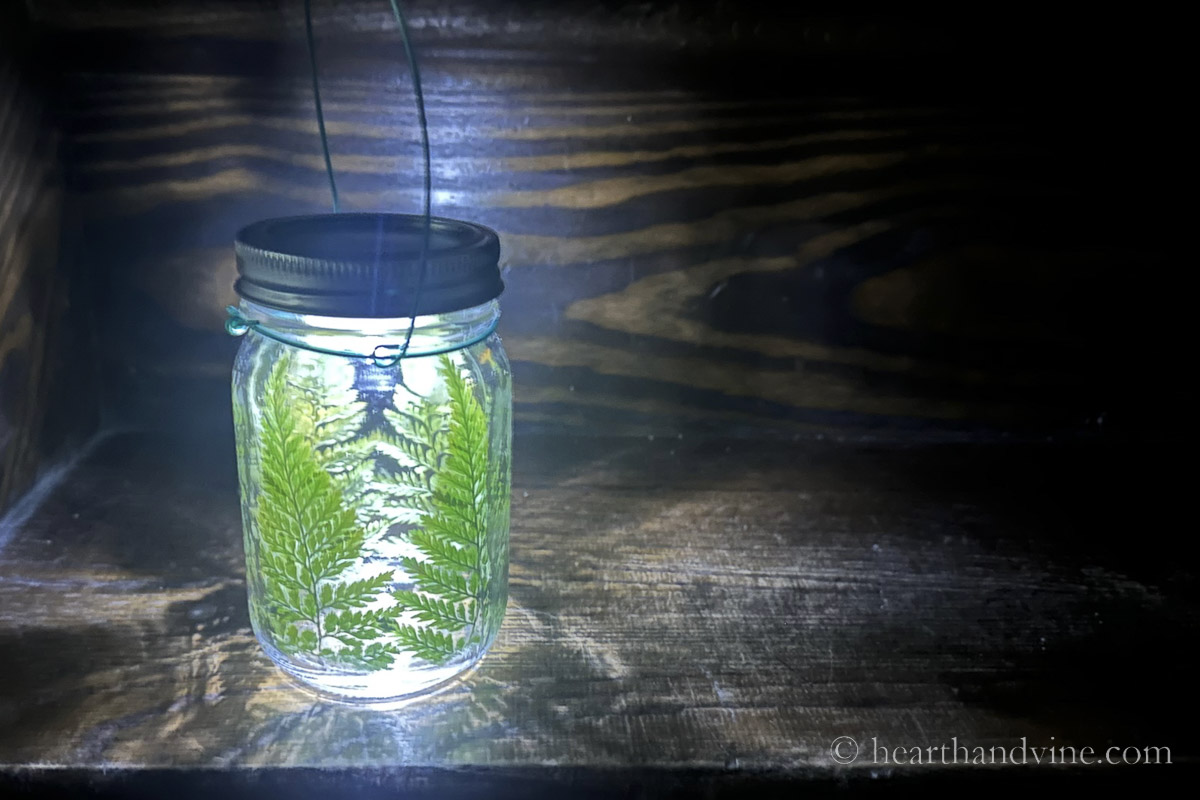
Switch the light switch on and screw the lid back onto the mason jar and you have a beautiful lantern to carry wherever you need light.
Make it a part of your outdoor home decor by setting a few of them on your deck, walkway, or front porch.
Here's an easy tutorial that shows you how to make this mason jar candle lantern decorated with ferns and a handle so you can carry it around in the dark.
Sandwich fresh fern cuttings between paper towels and place in the microwave under a heavy microwave safe pan.
Microwave the ferns on 50% power for about 1 minute. Check to see if they are flat and dry.
Brush glue on the front of the ferns and place inside the mason jar on the side wall.
Use a pencil to help guide it into place.
Continue with the remaining ferns.
Place a velcro dot on the bottom of a flameless tea light.
Then press it onto the underside of the mason jar lid.
Use some wire to wrap around the neck of the mason jar.
Before tightening the wire, add another piece of wire about 12-15 inches long for the handle.
Use needle nose pliers to secure the handle with loops. Then cut and tighten the wire around the neck of the mason jar.
Notes
If you want you could use a flameless votive candle in the bottom of the lantern. This would give more light and show more. I would still secure it with a velcro dot.I love the look of ferns but you could use other greenery or flowers that you dry and press.You could substitute twine for the wire in a pinch but it's not as durable.It may take a day or two for any excess glue to dry and turn clear but never fear it will clear up eventually.
Patti is the creator of Hearth and Vine, a home and garden blog filled with projects to inspire your creative side. She loves crafting, gardening, decorating and entertaining at her home in Pennsylvania. When she is not working on a project at home or searching for treasures at nurseries and thrift stores with her girlfriends, you’ll probably find her with family and friends, at a restaurant, or home party enjoying new and different food adventures.
Reader Interactions
Comments
Zuzanna
Beautiful project. Again you have posted in a timely manner. My Rottie just dug up some of my ferns.... Thanks to you it isn't a total catastrophe!


Zuzanna
Beautiful project. Again you have posted in a timely manner. My Rottie just dug up some of my ferns.... Thanks to you it isn't a total catastrophe!
Patti Estep
Oh no! Sorry to hear that. Hopefully, you can salvage them and use some of the leaves for the project.