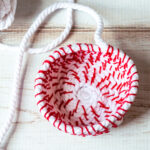
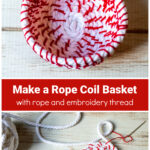
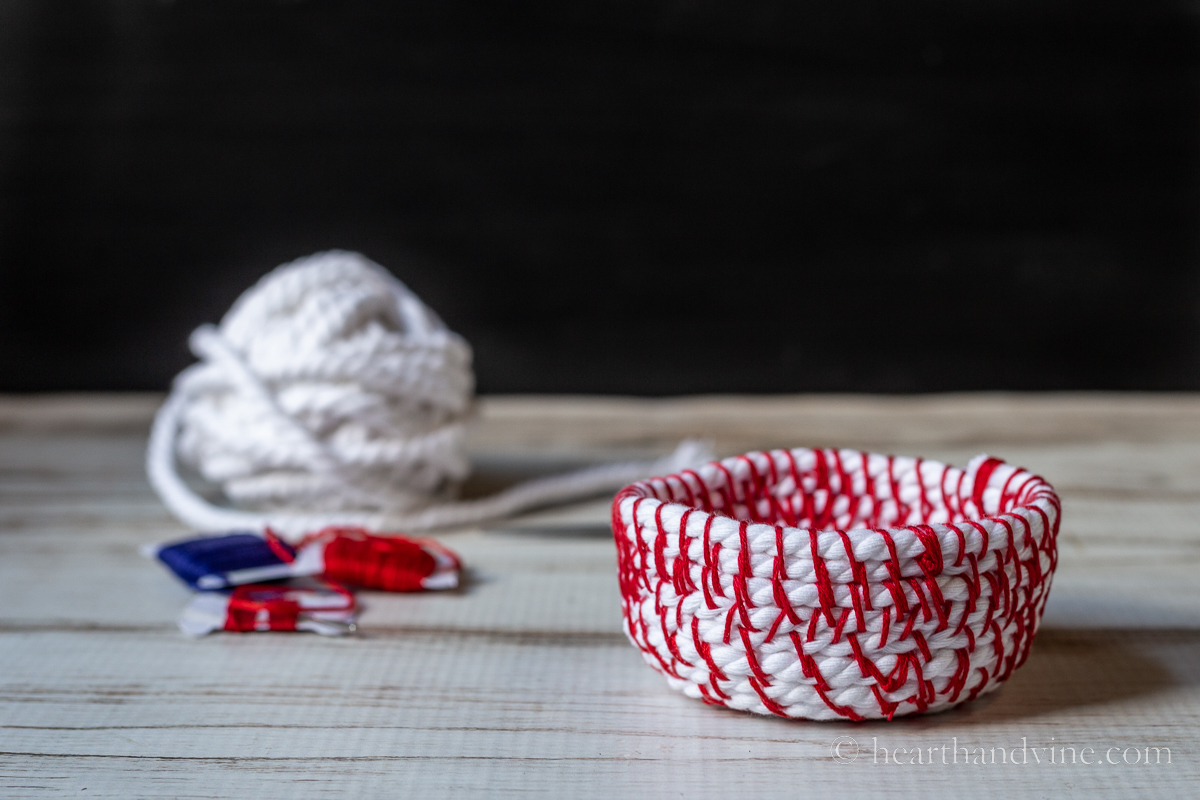
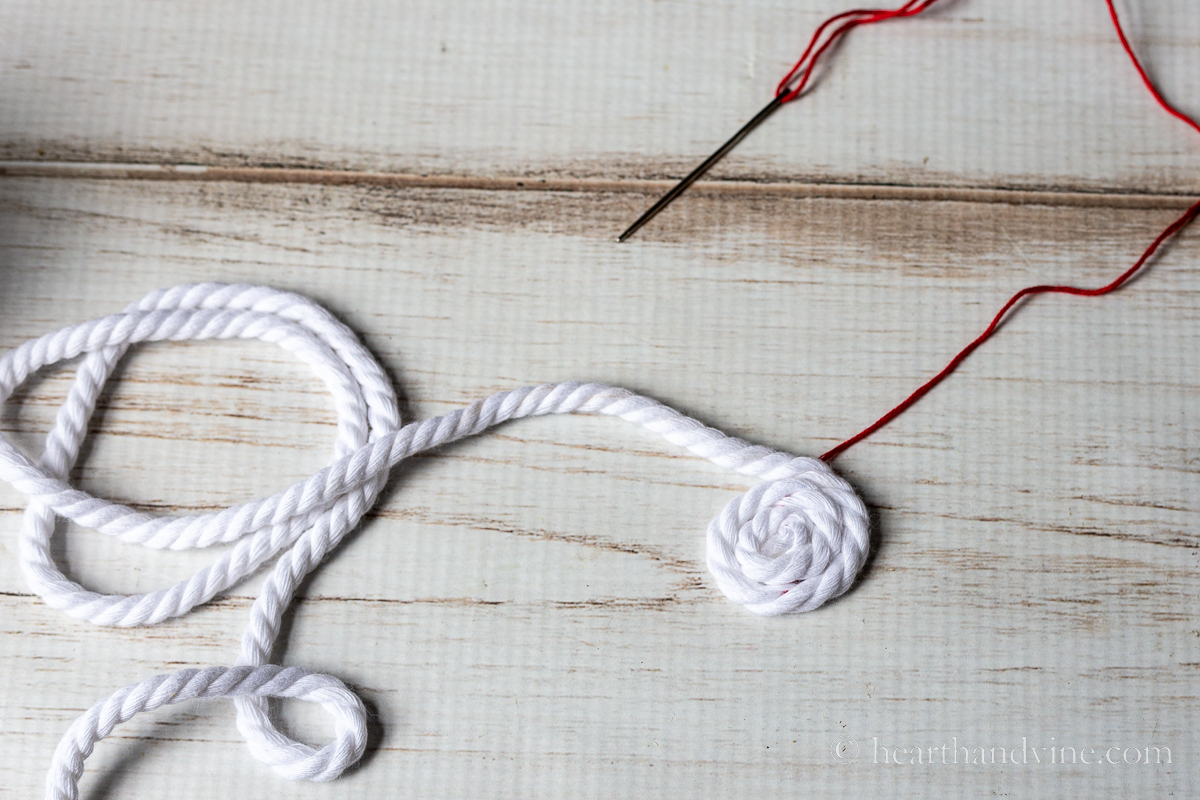
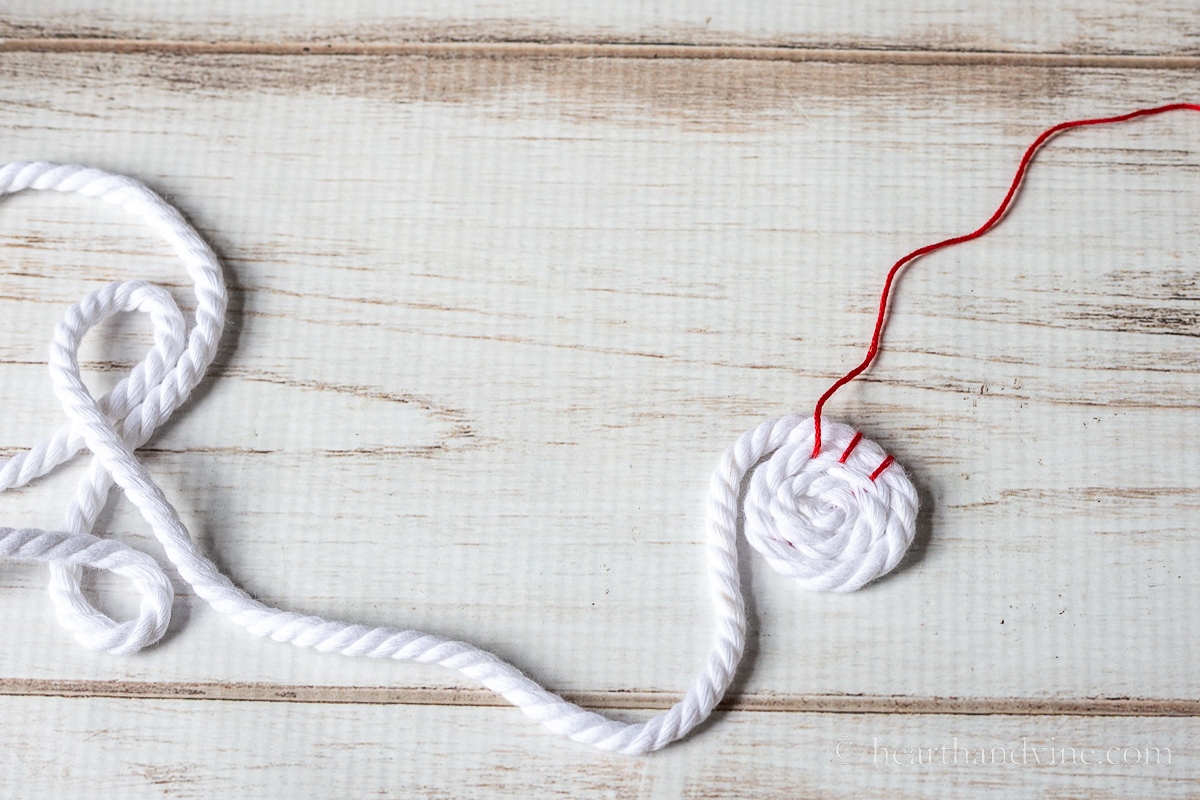
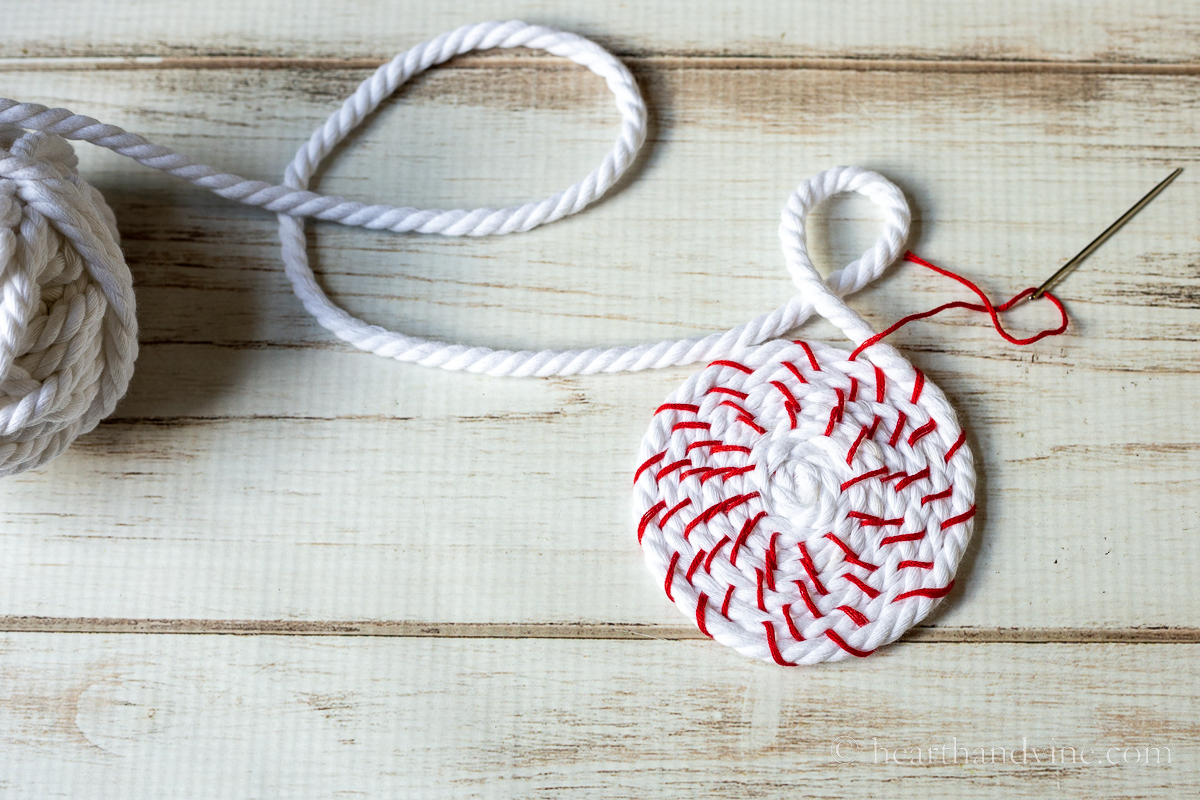
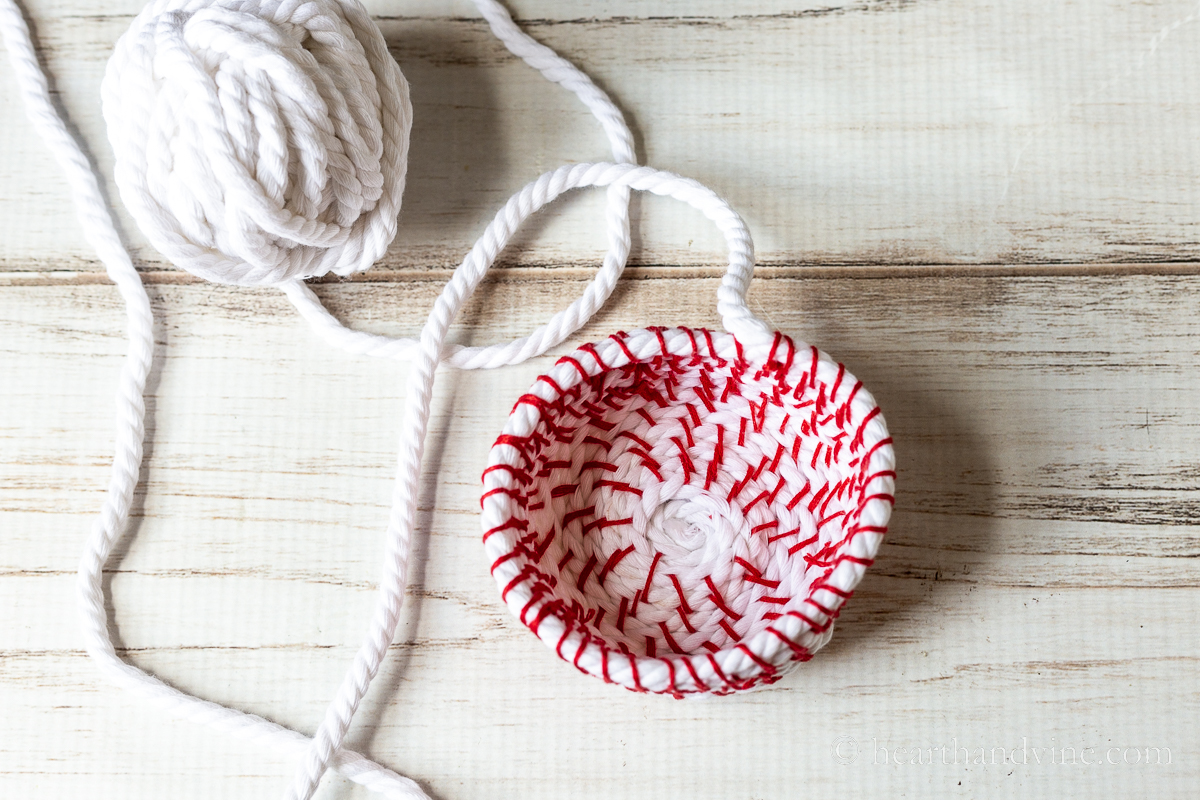
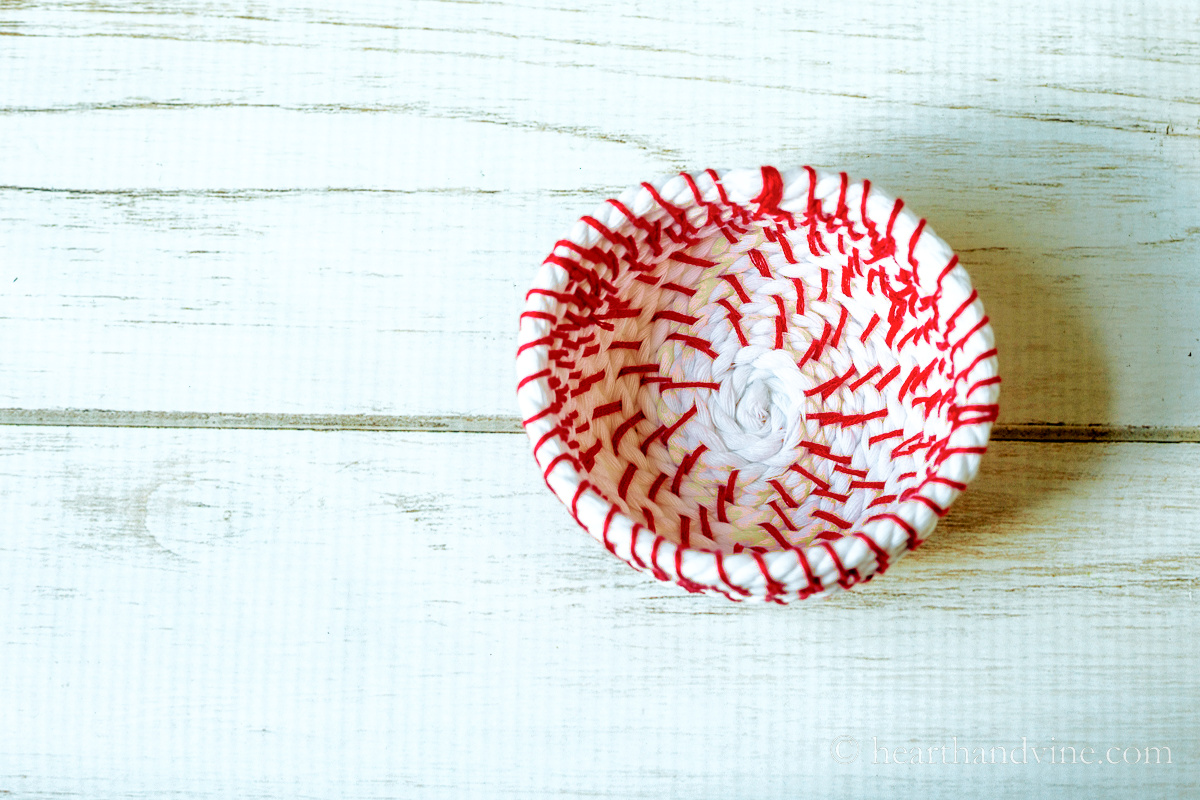
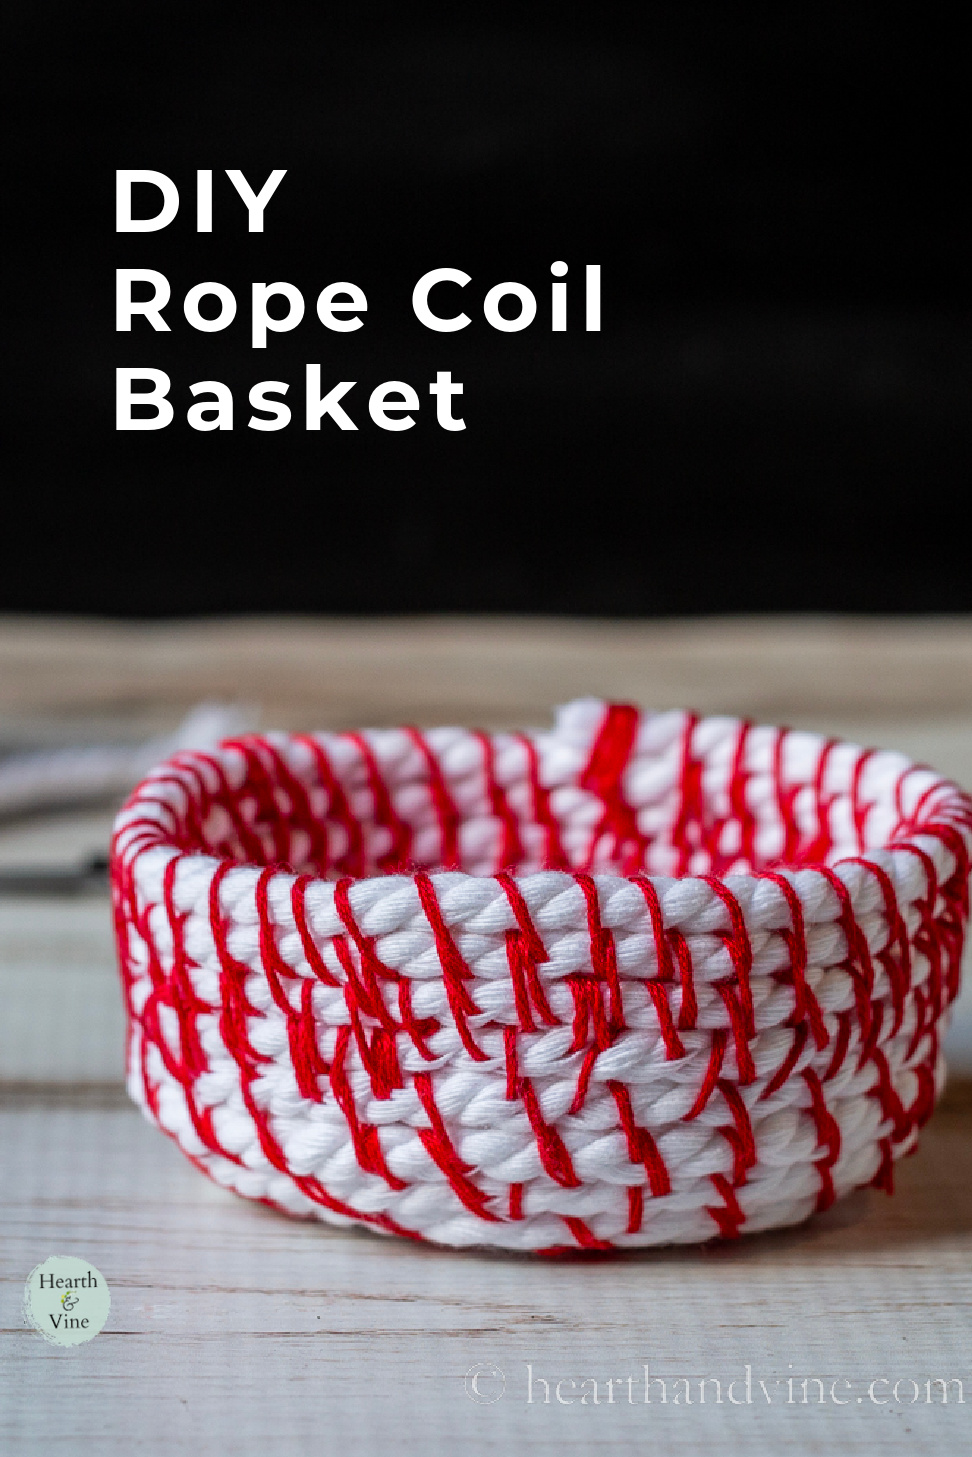
This easy coiled rope basket tutorial shows you how to make a pretty basket with rope and embroidery thread. Make them as big or as small as you like in one or several colors.
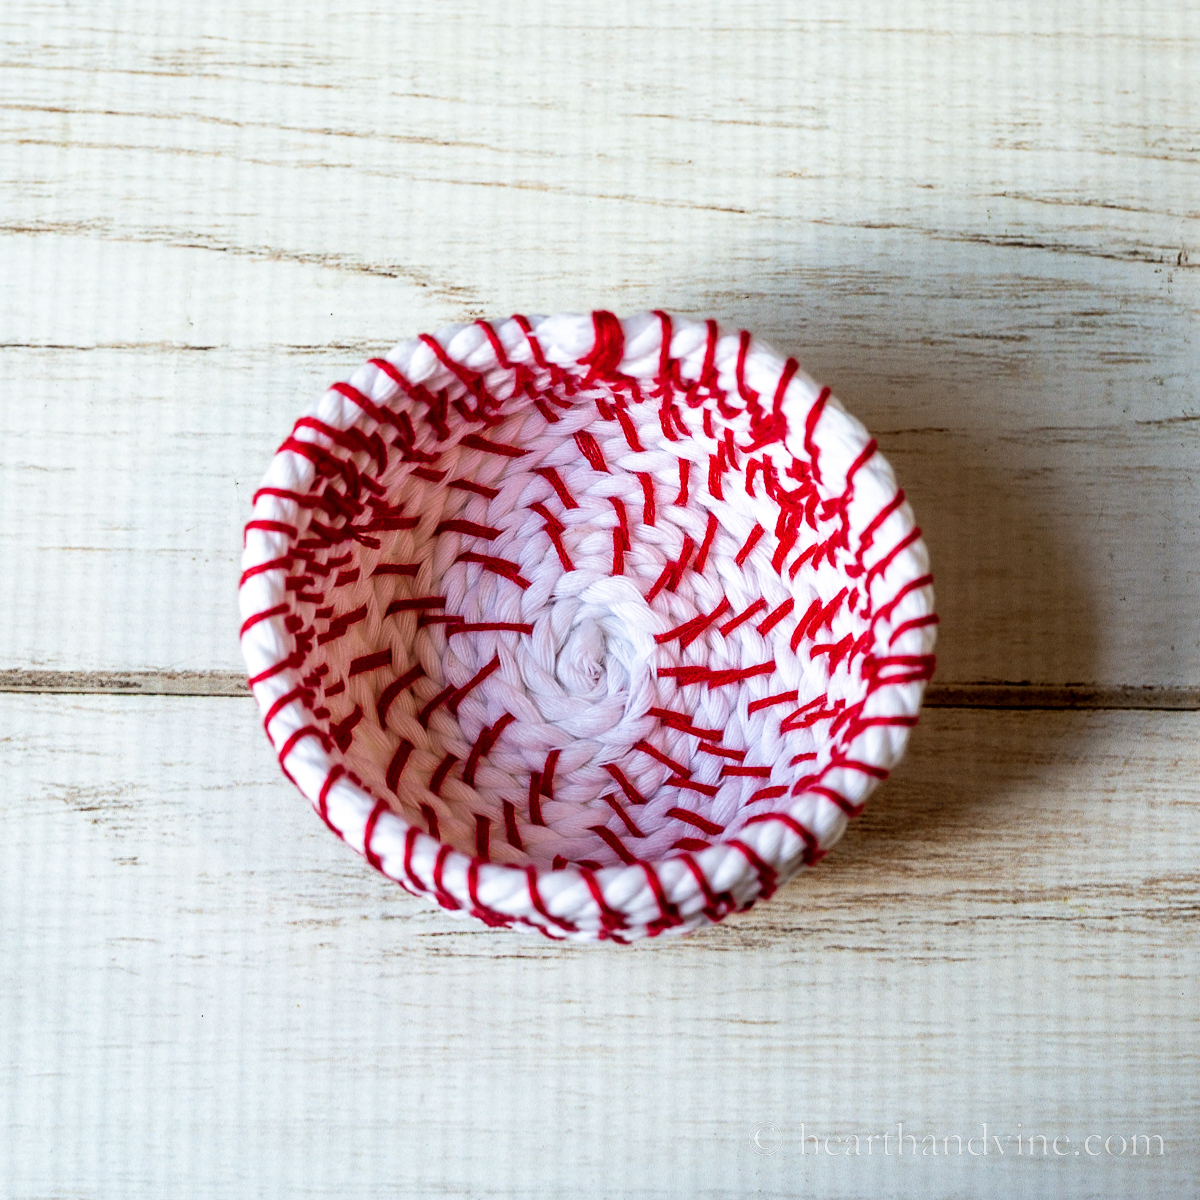
This fun craft reminds me of the art of making pine needle baskets. However, that practice is much more work and more of an art. This little basket was just fun to create and gives you just a taste that you can take and create your own spin on it.
In some ways it is similar to my other dyed rope Easter basket, however, you are sewing this one by hand and not using a zigzag stitch on a sewing machine.
Join Our Newsletter List!
Be the first to receive new posts and get access to our Subscribers Only Page.


Leave a Reply