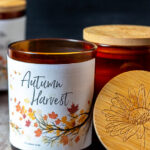

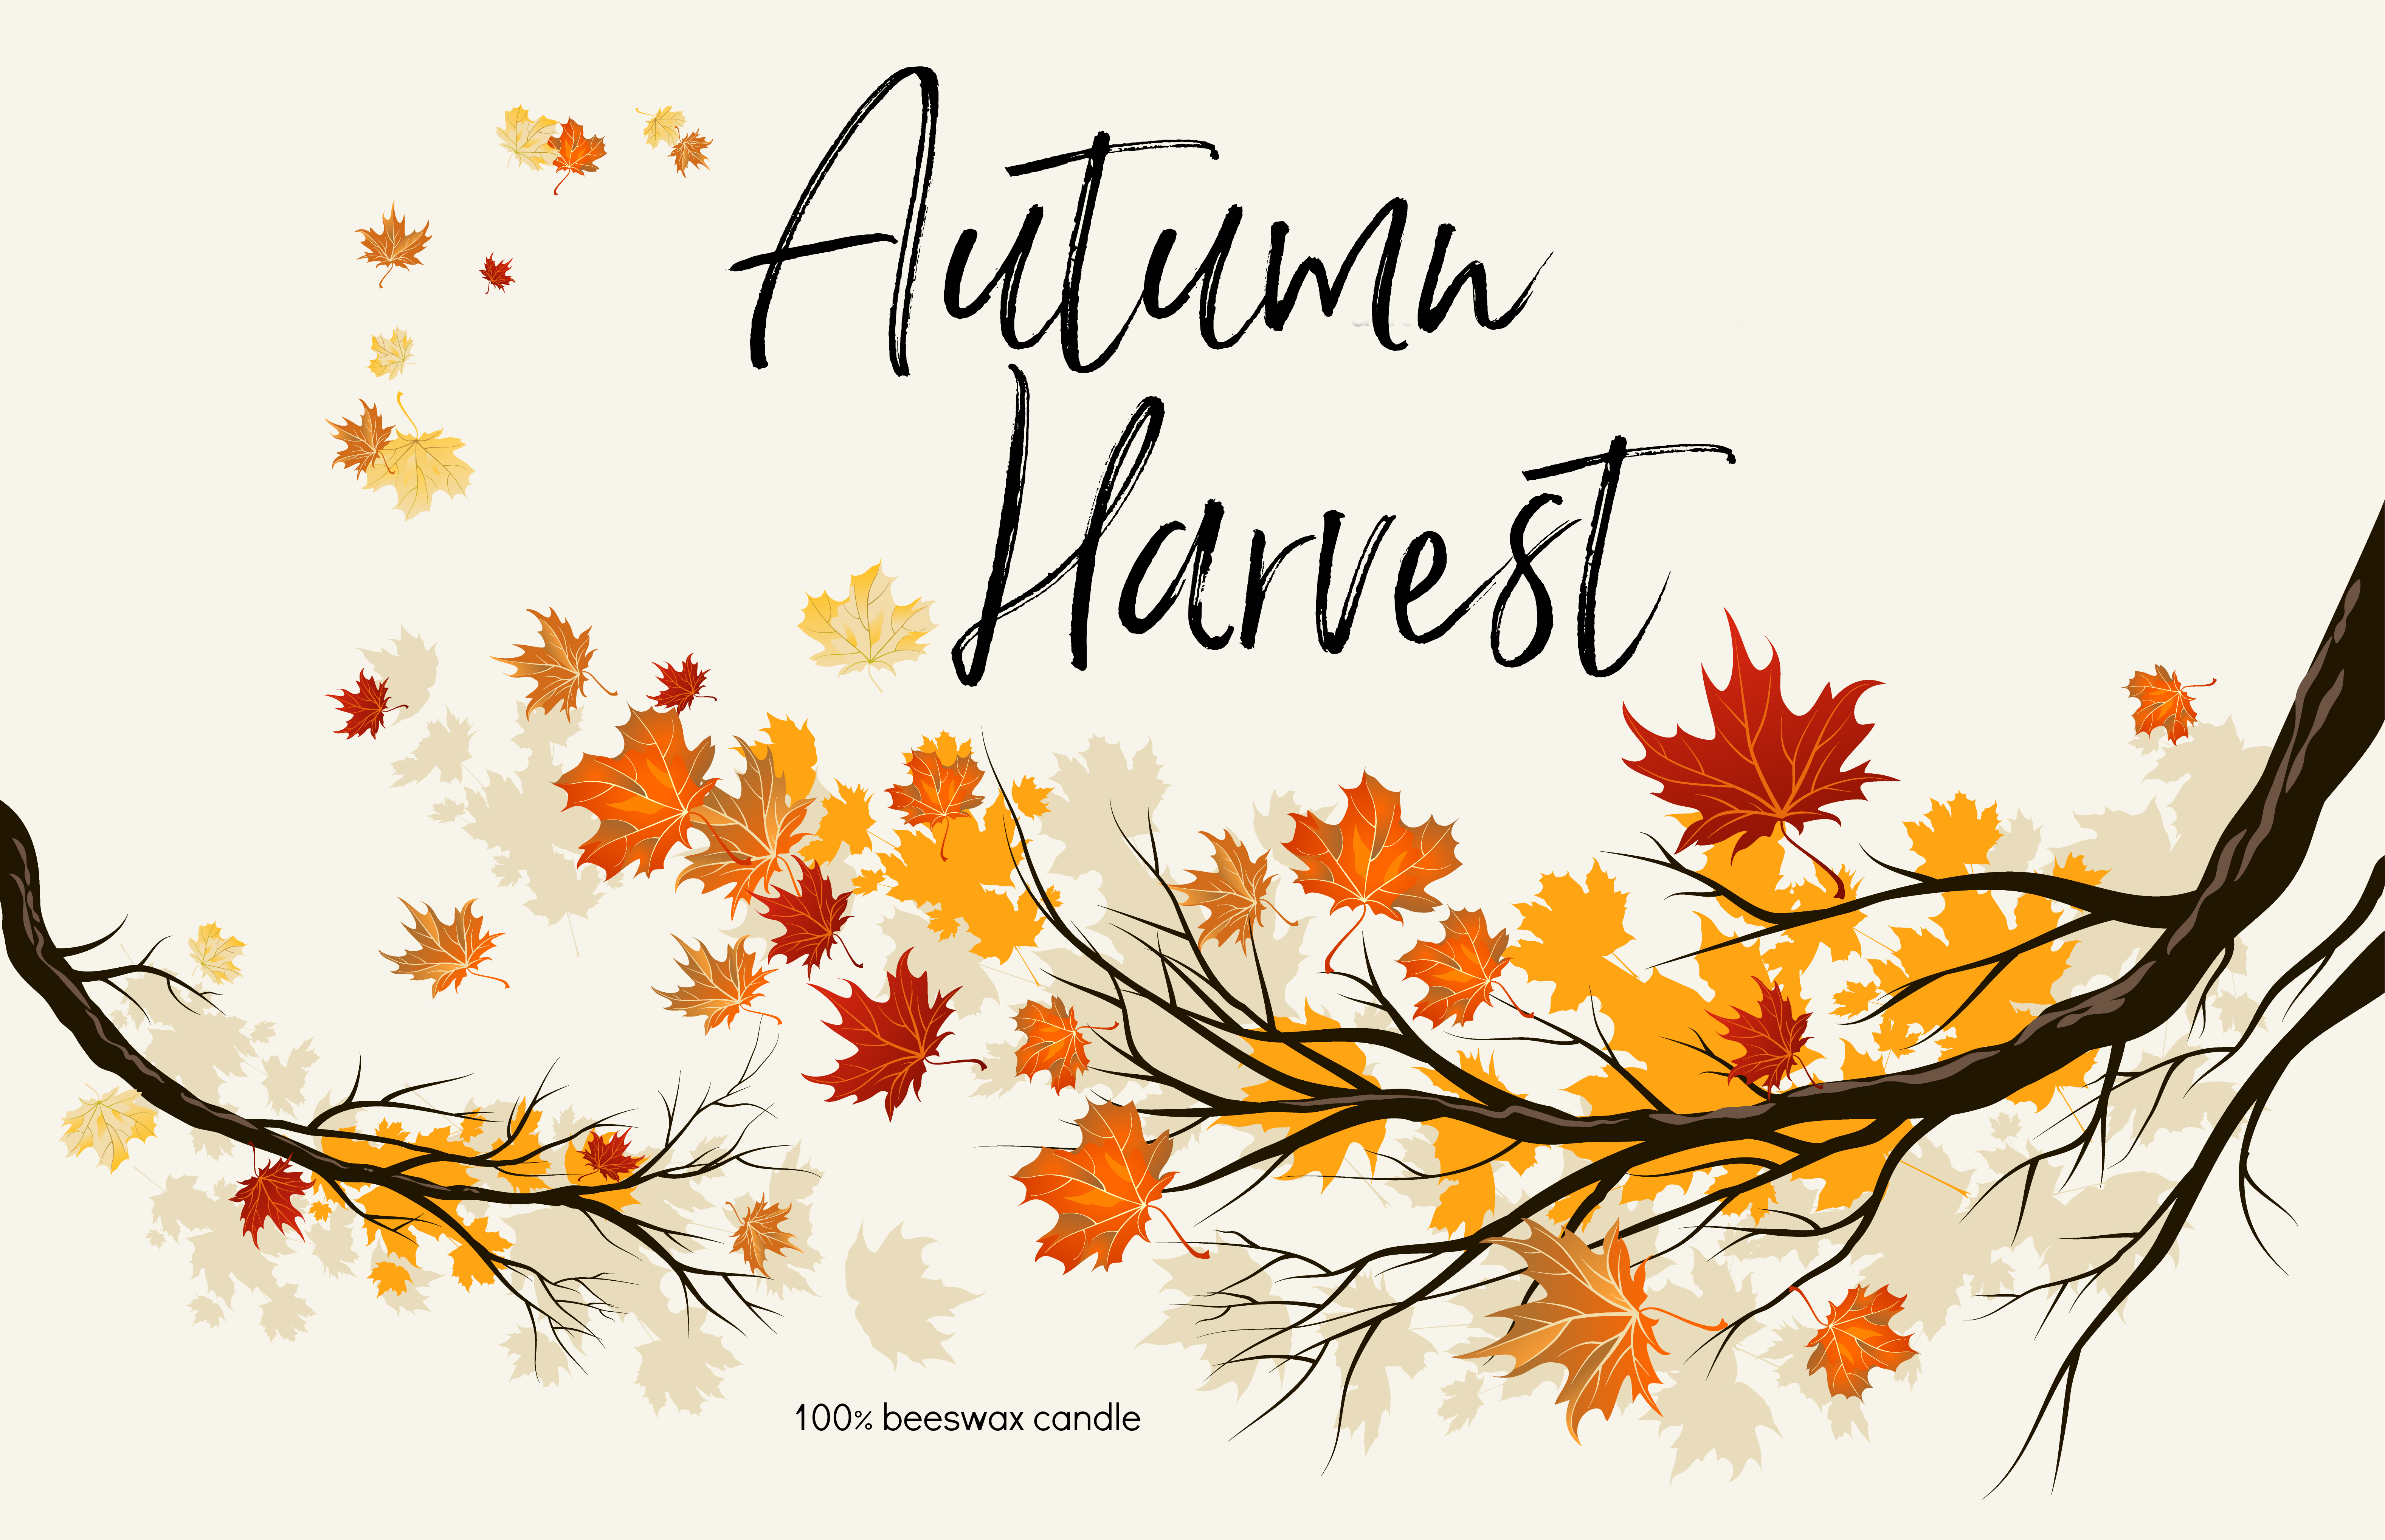
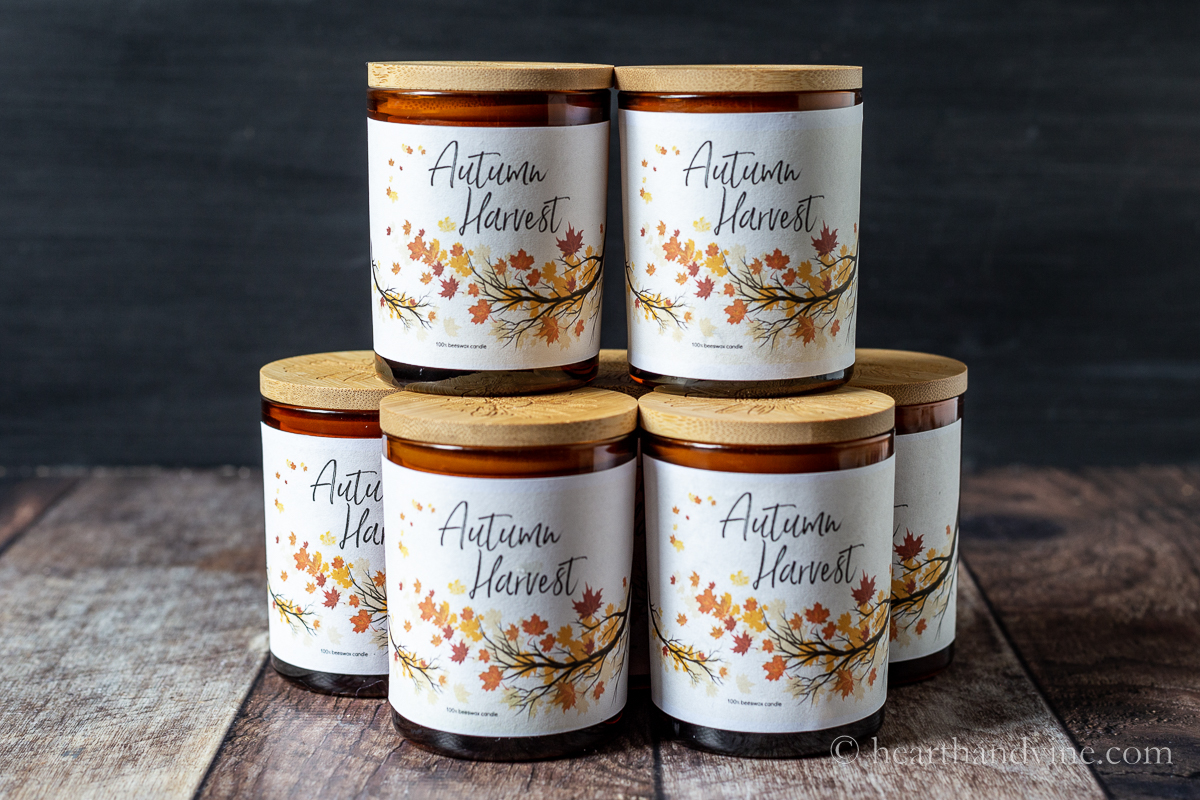
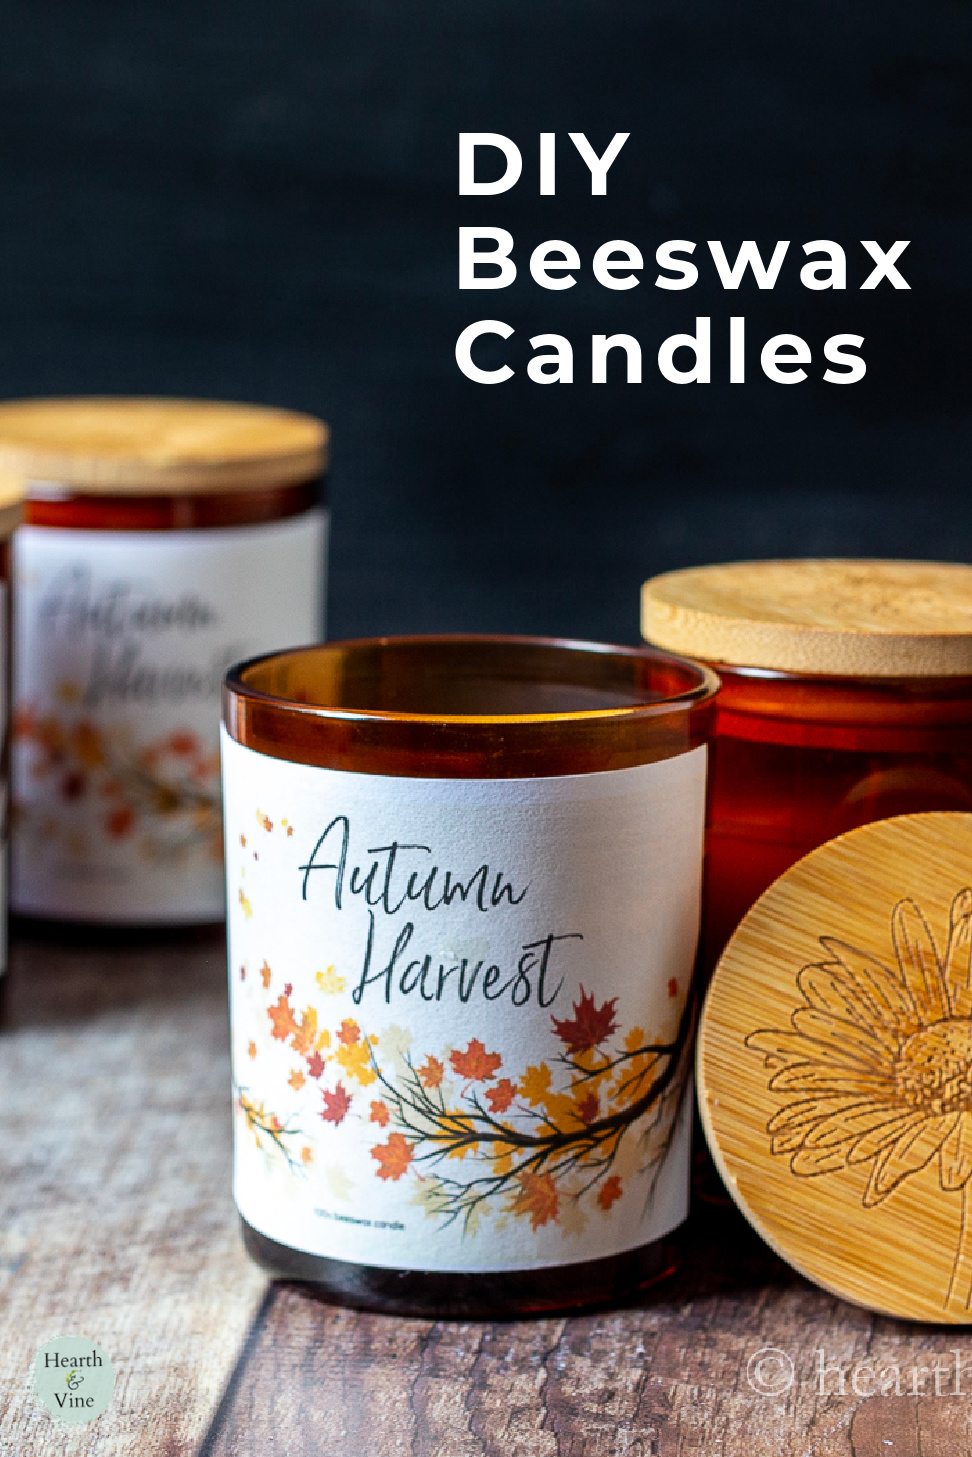
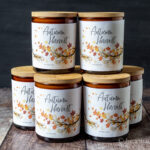
Learn about making beeswax candles scented for the fall season. A printable label is yours for gift giving or enjoying in your own home.
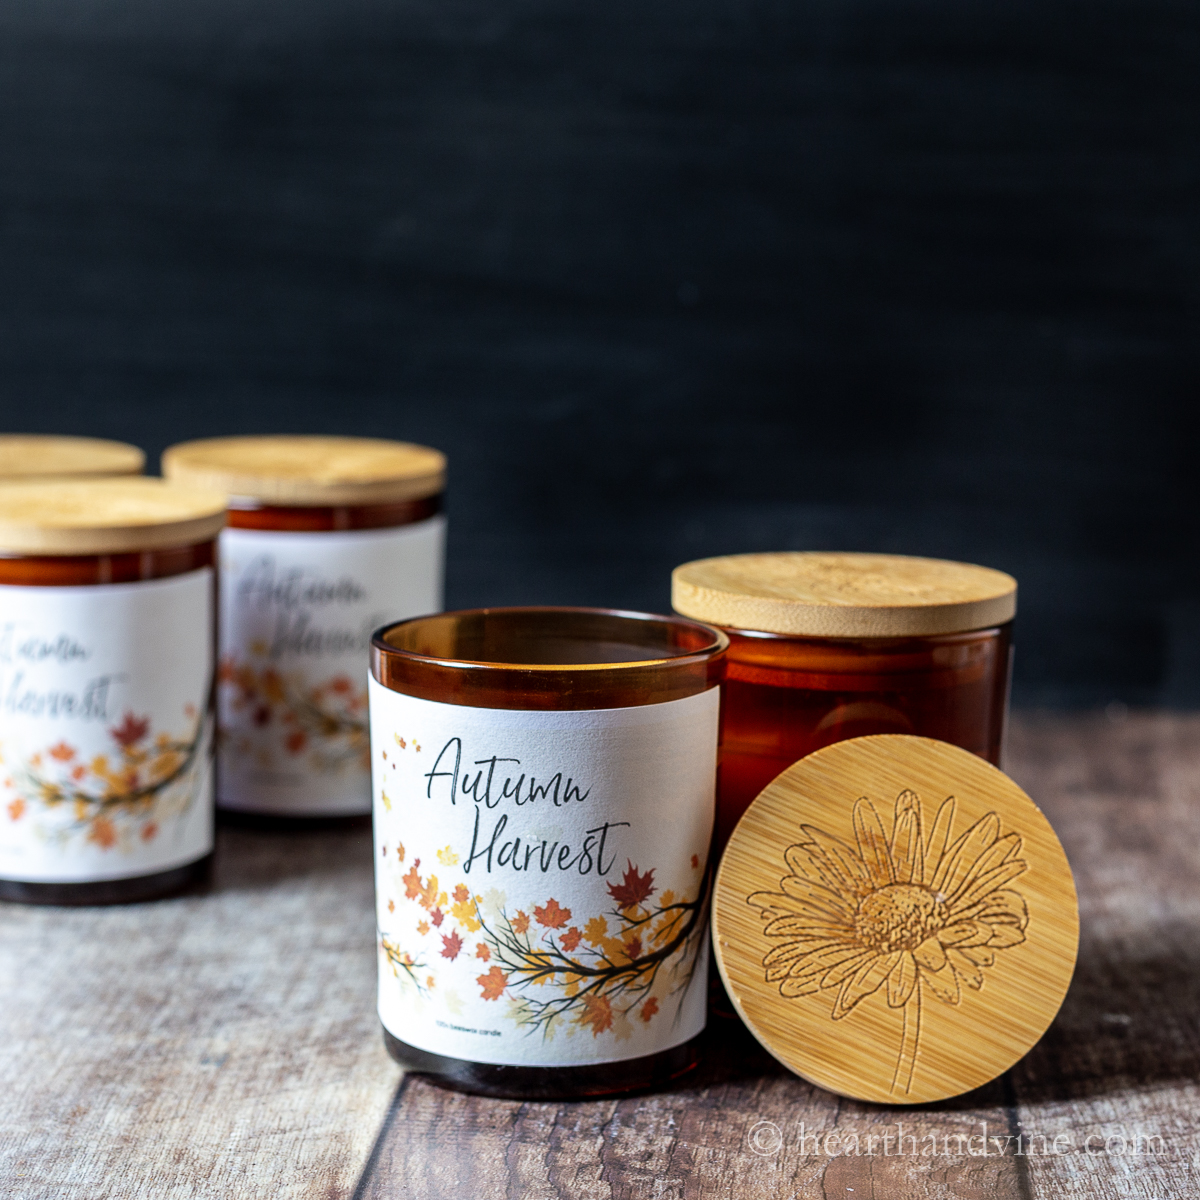
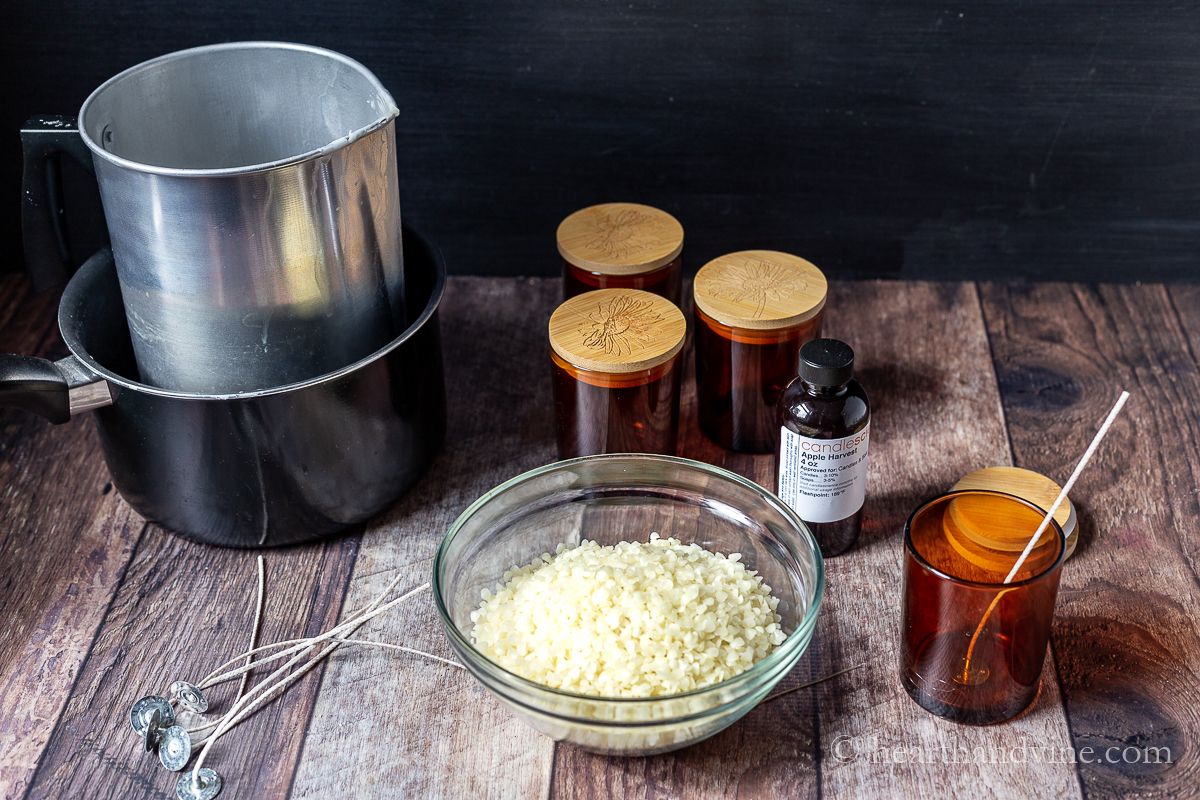
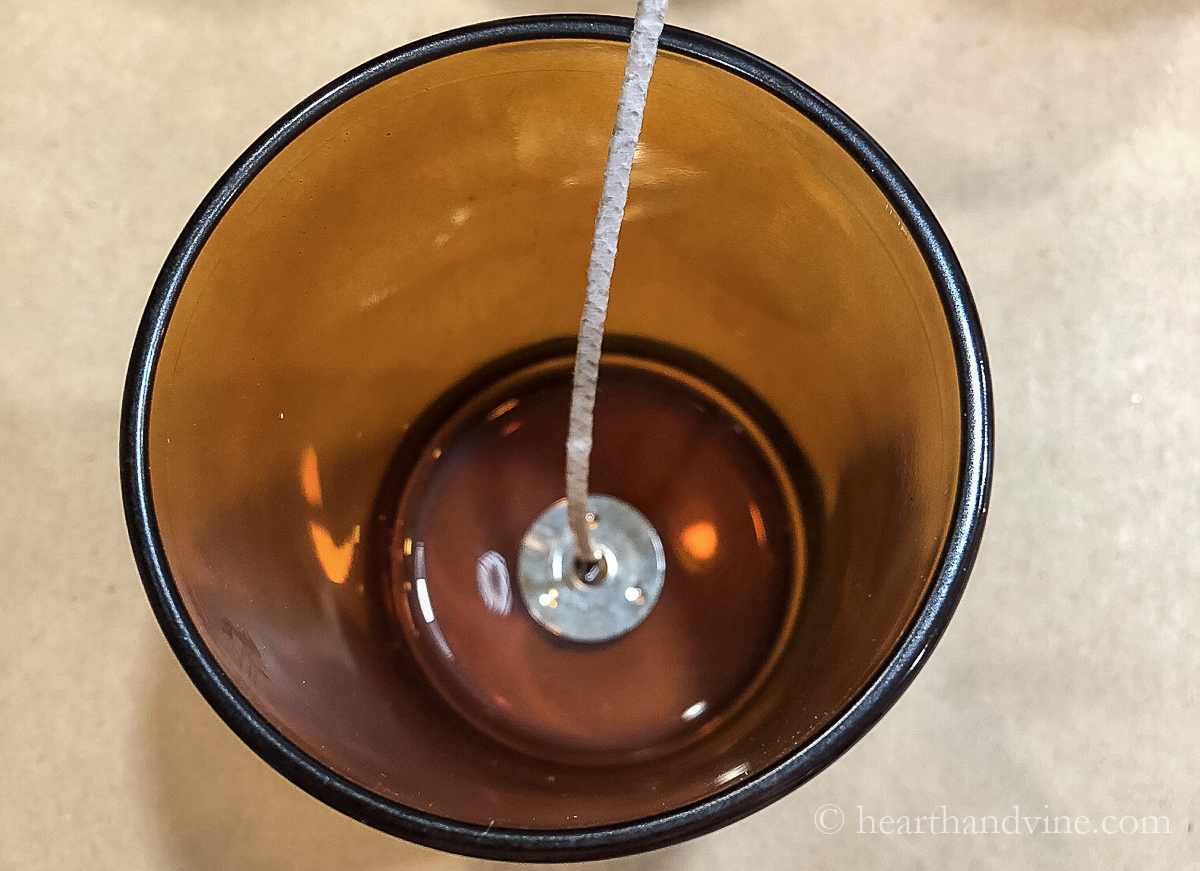
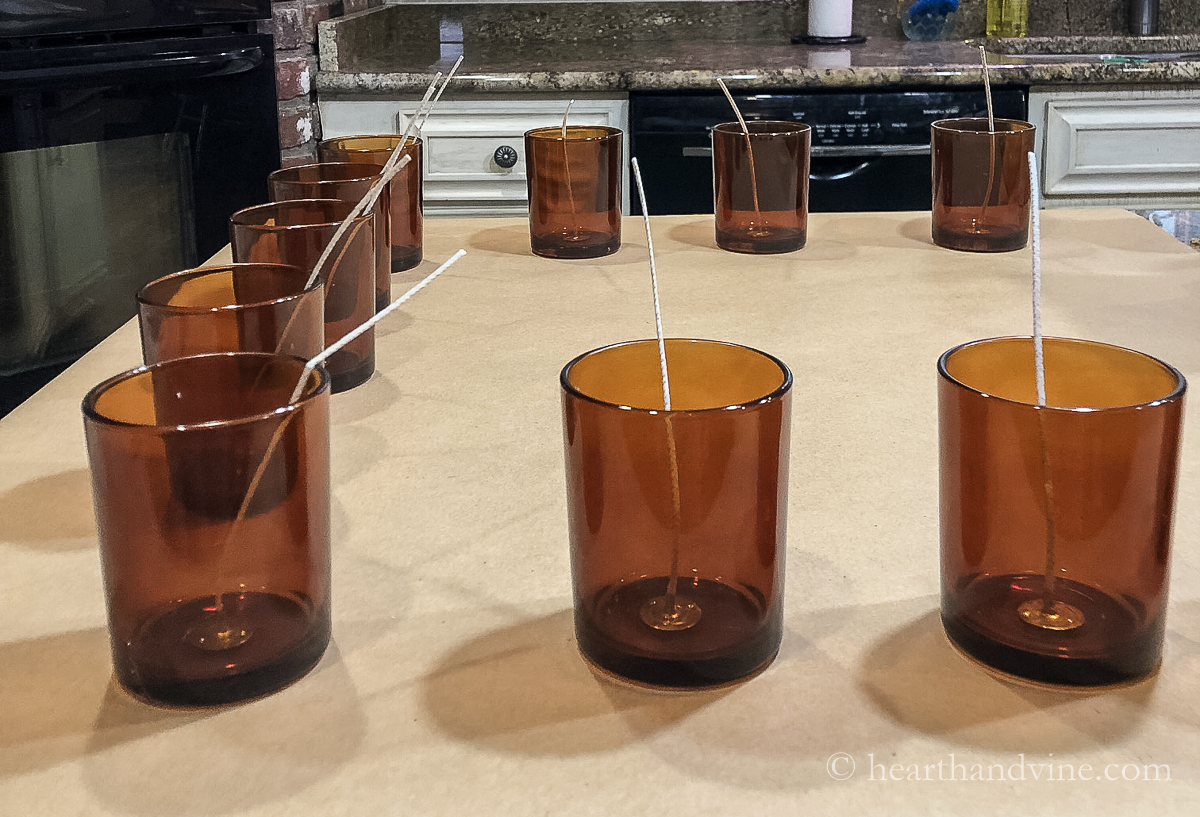
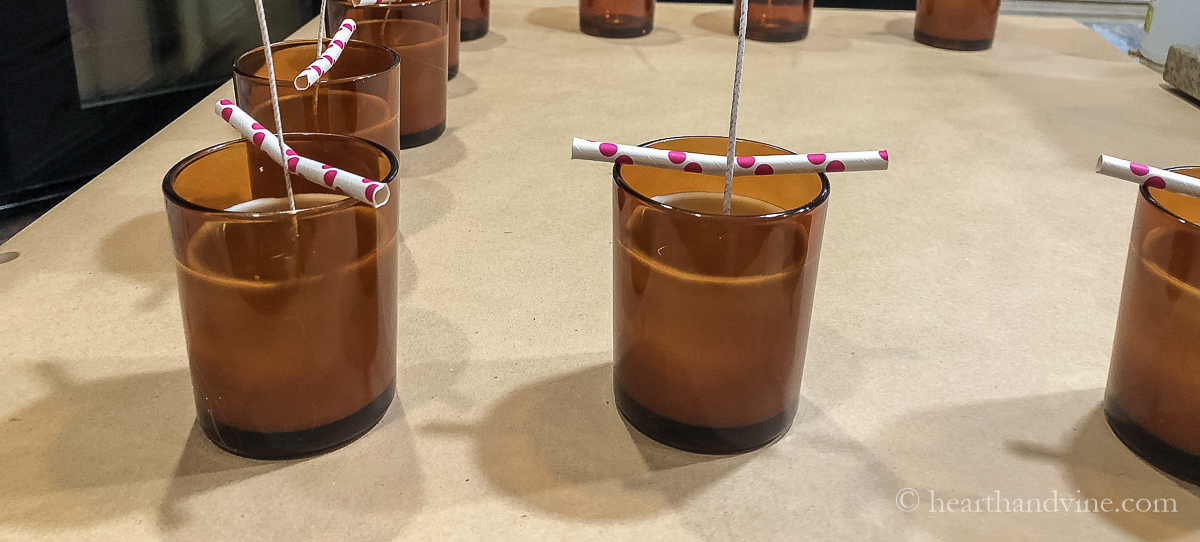
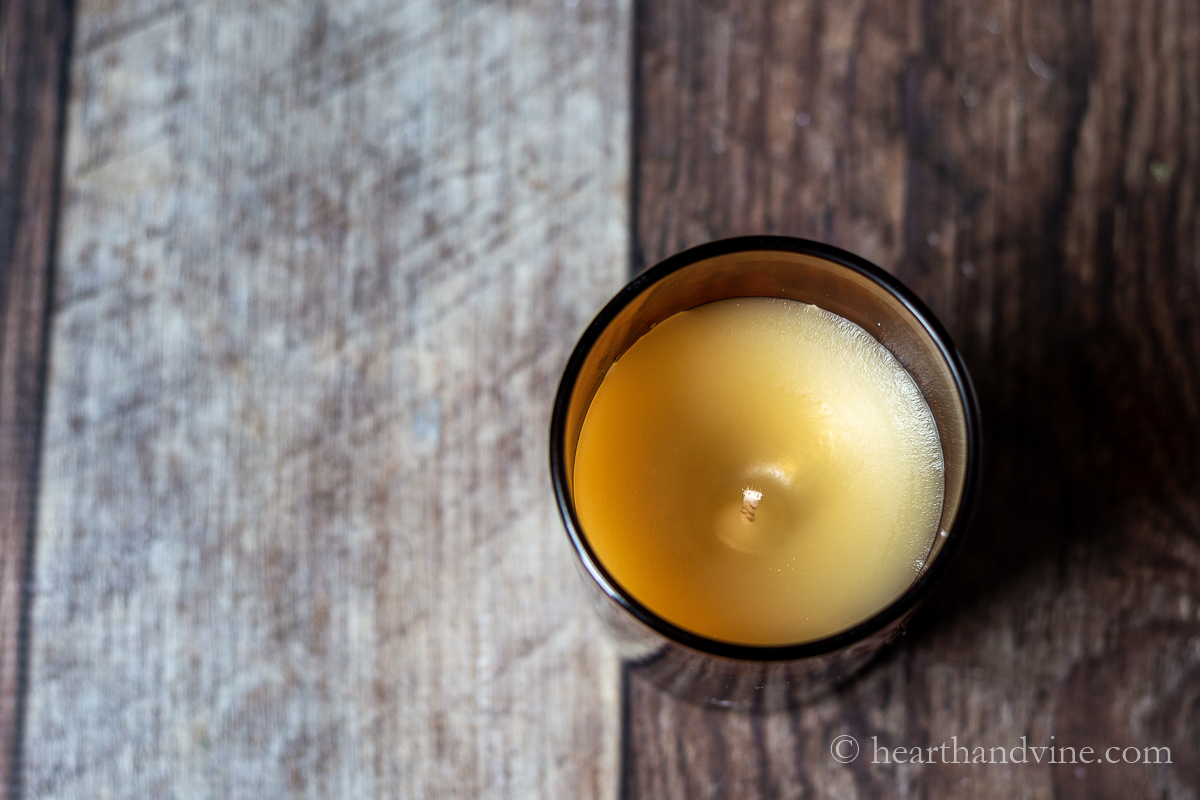
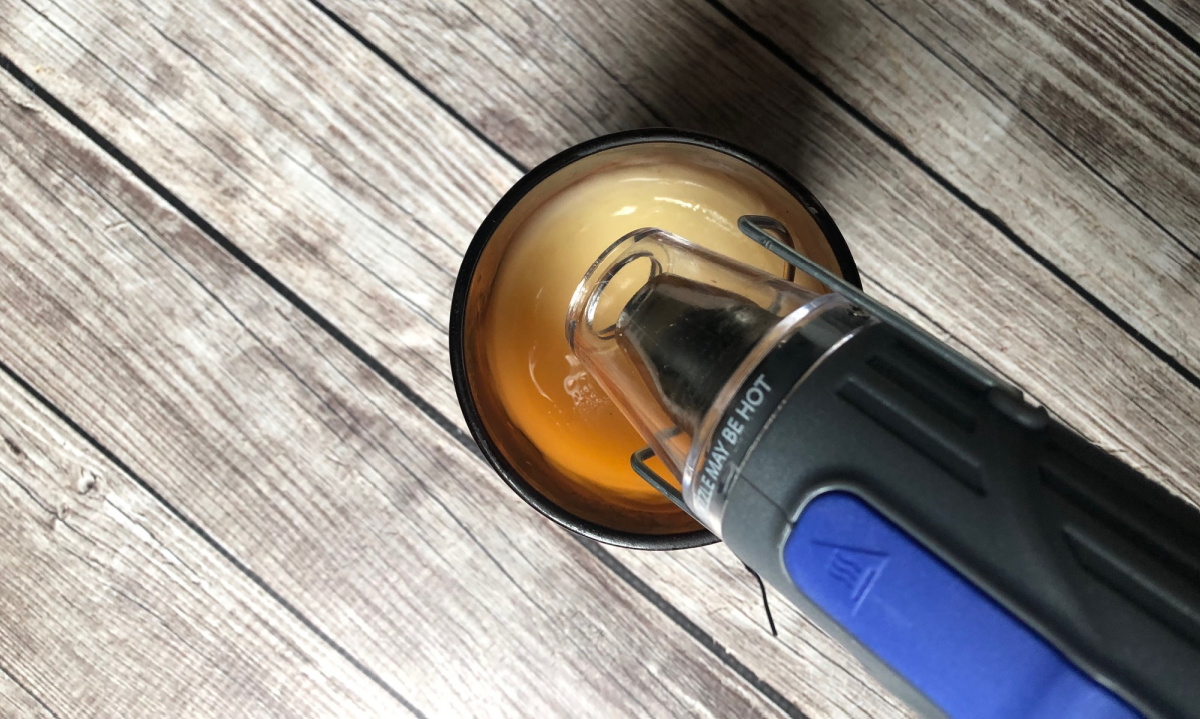
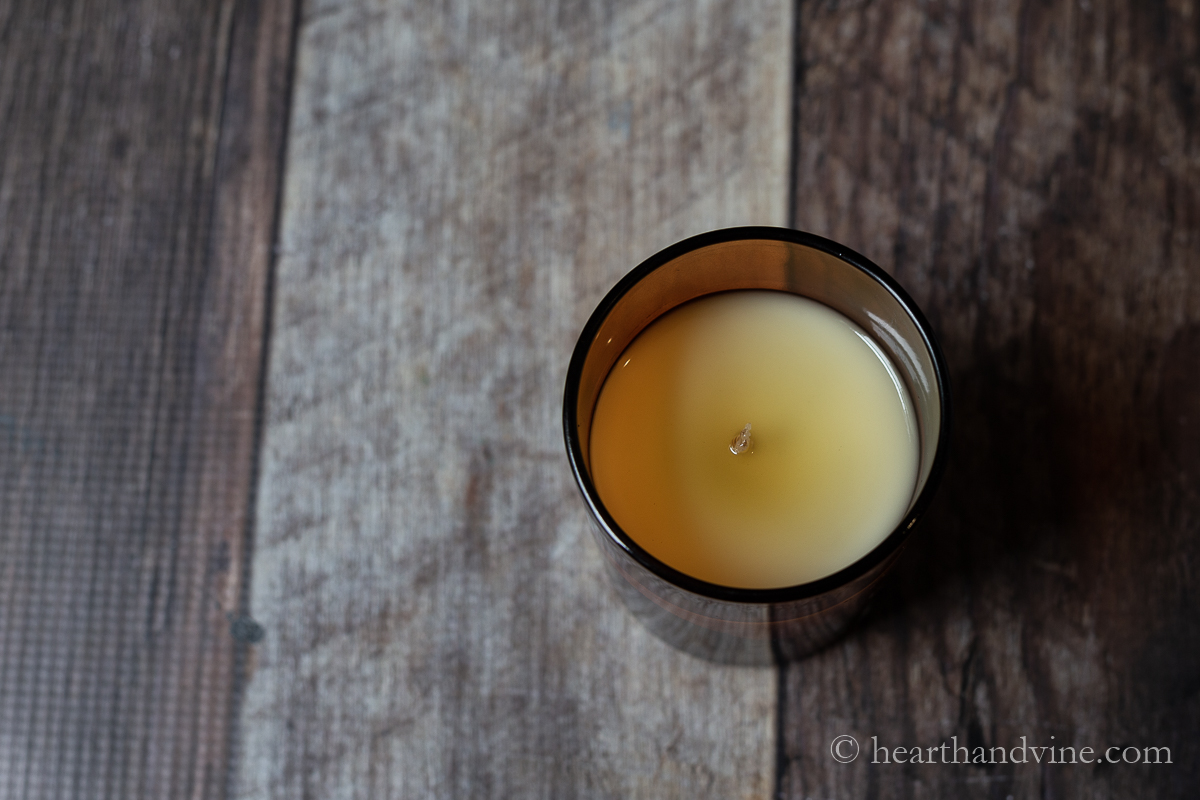
You know how much I like to make candles. If you are new to my blog just look at the list of candles I've made at the end of this post. And that's not all of them. Usually, I make them with soy wax. However, today's candle is made with beeswax.
Beeswax vs Soy wax
- Beeswax is a natural byproduct of beekeeping. Soy wax comes from soybeans.
- Soy wax needs to go through more chemical processing before it can be used.
- Both beeswax and soy wax burn cleanly without producing soot like paraffin wax.
- Beeswax is denser than soy wax so it should burn longer.
- Beeswax is more expensive than soy wax.
- Beeswax has a natural light honey scent while soy wax is usually unscented.
This post contains some affiliate links (that means if you make a purchase after clicking a link, there’s no additional cost to you, but I will earn a very small commission. ) i.e. as an Amazon Associate, I earn from qualifying purchases. Click here to read my full disclosure policy.
Join Our Newsletter List!
Be the first to receive new posts and get access to our Subscribers Only Page.

Carole West
This is so great - I'm going to start with raising bees on our property. So now you have given me a great product to create and sell at the local farmers market. Maybe I'll just come up with a pop-up trailer. Anyways love this project everything you posted this week was amazing. Keep it coming!