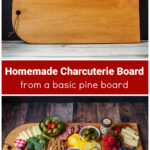
This DIY charcuterie board is a fairly easy project. Utilizing wood you may already have at home to create an inexpensive but beautiful wooden charcuterie board for all your crudite and fixins.
Have a piece of pine wood laying around? I did and thought why not make it a charcuterie board? This was a 1 x 12 x 24-inch piece of pine in the garage leftover from some project.
This post contains some affiliate links (that means if you make a purchase after clicking a link, there’s no additional cost to you, but I will earn a very small commission. ) i.e. as an Amazon Associate, I earn from qualifying purchases. Click here to read my full disclosure policy.
Join Our Newsletter List!
Be the first to receive new posts and get access to our Subscribers Only Page.
How to Make a Simple Charcuterie Board
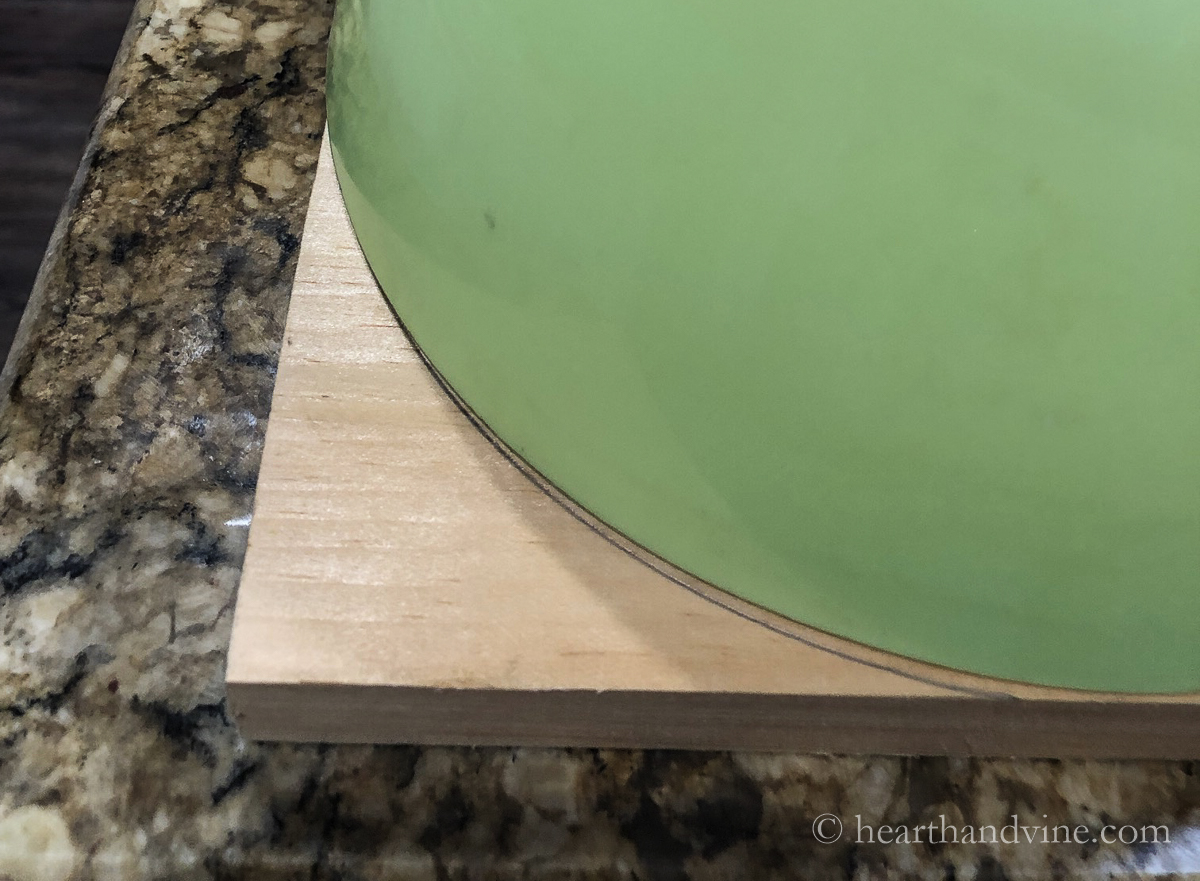
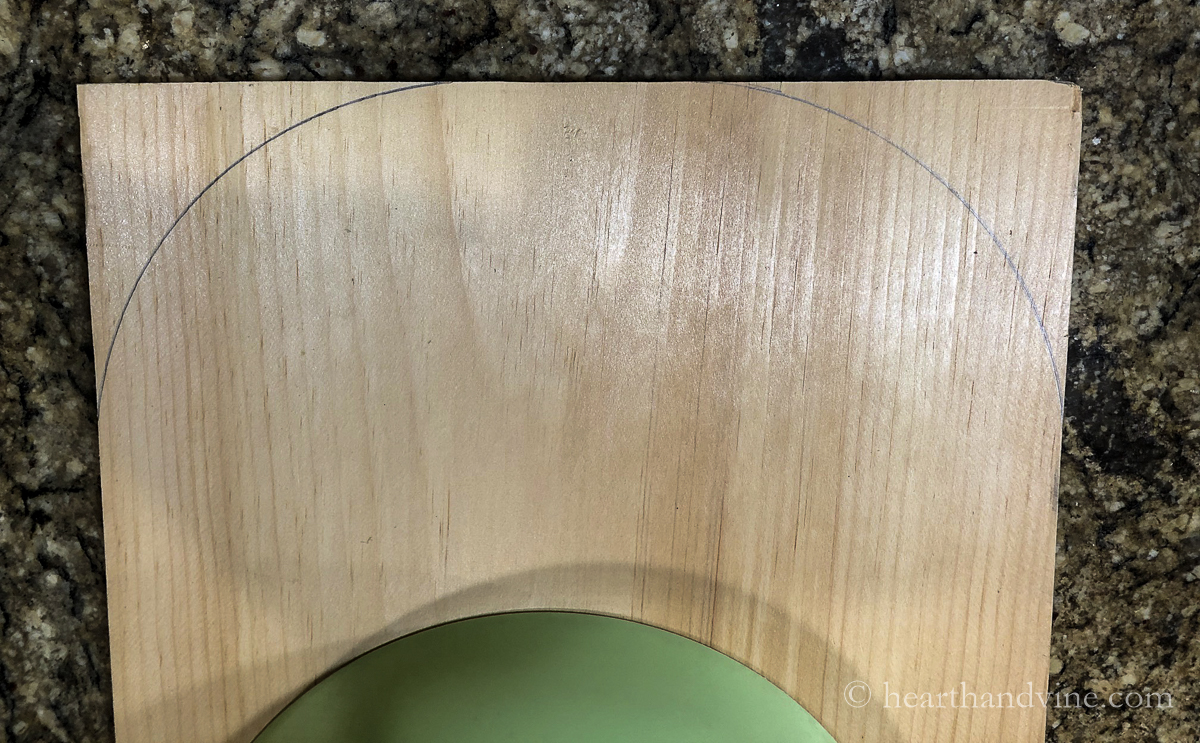
I wanted to give it a little character so I used a large plastic bowl to draw curves on one edge of the board.
This was an easy way to round the corners.
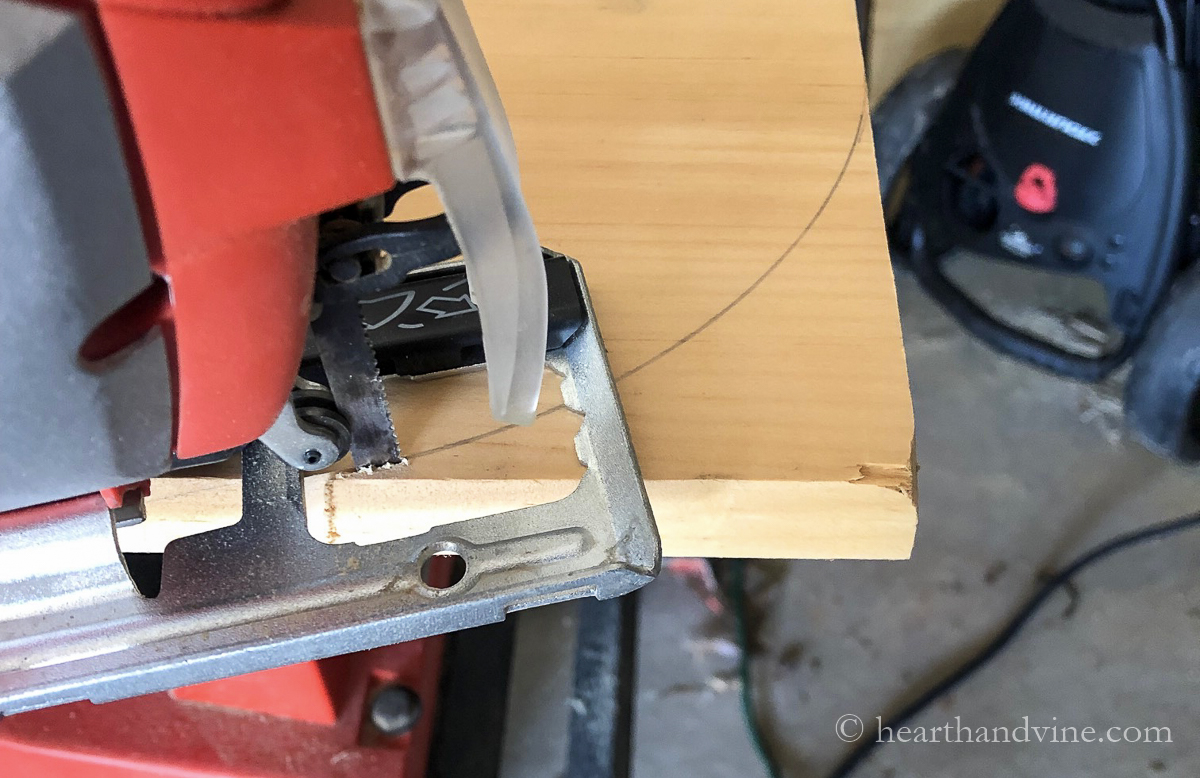
My husband used a basic jigsaw to cut the corners for me. I realize not everyone has a handy hubby to do this but perhaps you know someone who could help. I've also heard that some hardware stores will do this for you for a small fee. Furthermore, you could just leave it without the rounded edge.
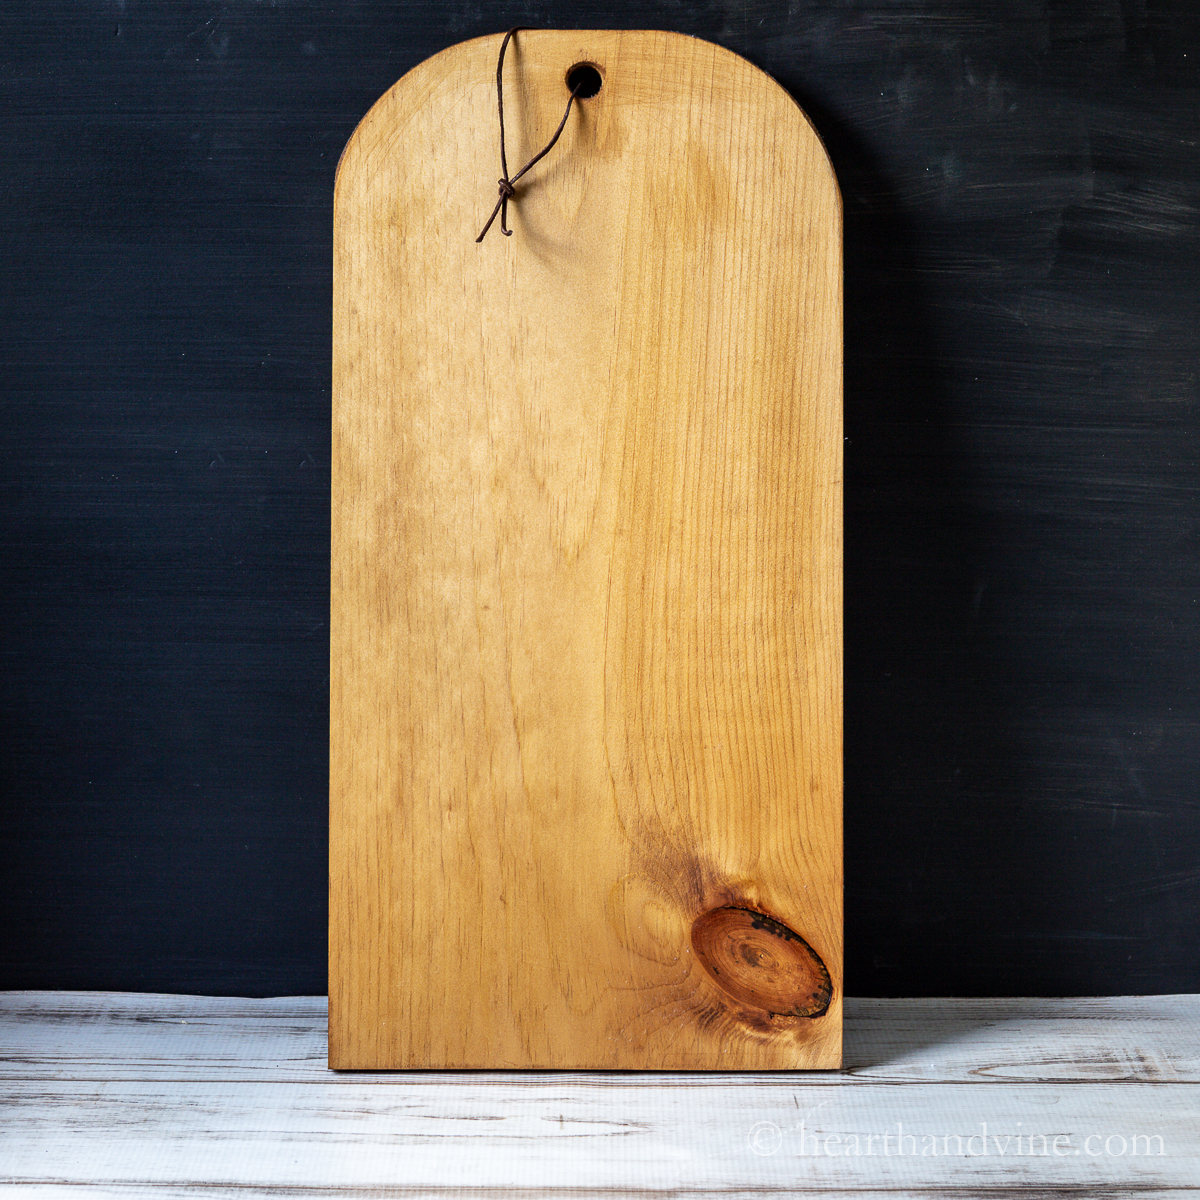
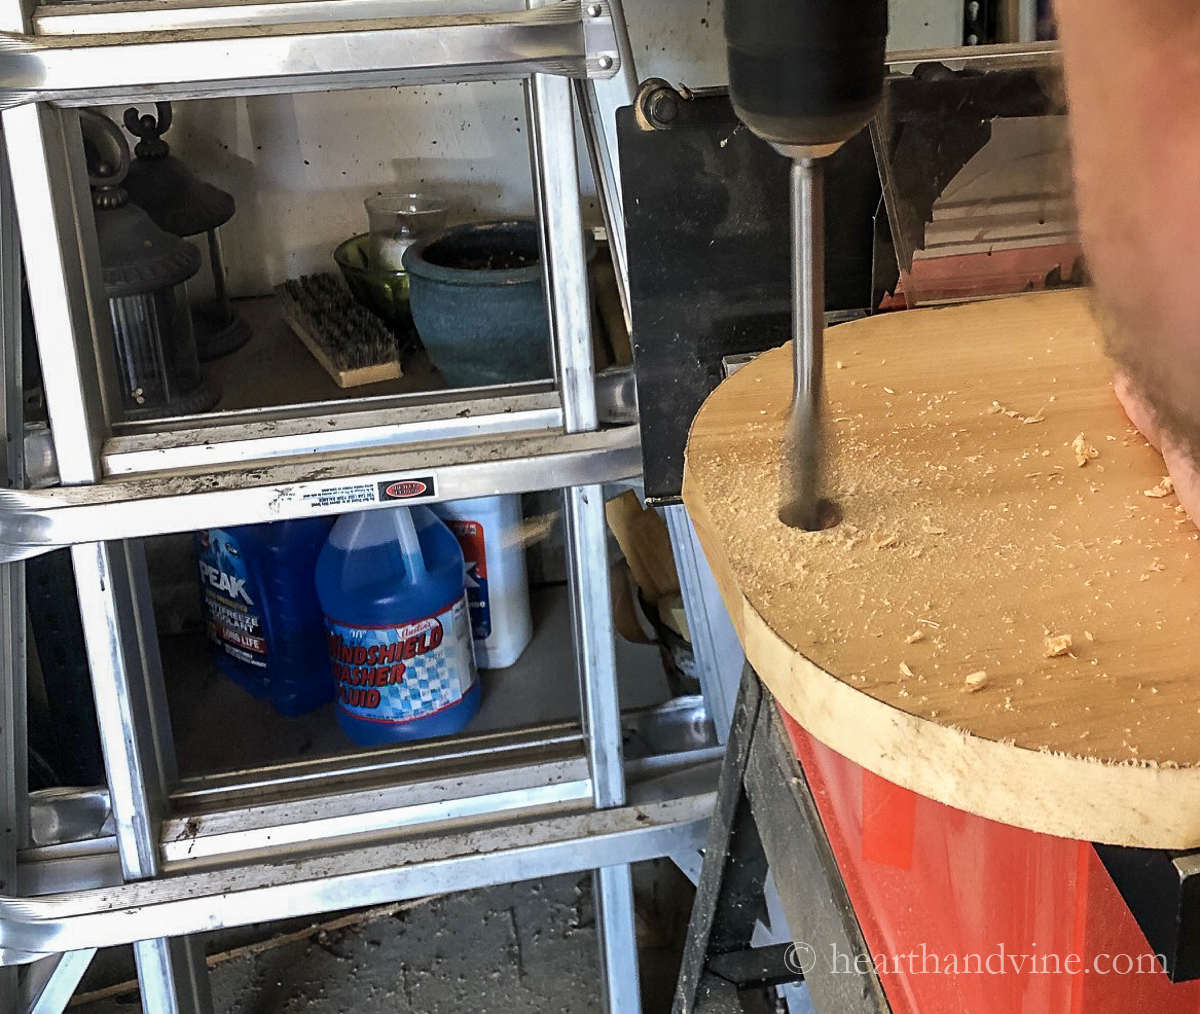
Next, he drilled a hole through the middle so I could use a piece of leather topping to hang it. Again, this is optional. You don't need to hang it but it might add a little extra character.
Then you just use some sandpaper to smooth all the edges.
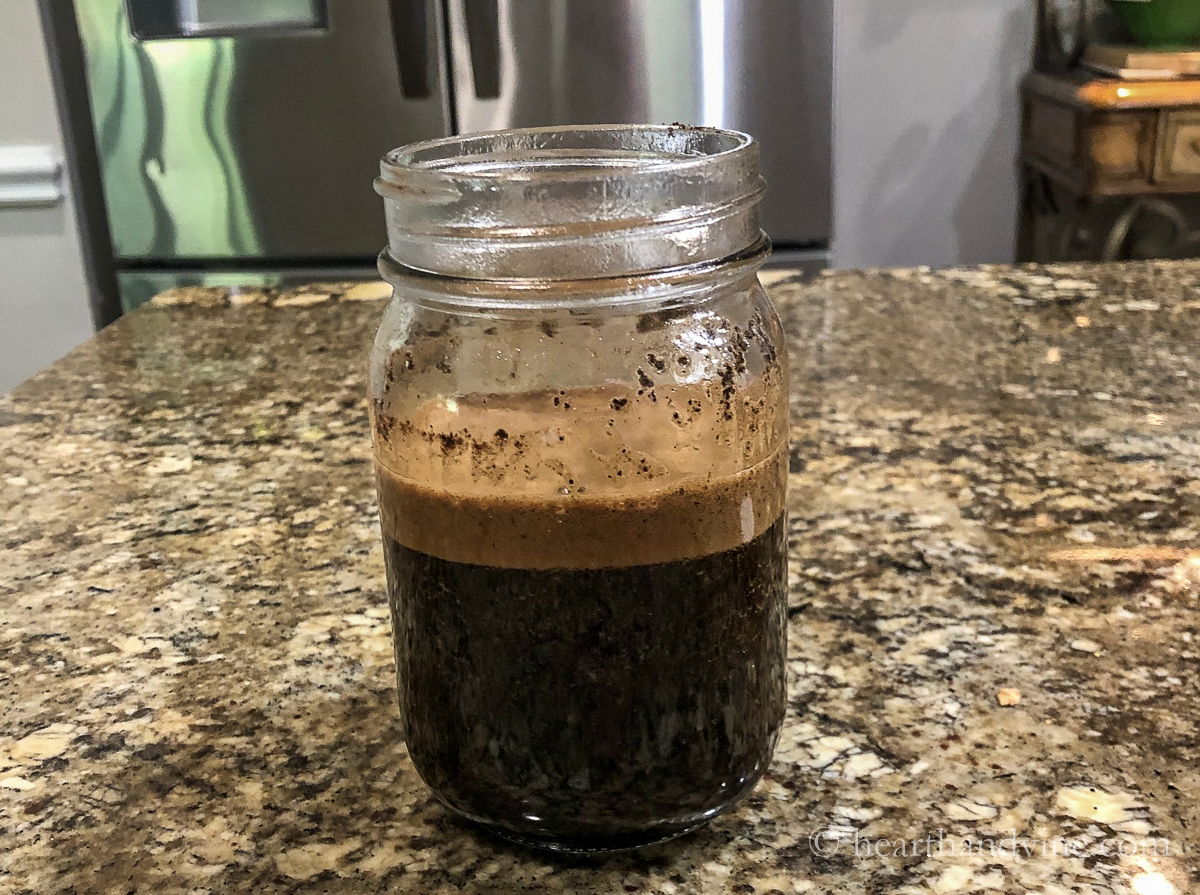
Here's a very easy part. Make some very strong coffee. All I did was add some coffee grounds to a mason jar and poured boiling water on top. Let it sit for an hour, then strain the liquid.
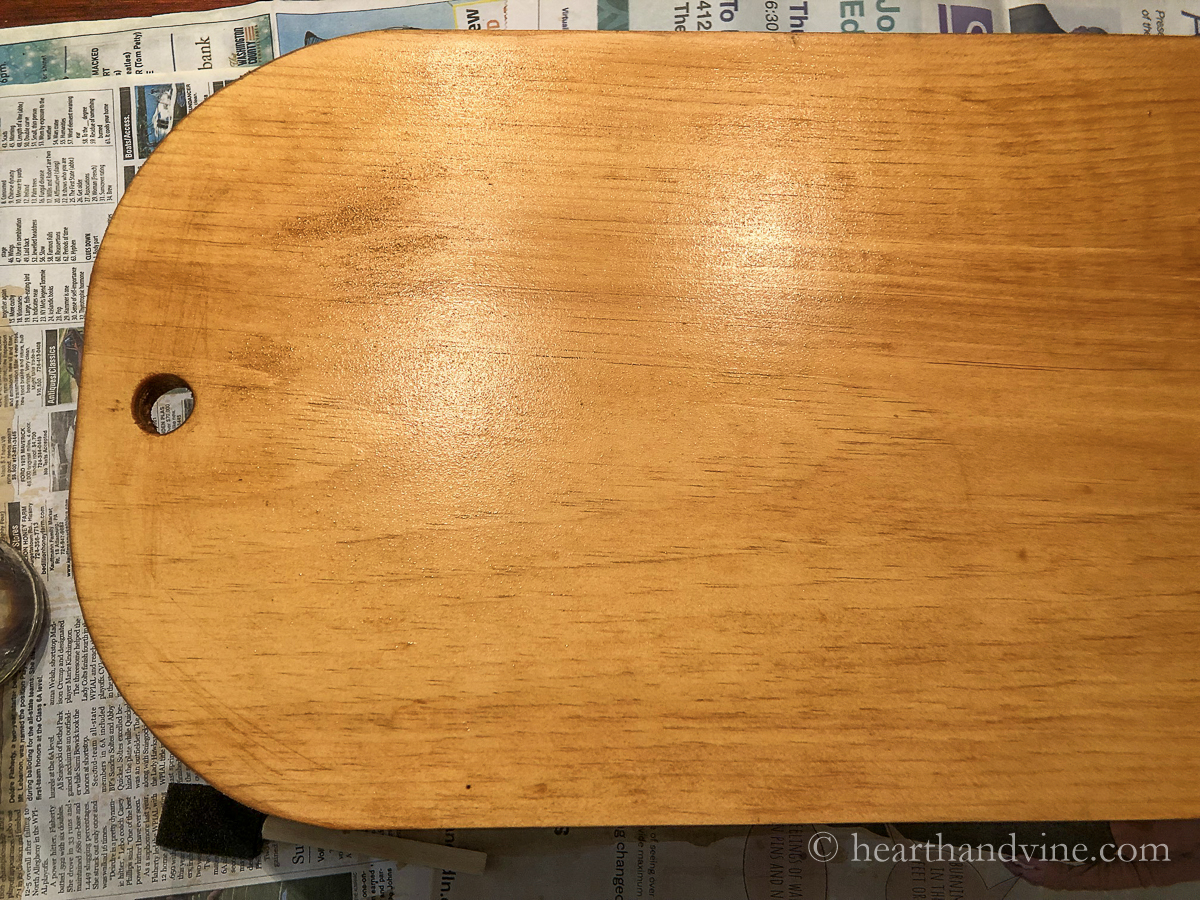
Use this liquid to stain the board. I used a sponge brush to coat both sides of the board. Let it dry and do it again, as many times as you want to get a nice color.
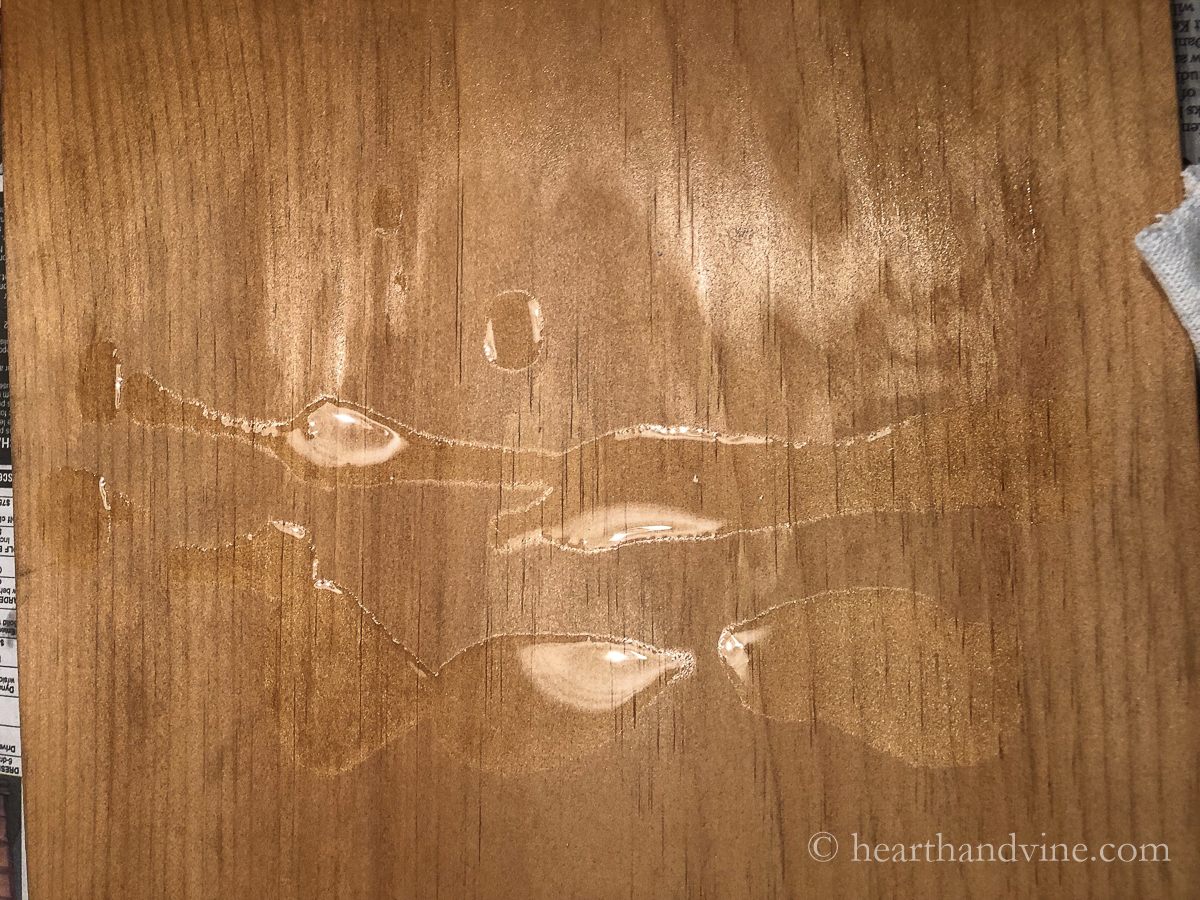
The final step is to prepare the wood for food. All you need is some food-grade mineral oil. Pour it on and wipe it into the wood. You need to do this process a few times according to the label.
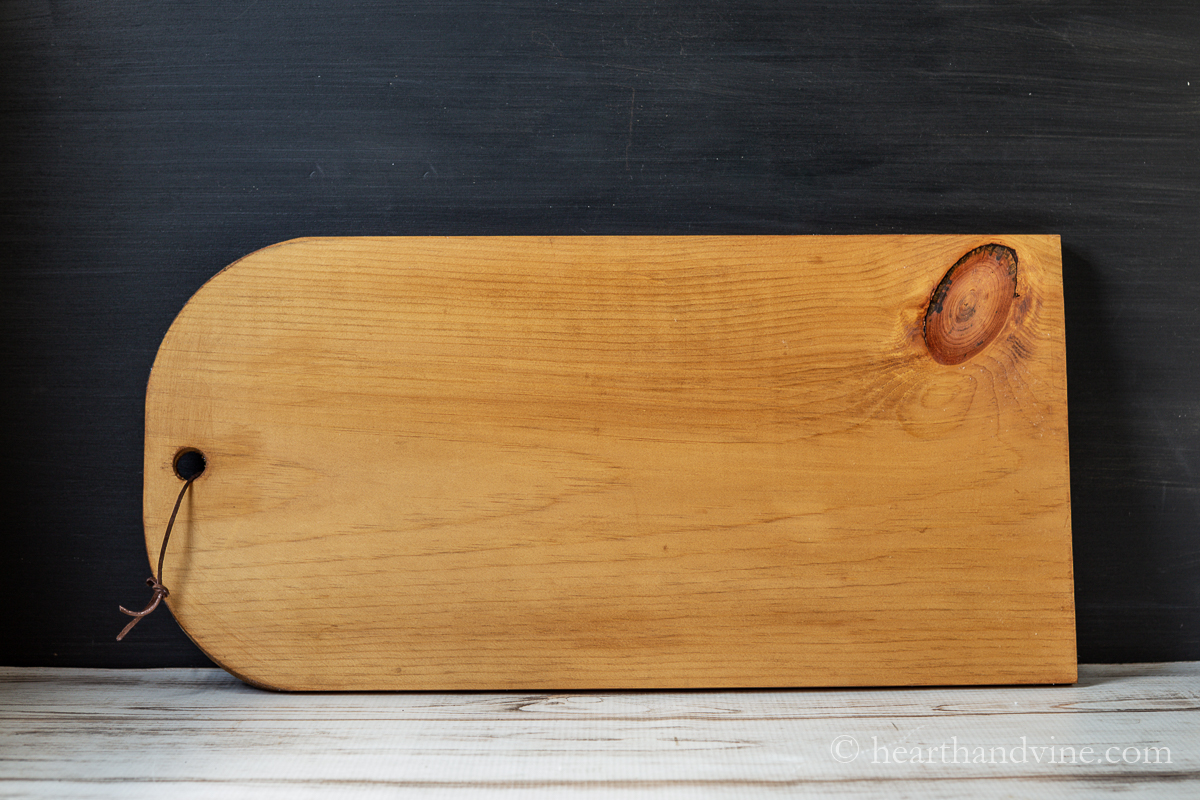
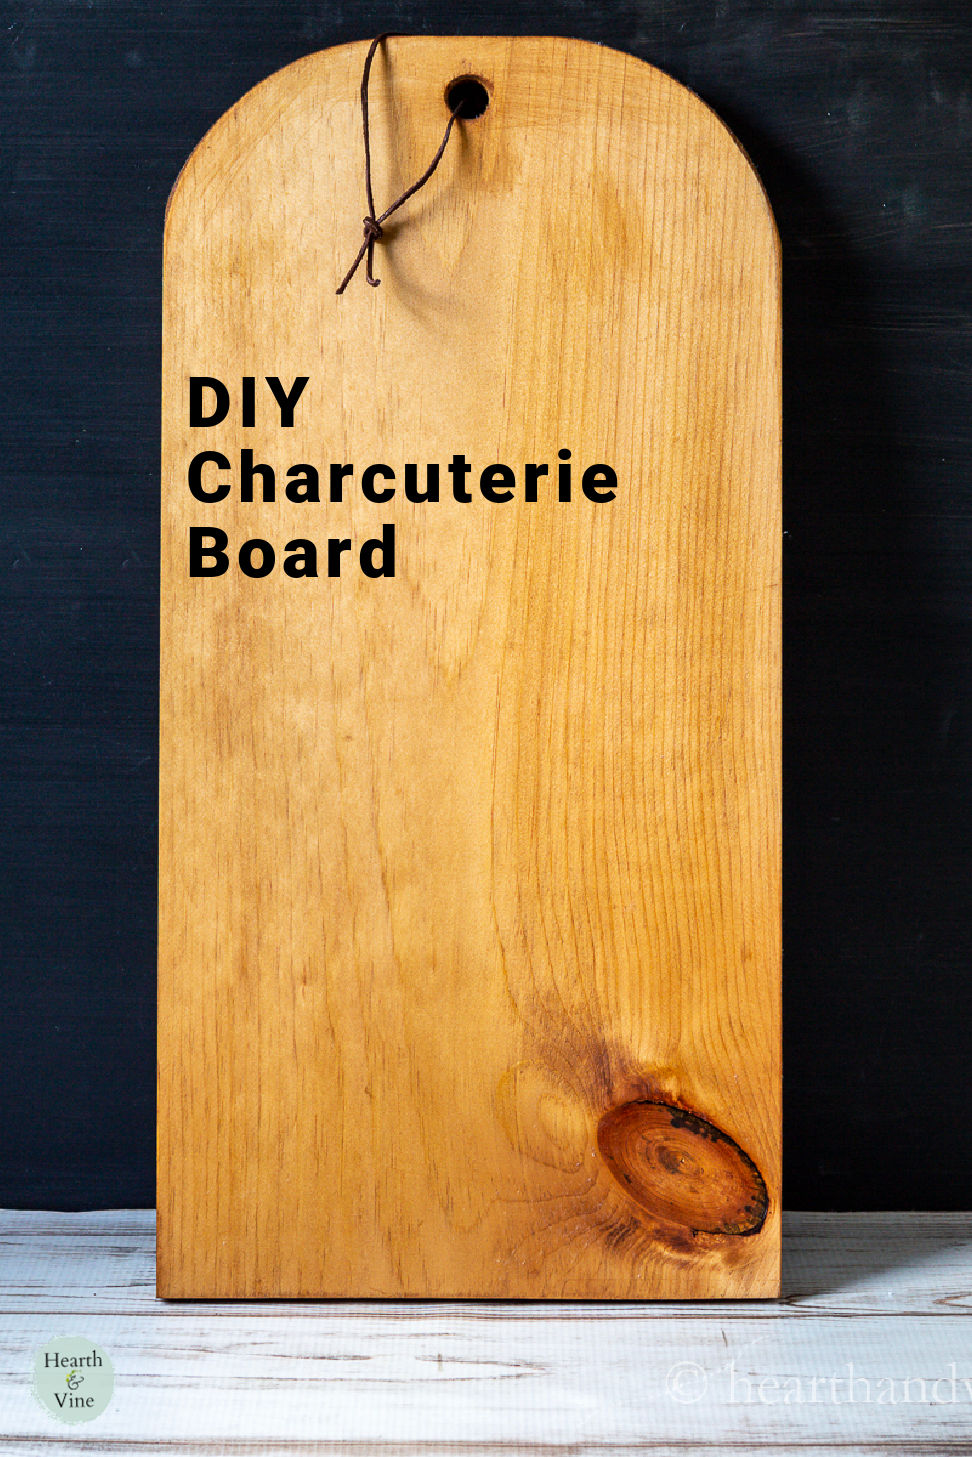
Cute huh?
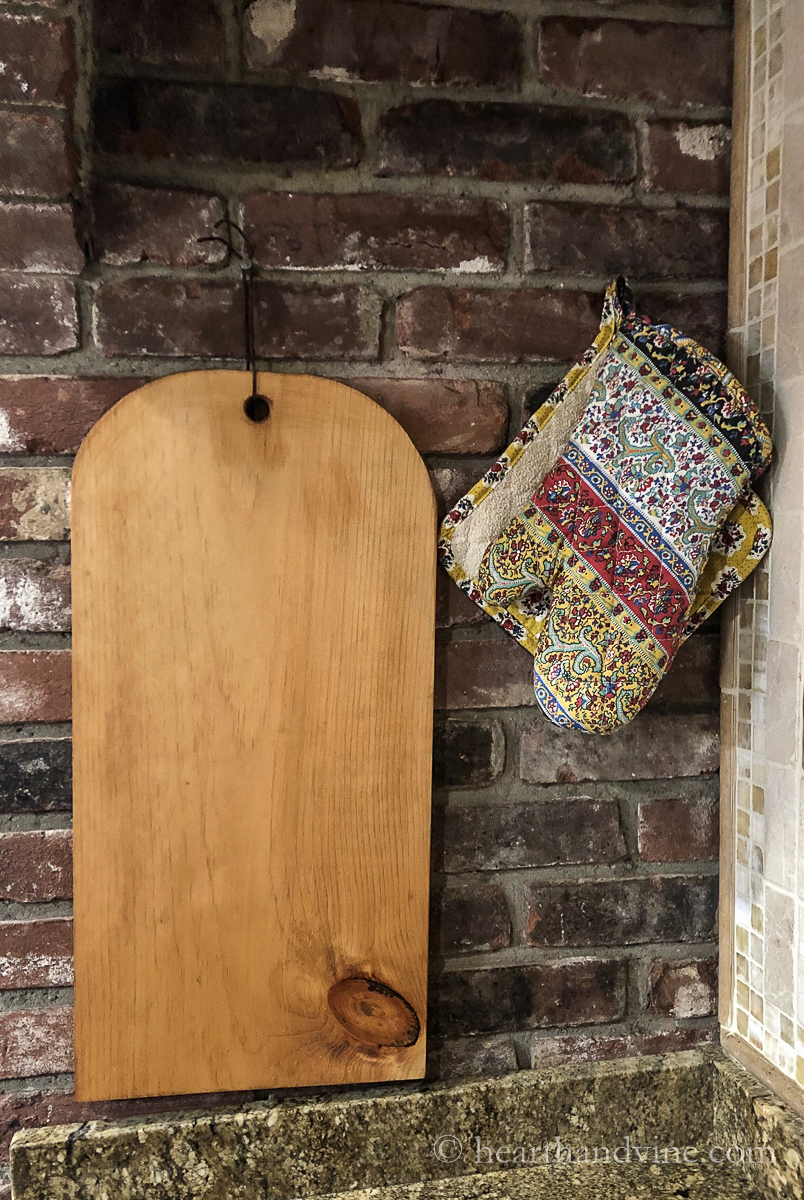
Here it is hanging. You can hang it anywhere you want or just store it in a cabinet with the rest of your plates and platters.
Note: Pine is a soft wood so it wouldn't make a good cutting board. Leave the sharp cheese knives off this one and cut up the cheeses for your guests.
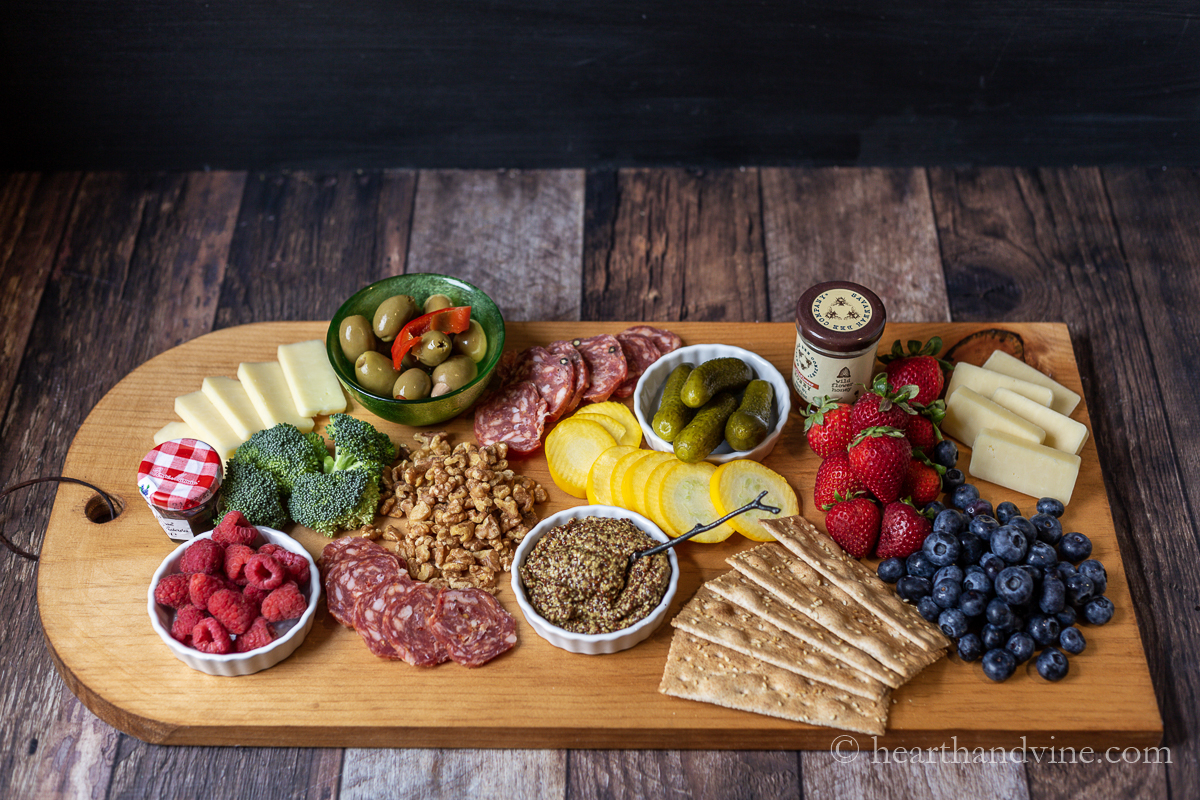
How to Dress Your Charcuterie Board
Now you can use your new charcuterie board to create a pleasing display for your guests. Use small bowls, tiny plates, and arrangements of different shapes of sweet and savory goodies.
Ingredient Ideas
Fresh fruit such as grapes, and berries such as blackberries, raspberries, strawberries, and blueberries
Different kinds of crackers and crisp bread
Slices of meats like ham, summer sausage, salami, pepperoni, or prosciutto
Soft cheeses like brie, blue cheese, feta, or goat cheese.
Dried fruit such as apricots, raisins, and dates.
Hard cheese such as manchego, cheddar, gouda, and gruyere
Crudite like olives, pickles, and veggies
Dipping sauces like jams, honey, and mustard
Your favorite nuts such as walnuts, cashews, peanuts, pecans, almonds, or pistachios.
I really love the way this charcuterie board turned out. It's a nice size, however, I think I could have made an even larger one. But then I'd have to buy the wood.
This DIY charcuterie board is made with a pine board and some basic tools to create your own serving piece for little money.
Active Time2 hourshrs
Additional Time1 dayd
Total Time1 dayd2 hourshrs
Course: DIY Projects
Yield: 1
Author: Patti Estep
Cost: $10
Equipment
plastic bowl
Jigsaw
Drill with spade bit
Sandpaper
Sponge brush
Materials
Pine board
Coffee
Mineral oil - food grade
Pieceof leather roping or twine
Instructions
Use a plastic bowl or other round object to trace a rounded shape at one end of your board.
Use a jigsaw to cut along the lines.
Then use a 3/4 inch spade to drill a hole at the middle of the rounded end of the board about 1/2 - 1 inch from the edge. (this is used for hanging the board and is optional.)
Sand all the edges.
Place one cup of coffee grounds in a mason jar.
Pour boiling water over the grounds and let sit for 1 hour.
Strain out the coffee grounds and use the liquid to stain the board with a sponge brush.
You will want to cover the entire board with the coffee stain several times allowing it to dry slightly between coats.
The next day coat the board with food-grade mineral oil.
Tie a piece of leather roping or twine through the hole to hang.
Notes
Pine is too soft to use as a cutting board so you won't want to place hard blocks of cheese and a sharp knife on this one.
Patti is the creator of Hearth and Vine, a home and garden blog filled with projects to inspire your creative side. She loves crafting, gardening, decorating and entertaining at her home in Pennsylvania. When she is not working on a project at home or searching for treasures at nurseries and thrift stores with her girlfriends, you’ll probably find her with family and friends, at a restaurant, or home party enjoying new and different food adventures.

Leave a Reply