

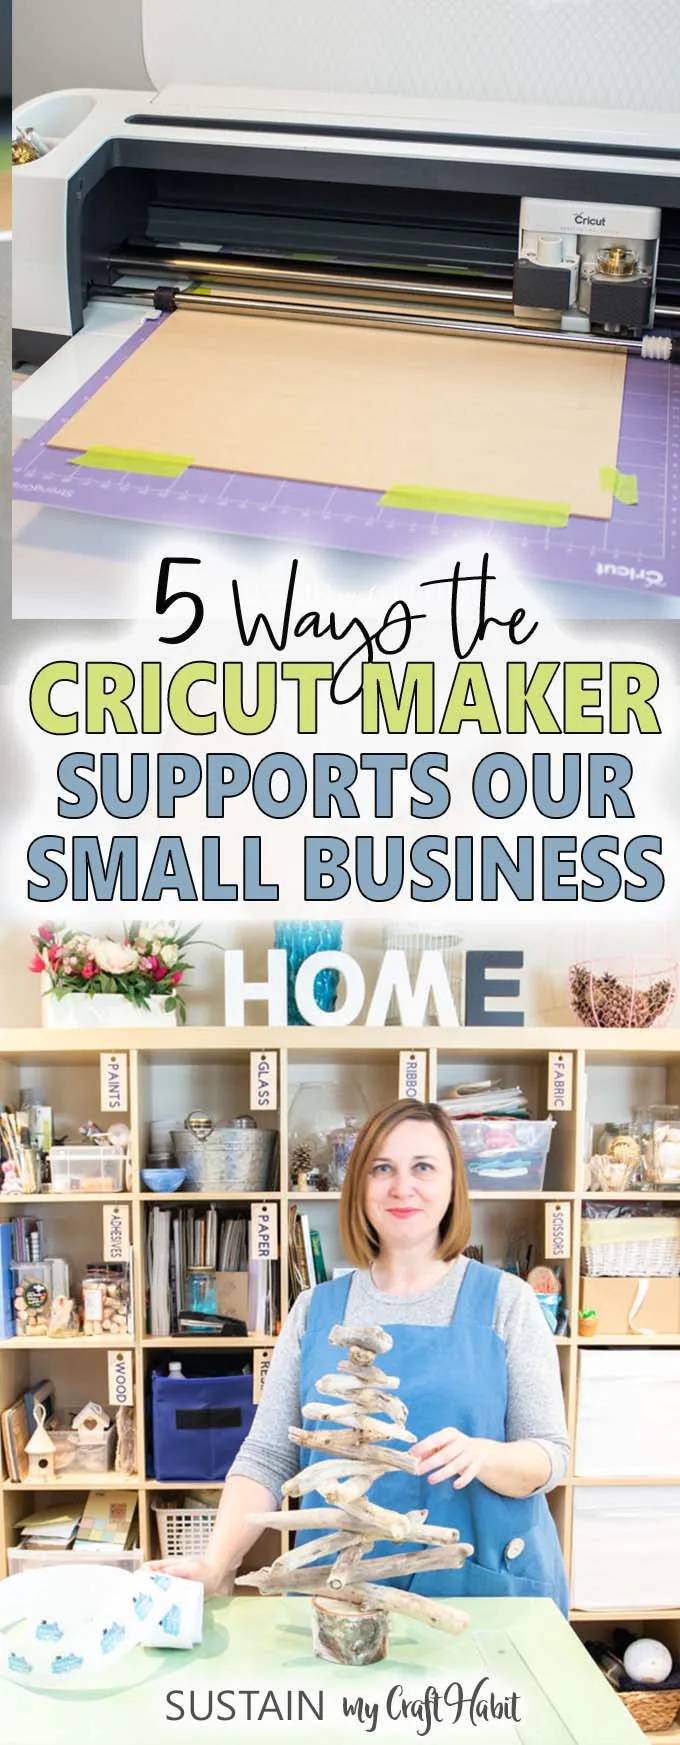
Although initially we didn’t realize what an asset it was to have a Cricut Maker for small business, we quickly observed the many ways it enhances our creative side hustle.
This is a sponsored conversation written by me on behalf of Cricut. The opinions and text are all mine.

When we first saw some of our blogging friends using their Cricut machines we were quite curious. They seemed to be able to make all sorts of new and creative crafts. However, we didn’t realize at the time what a valuable investment the Cricut Maker machine would be to our small business. Here you can check out the 4 things we didn’t know about the Cricut Maker before we got one.
We’re happy to share with you five different ways that the Cricut Maker has supported our small business. Then read on below for a tutorial on how to make these fun wood craft room organization tags!

Using the Cricut Maker for Small Business
1. New Options for our Customers
Ever since starting Sustain My Craft Habit we’ve loved creating printable designs and patterns for our readers. Getting the Cricut Maker was also motivation for us to learn how to create and offer SVG cut files.
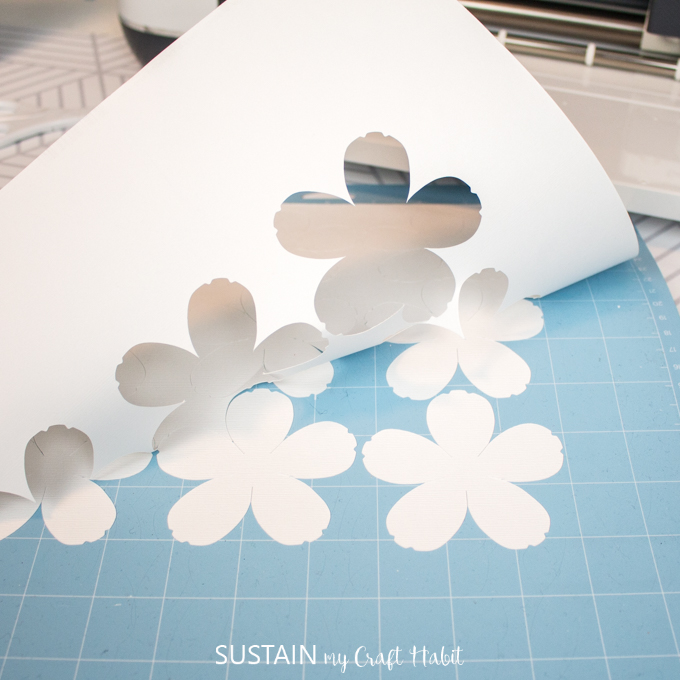
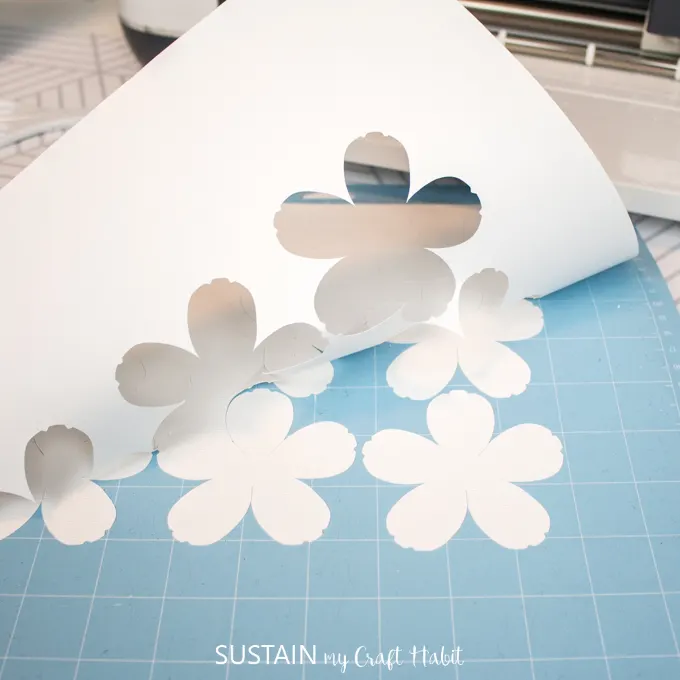
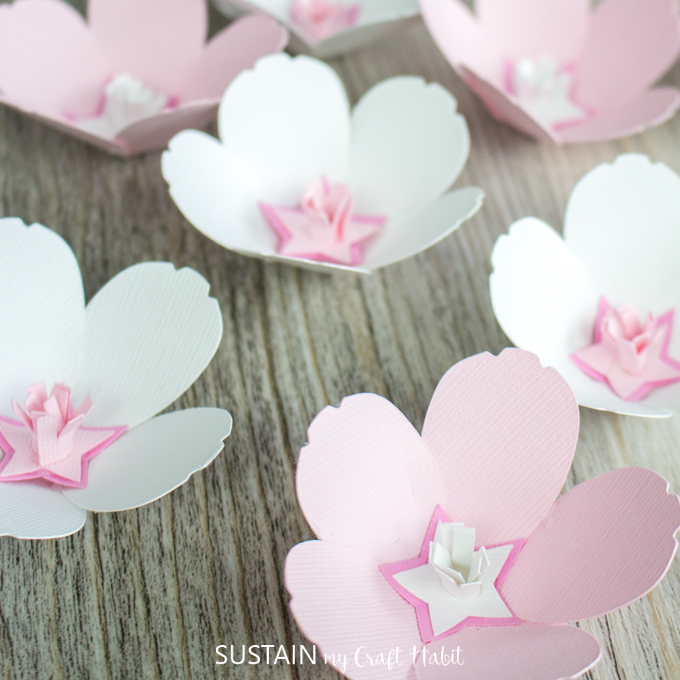
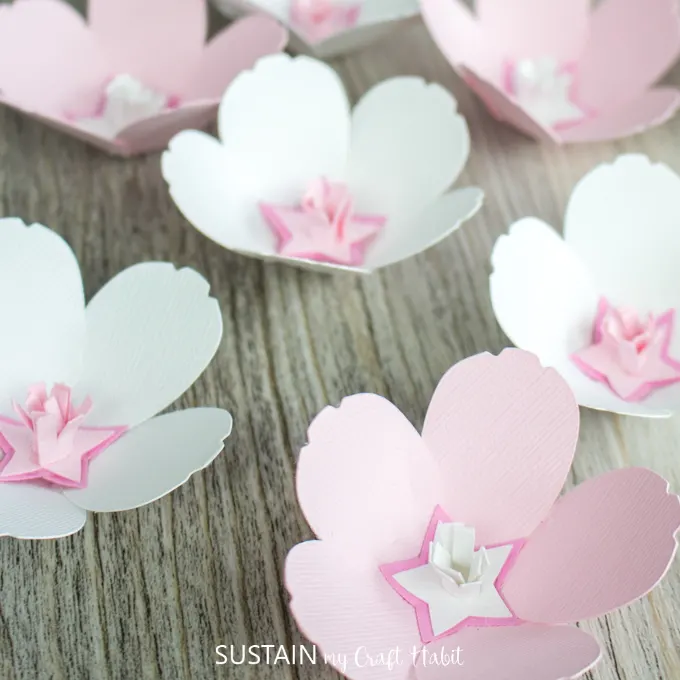
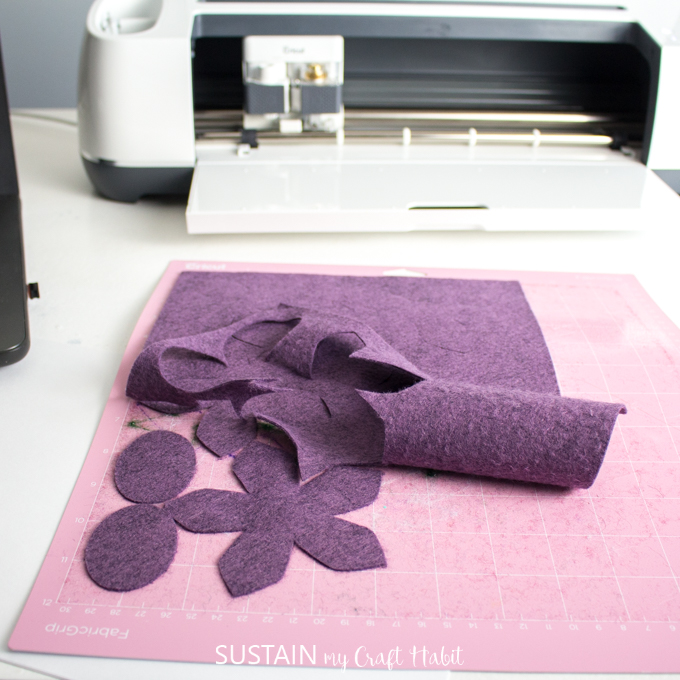
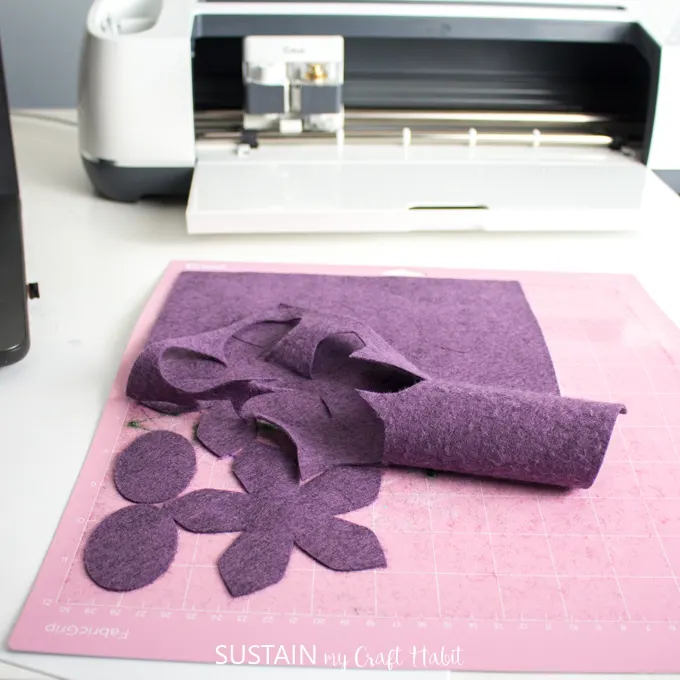
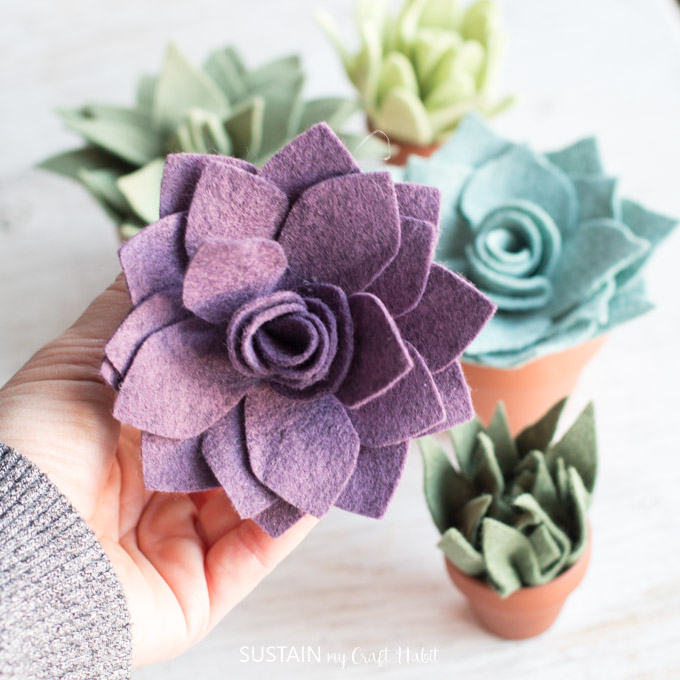
Not only do we feel that this has been a valuable service to them, but it has also helped us to attract new crafty readers to our blog. Moreover, where we were limited to hand cut designs previously, we are now able to create more intricate items such as our pretty cherry blossom flower patterns.
2. Expanding our Product Line and Sales
When we started selling digital patterns in our Etsy shop, we didn’t really know about SVG cut files and how versatile they were.
As mentioned above, getting the Cricut Maker prompted us to create SVG versions for all of our digital ornament patterns in the shop. This alone has greatly enhanced our sales from these items in our shop.
If you’re curious, here are 30 other types of projects you can make and sell with your Cricut.

3. Creating Professional Branded Materials
As we mentioned in a recent post we’ve been starting to create custom product tags for the physical items we sell in our Etsy shop. The Cricut Maker let us create these lovely and professional product tags that completely match with the brand of our business.
It seems like there are an infinite number of materials and colors to be able to customize labels, tags, packaging and signs for your small business.


4. Providing new Means of Collaborating with other Businesses
Now this one’s a little hard to explain so maybe easiest through an example.
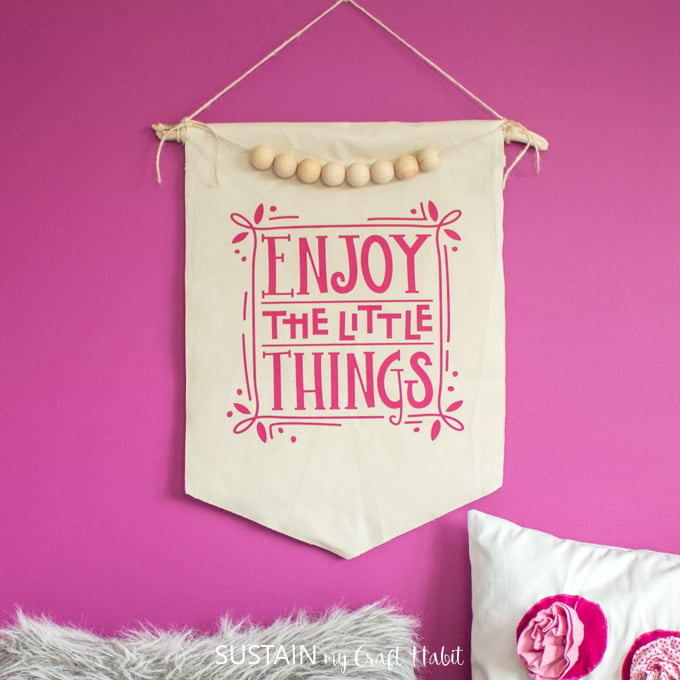
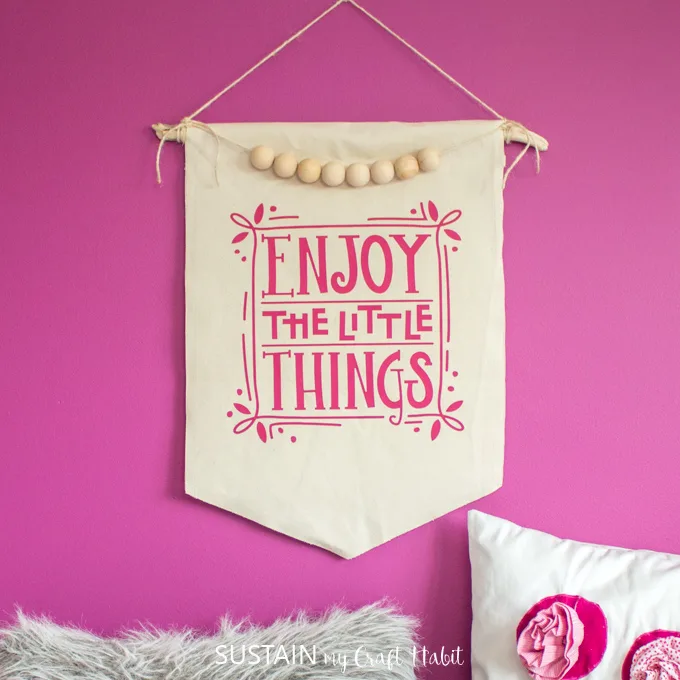
In the past we have partnered with a company which offers a huge selection of canvas fabric. By incorporating the Cricut Maker in with our collaboration (such as this canvas wall hanging), we were able to raise awareness about the canvas company with a potentially new audience: Cricut fans! Likewise, our readers with an interest in sewing were able to learn about the Cricut Maker. Win, win, win!
The Cricut Maker has quickly become a valuable tool in our crafting toolbox which lets our maximize our creativity and attract new collaborators and serve our readers.
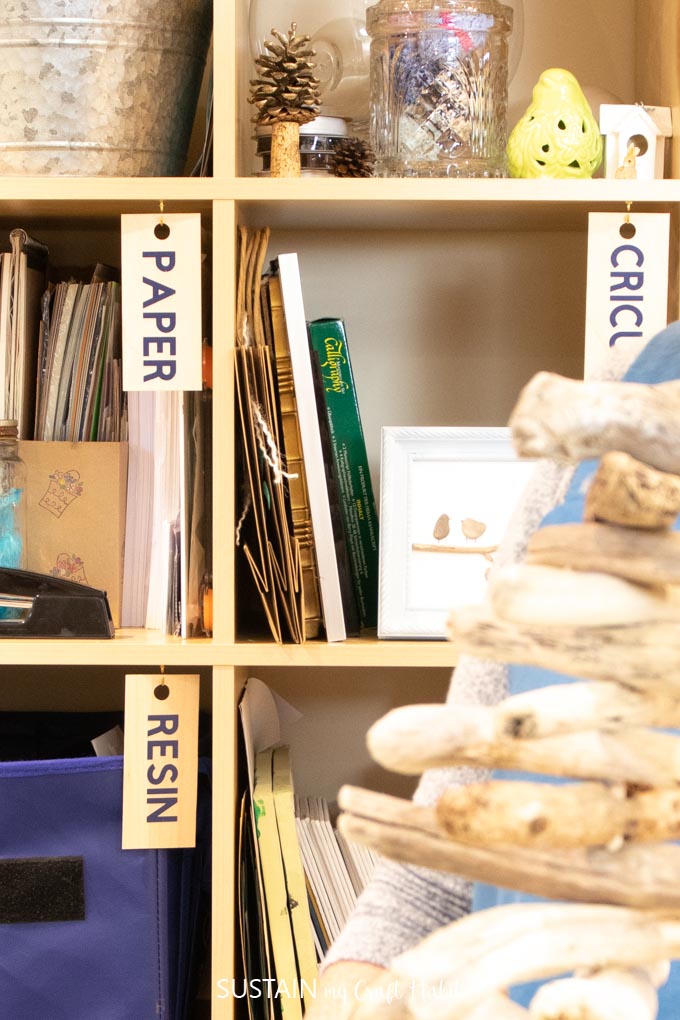
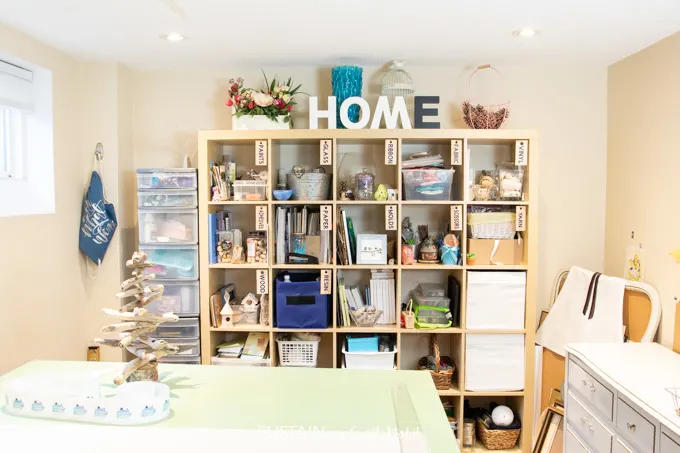
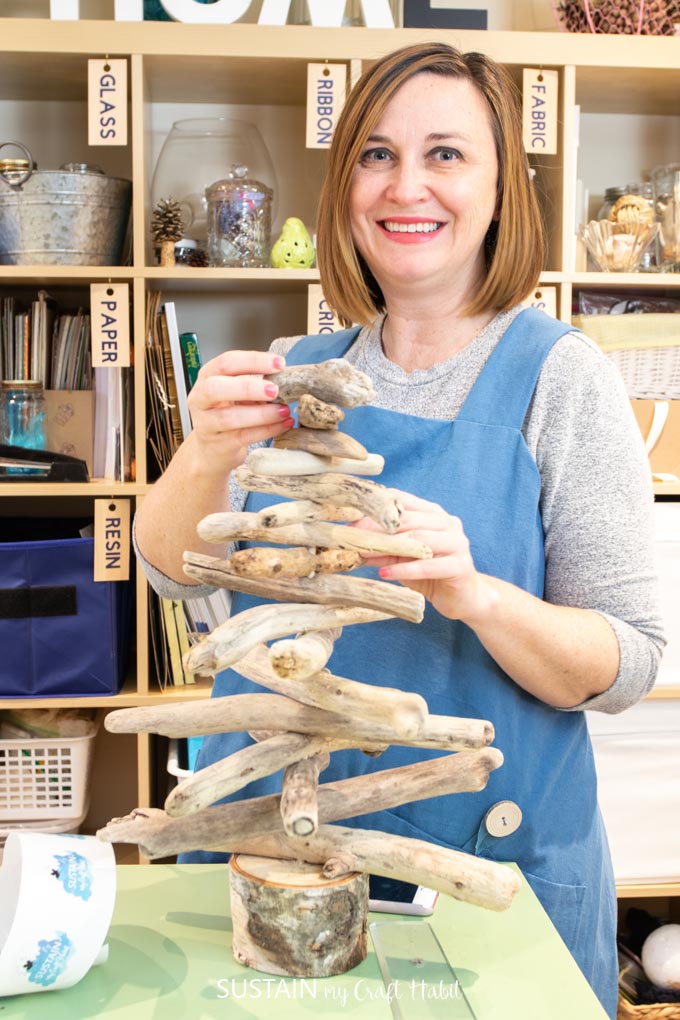
5. Allowing me to Create an Inspiring Working Space
Ok, so this is probably the most fun way in which the Cricut Maker supports our small business!
Over the past few weeks I’ve been converting the toy area of my basement into a functional craft room (or studio) for our business. Organizing all the different supplies has been huge for improving my focus and productivity.
With the Cricut Maker I’ve been able to create custom labels and tags to enhance my working environment. (Read on below for the full tutorial for these craft room organization tags). I’m also looking forward to making some vinyl labels for my drawers and some decor for the walls!

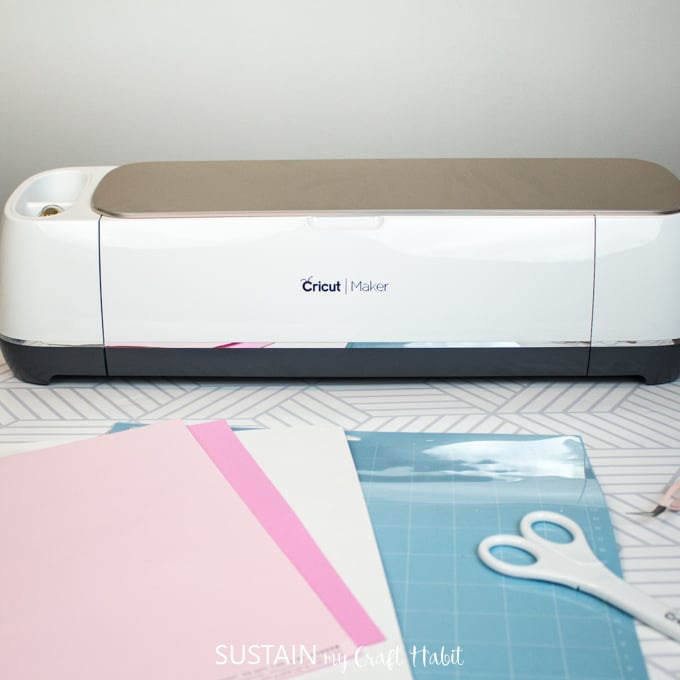
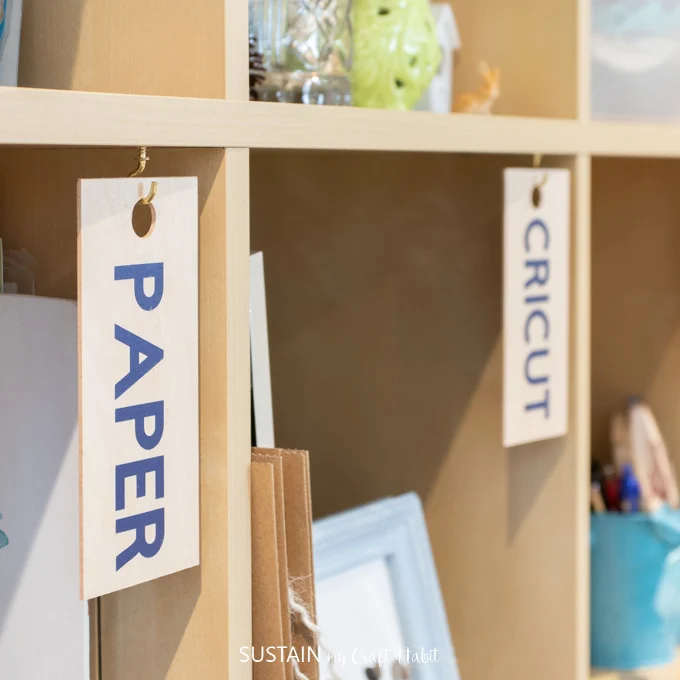
DIY Basswood Craft Room Organization Tags
Supplies Needed to Make DIY Craft Room Organization Tags:
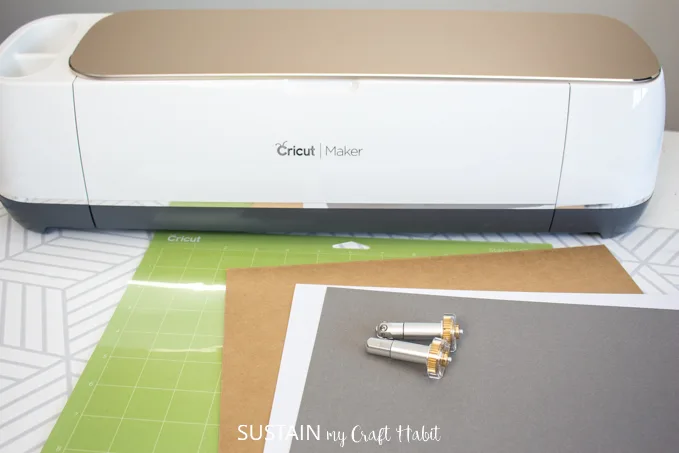
- Cricut Maker
- Craft Room Organization Tags Project Template from Design Space
- Cricut Strong Grip and Standard Grip Mats
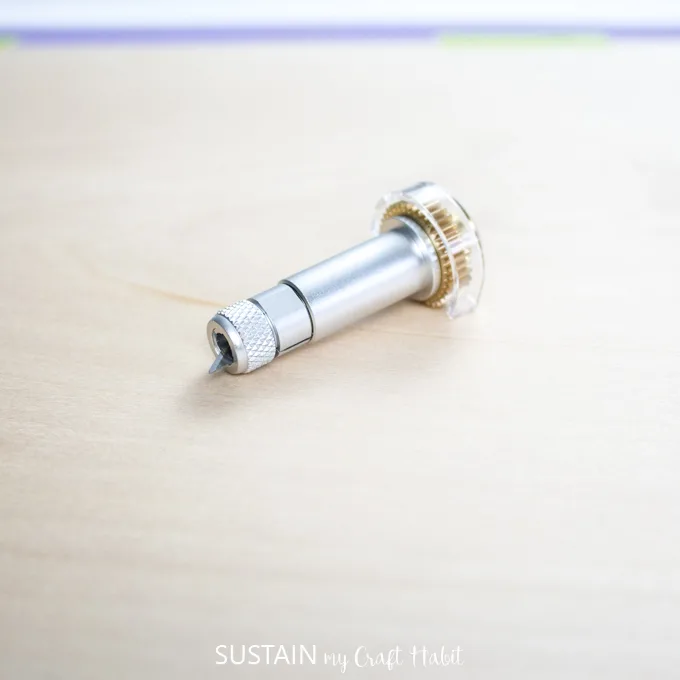
- Knife Blade
- Fine Point Blade Tool (standard)
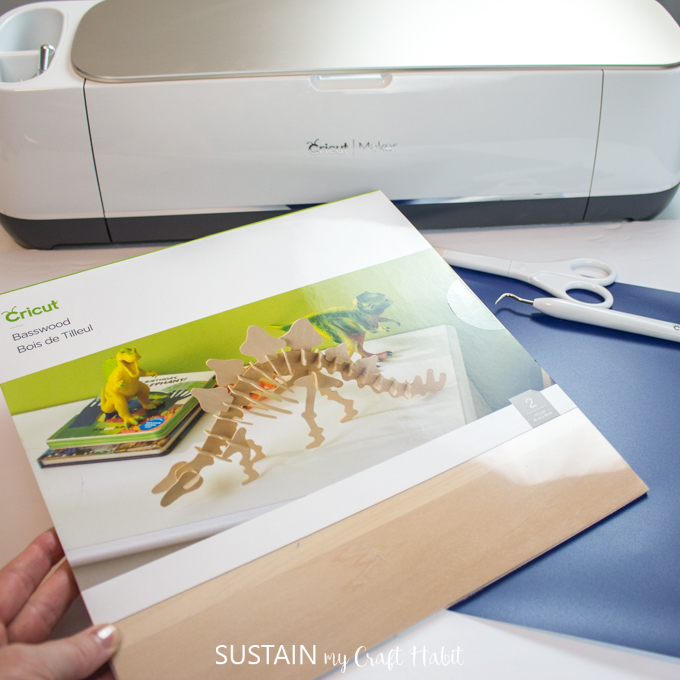
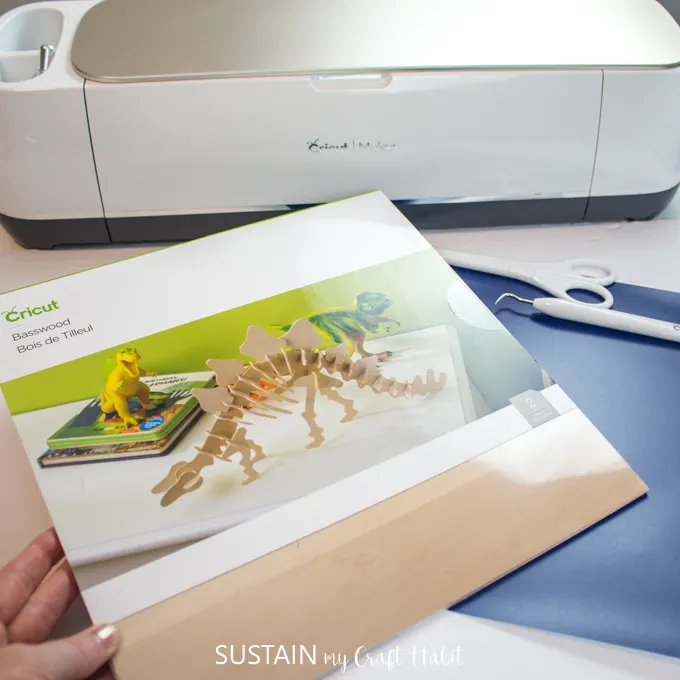
- Basswood, 1/16” thick (1 package)
- Removable Vinyl in Navy
- Transfer Sheet
- Weeder
- Masking Tape
- Screw-in Hooks (cup hooks)
Instructions for Making DIY Craft Room Organization Tags:
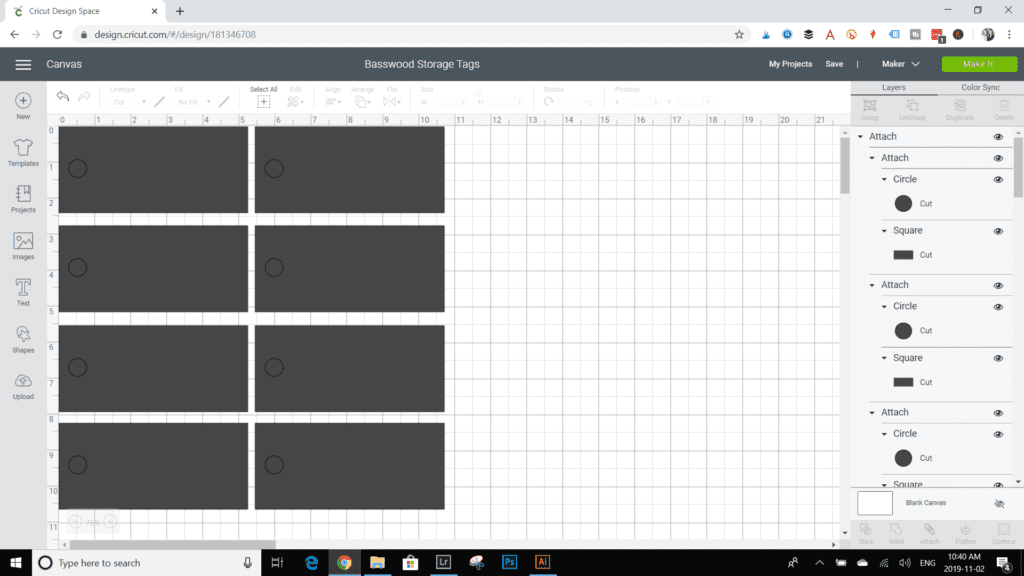
Upload the Craft Room Organization Tags project in Design Space and select Make It.
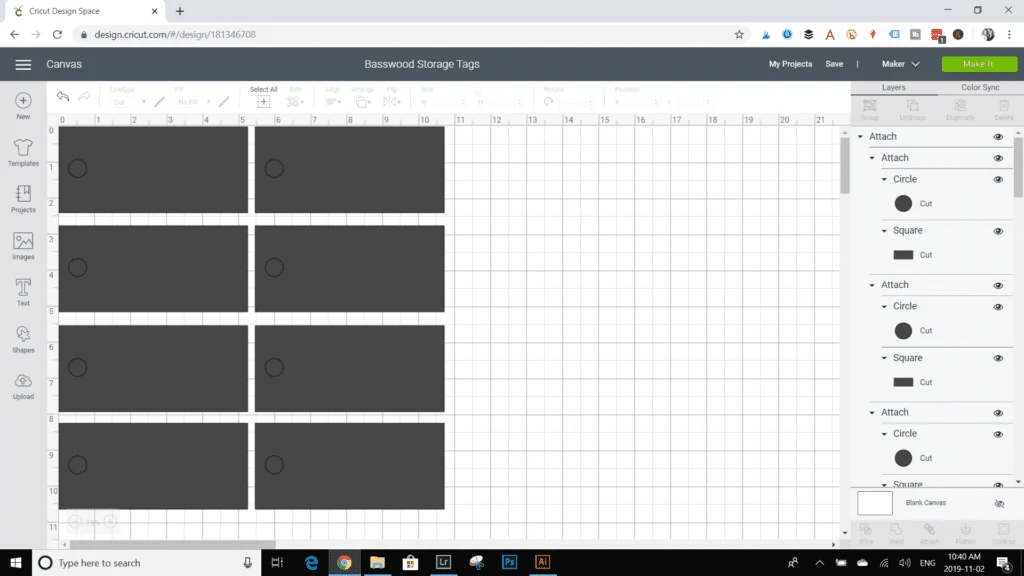
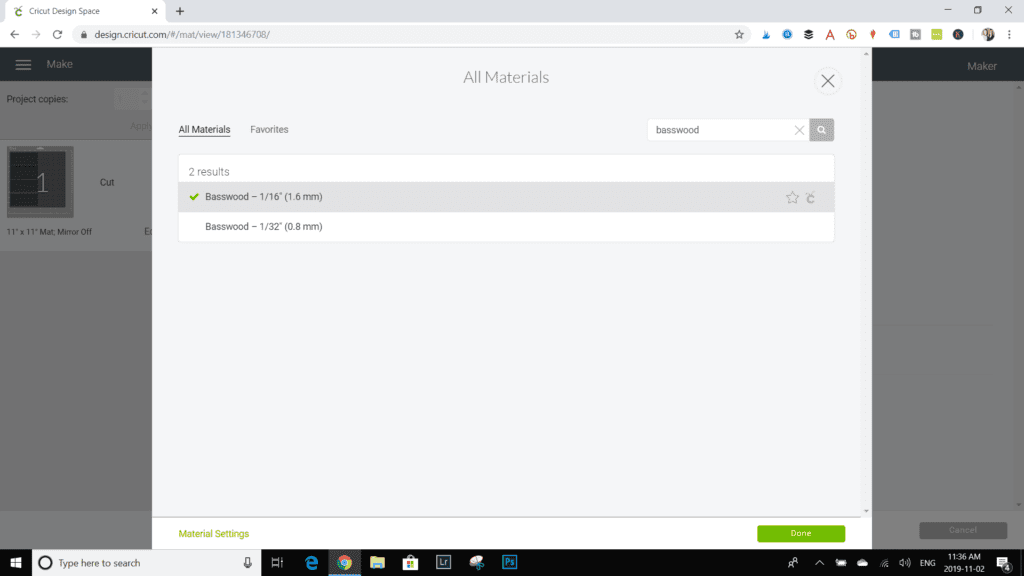
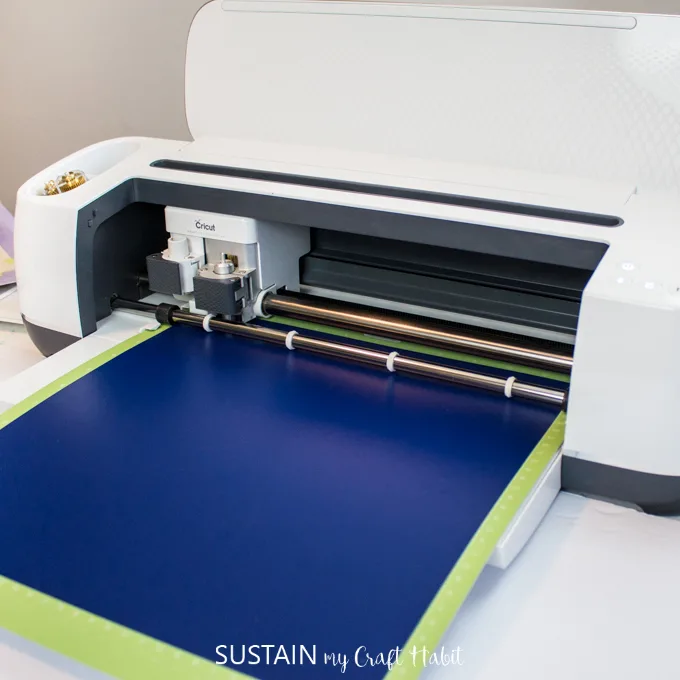
Cutting Basswood with the Cricut Maker
Choose basswood from the list of material options. It gives you an option for two different thicknesses. Since the basswood packaging doesn’t include the measurement, you’ll need to measure the thickness of the basswood yourself using a ruler.
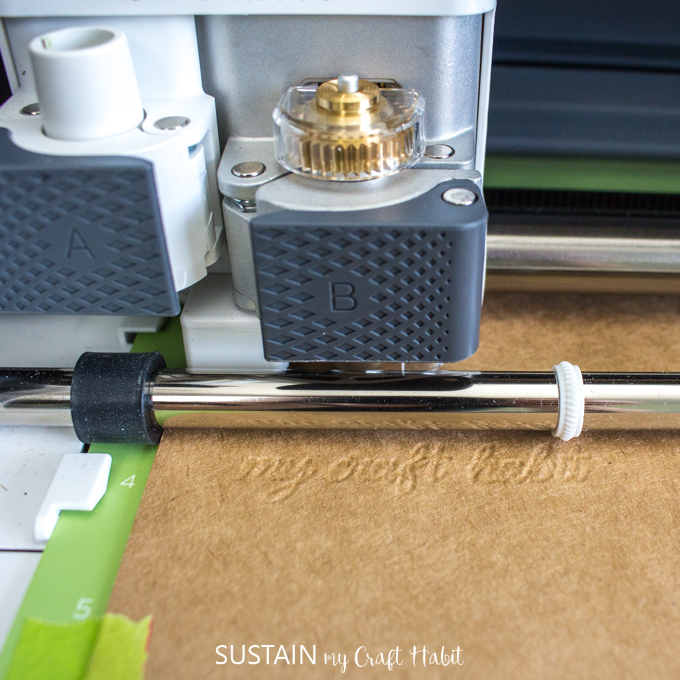
Insert the Knife Blade into the Maker. If it is the first time you’re using the Knife Blade,you will be prompted to calibrate the tool before you begin.

Move the star wheels all the way over to the far right side.
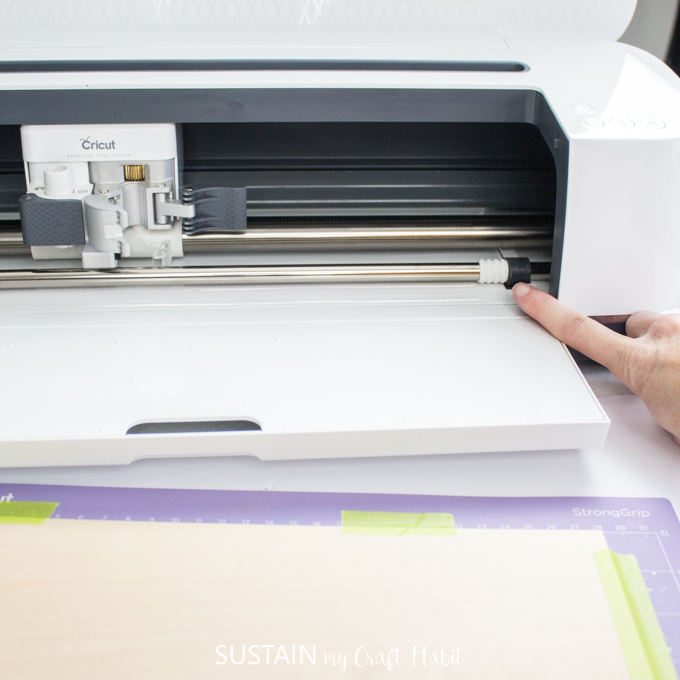
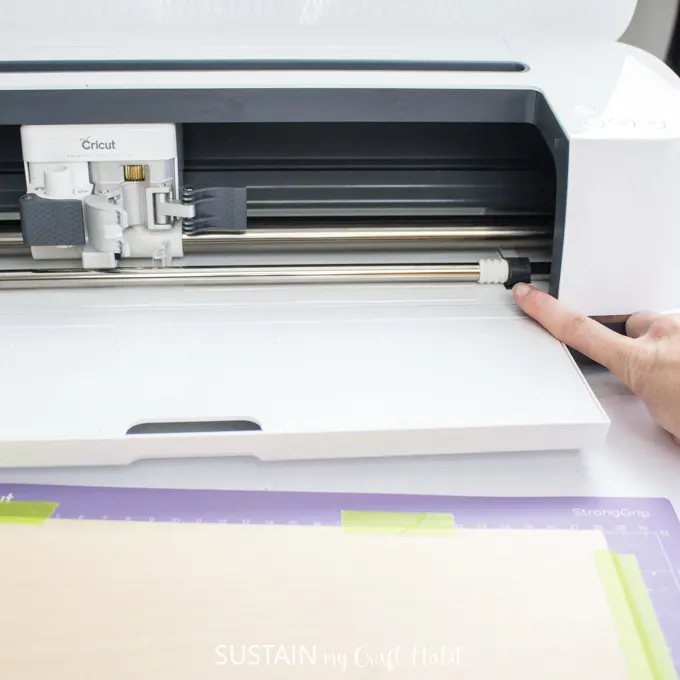
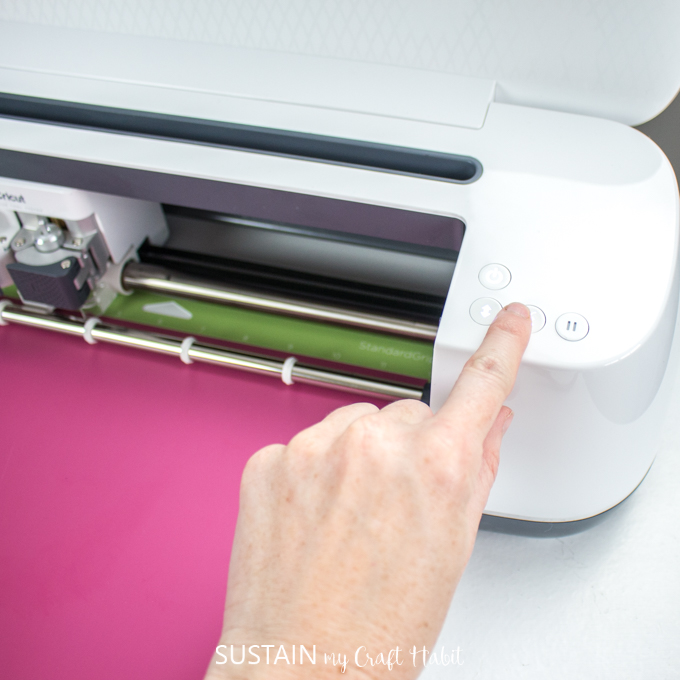
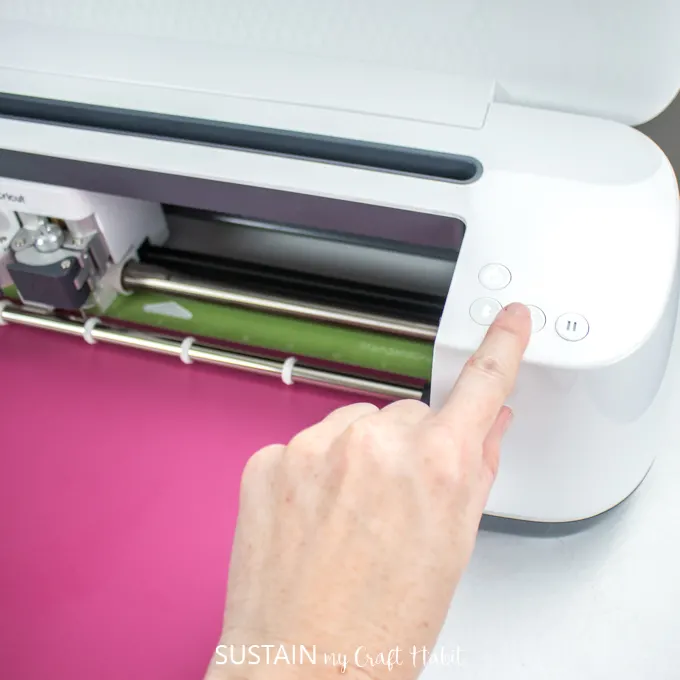
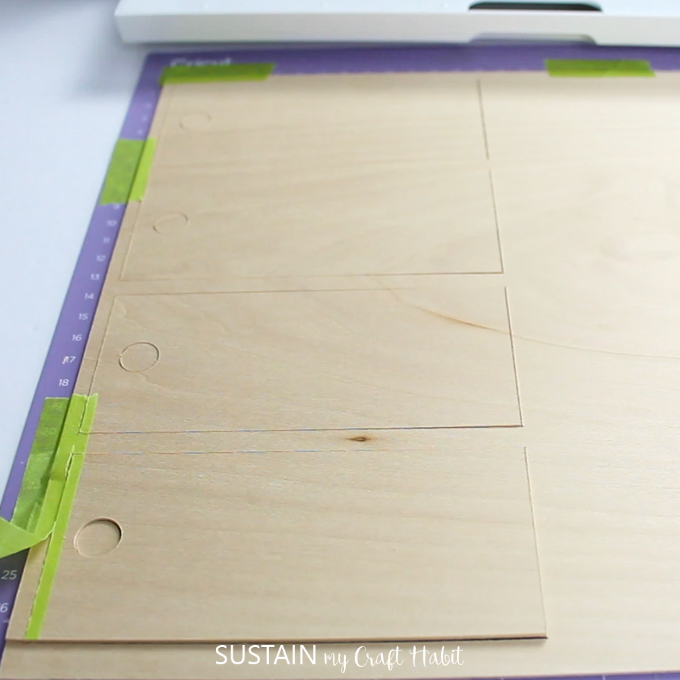
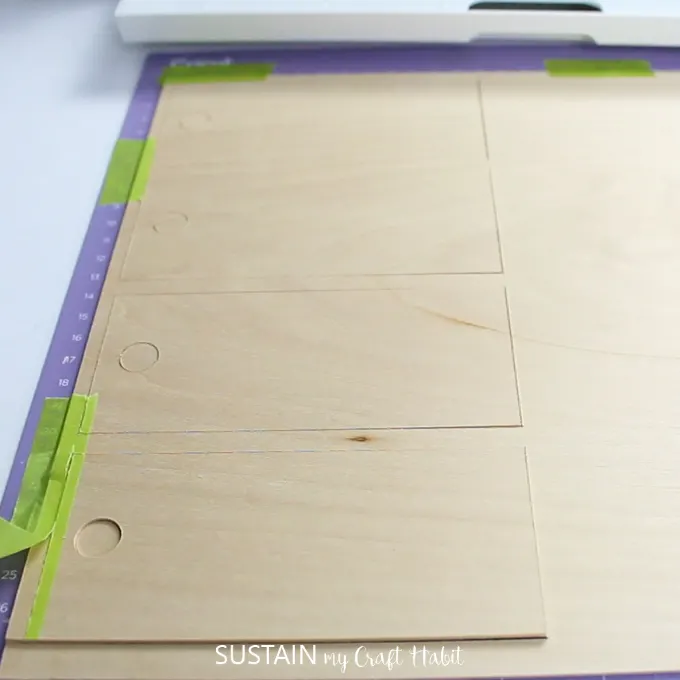
Place a sheet of basswood on the strong grip mat in the upper left corner and tape it down along all four sides with masking tape. Press the upload button.
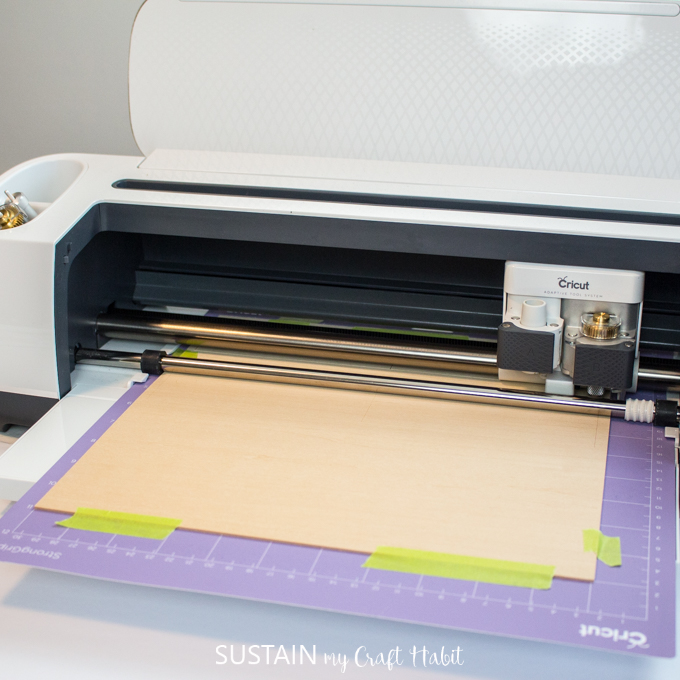
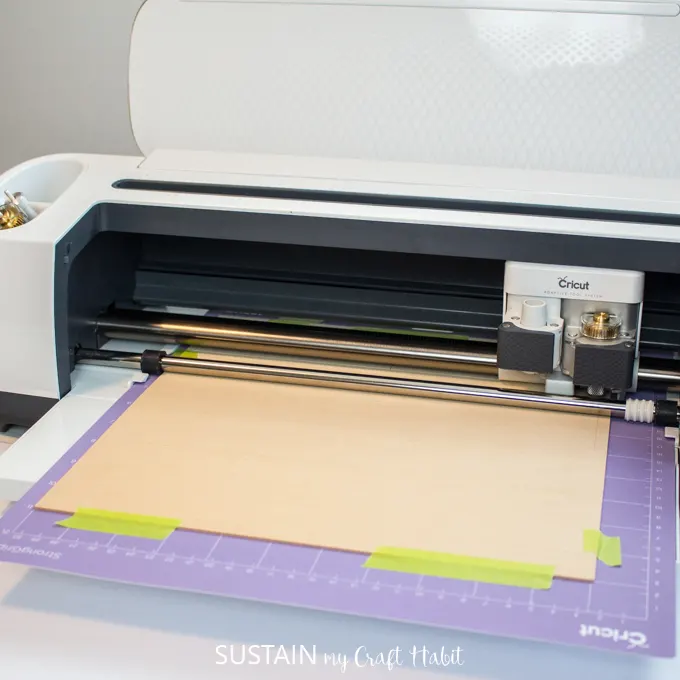
Press continue to cut out the tags. The Design Space warns that the cut time will be long but as it’s cutting, it tracks the % of cut completed as well as counting down the time remaining in minutes.
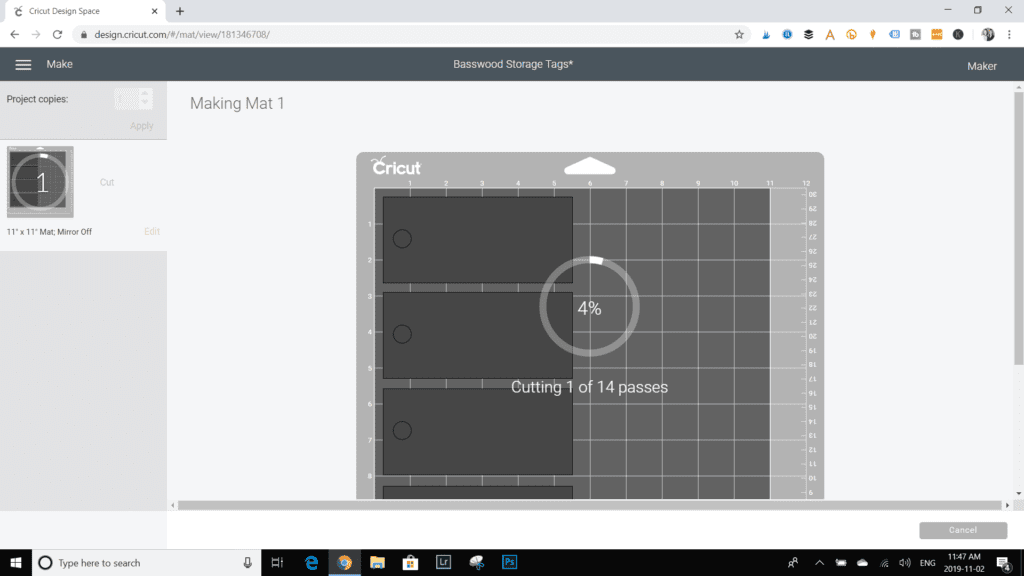
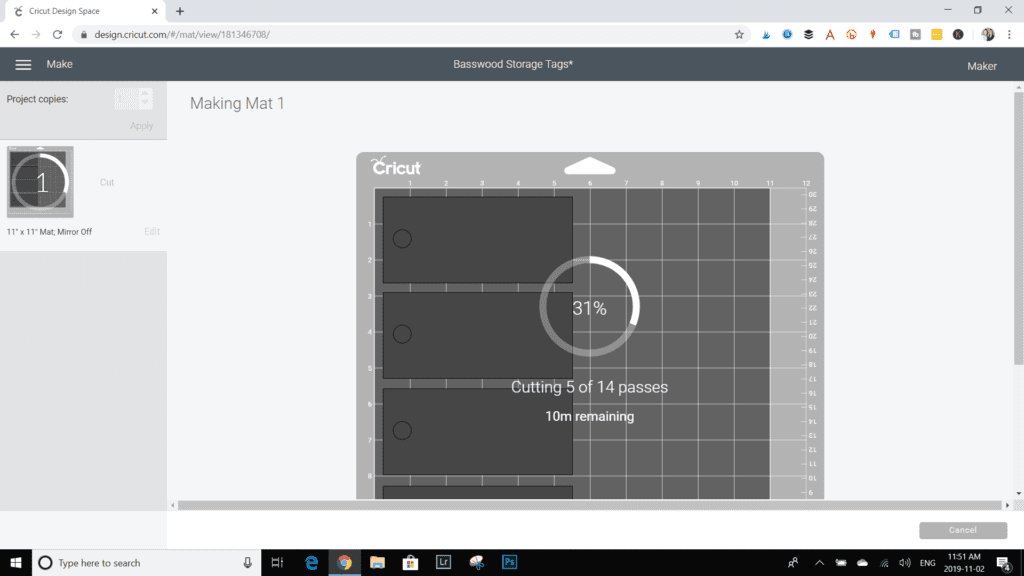
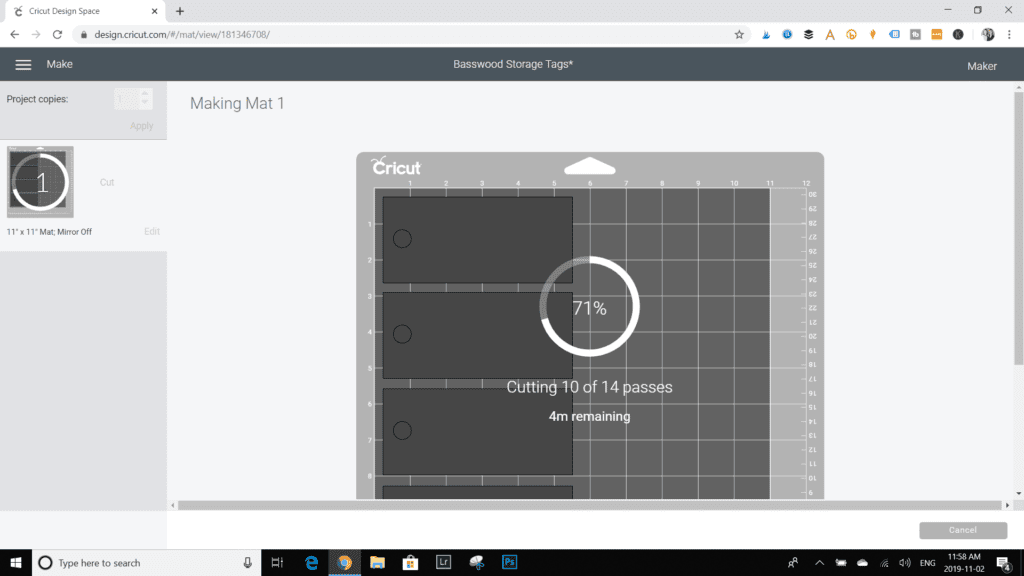

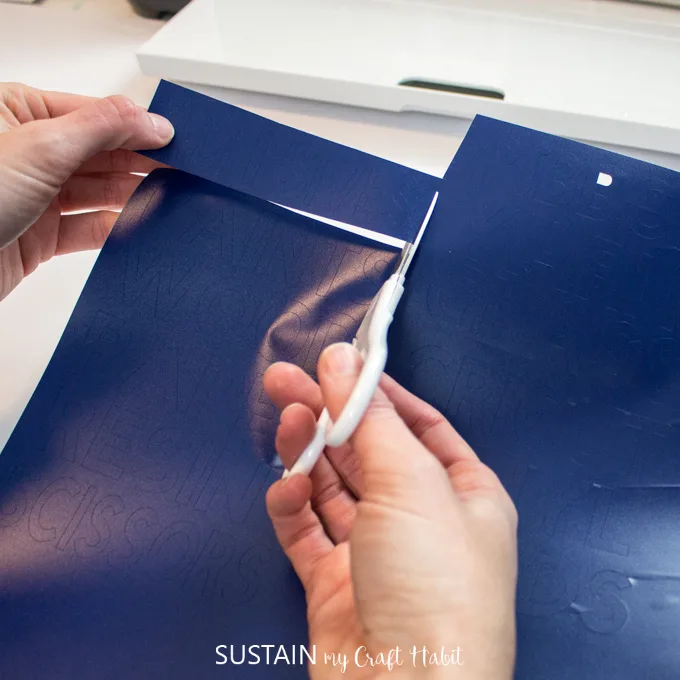
Although I did calibrate the tool, I found the there were more cuts suggested than necessary. When I sensed the wood was almost cut through, I paused the cut and carefully checked the basswood without unloading the mat. If you allow the Maker to continue cutting, there is a chance it will cut through the strong grip mat.
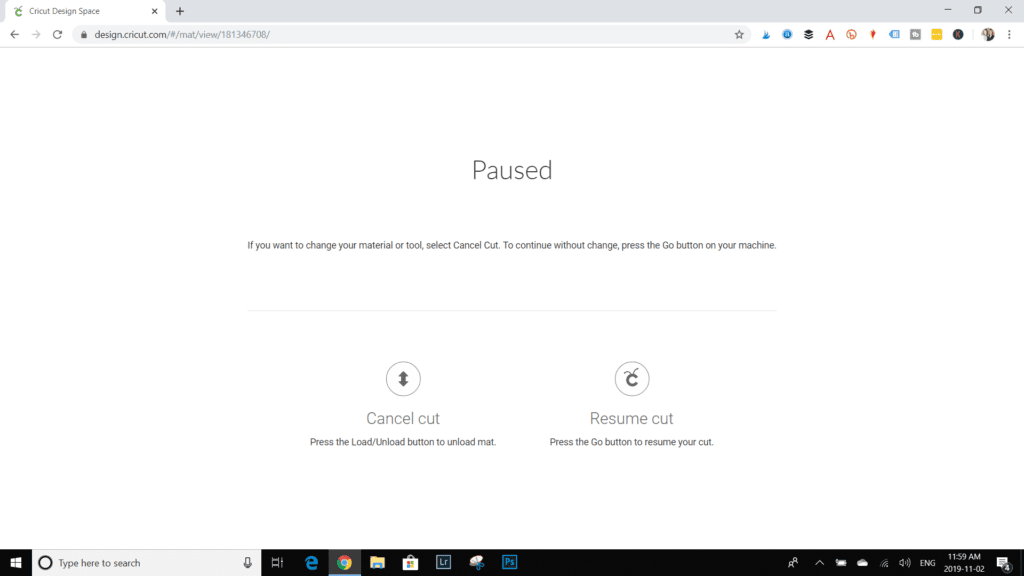
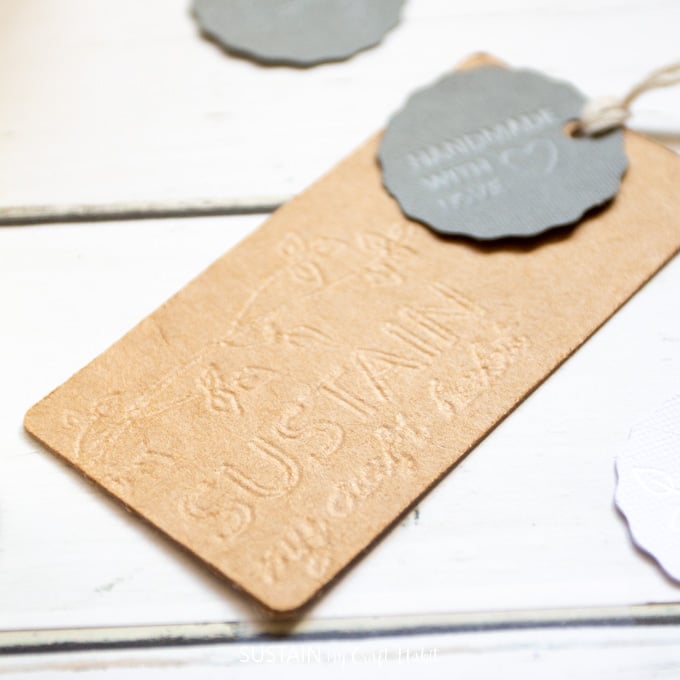
So at about 70%, I found that the basswood was fully cut and I canceled the cut and unloaded the mat.

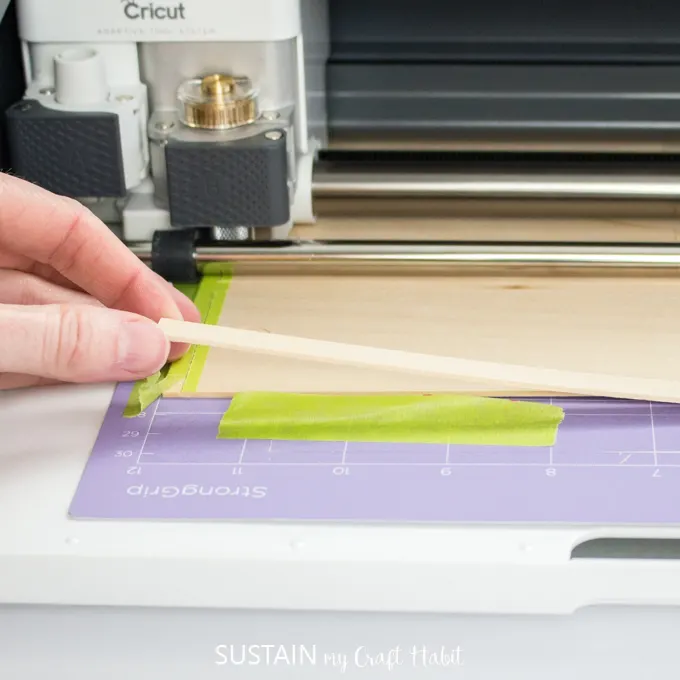
The basswood tags can be removed from the mat very easily. I couldn’t get over how cleanly it cut the circle for the tag. So cool!
Cutting Removable Vinyl with the Cricut Maker
To cut out the lettering on mat 2, choose removable vinyl from the list of material options.
Insert the Fine Point Blade tool into the Maker.
Note: If the star wheels are all the way to the right side because of the previous basswood cut, make sure to move the star wheels back to their original position: evenly spaced along the rod.
Place a sheet of removable vinyl on a standard grip mat with the right side facing up. Press the upload button.

Press continue to cut out the lettering.
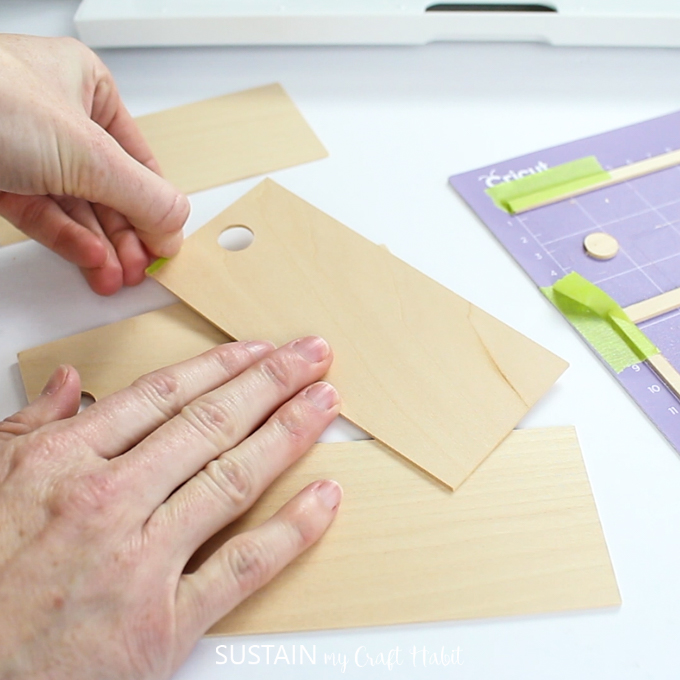
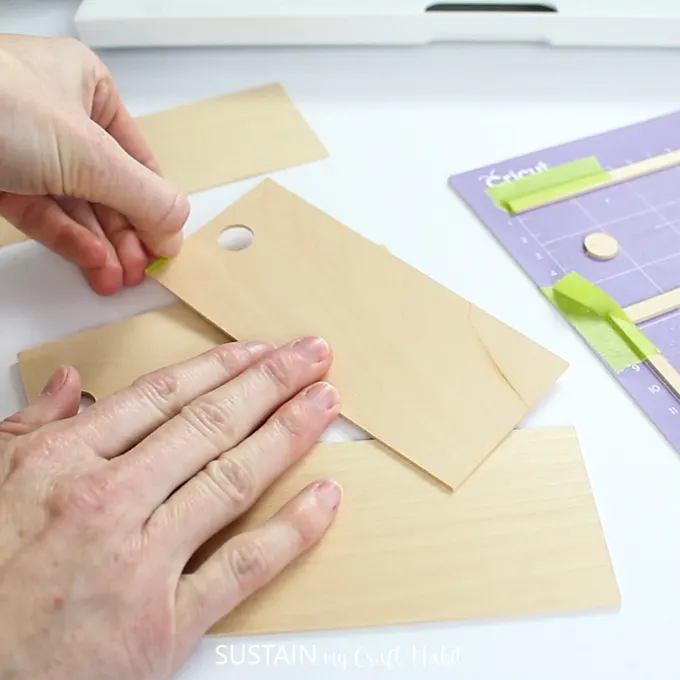
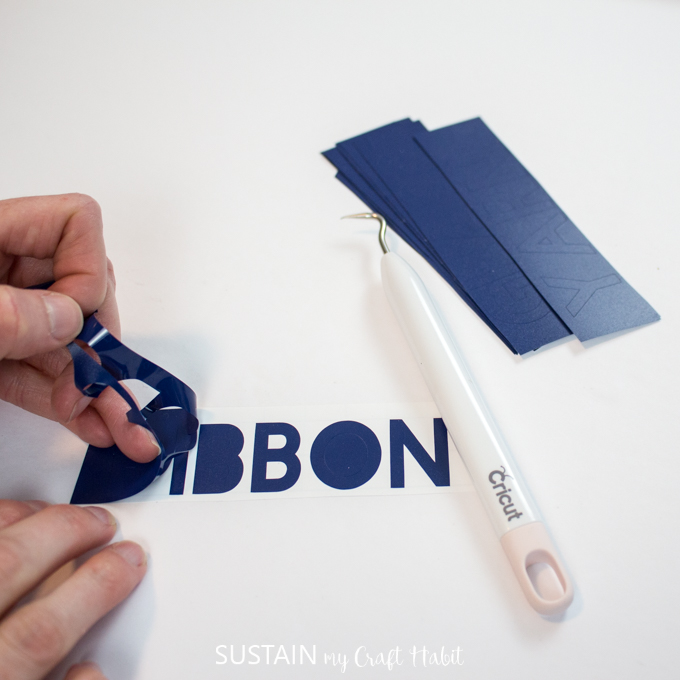
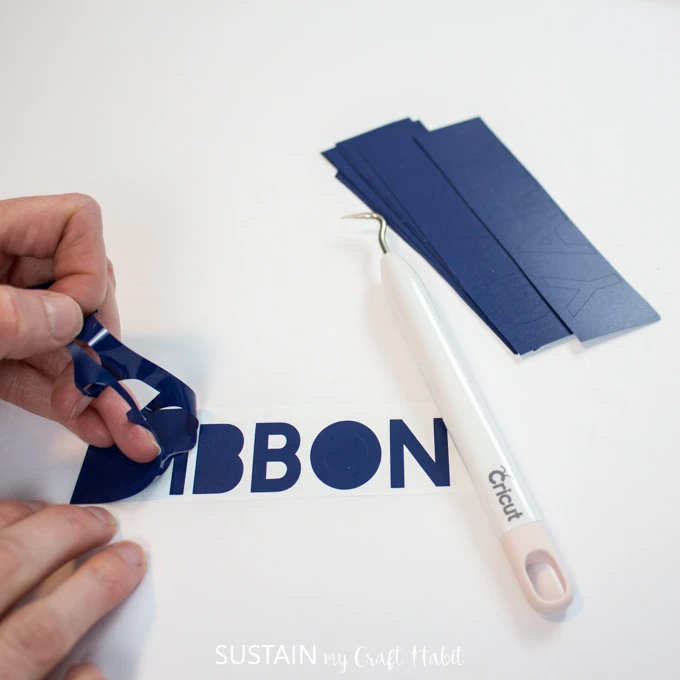
When finished, peel the vinyl off of the mat and cut around each of the words.

Using a weeder, remove the excess vinyl leaving just the letters in place.
Assembling the Basswood Storage Bin Tags:
Place a piece of transfer sheet over top of the removable vinyl by first removing the white backing.
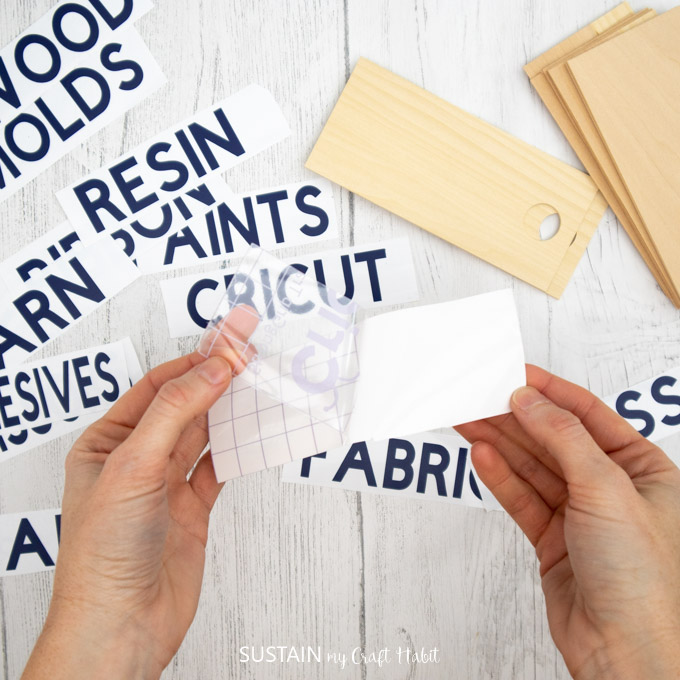
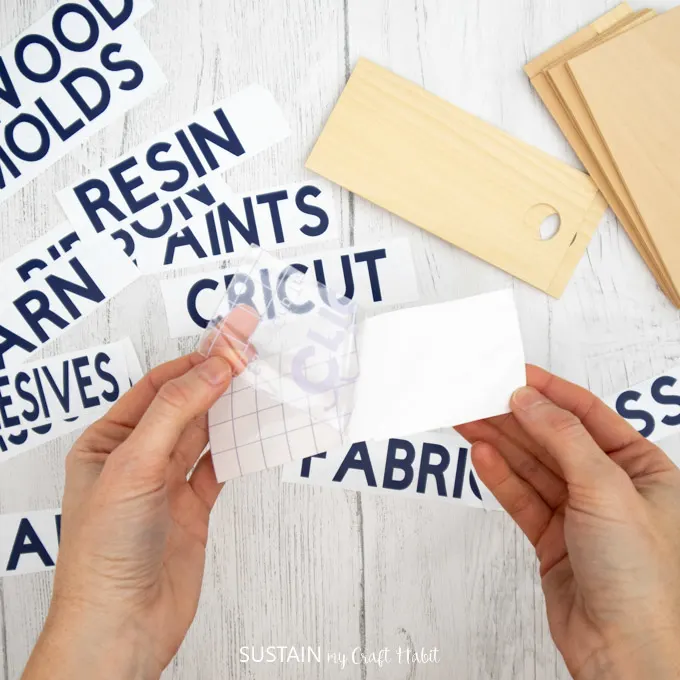
Press down firmly on the letters, using your nail to help force the vinyl to stick to the transfer sheet.

Peel away the white removable vinyl backing.


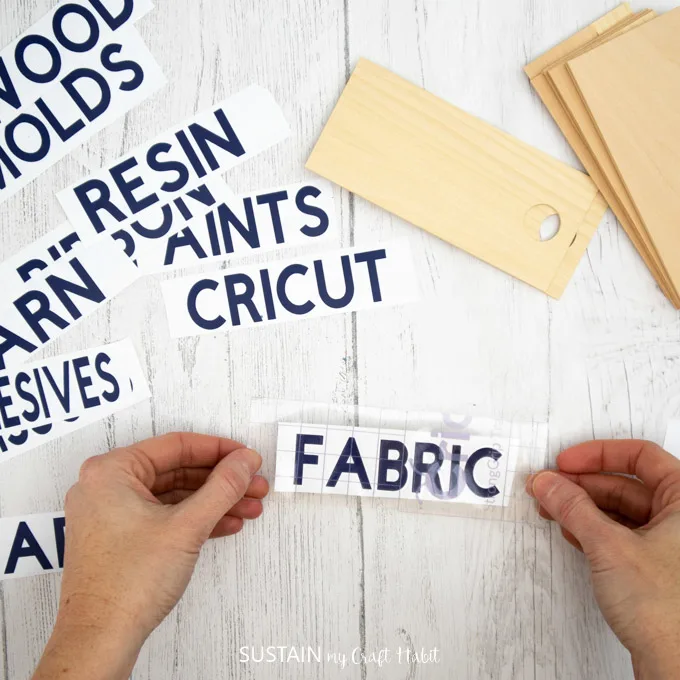
Place the letters with the transfer sheet on to the basswood tag.

Press it firmly down again.
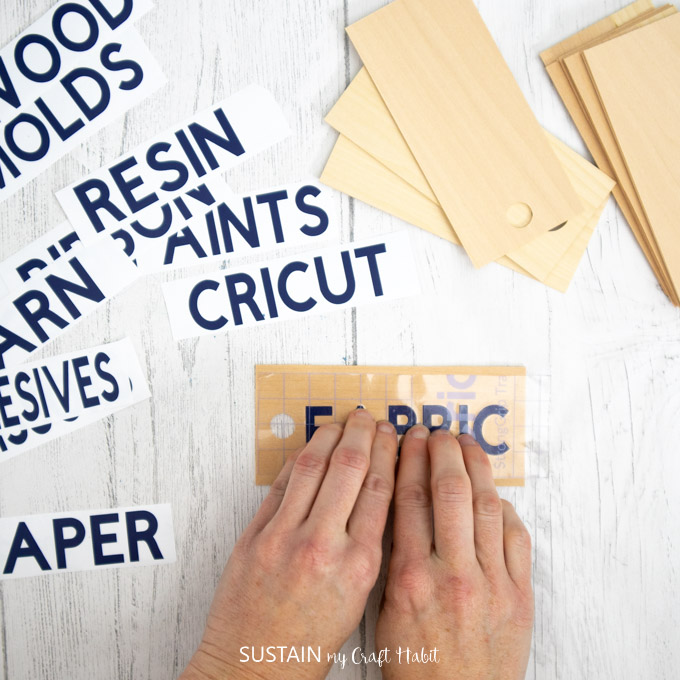
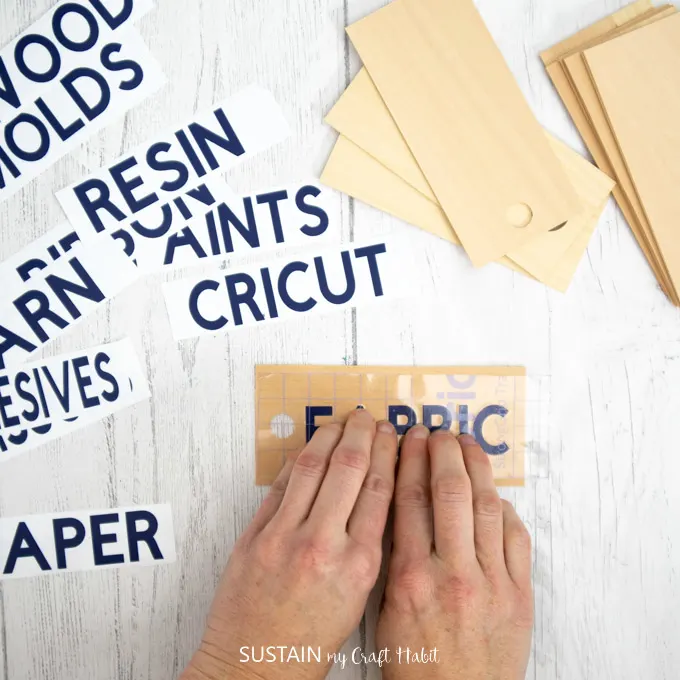
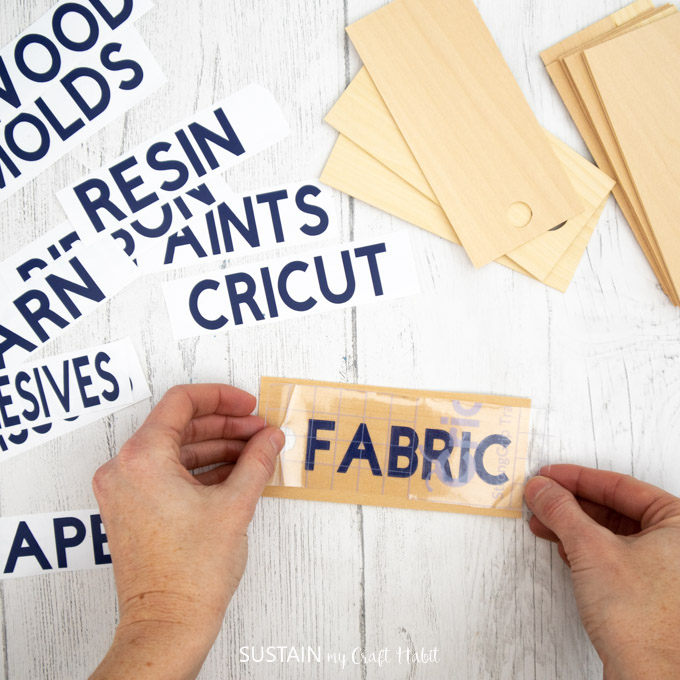
Carefully peel away the clear transfer sheet leaving behind only the vinyl lettering. It works best when reusing the same transfer sheet since the stickiness weakens making it easier to peel away from the letters.
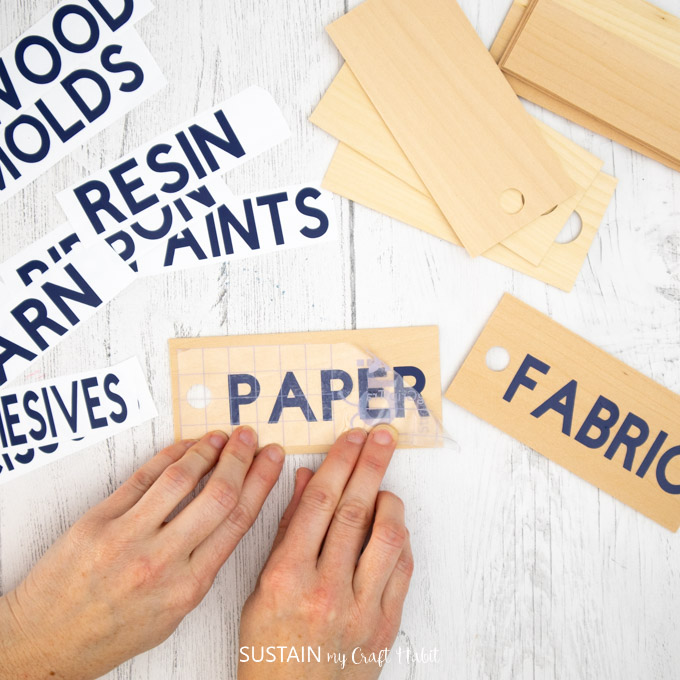

Continue for the remaining tags.
Hang your lovely new labels in your craft room or studio! Mine will hang on small hooks and be moveable as my needs for the space change.
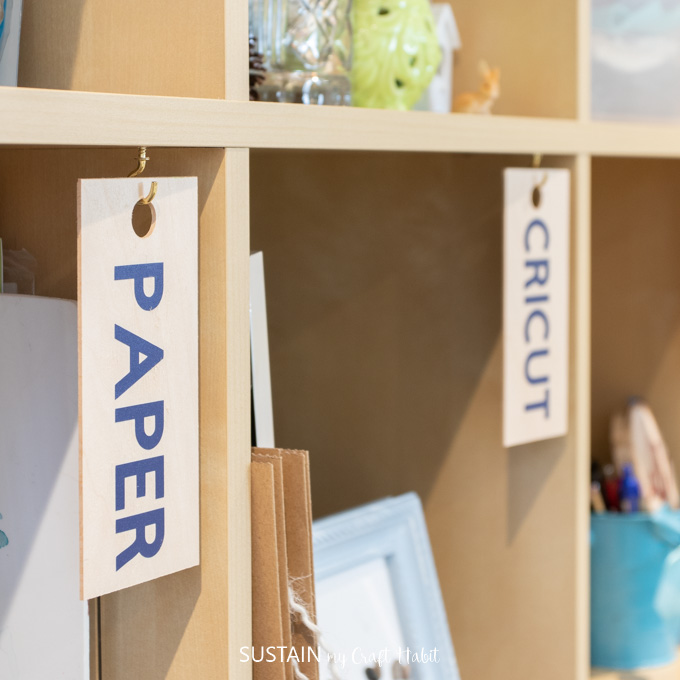
We look forward to sharing the full studio tour with you soon.

From providing new options for our readers, to expanding our product lines and more, the Maker truly is the ultimate, versatile resource for our small business. Even though it’s been a year since we unboxed our Cricut Maker, it feels as though we are just scratching the surface of all the machine’s abilities.
Here are some additional project ideas using the Cricut Maker we think you’ll enjoy:
- “I do what I want” tote bag;
- Letter spacing in Design Space tutorial;
- Girls’ craft night with Cricut Infusible Ink.
Like it? Pin it for later!

