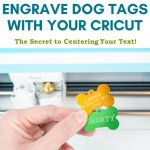
Engraving with Cricut Maker: How to Center Your Text and Add Fills for Bolder Engraving
This post may contain affiliate links that won’t change your price but will share some commission.

The new Cricut Maker Quickswap tools have been taking the craft world by storm this past month!
I finally found the time to play with my new tools, which includes engraving with Cricut! I’ve done more than 12 projects with it already, which means I have gone through plenty of trial and error so you won’t have to!
Below I am covering the juicy details and the biggest question, how do you properly align and center your text or images when engraving on smaller objects like dog tags or jewelry?

Also, one common thing I ran into was that my engravings were not always standing out well. So I am sharing this super cool hatch fill technique so you can step your engraving up like no one else.
There is also a full video tutorial below to walk you through all the backend work in Design Space!
Let’s get to engraving with our Cricuts!
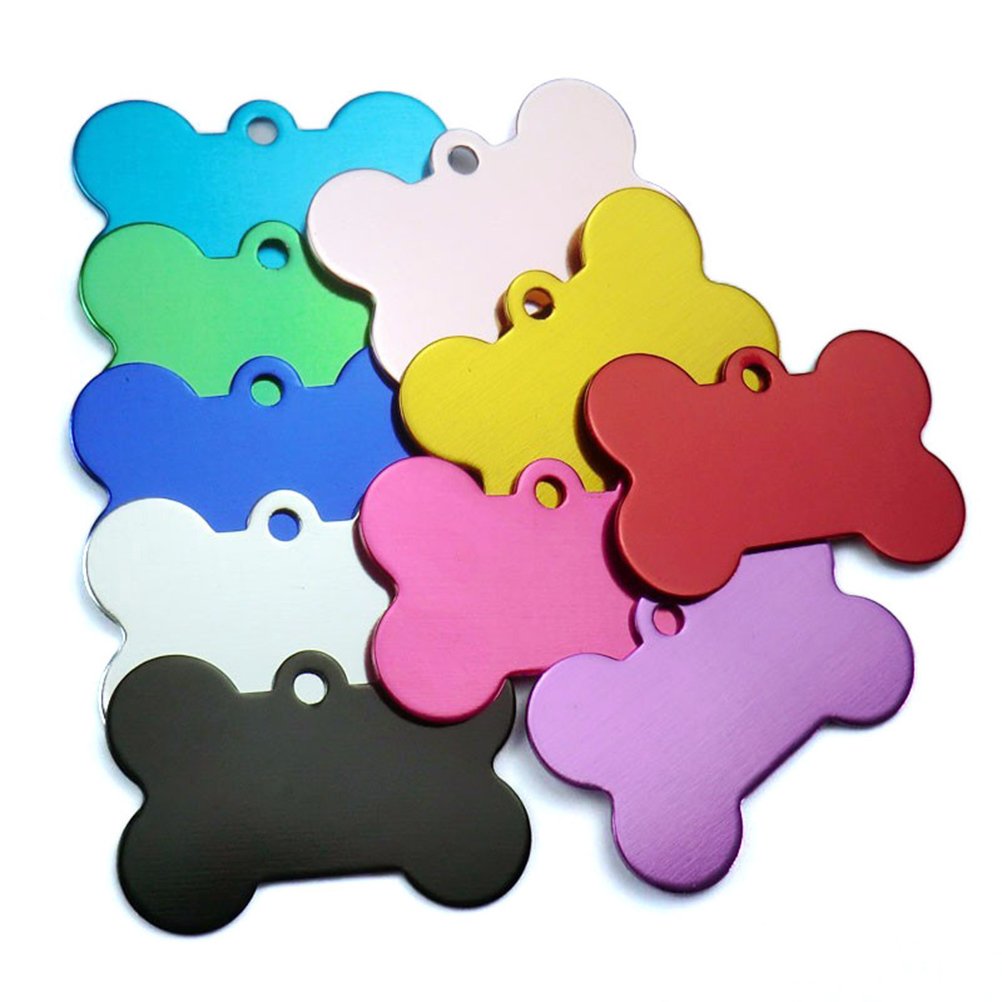
1. Where to Find the Best Blanks for Engraving with Cricut
Let’s start with the most commonly asked question! Where do I find the engraving blanks for Cricut Maker?
A another separate post is coming on this in a couple days but for now here are the ones I used.
Dog Tags – this brand here worked really well and it comes in all the pretty colors!
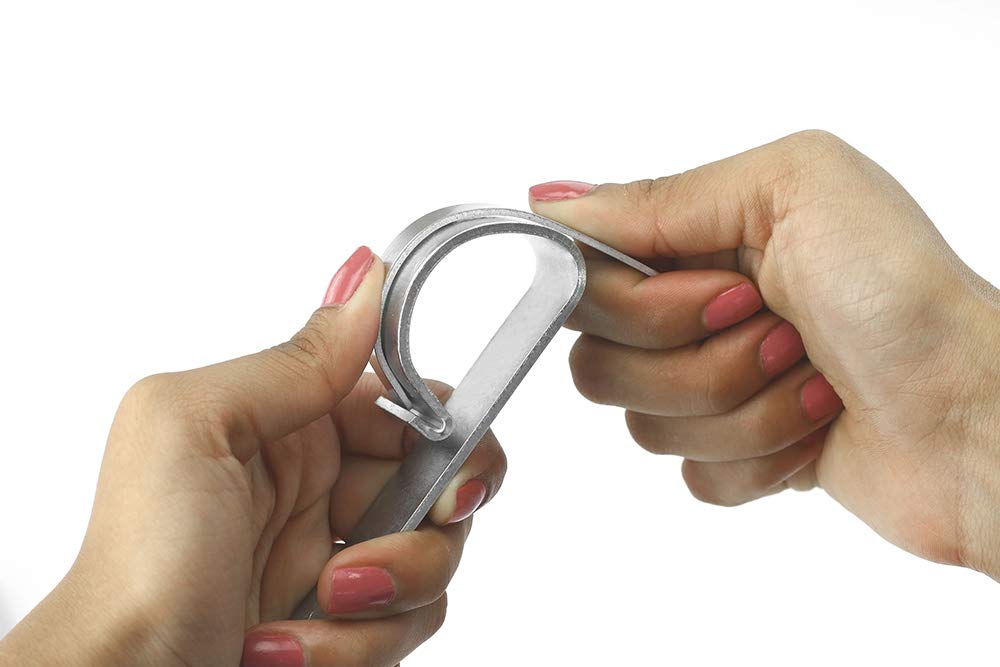
Bracelets/Jewelry – Skinny and wider metal bangle bracelets can be engraved on your Cricut! Make sure you also get the bending bar too.
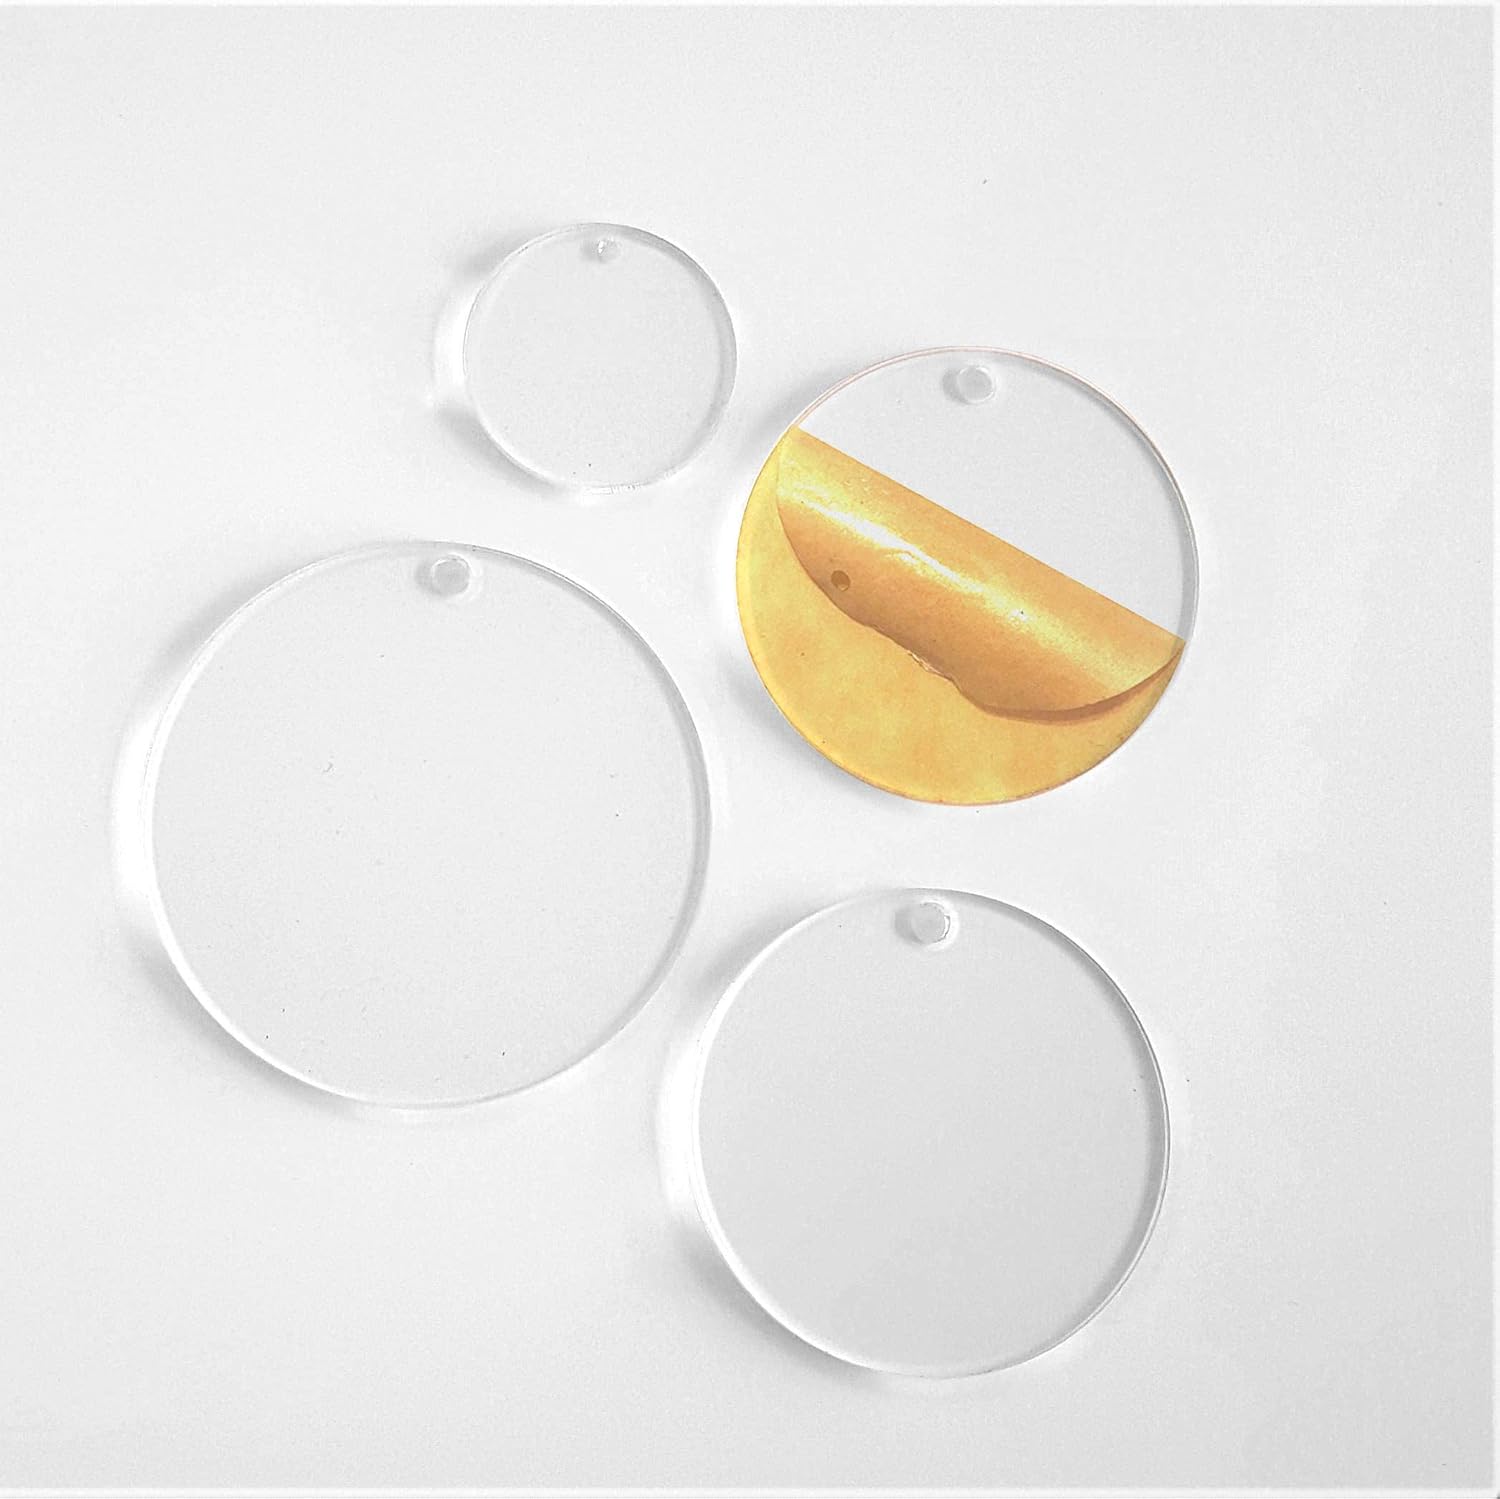
Acrylic Keychains – Acrylics are another fun way to engrave. I tried my hand at some clear acrylic keychains.
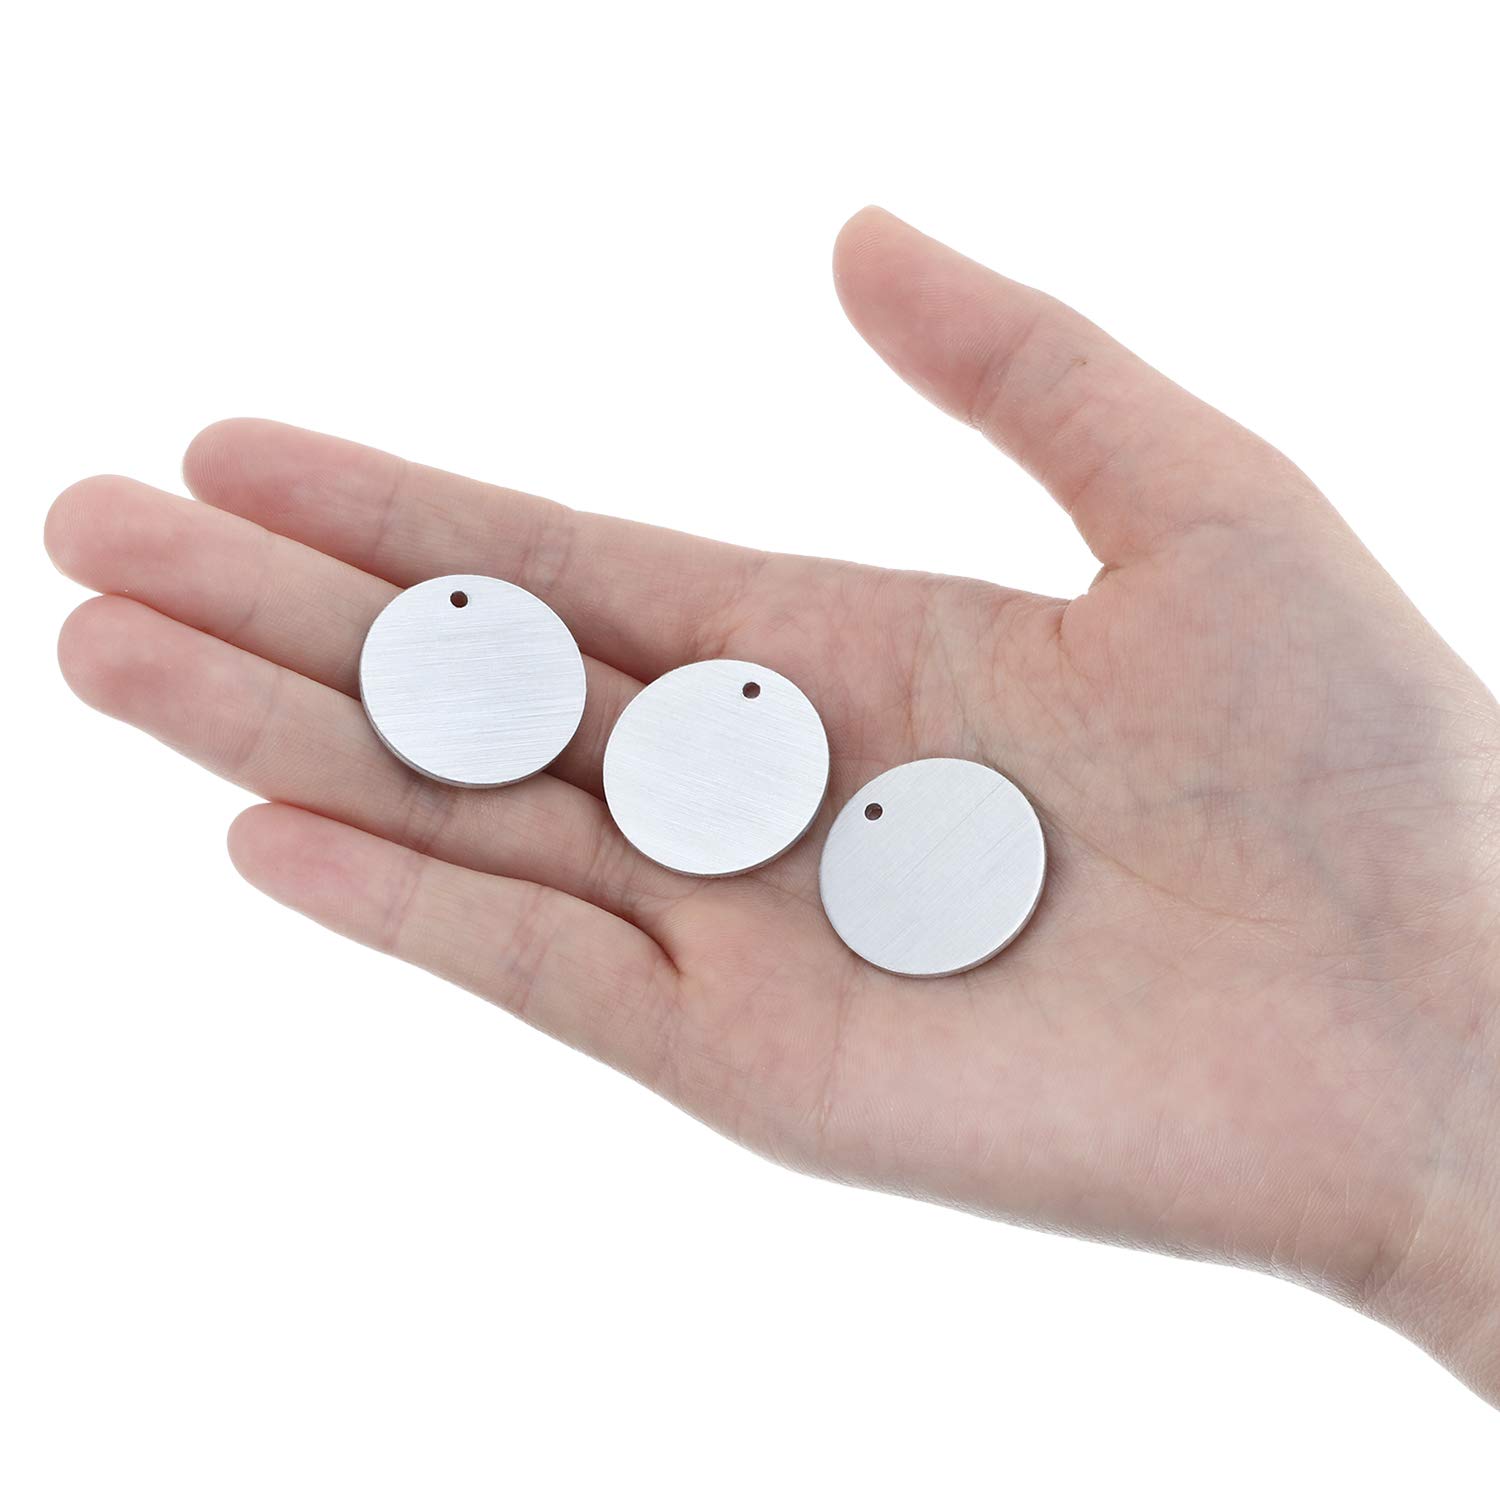
Pendant Necklace Blanks – I found some simple pendants at my Hobby Lobby that worked well for creating a special necklace.
Other Supplies You Need
You will also need painters tape, the engraving tip, a Cricut Maker, and a strong grip mat. I used a brand new standard grip mat in the tutorial and it worked for the first couple of times, but I highly recommend using the strong grip mat.
2. How to Make Your Engraving Stand Out

Add Hatch Fill Patterns
Hatch fill patterns are finite geometric patterns that can fill an area where you wish to add more bold detail rather than the engraving only being an outline.
I will walk you through how to use the hatch fill pattern in the video below. You will be using text or an image with the pattern and applying the slice tool.
Grab my FREE hatch fill patterns in my Freebie Vault
Download these free hatch fill patterns and engraving templates by signing up via the form below. If you are already a member, log in right here and find it by searching ‘engrave’ or Design #130. Need help entering the vault? Read this helpful post here.
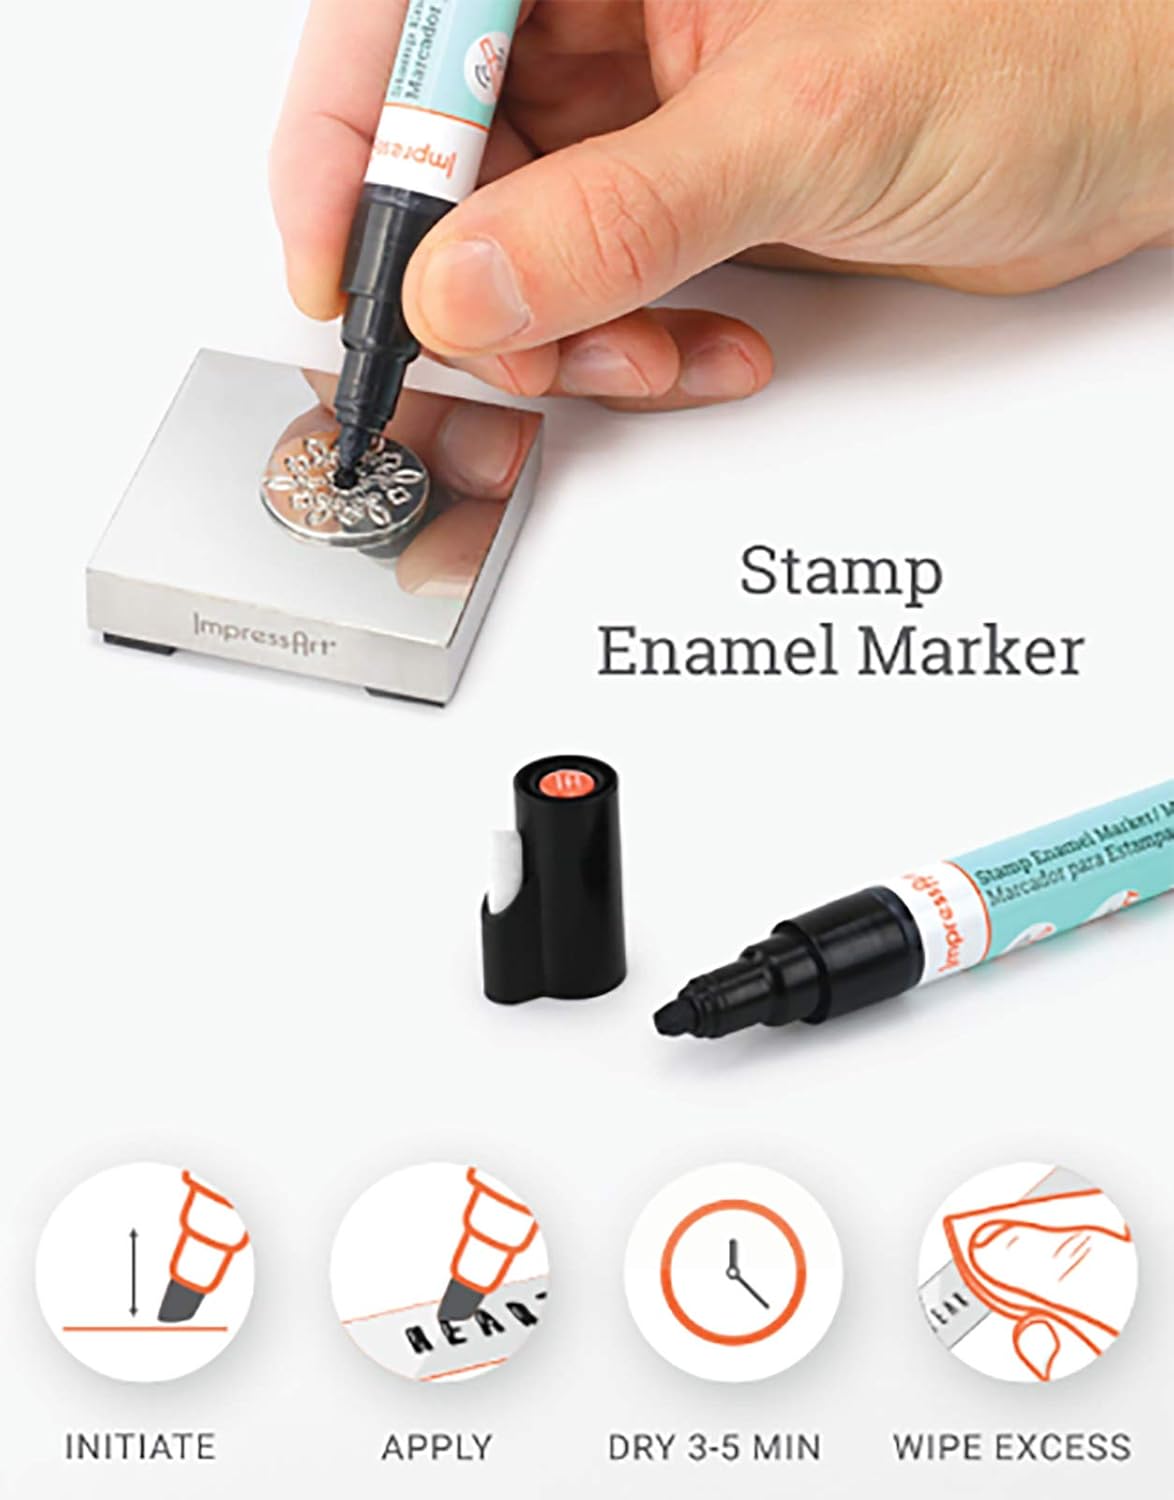
Consider using an Enamel Pen
Another way to make your engravings stand out is to use an Enamel Pen. You will be able to darken the engraved details and wipe off the excess for a sharper more defined look.
Here is the brand I use: ImpressArt Enamel Pen
3. How to Center Your Text or Images When Engraving with Your Cricut
Trying to figure out proper alignment when engraving is tough – especially on small items like dog tags, bracelets or other jewelry pieces.
But there is a way to get your items centered aligned without 10 trips around the trial and error rink.
The trick involves measuring your blank or plugging in the dimensions on the blank’s packaging and creating a template using the basic shapes tool in Design Space.
Lucky for you I created a bunch of templates below for you to have and you can learn how to create your own if needed.
DON’T use Snapmat
There may be a few of you who think that using the Snapmat feature on Cricut’s mobile app will work easily for this.
But it doesn’t. Trust me, I’ve tried. A LOT!
Snapmat works great on items that are at least 4 inches or bigger. However, if you are trying to engraving on a skinny metal bracelet or a dog tag it’s like shooting blanks in the dark trying to hit that sweet center spot.
DO use Templates!

I’m supplying you with 4 of my templates for FREE! They are already loaded into Design Space for you and you can adjust the sizes easily if needed!
Find these engraving templates inside the Subscriber Vault! Sign up via the teal button below or if you are already a subscriber just login in here and look under the Cricut section near the bottom.

How to Make Your Own Engraving Templates
But what if you decide to use a blank and you need to create your own templates? I can help with that too!
1. Measure your item from the innermost “shape:”

2. Draw a geometric shape similar to the engraving blank you are working with and plug in dimensions:

Make sure to change your linetype to “draw.”
3. Use the align tool to center accurately: Make sure to use that center align button to make sure your project is placed accurately inside Design Space.

4. Use the guides on your canvas and mat: Your Design Space canvas is a replica of your mat. Make sure to line the shape up 1 inch in and 1 inch down from the top. Do the same when you place your blank on the mat. I will show you exactly how to do this in the video below.


Go ahead and watch the full video below to reveal all the details you need to know when engraving with your Cricut Maker machine!
Engraving with Cricut Maker Video Tutorial
Wanna be a Cricut Master and learn to create your own craft design files like me?
Do you own a Cricut machine or want to own a Cricut but maybe you are overwhelmed when you look at the Design Space software and feel lost with all the functions?
Maybe you wish you could create your own design files rather than being forced to spend money on every design for each project you make?
Let me share with you the 3 biggest mistakes Cricut crafters make and my proven steps to not only master your Cricut but also transform yourself into a craft designer!
If that sounds like it’s for you be sure to join me here in my FREE masterclass!

About Abbi Kirsten
My mission is to inspire you to nurture the creative magic inside your soul – bringing you fun, easy to learn DIY projects, and quality template designs. I share a variety of projects, such as printables, svg cut files and craft tutorials, but specifically love paper crafting and paper flowers. Interested in paper flowers?! I’ve created dozens of signature designs for you to enjoy – starting with my best seller, The Art of Giant Paper Flowers, the Giant Flower Library and my shop of endless paper designs and flower templates.
Want to join my Facebook community to share your crafts and learn from the best? Click here to request access to my group, Elite Crafters and Cricut Lovers.
More Posts to Love
- Free July 4th Printable – Happy Independence Day Wall Print
- Free Printable Planner Stickers: Tropical Summer
- 9 Best Paper Flowers Crafts: Easy Papercrafts to Brighten Your Day
- The Best Free Summer SVG Files For Cricut And Silhouette Crafts
- Paper Flowers for Baby Showers: A Special Guest Post


I have used the subscriber password and I still can not get the free templets and cross hatch for the bracelets. It keeps asking me to subscribe. Loved the video very helpful but would like to try the engraving. Would like the templets and hatch fil if I could.
Hi, You need to click this link and enter the password given in the email: https://www.abbikirstencollections.com/subscription-confirmed
Scroll down to the Cricut section and the templates are there. 🙂
This is the best engraving tutorial I have found yet! Thank you!
My bracelet never turns out correctly. I line my blank up as pictured on the preview but it always engraves too high or too low. I’ve tried moving it next time to compensate but then it goes where it should? How can i ensure that it is aligned?
Hi Karen! Are you using our templates to help? And have you attached your image to the template so Cricut doesn’t shift it?
Yes-it is either too high or too low. I adjust the placement of the blank & then it engraves where the blank was before
Just did my first engraving. Turned out great but it’s scratchy and will pick at clothing. Anything we can do to make it smoother?
Hi Eryn! You could try to sand the rough area with a very fine-grit sandpaper or add a very thin layer of clear epoxy over the engraving so it’s totally smooth. 🙂
Kirsten, when I click on the link to download the templates, they download as an html. All the templates come into design space in a group and I’m not able to contour them. Any suggestions?
Hi! Before you can contour you will need to ungroup. The ungroup button is at the top right-hand side of the layer’s panel. And also keep in mind that contouring only works with closed shapes. 🙂
Thanks! I actually realized that and tried to delete my comment here, but couldn’t! Thanks again!
I’m glad you didn’t because I needed the same answer, lol!
Hi there unable to locate the hatch fill pattern to dowload
Hi,
The hatch fill patterns are in the freebie vault under the Cricut section. 🙂
Does anyone know how small of a blank we can use with the cricut maker? I know that impressart makes rings that can be bent as well- anyone know If these work??
Hi! Using Snapmat would be a great way to use a small blank on Cricut for engraving. 🙂
I have tried to download the templates for the dog tags and bracelets and it just gives me part of 2 circles and two rectangles… not the templates you show. Can you help me get the full correct templates?
Hi Jennifer, It sounds like you are looking at the preview of the SVG image. Please upload the file to Cricut Design Space and you will see all the parts presents. 🙂
I have uploaded the hatch fill template into design space & ungrouped, hid all but the basic hatch fill I want to use, added text but I can’t slice to fill my word with the hatched design. Any suggestions? Thank you
Hi! Have you welded your text so that it is one layer? You can only slice with 2 items selected at a time. 🙂