

Make your own hem gauge for even hems
Making your own hem gauge is so easy, simple and affordable! If you’ve been struggling to sew neat, even hems all the time, in this quick tutorial you’ll learn the easy way to create the perfect hem using your own handmade hem ruler!
I’m absolutely in love with this super duper hem gauge and I’m sure you will too! This quick and simple idea helps you achieve the perfect hem every single time! It’s super cheap (if not free), and so easy to make, with materials you already have on hand! It’s now my permanent companion on the sewing table!
I’ve always struggled getting even hems especially when hemming lightweight fabrics back when I didn’t know how to do a narrow hem and didn’t have a rolled hem foot to make a neat, rolled hem. I admit I hated hemming most of the times when I didn’t sew with cotton (which is an awesome fabric to sew with, from cutting to sewing and finishing hems and seams, I love it!)
But recently I made a nice blouse with pleats using chiffon and I could not, for the love of me, manage to make the hem even! The fabric kept slipping and my narrow hem ended up being a nightmare! I had to unpick it with my seam ripper (which was also a nightmare because chiffon is just not the friendliest of fabrics).
I remembered seeing some sort of a hem ruler/hem gauge around the internet a while ago and decided to make my own. It’s not fancy, it’s super basic and looks quite rudimentary but it gets the job done, and together with this cool DIY seam guide, it helps me make perfect hems every time! Let me show you the stupidly simple steps making this hem gauge takes!
How to make a hem gauge
Materials:
- cardstock in light color
- pencil or pen
- ruler or quilting ruler
- clothing item to hem
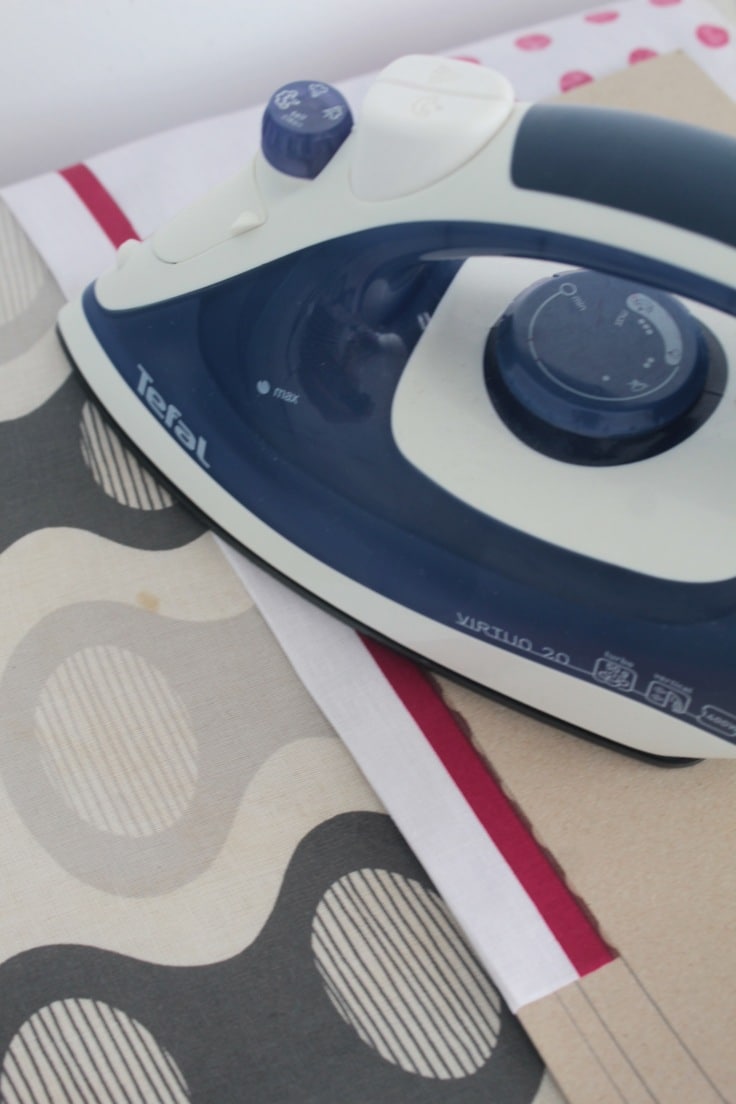
- pressing iron
- sewing machine
Substitutes:
- cardboard or heavy weight paper instead of cardstock
- ballpoint pen or marker instead of pencil
- damp cloth and pressing iron for fabrics that cannot be pressed with high heat
Instructions:
Making the hem gauge
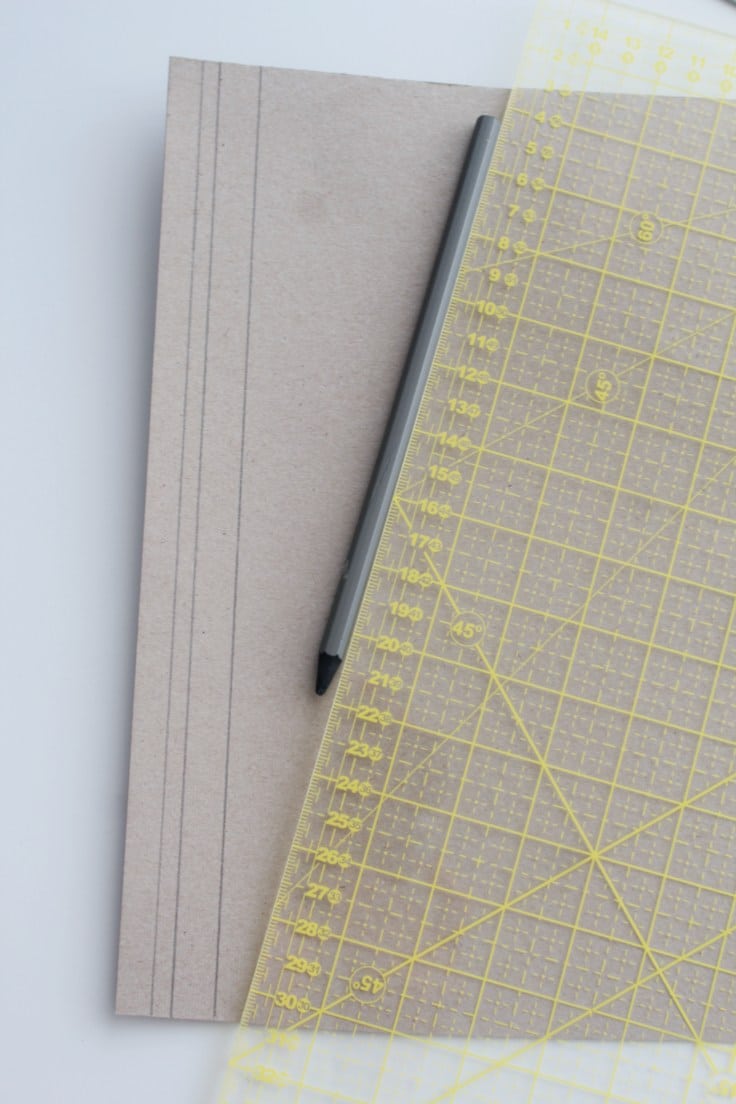
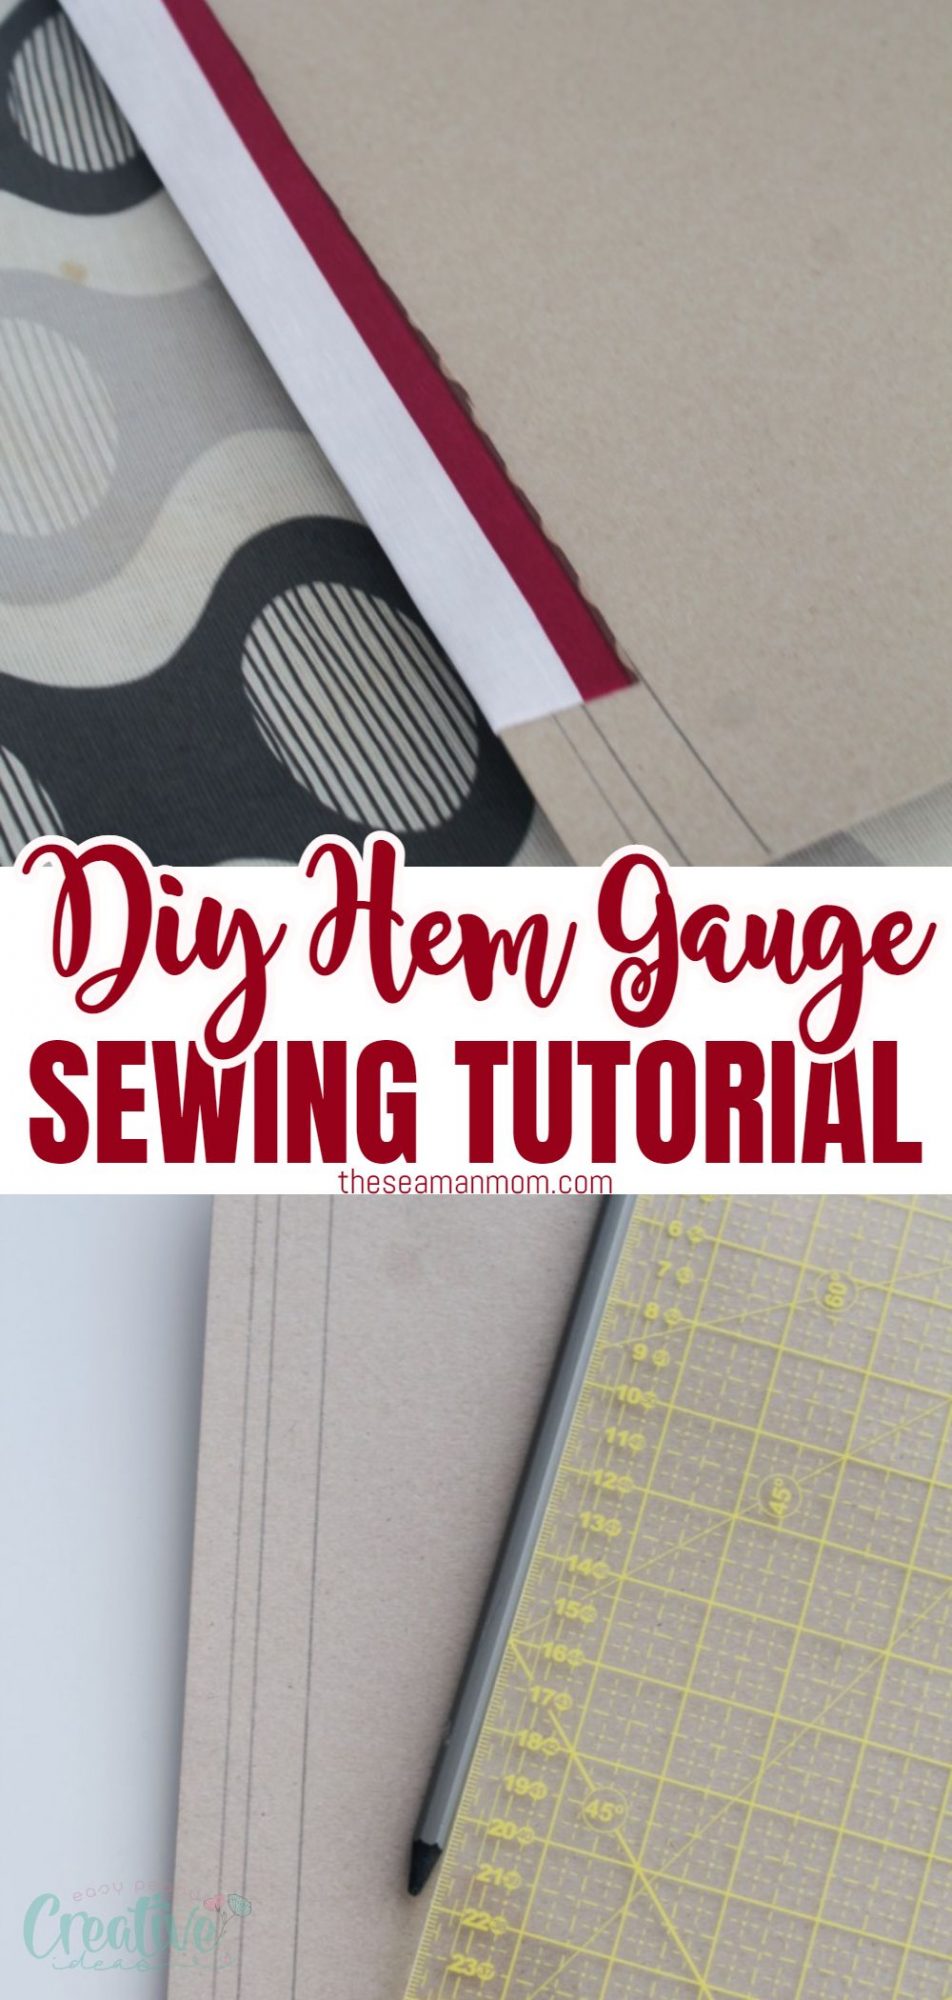
- Place the cardstock on the table and measure the desired hem on both ends of the cardboard, lengthwise.
- Place the ruler between these marks and trace a deep strong line between the marks.
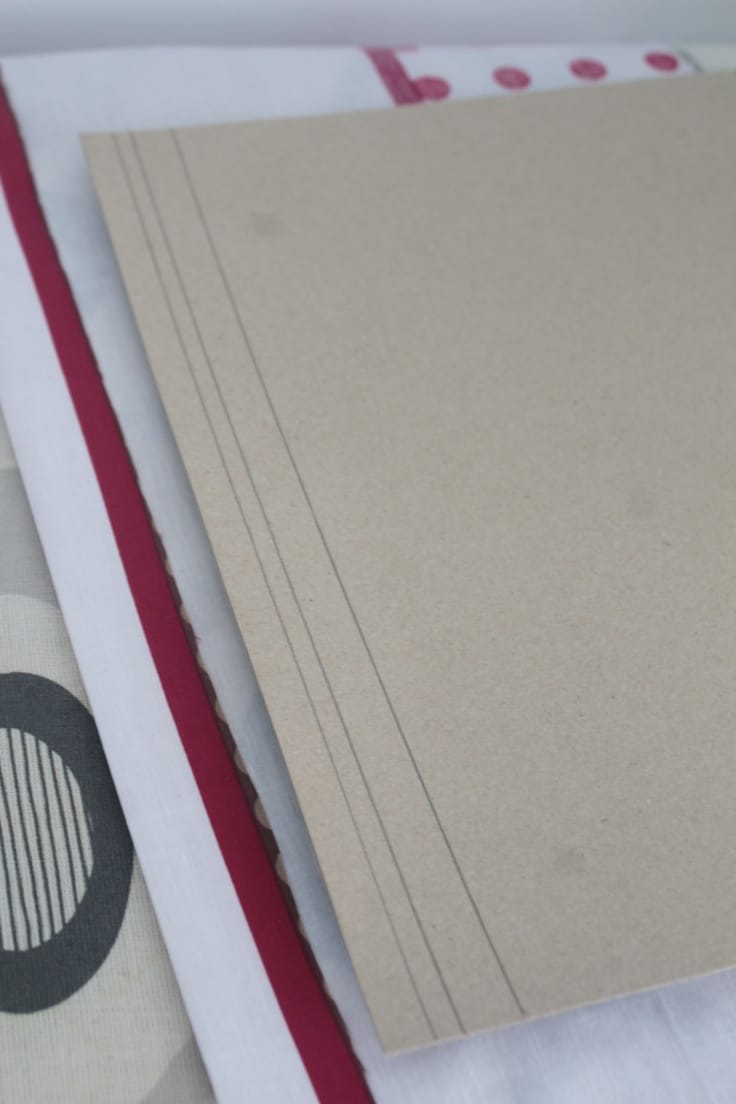
- Using this method trace various size hem guides on the cardboard so you’ll be able to use the same hem gauge on more occasions, for different hems. I traced 1″, 1/2″, 1/4″ hem guides as seen in the photo above.
Using the hem gauge
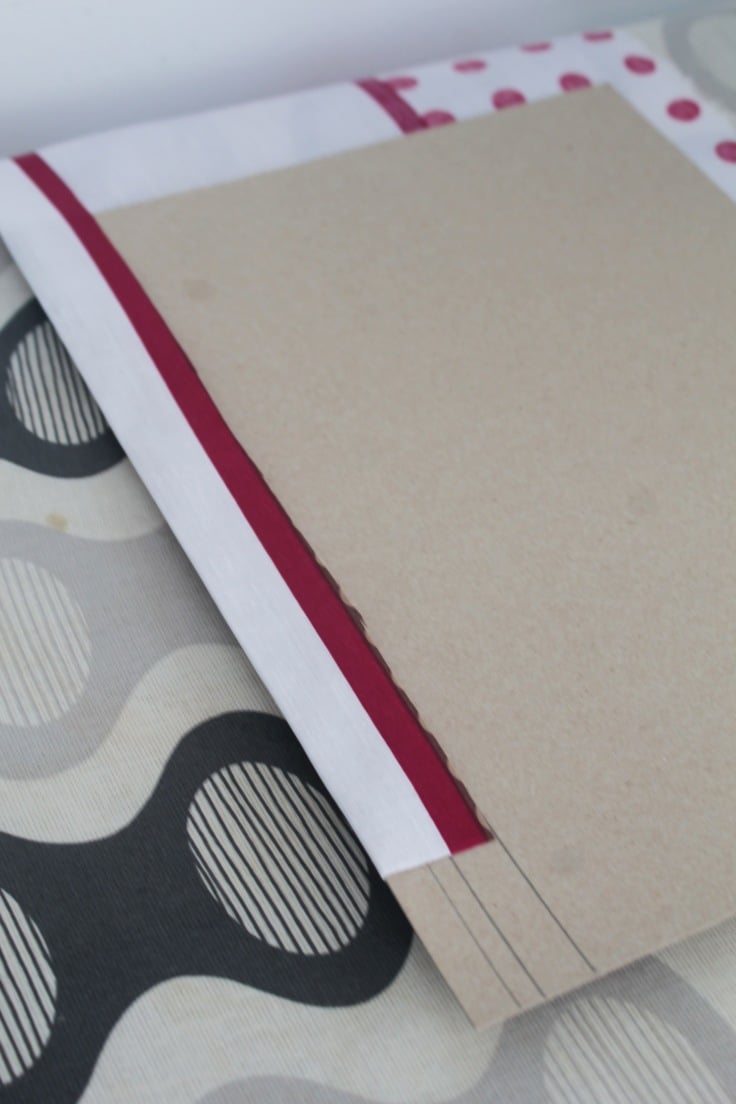
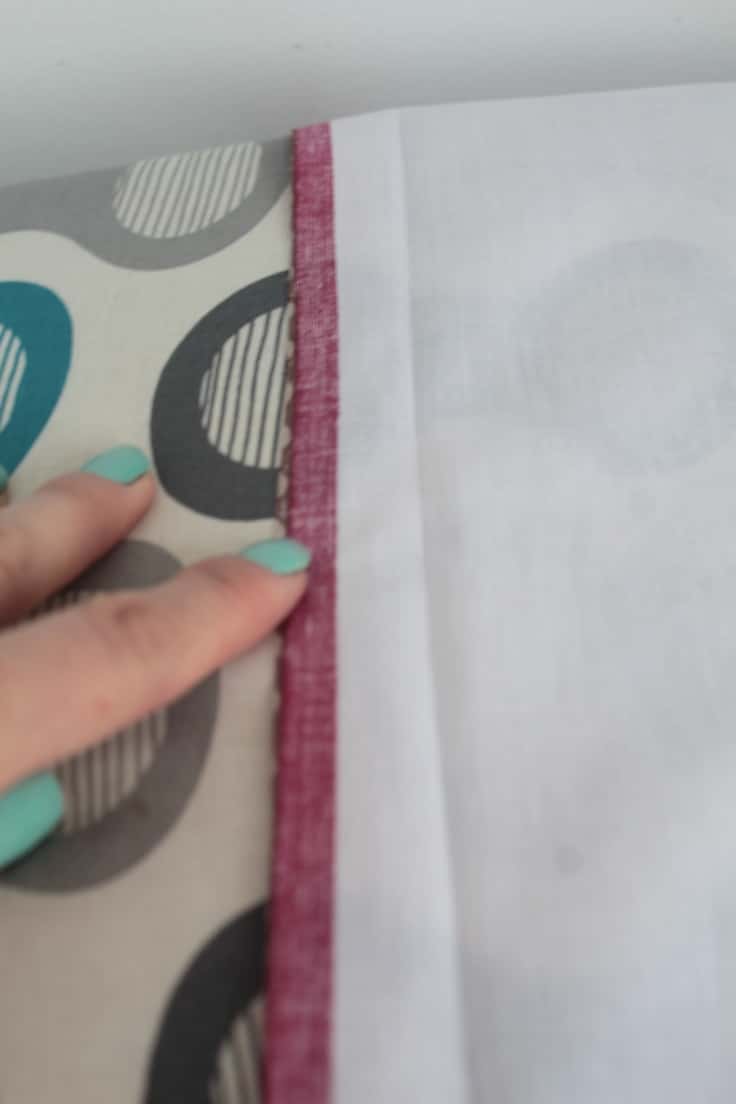
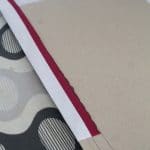
- Place the fabric with the wrong side up and align the hem gauge with the edge of the fabric.
- Fold the fabric over the hem gauge until it reaches the desired marked line on the gauge.
- With the pressing iron on steam press the hem down.
- When the entire hem is folded once, repeat the process for a second folding.
- Sew the hem down as close as possible to the inner edge (I normally sew about 1/8″ away from that fold).
And you’re done! Isn’t your new found gadget so cool and your hem perfectly even?
Tips for the best results
- Don’t have cardstock? You can use any stiff paper or even a cereal box to make your hem gauge.
- Make sure the pen or pencil is sharp so the lines come out straight and precise.
- Use a pen/pencil or marker that won’t bleed into the fabric.
- Measure and mark the desired hem on both sides of the cardboard for ease of use.
- When tracing the hem guide lines, use a ruler or quilting ruler to ensure straight lines.
- If you’re unsure about the hem size, make a couple of different sized guides on one cardboard so you’ll have options for different hems.
- You can also use this method to mark pleats on your fabric.
More quick sewing tips you’ll love
- How to match stripes
- DIY spaghetti straps
- How to turn a tube right side out without a tube turner
- Tip for sewing sharp corners
- Elastic join tip to reduce bulk
- Bobbin storage hack
- How to insert a zipper into a lined skirt
- How to hide serger tails start & finish
- How to pin tulle
Making your own hem gauge can be a game-changer for your sewing projects! It’s quick, easy and cheap to make, and can save you a ton of frustration when trying to get that perfect hem. Plus, it’s a great way to upcycle materials you already have at home. Give it a try on your next project and see the difference it makes!
If you liked this tutorial please let me know in the comment section below and don’t forget to rate the sewing card! It makes me so happy to hear from my readers and learn from your own experience! Happy sewing!
How to make a hem gauge
Materials
- clothing item to hem
- cardstock in light color
Tools
-
pencil or pen
-
ruler or quilting ruler
-
pressing iron
Instructions
-
Place the cardstock on the table and measure the desired hem on both ends of the cardboard, lengthwise.
-
Place the ruler between these marks and trace a deep strong line between the marks.
-
Using this method trace various size hem guides on the cardboard so you'll be able to use the same hem gauge on more occasions, for different hems. I traced 1", 1/2", 1/4" hem guides as seen in the photo above.
-
Place the fabric with the wrong side up and align the hem gauge with the edge of the fabric.
-
Fold the fabric over the hem gauge until it reaches the desired mark line on the gauge.
-
With the pressing iron on steam press the hem down.
-
When the hem is folded all around the clothing item repeat the process.
-
Sew the hem down as close as possible to the inner fold (I normally sew about 1/8" away from that fold).
Video
Most popular sewing projects:


Article may contain Amazon & affiliate links. As an Amazon Associate I earn from qualifying purchases at no additional cost to you.

How do I do it without a hem gauge?
You’ll measure the hem first, mark it on the right side of the fabric then fold and press in sections.
3 items We made seam guides in 8th grade sewing –cardboard with different depths marked on all sides. 60 years later I realize our instructor, Sister Mary Teresa was quite smart. (She was a very patient woman.) Do you have any tips on better cutting technique? I pin like crazy, using my kitchen counter and a hard cutting board. The cut item looks terrible. I do trim the mess once the piece is fully cut but I wonder what I am doing wrong. One more question if I may, I purchased some faux suede which I steam pressed lightly to ensure I could eliminate the wrinkles. My nails, pressing cloth and ironing board cover were all stained red. I purchased a product to set the color but I have a HE washing machine and I can’t control the amount of water to ensure the piece is fully under water. I called a few laundromats and they won’t allow me to use their machines for this purpose. I think my best bet is to return the fabric. I purchased two pieces- a gorgeous red and a rick pumpkin. Any ideas?
Love your easy ideas. They help so much. I am just learning to sew, and get very frustrated when I cut material. I use a cutting board and ruler and rotary cutter, but I never seem to be able to get it straight. also any hints on how to know which way to cut material
To be honest, Lori, I’m never happy with how I cut my fabrics, the larger the project the harder it is for me to cut fabric straight, there’s always room to learn! I true up my fabrics as soon as I purchase them as highlighted in this tutorial https://theseamanmom.com/how-to-square-up-fabric/. Then when I cut fabric for particular projects I found these items help a lot: a large table, a large cutting mat, a large rotary cutter with sharp blades or seamstress scissors and fabric weights. Sometimes these are not enough though so I like to pin the pattern to the fabric in many places which will keep the fabric in place and allow me to cut straight. I always cut fabrics in a forward movement of my rotary cutter or scissors (away from myself). Hope these help!
I must be having a brain freeze. I love your hem tool, and follow perfectly until the part about sewing close to the inner fold. I just don’t get it. If my hem is 2″ and I sew close to the fold, what happens to the fabric left flopping above it? See? I’m confused.
Hi Pam. I’m guessing you’re sewing the wrong fold. It’s the opposite one.
do you turn up the 1/4, press and then the other to make a hem, then sew the second turn up.
Hi Norma. That’s what I do (1/4″ or 1/2″, depending on fabric type). Turn once, press, turn again, press & sew.