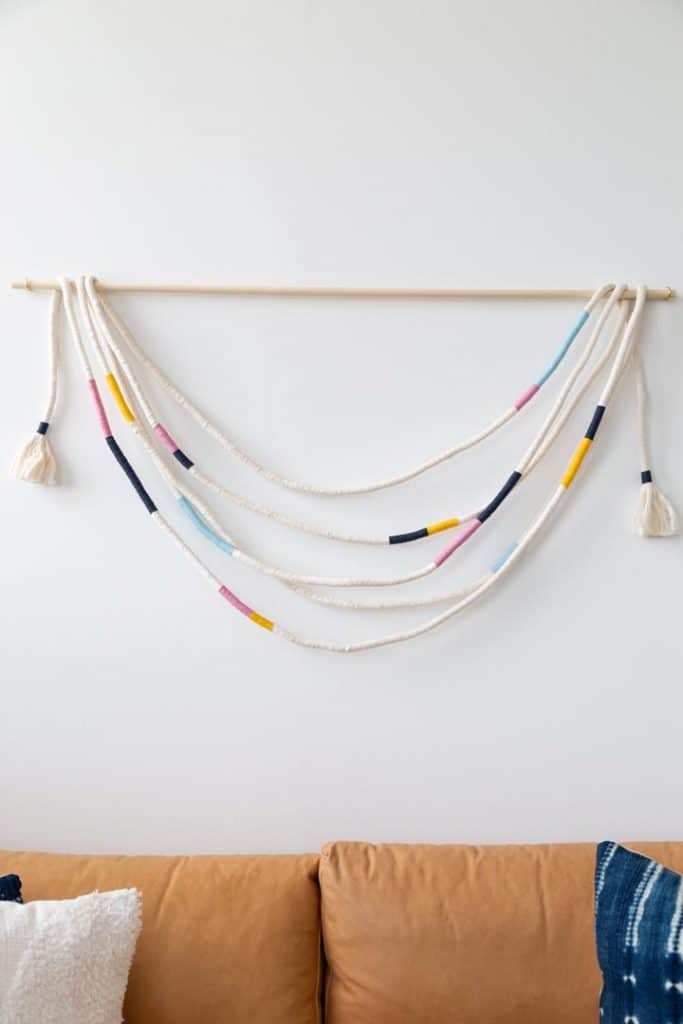
DIY Wrapped Rope Wall Hanging
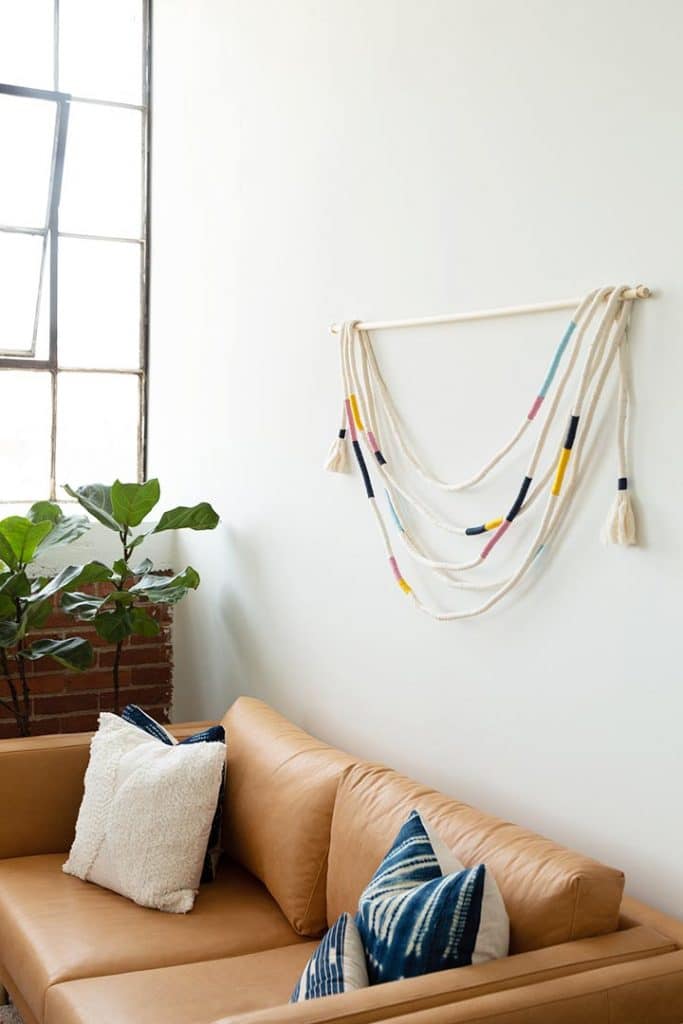
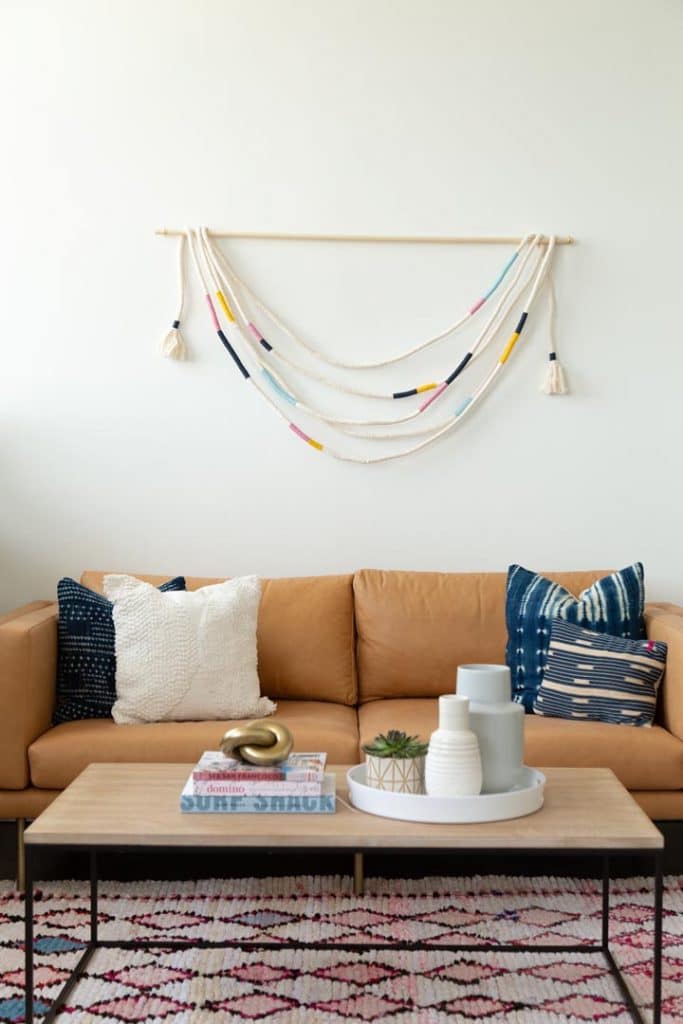
The studio has some rather large white walls that have been craving some attention. I knew I wanted to DIY a little something for the lounge area of the space. I also wanted this DIY component to be mobile and move it around to various spots in the studio. If I am being honest – I am in LOVE with this DIY Wrapped Rope Wall Hanging! So many of my favorite elements to DIY with are in this project; cotton piping, natural wood and yarn. And I am obsessed with how the wall hanging looks with the leather couch.
Our love for wrapping cotton piping and rope has been around for quite a while. Who remembers the rope necklace or rope keychains?
Read on to see how we made the DIY Wrapped Rope Wall Hanging…
Supplies
8 yards Cotton Piping (get by the yard from fabric store or Amazon)
Dowel Rod (I used 4 foot rod from hardware store)
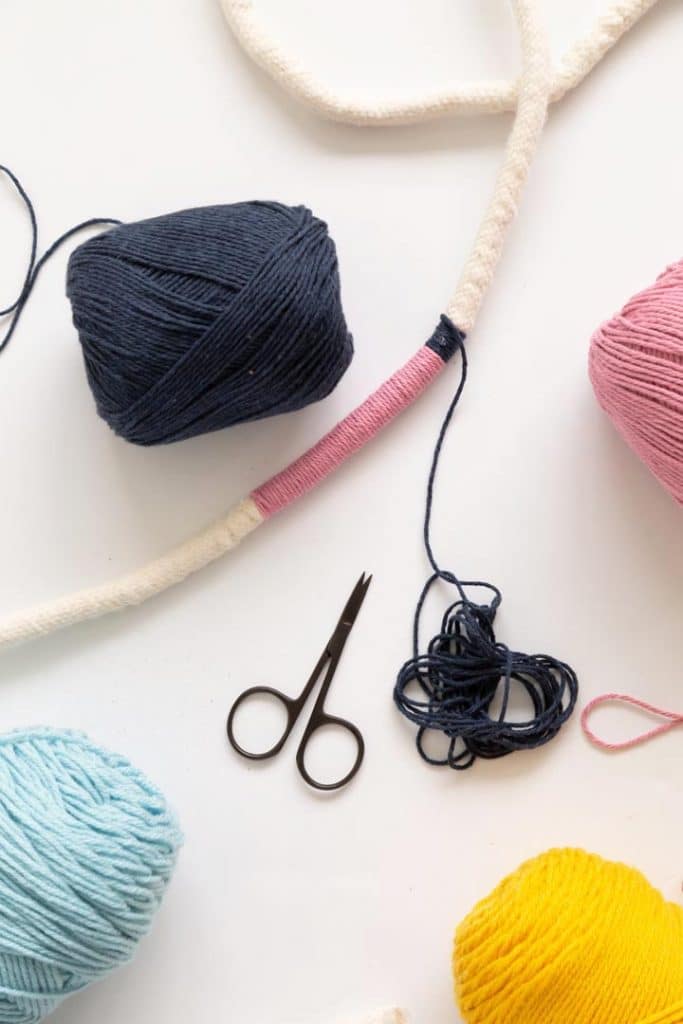
Yarn
Scissors
Steps
- I first hung the dowel rod on the wall using command hooks so I could play around with how long I wanted to hang the rope. You will want to figure out your length based on what the wall hanging will hang above.
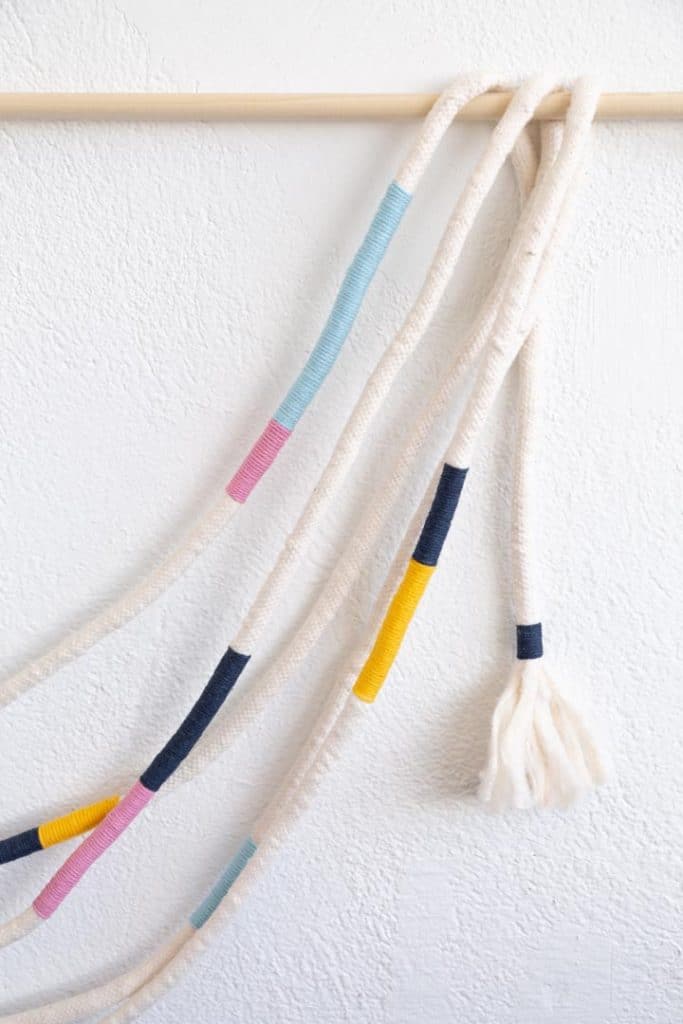
- Hang the cotton rope multiple times and make sure and leave about 10 inches on each side so you can make a tassel at each end.
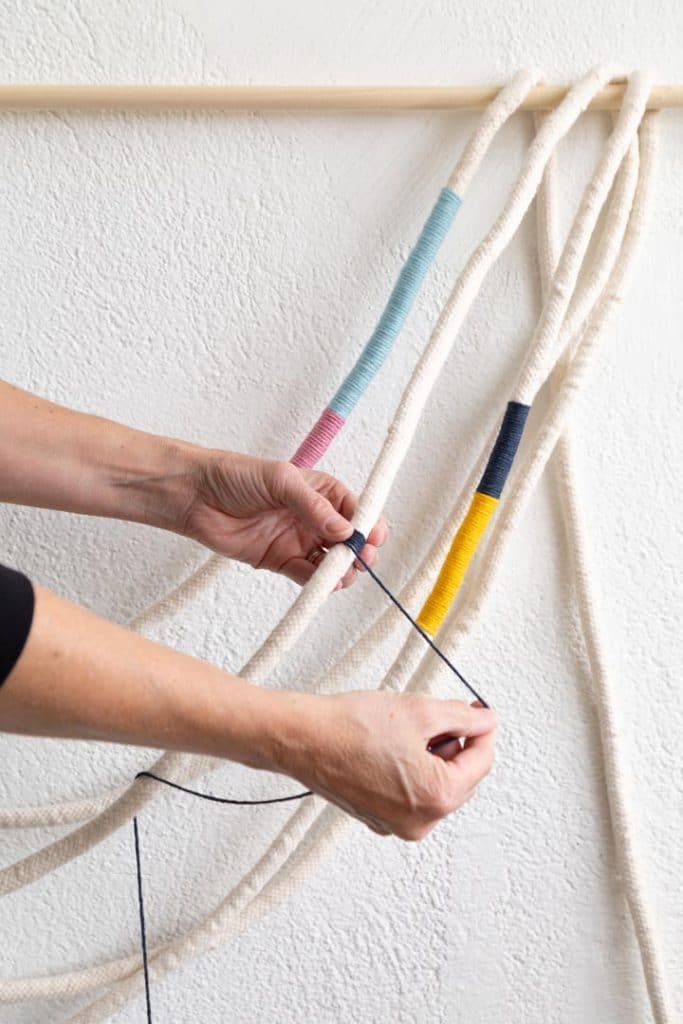
- Next, start wrapping yarn in a color block technique. First, glue the end of the yarn on the back of the cotton rope. Use quick dry glue so it will adhere quickly. Wrap the yarn around the rope and secure using the same technique once you have finished the length you desire.
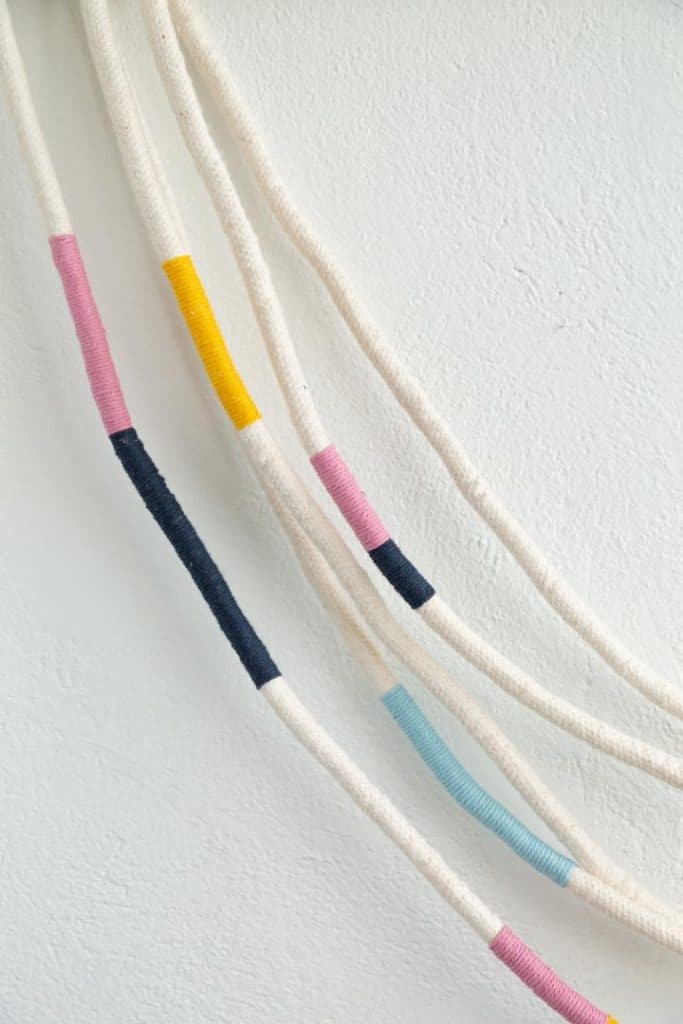
- Continue wrapping yarn in sporadic design until you are happy with the look.

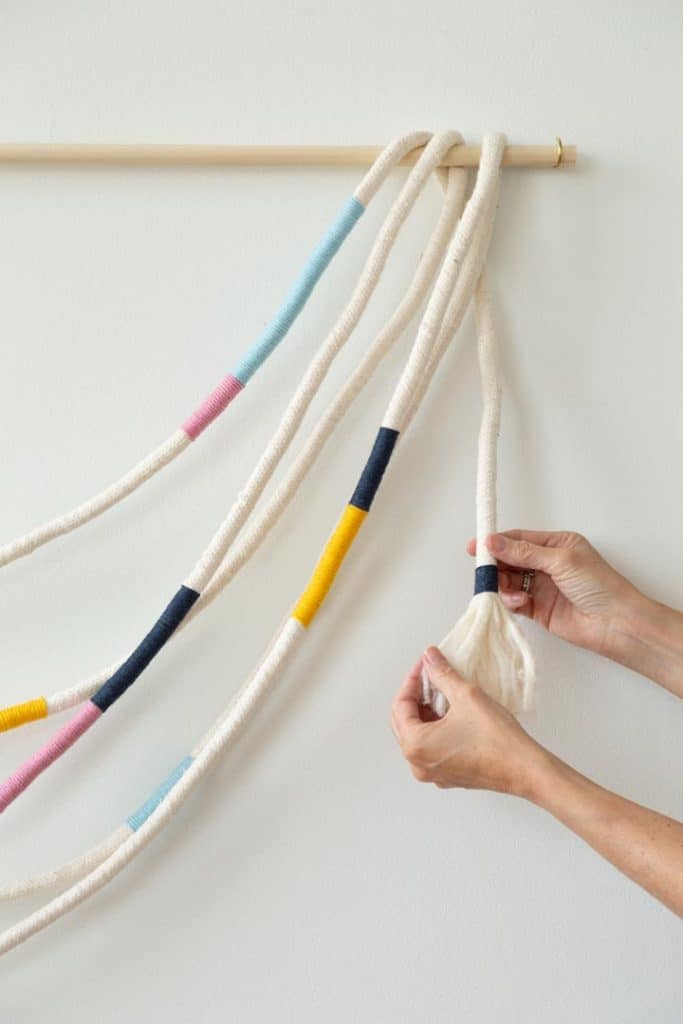
- To make the end tassels, trim the piping thread to release the cotton. Very gently pull the cotton to make a tassel look. Then wrap some yarn to secure.
- Hang on the wall using hooks.
I love that this DIY Wrapped Rope Wall Hanging can be a work in progress! I already might want to add a bit more color to it. You could also add more tassels or even some wood beads. You name it! I love how this turned out. It is the perfect project for a large scale wall. And I spent under $40 for the entire project.
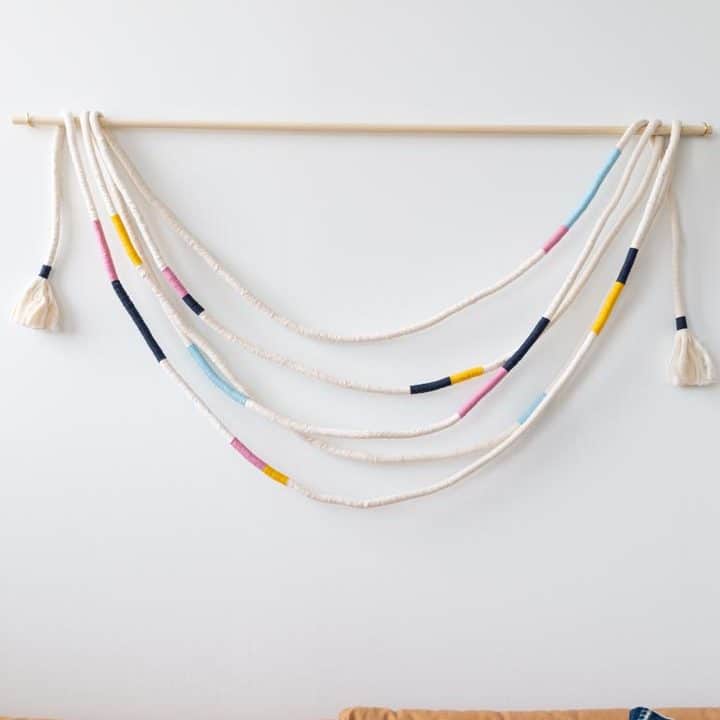
DIY Wrapped Rope Wall Hanging
Make a large statement art piece for your home or office using rope and yarn.
Materials
- 8 yards Cotton Piping
- Dowel Rod (I used 4 foot rod from hardware store)
- Yarn
- Quick dry tacky glue
Tools
- Scissors
Instructions
- I first hung the dowel rod on the wall using command hooks so I could play around with how long I wanted to hang the rope. You will want to figure out your length based on what the wall hanging will hang above.
- Hang the cotton rope multiple times and make sure and leave about 10 inches on each side so you can make a tassel at each end.
- Next, start wrapping yarn in a color block technique. First, glue the end of the yarn on the back of the cotton rope. Use quick dry glue so it will adhere quickly. Wrap the yarn around the rope and secure using the same technique once you have finished the length you desire.
- Continue wrapping yarn in sporadic design until you are happy with the look.
- To make the end tassels, trim the piping thread to release the cotton. Very gently pull the cotton to make a tassel look. Then wrap some yarn to secure.
- Hang on the wall using hooks.
Notes
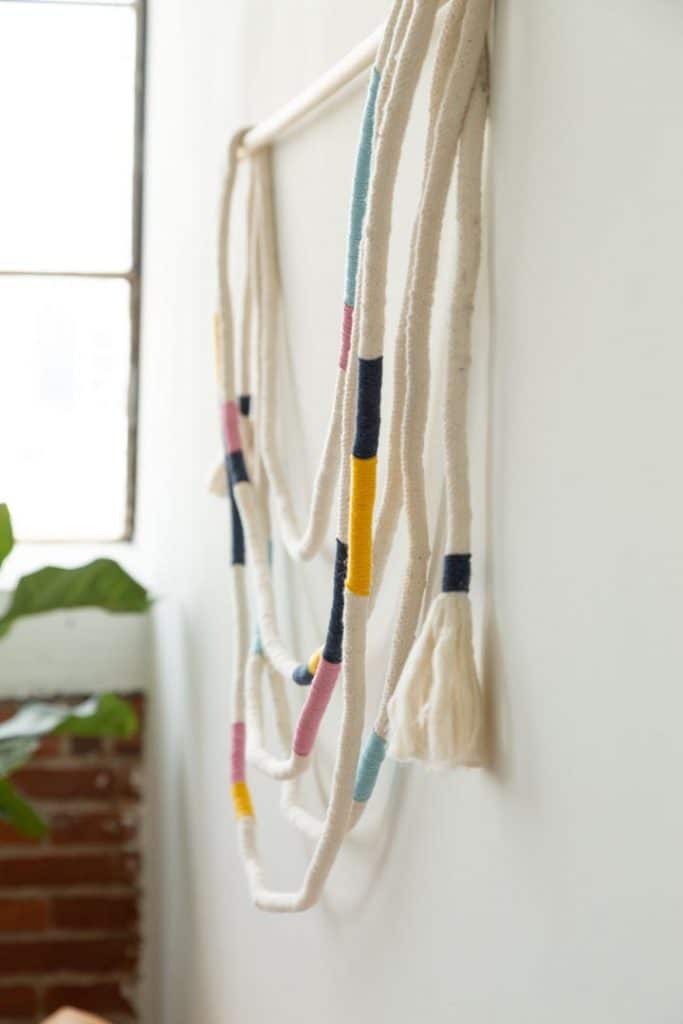
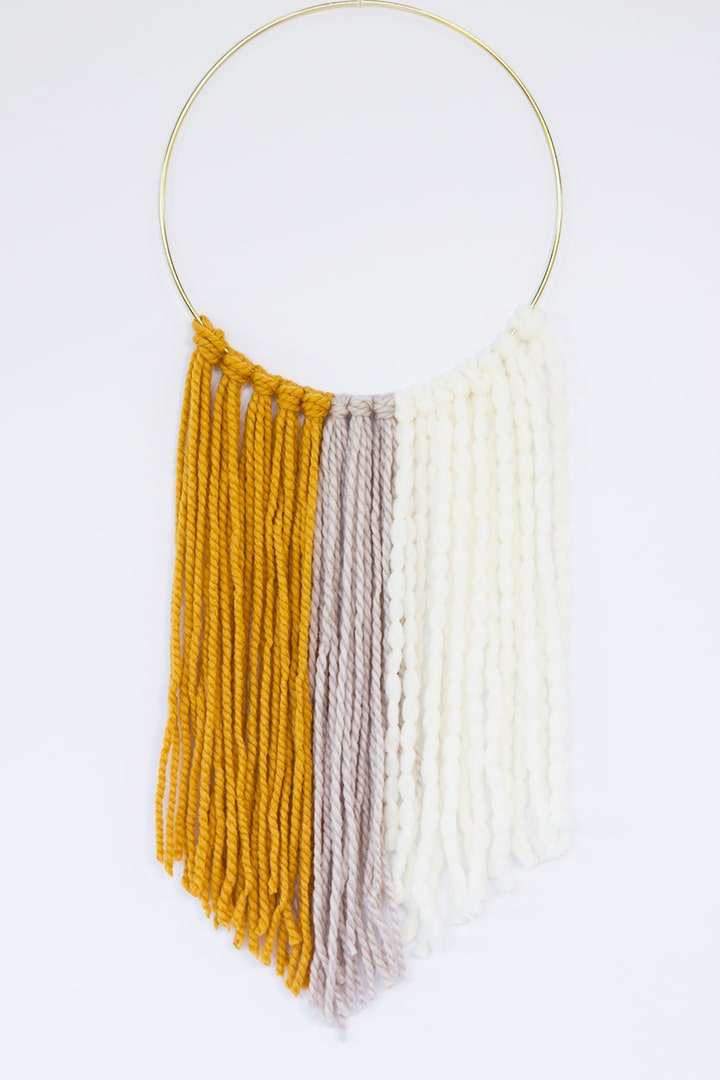
You can choose whichever color story you want for this project – warm, earthy tones or cool blues. That is what is so satisfying with art projects, every project can end up so unique!
Recommended Products
As an Amazon Associate and member of other affiliate programs, I earn from qualifying purchases.


I’m wondering what type of yarn you used for this. Also, I can’t tell if you wrapped the white part or just left it without wrapping inbetween the colors. Thanks!
Hi pam – we used a few different yarns. Some were basic gauge yarn and some a bit thicker. Anything would work! We left the white cording unwrapped where it is white. – Sara