
No-Mess Watercolor Place Cards
Friends, today I’m excited to share a super-easy, no-mess project with you. These Hand Lettered Watercolor Place Cards take very little time to create, and they make the perfect addition to any celebration, holiday, or workshop you might be hosting. Take a look.
Hand Lettered Watercolor Place Cards
Materials for Watercolor Placecards:
Bristol Board or Hot Press Watercolor Paper
Scissors or Paper Cutter
Plastic Sandwich Bag
Water Pen or Paintbrush with water
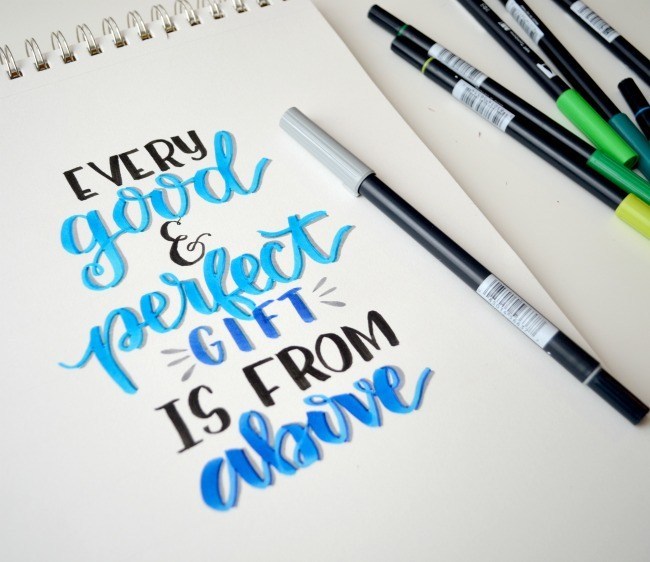
Tombow Dual Brush Pens: your choice of colors
Tombow Mono Drawing Pen 03 or other fine tip black marker
Step 1: Cut your bristol board/watercolor paper to your preferred size.
My bristol board was 9″x12″, so it made sense for me to cut each sheet into eight cards that were 4.5″x 3″ each. You can use any size you like, though, and you can also cut larger pieces to fold in half if you want them to stand up.
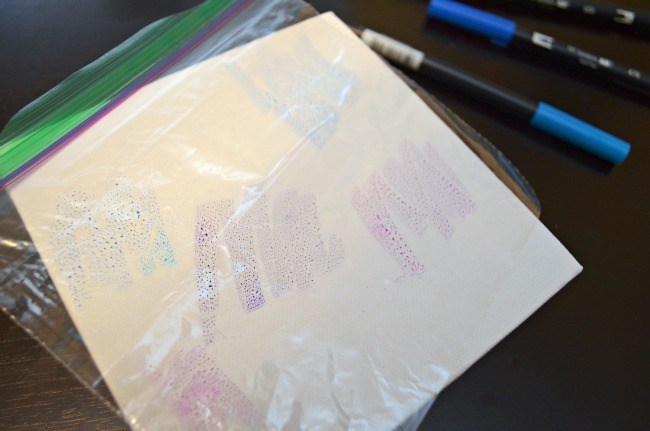
Step 2: Choose 3-4 colors of Tombow Dual Brush Pens and use them to scribble on a plastic sandwich bag.
I know, this sounds weird, but trust me! Instead of using actual paint, we’re going to use markers to get the same watercolor effect without any mess. You’ll want to choose colors that will blend well together, like colors in the same family or different shades of the same color. Scribble each one in several areas on the bag. It’s a little hard to see, but it should look something like the image below.
Step 3: Use an aqua pen or a paintbrush dipped in water to wet the surface of your bristol board/cardstock.
The water is what will allow the colors to seamlessly blend together, so make sure you use enough. You may need to play around a few times to get a feel for how much water is just right.
Step 4: Flip your bag so the marker ink is face down and place it on the wet bristol board.
Gently rub it around, allowing the colors to mix. When you’re satisfied with the image, lift the bag and let the marker dry.
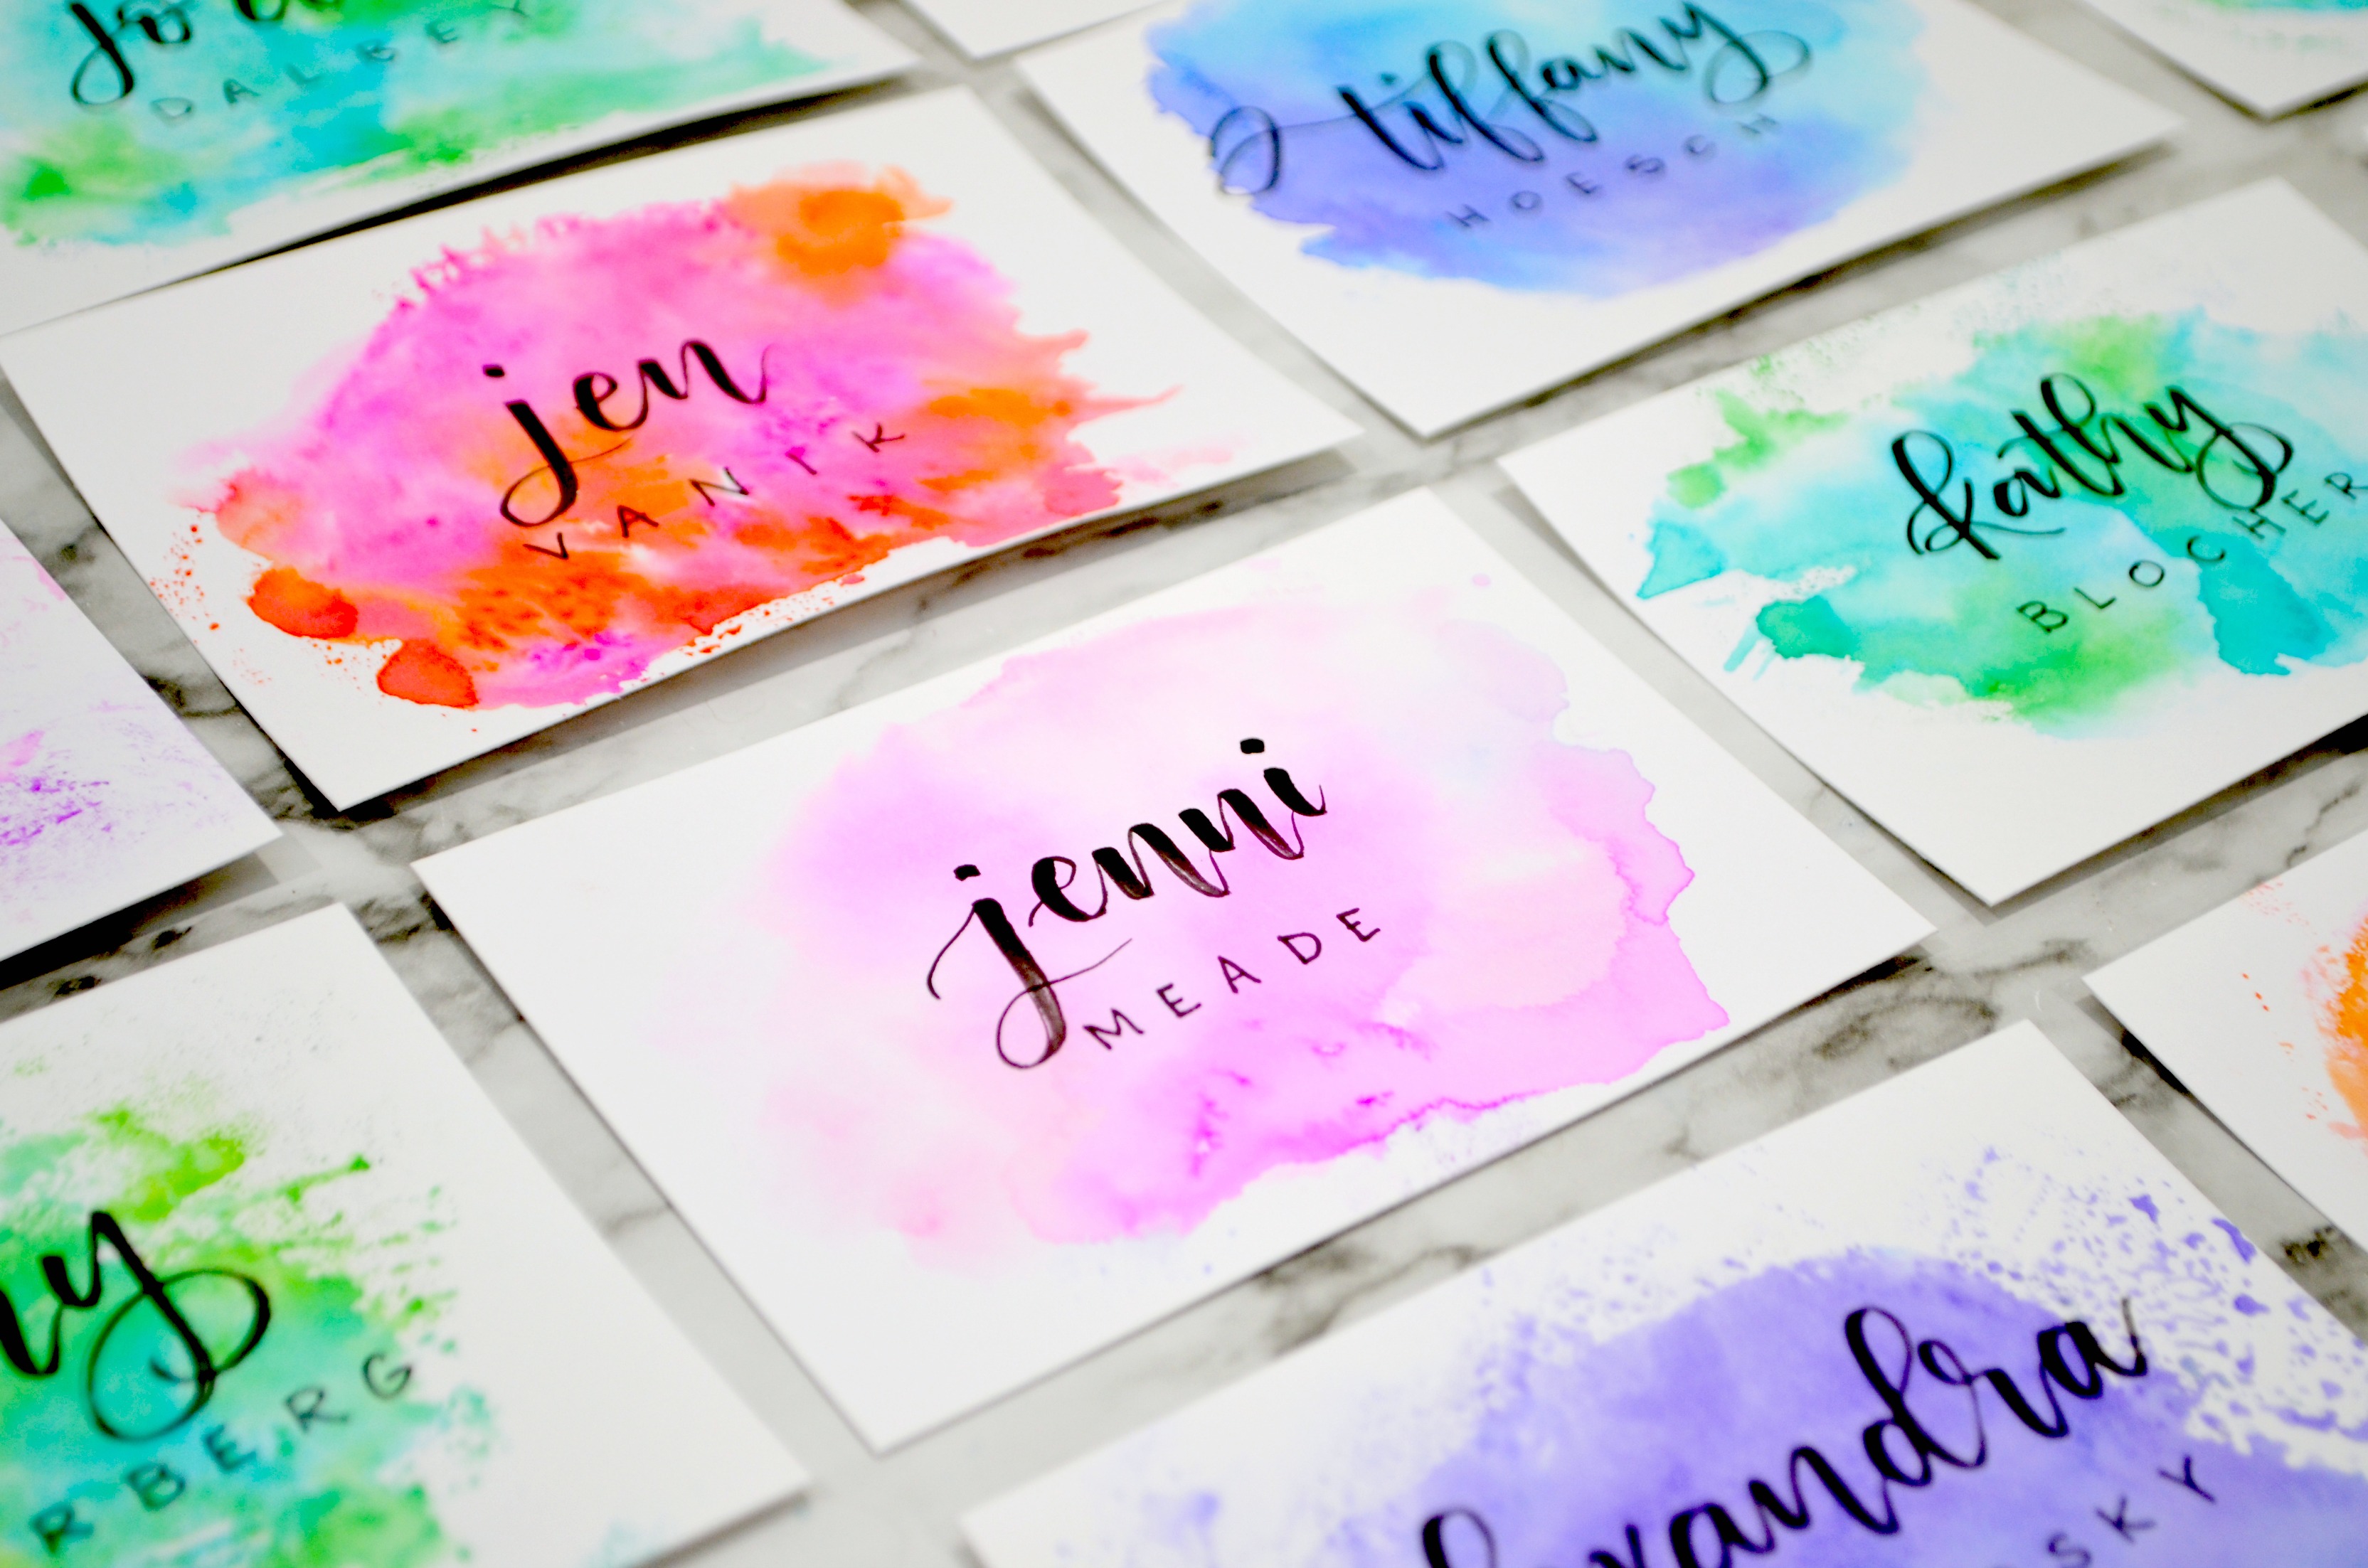
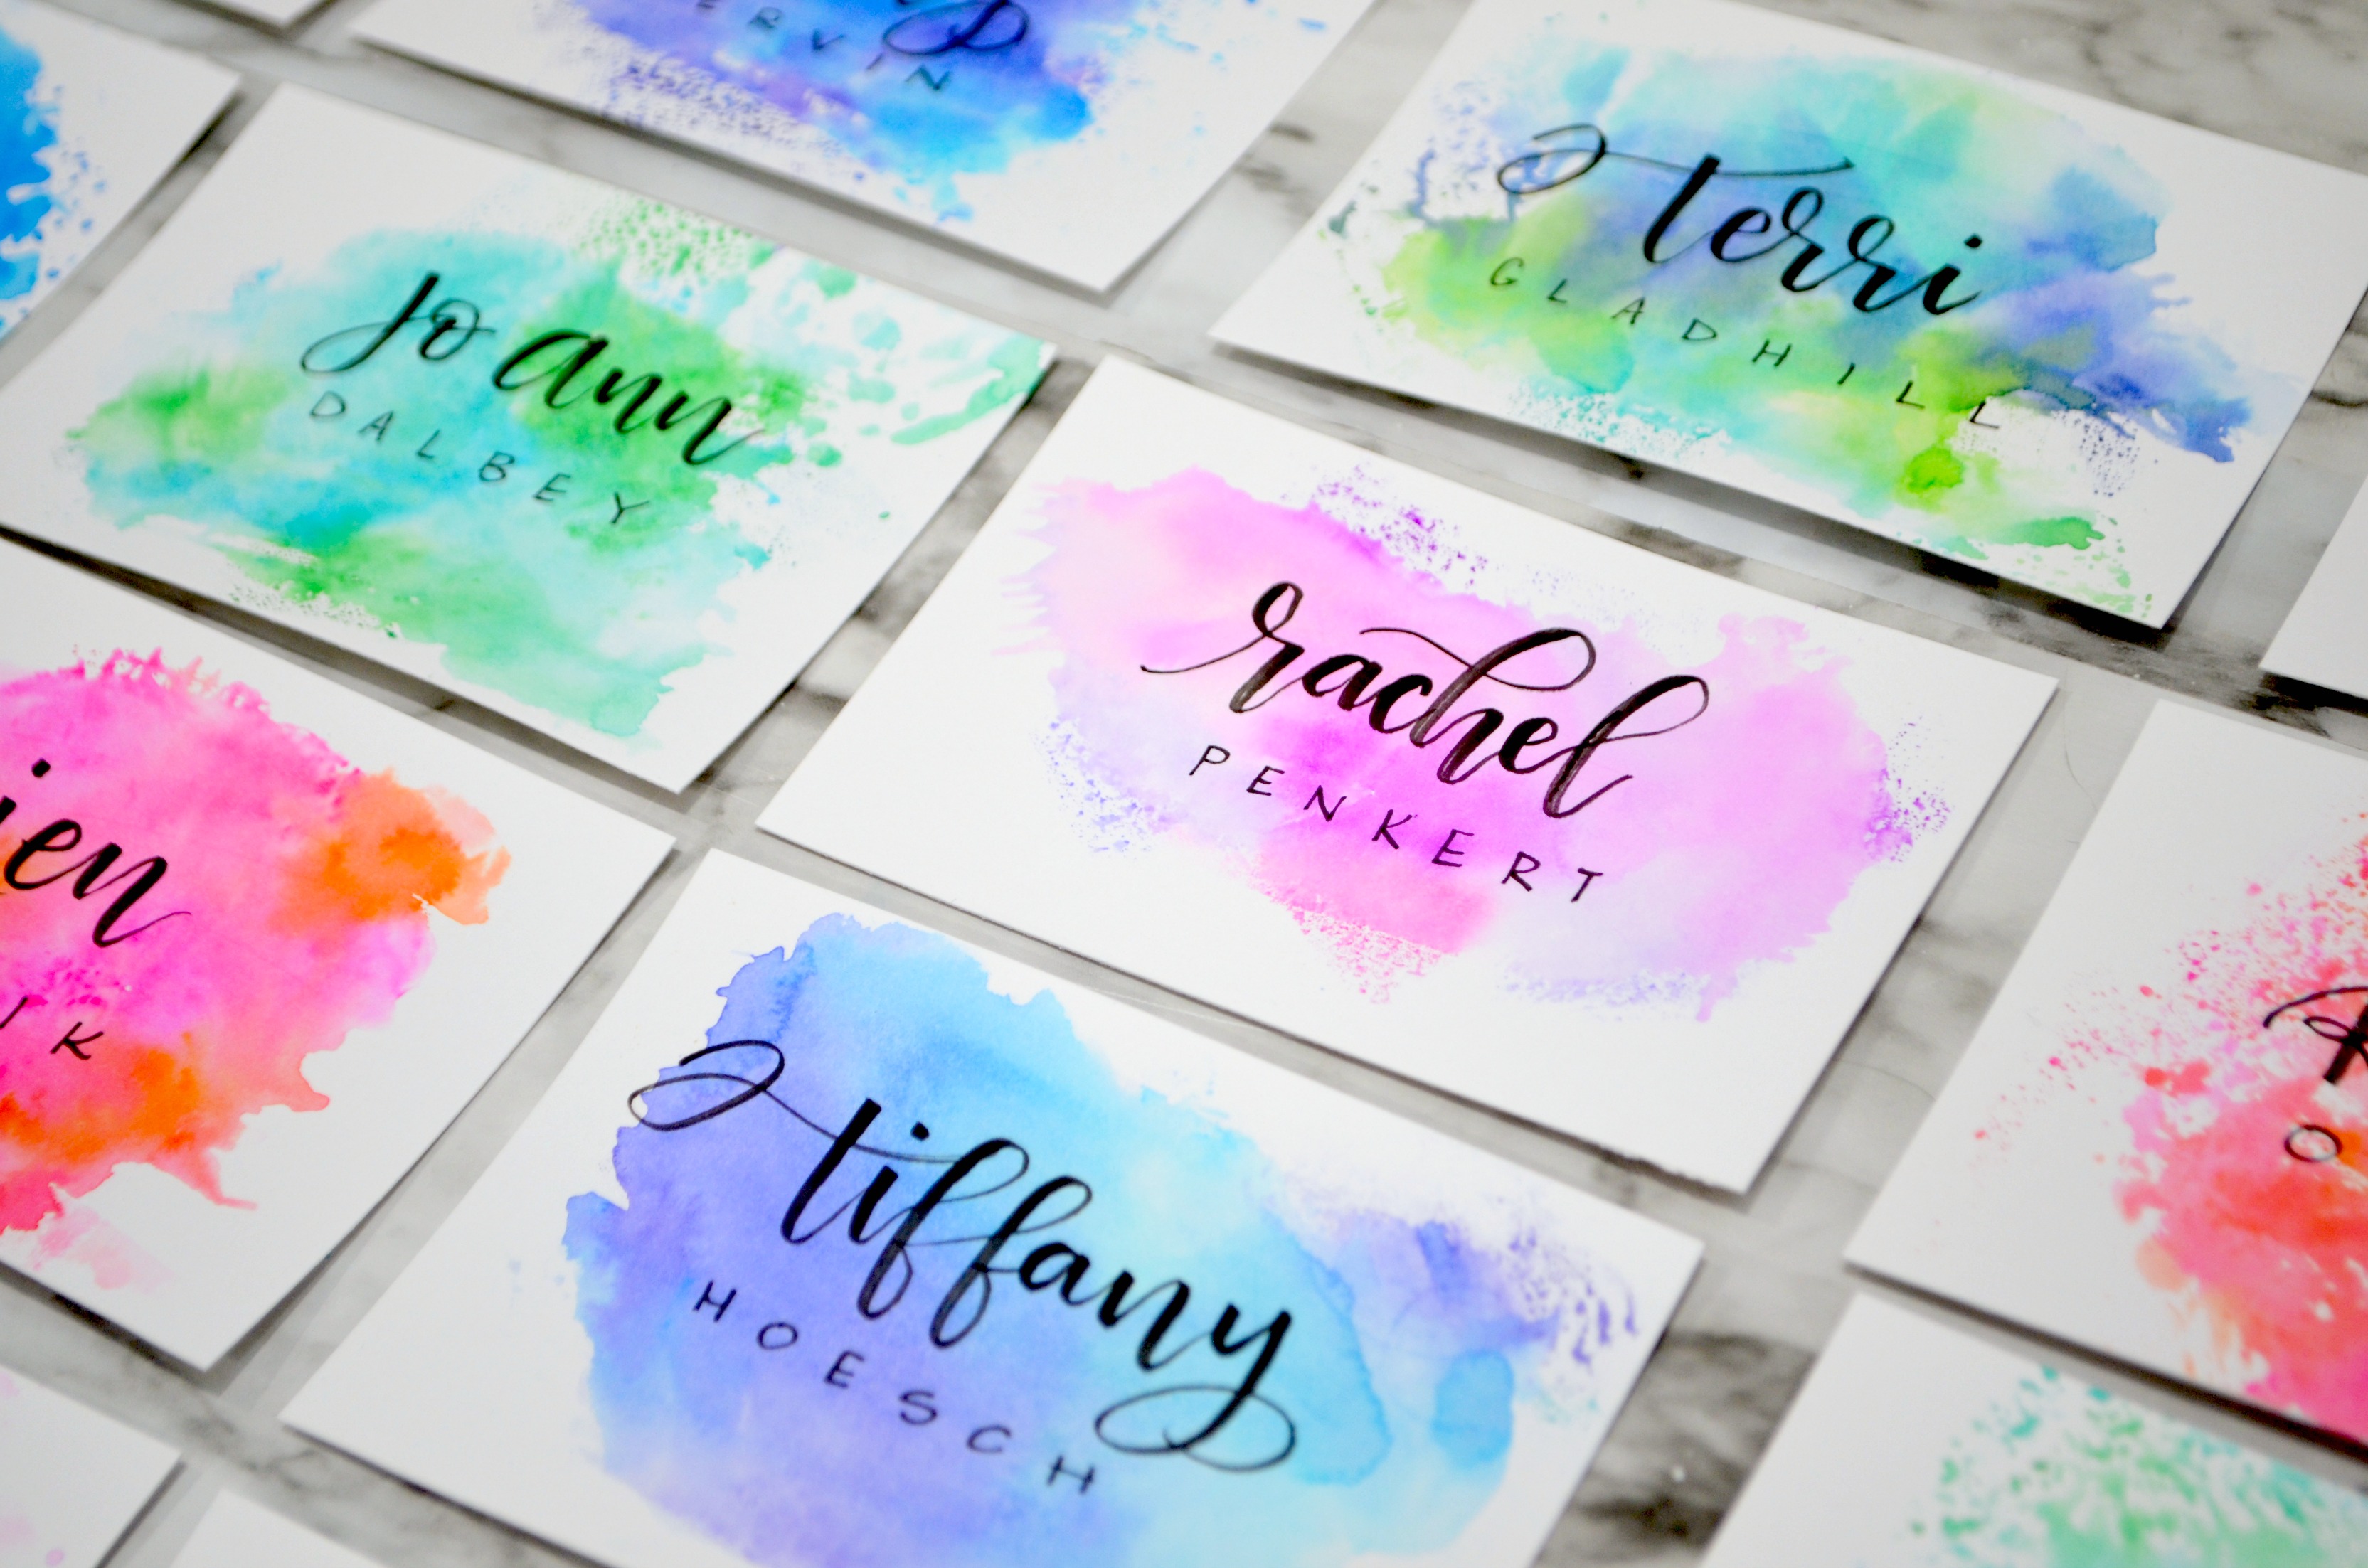
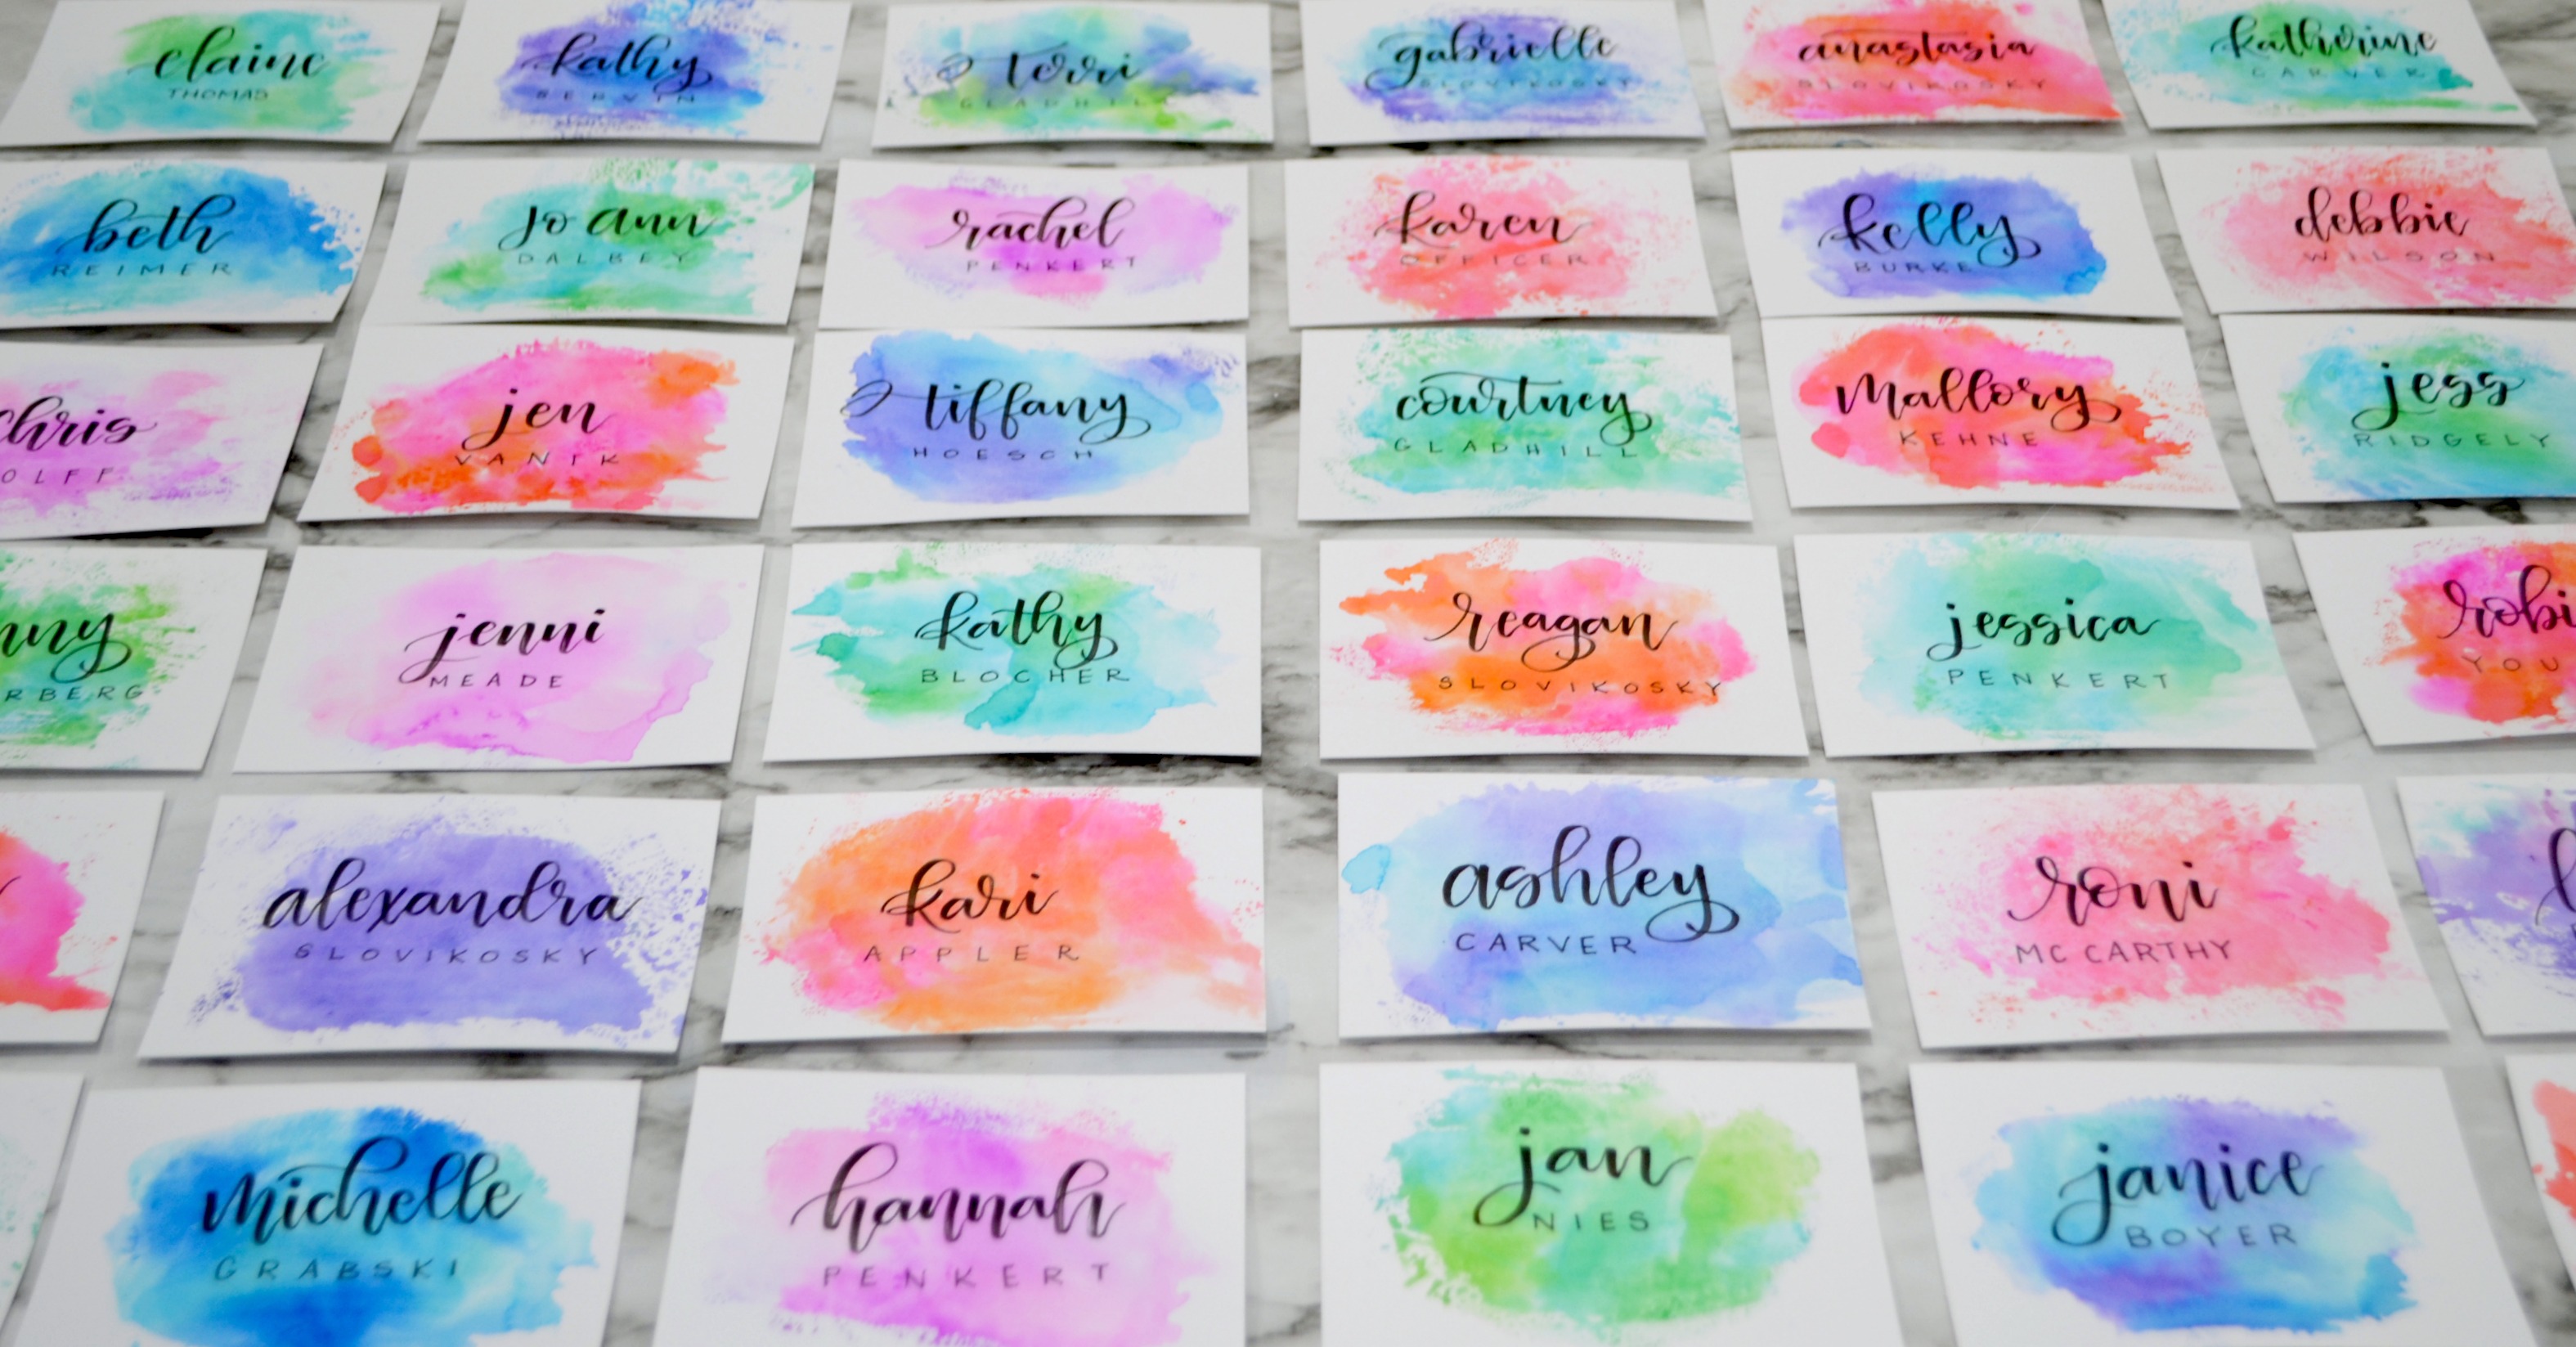
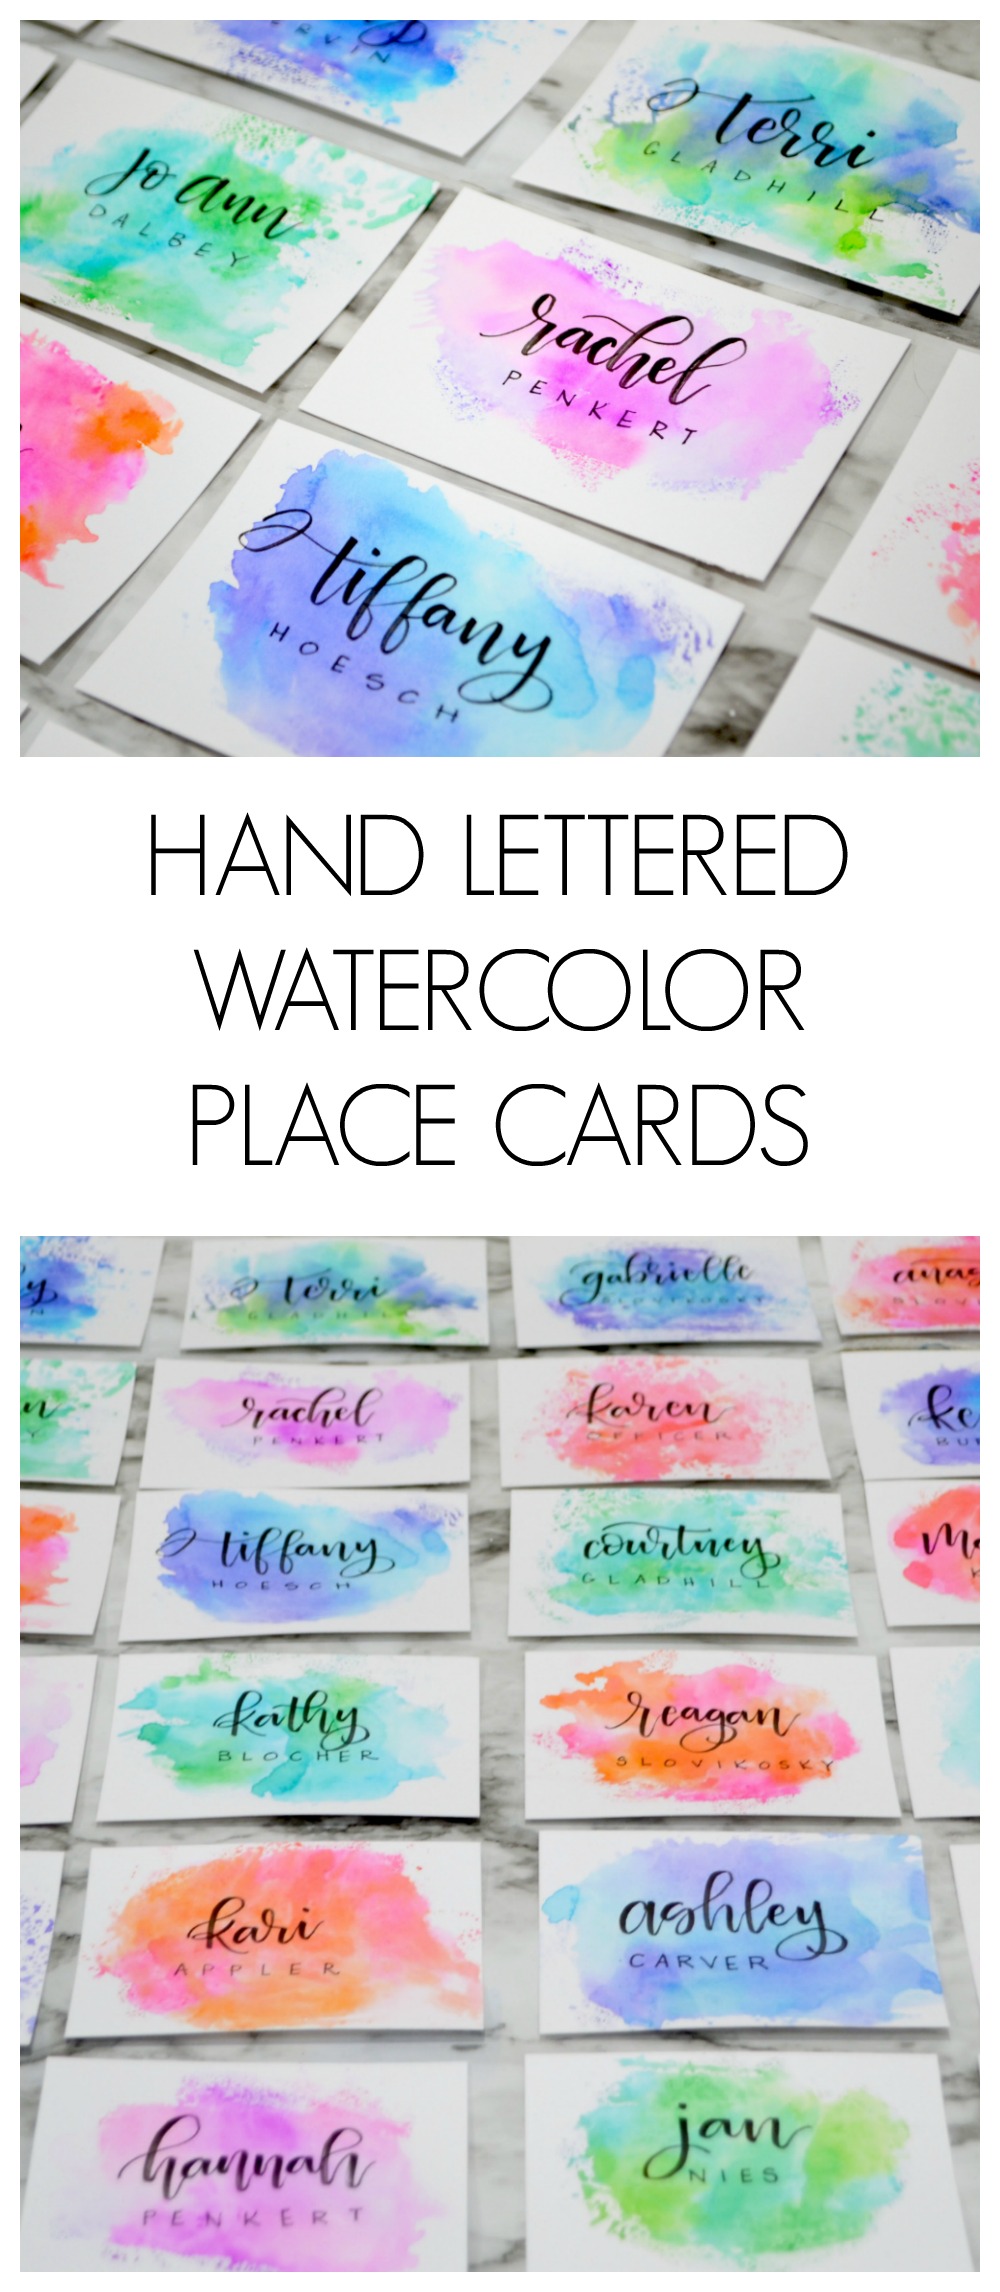
Step 5: Letter each guest’s name on top of the watercolor background.
I used brush lettering to write the first names with a Tombow Fudenosuke, but you could also use the Faux Calligraphy technique. Then, I used a fine tip marker to print each last name in capital letters below the first name.
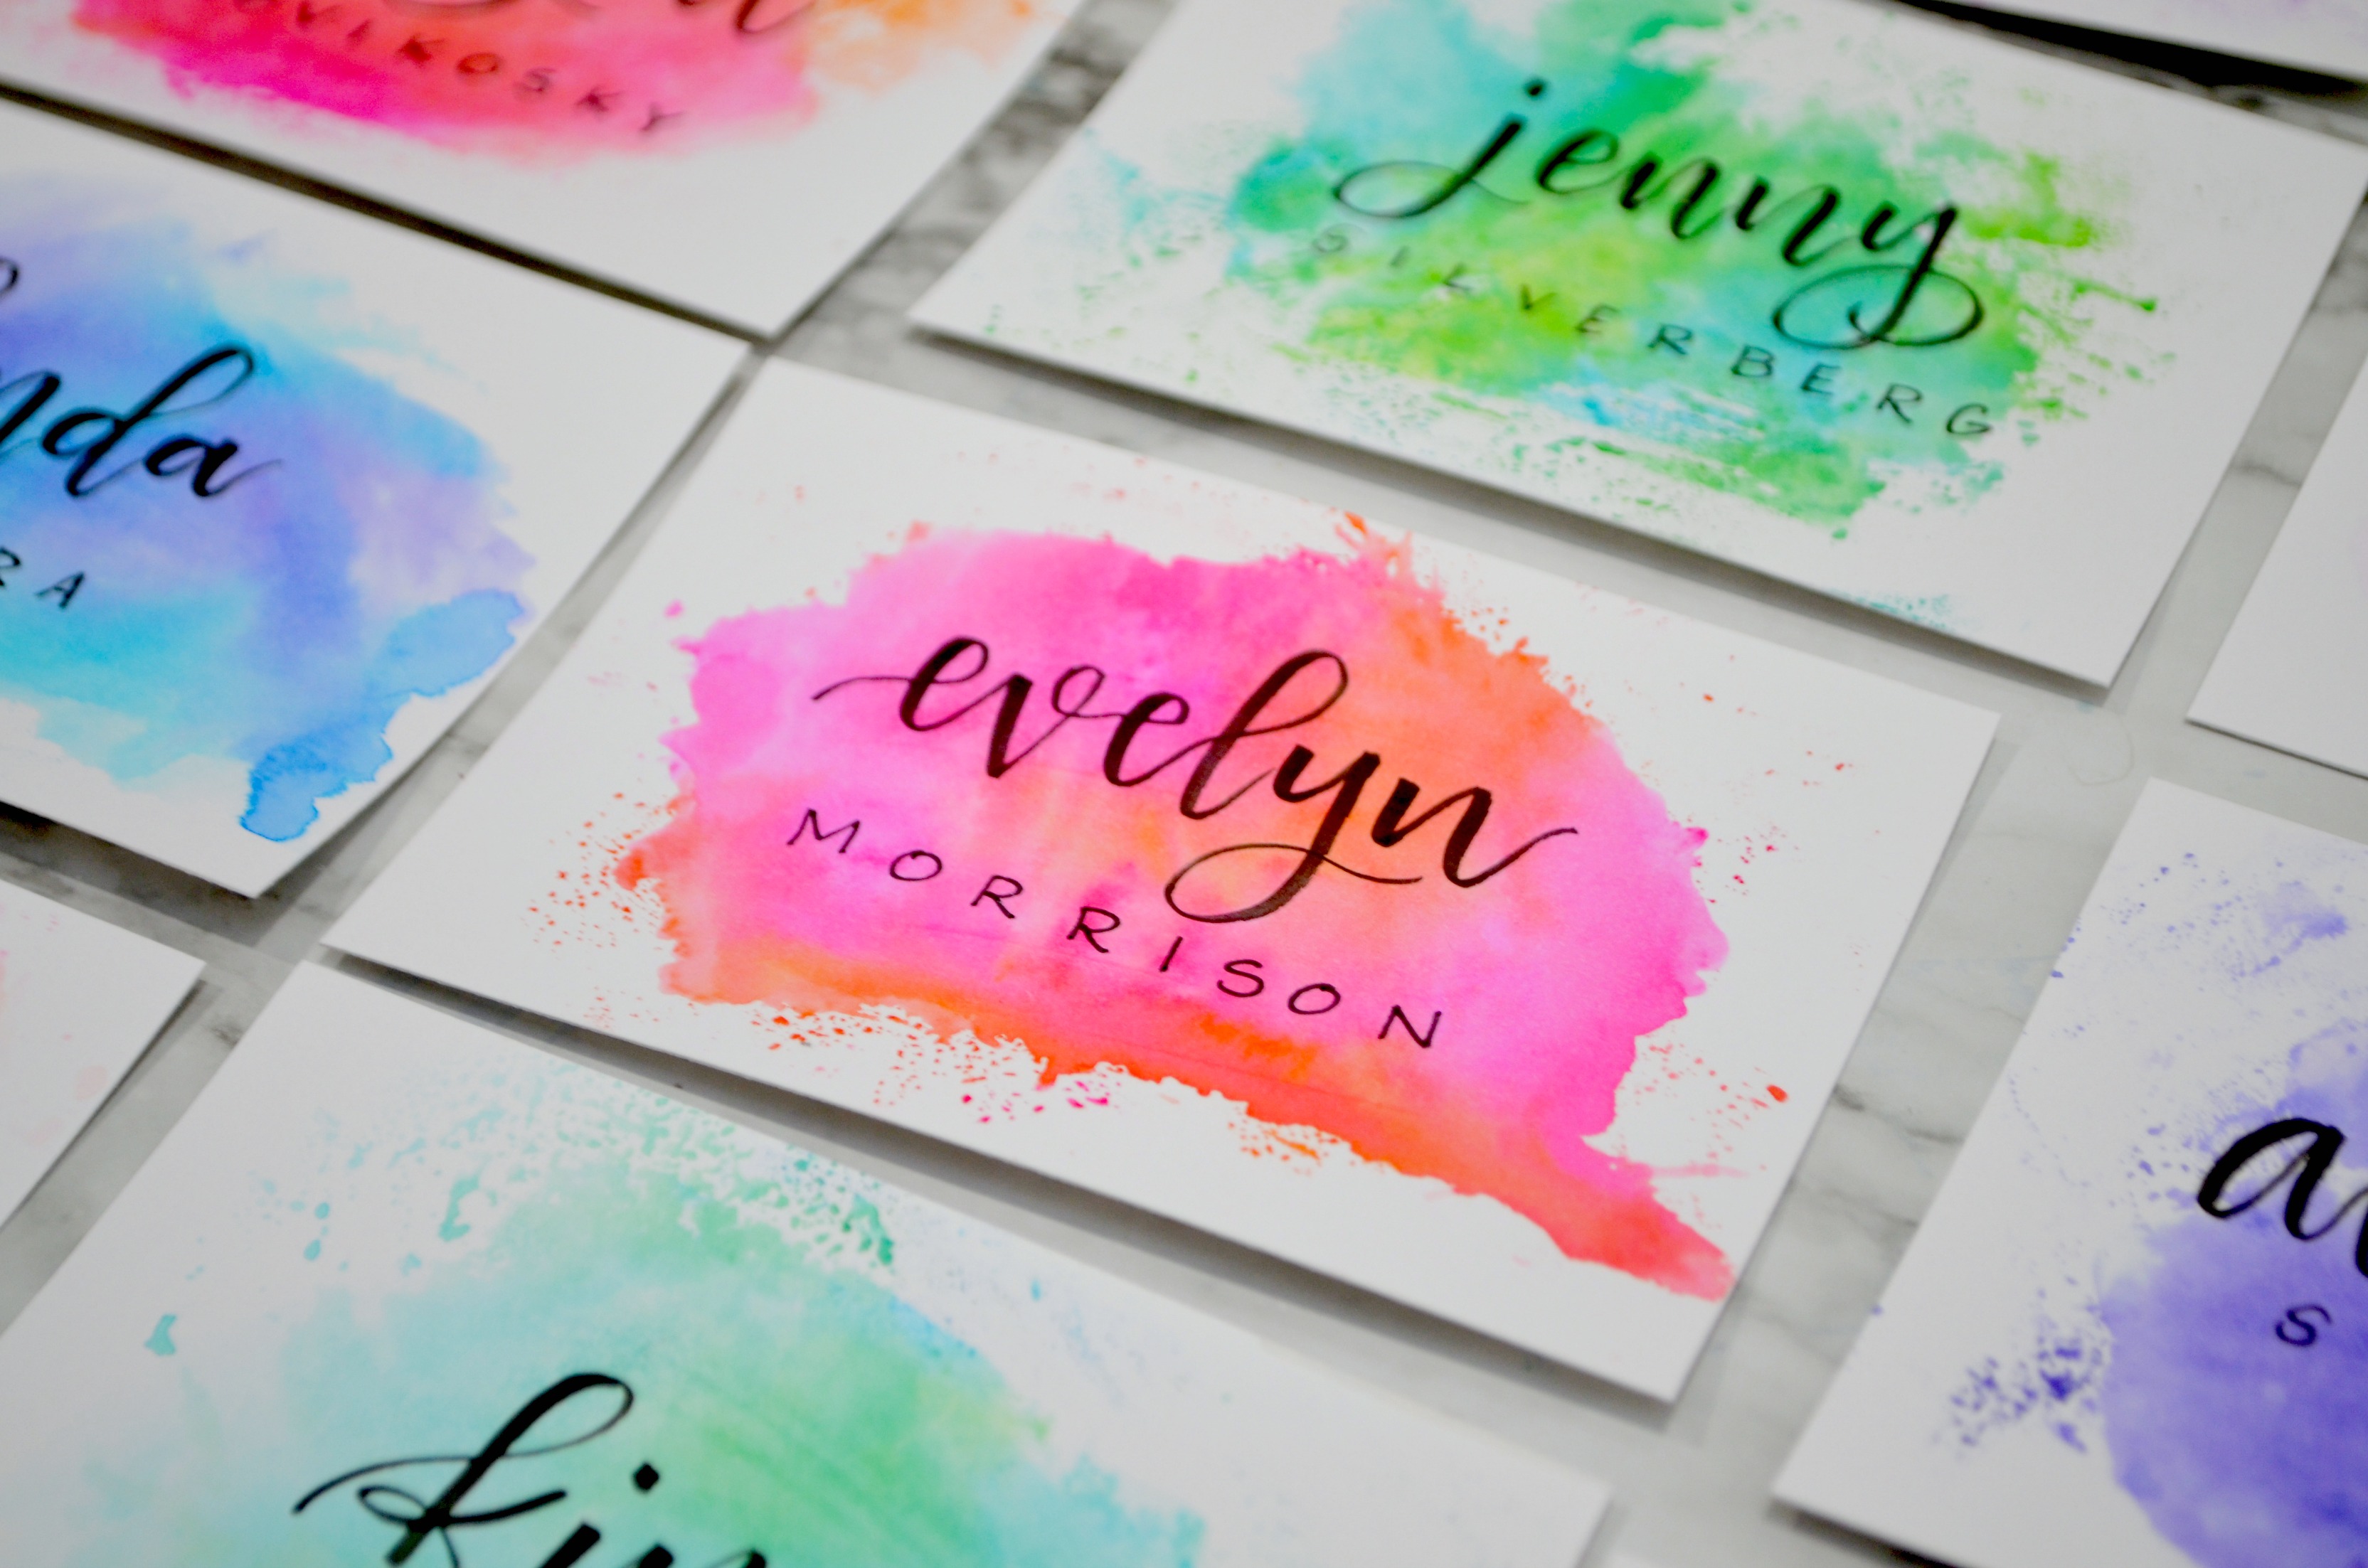
That’s all there is to it! My favorite thing about this project is that each place card looks totally unique. I love playing around with different color combinations to see how they turn out. I like making these for participants at my lettering workshops, but they’re also perfect for Easter dinner, birthday parties, bridal/baby showers, or any other fun event you might be hosting! What do you think?
Don’t forget, if you like it, why not Pin it? Sharing is caring!
Here are a few other place card ideas from the archives to inspire you even more…


Wow! I never thought it would be so easy to create the place cards. They’re so pretty!
Thank you so much!
LOVE these! The colors are so beautiful and vibrant. (Also love your Easter place cards). Thanks for the tutorial.