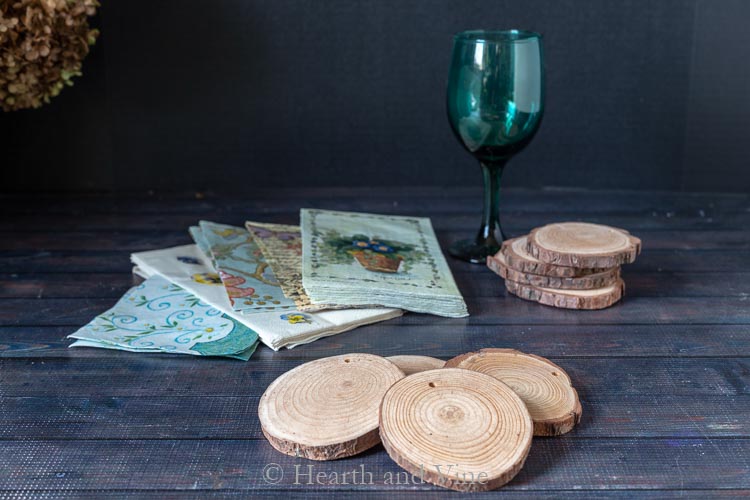
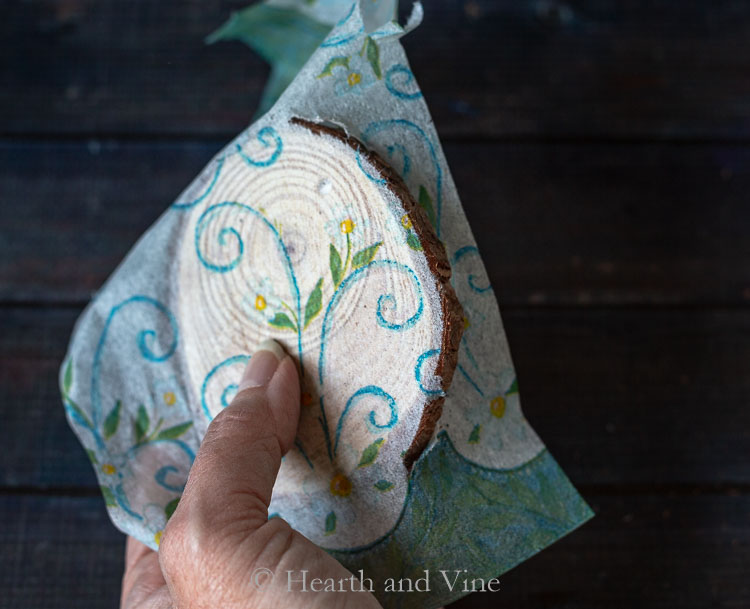
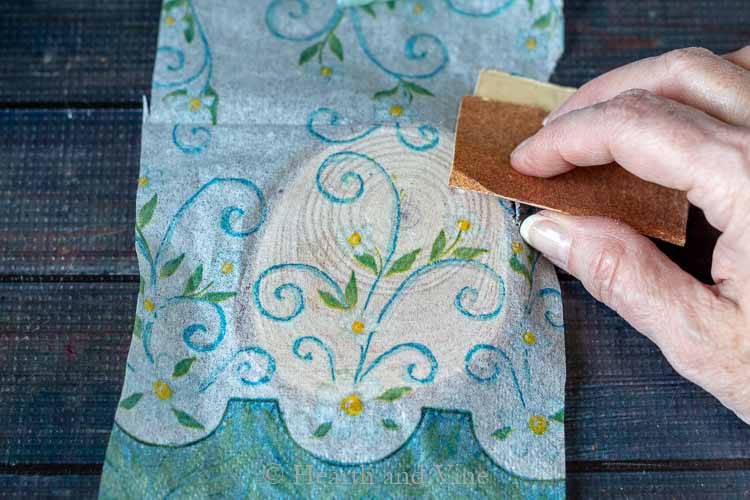
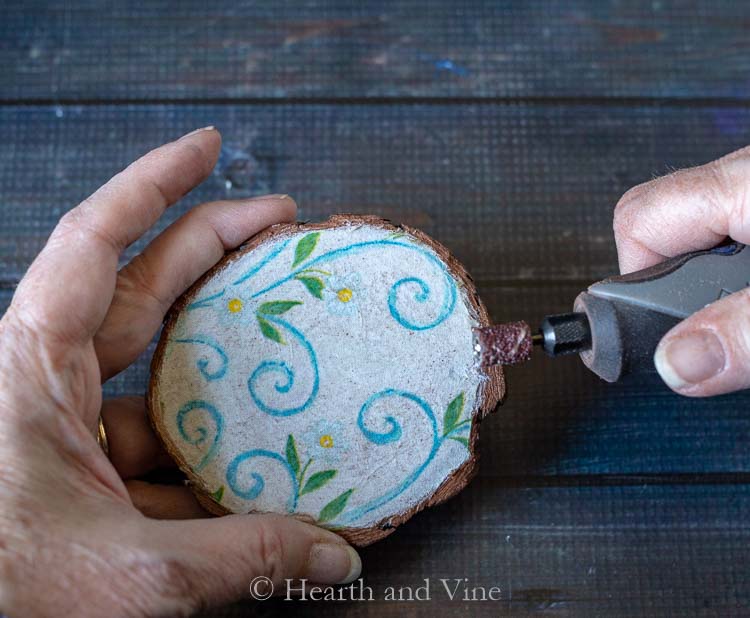
Learn how to decoupage on wood slices with pretty napkins to create beautiful coasters for your home or use as pretty handmade gifts.

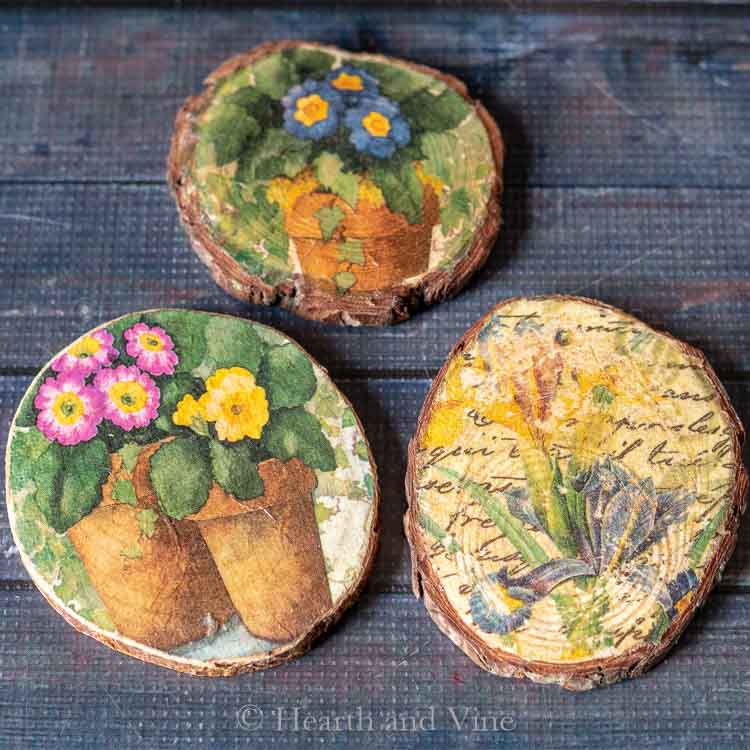
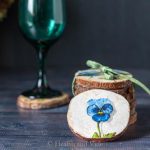
During the holidays I made decorative wood slice tree ornaments and had several slices remaining. One of my friends pointed out that they would make great coasters. At first, I didn't think that they were large enough but when we placed a wine glass on top it was easy to see that they were a perfect fit.
This post contains some affiliate links (that means if you make a purchase after clicking a link, there’s no additional cost to you, but I will earn a very small commission. ) i.e. as an Amazon Associate, I earn from qualifying purchases. Click here to read my full disclosure policy.
Be the first to receive new posts and get access to our Subscribers Only Page.


 (optional)
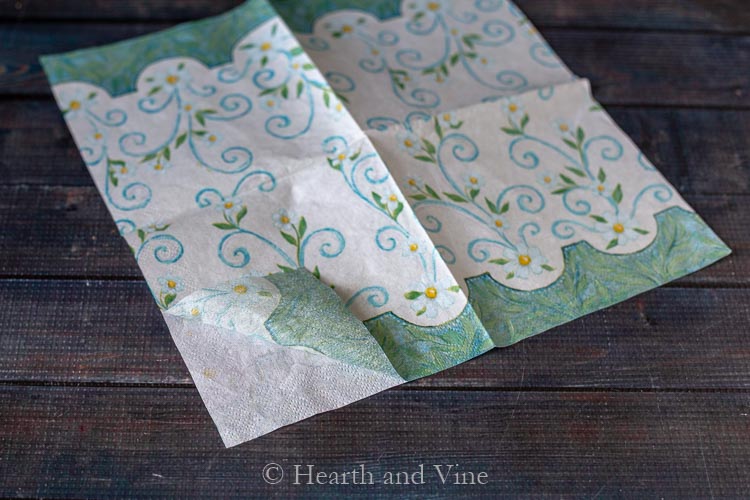


Bettsi
This is darling! I'll definitely try this craft- thank you!
Patti Estep
Thanks Bettsi. So glad you like it.
Denise
Those are so cute! Where do you come up with these ideas!