HUNTER GREEN FRENZY
Hello crafty people! How have you been? I spend all day painting my old dresser which turned out to be more of a product testing experience rather than getting the dresser done. After a 3 coats of paint and 2 attempts at matte finishes I finally ended up with an easy DIY chalk-paint over all those layers. PLEASE remind me never to try matte clear finish ever again😐! On the bright side😃 I have an easy chalkpaint recipe coming up that takes under 3 minutes to make and I can’t wait to share it with you! Ok so, I’ve always wanted a green piece of furniture. Every once in a while one pops up on my pinterest feed and forces me into a green obsession frenzy. Pretty soon I’ll have photos up of my new hunter green dresser! So excited! Can’t wait!
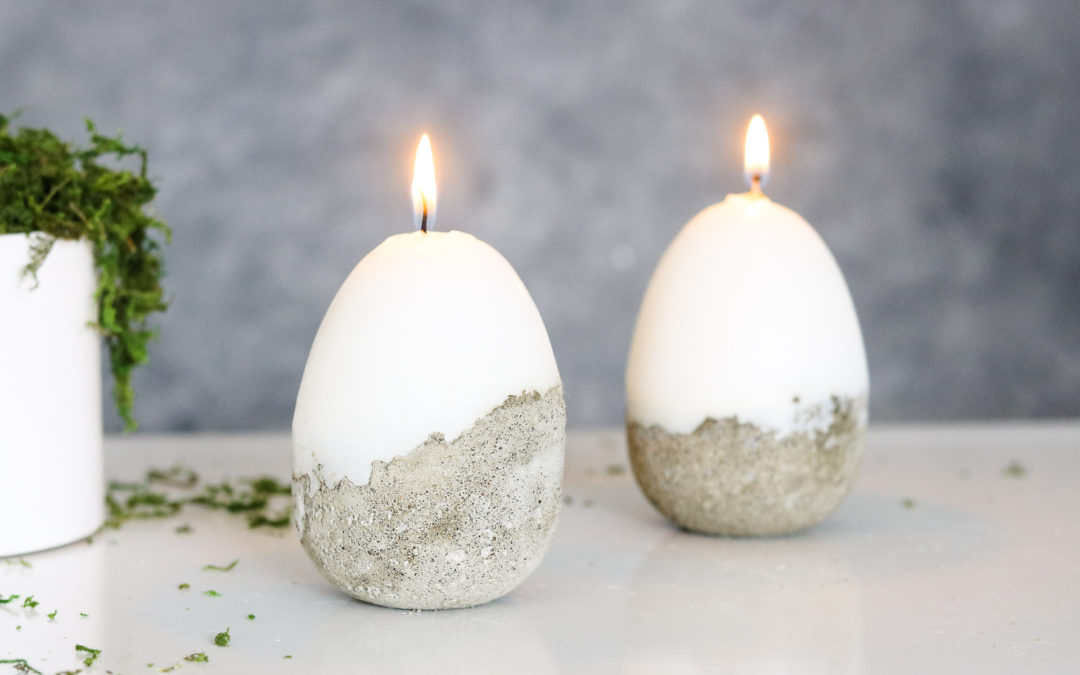
Concrete Easter Eggs
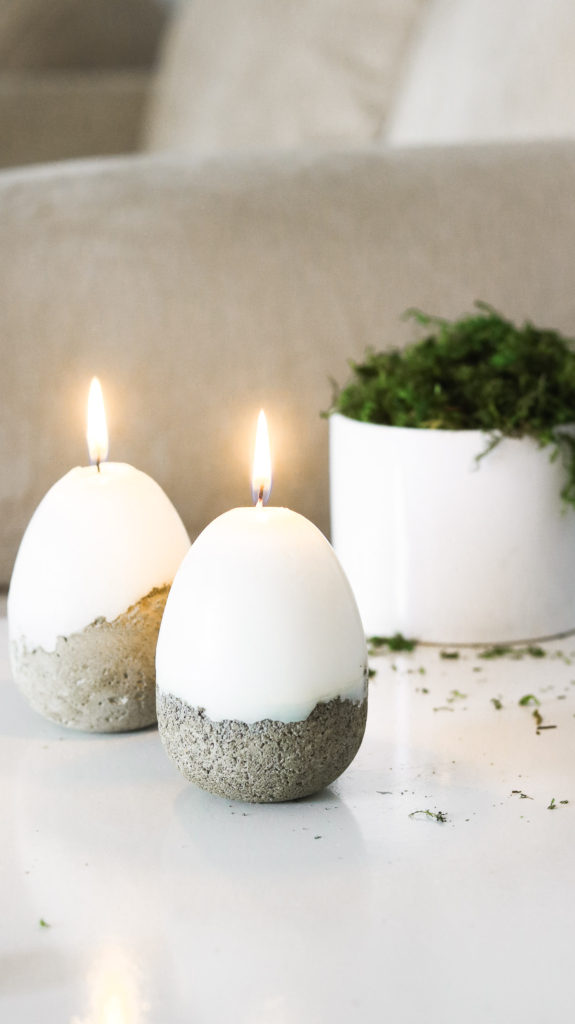
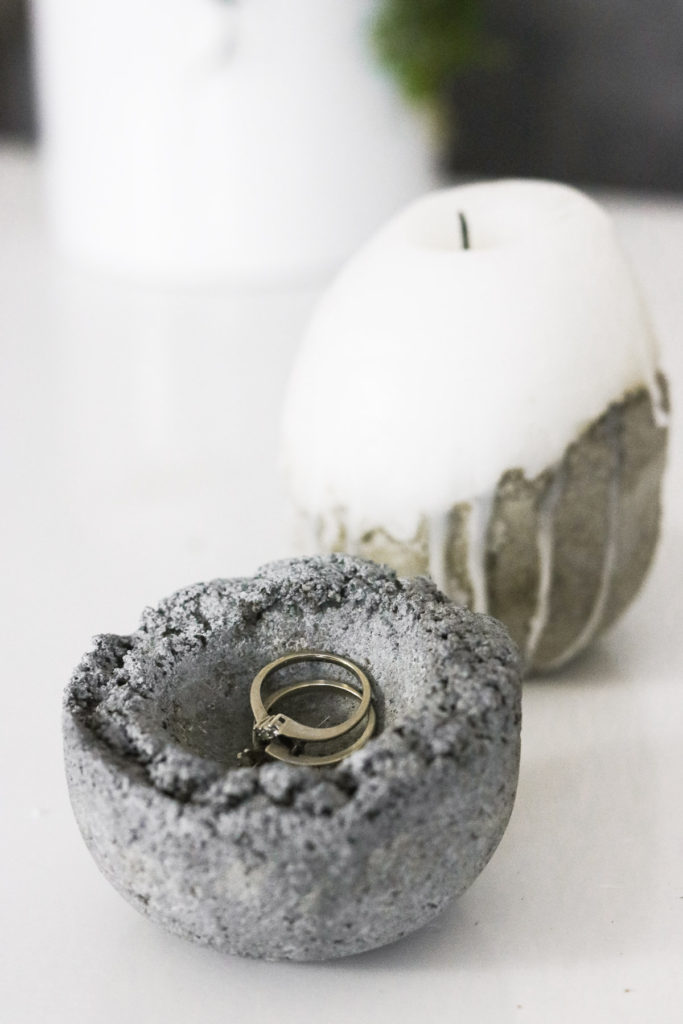
Today I’ll be sharing how to make these pretty half concrete half candle Easter Eggs. The concrete base can also be used as a ring dish once the candle burns out! Isn’t that awesome!? I’ve teamed up with Sakrete and gave their concrete mix a try to make this DIY!
Time Needed:
I will admit these pretty things do take up a bit of time to make however, most of it is just setting time for the concrete and candle. These candles cannot be made in one day and would fit in the category of a two day project. It doesn’t take long to assemble them only about 30-40 minutes tops without setting times. 😀
Cost: $-10-$15
So depending on what you already have at home your price may vary. Also keep in mind if you purchase a bag of concrete you will have a bunch leftover for future projects. These eggs don’t take much concrete mix.
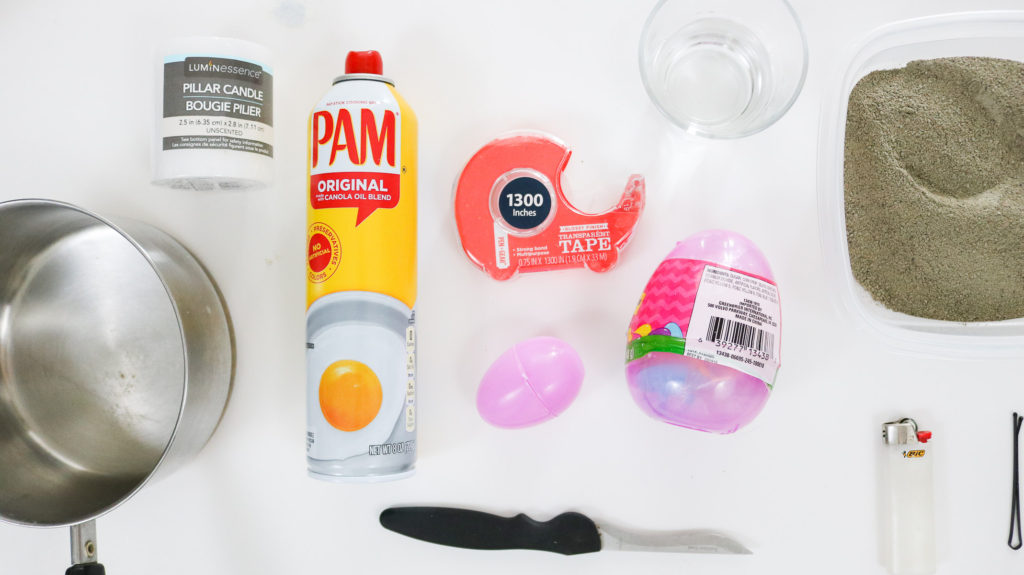
Supply List:
- Plastic Easter Eggs ( big and small. I got mine at the dollar tree)
- Candle (also at the dollar tree)
- Concrete Mix ( Here’s the one I used)
- Tape
- Lighter
- Pam or oil
- Bobby Pin
- Knife
- Brush + Napkins
- Bag
- Water
I purchased these big plastic Easter Eggs at the dollar tree. They work perfect for candles since they have flat bottoms. 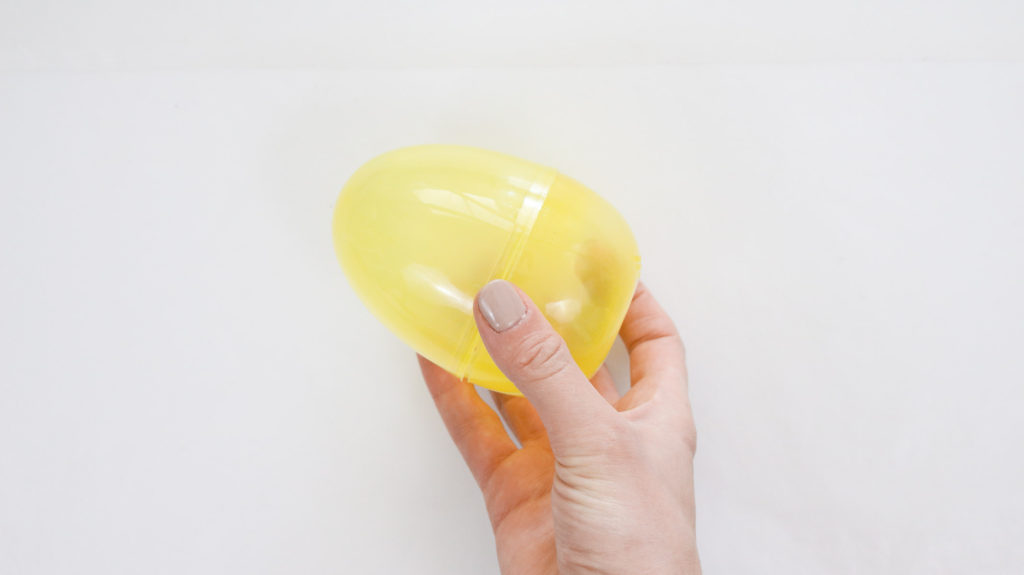
Prepping and Setting the Concrete!
Okay to begin start by mixing your concrete mix with water until you have an even consistency. Look at the photo below for an example of how thick your concrete mix should be. Don’t make it too runny because it’ll be harder to work with (leaking etc) .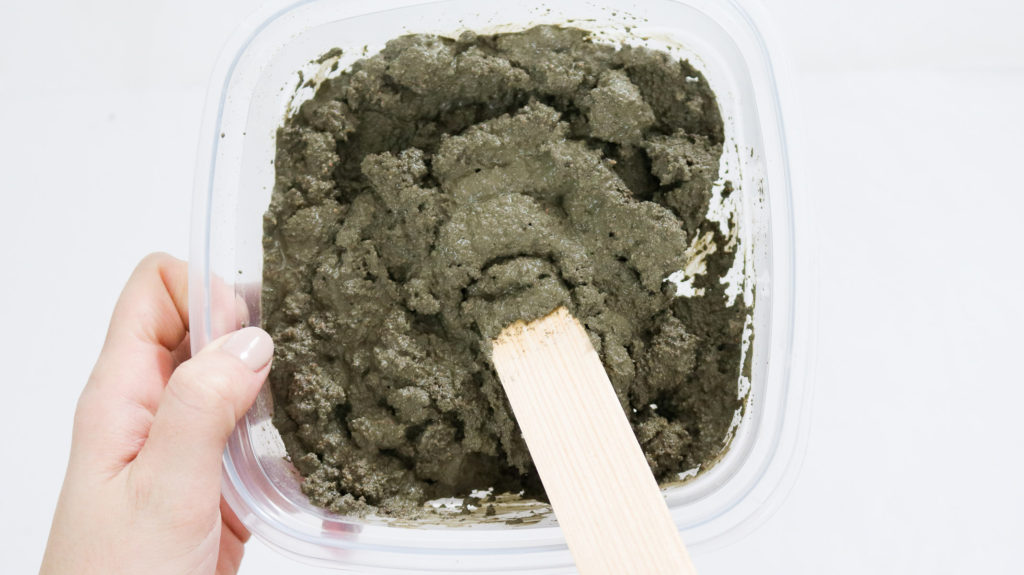
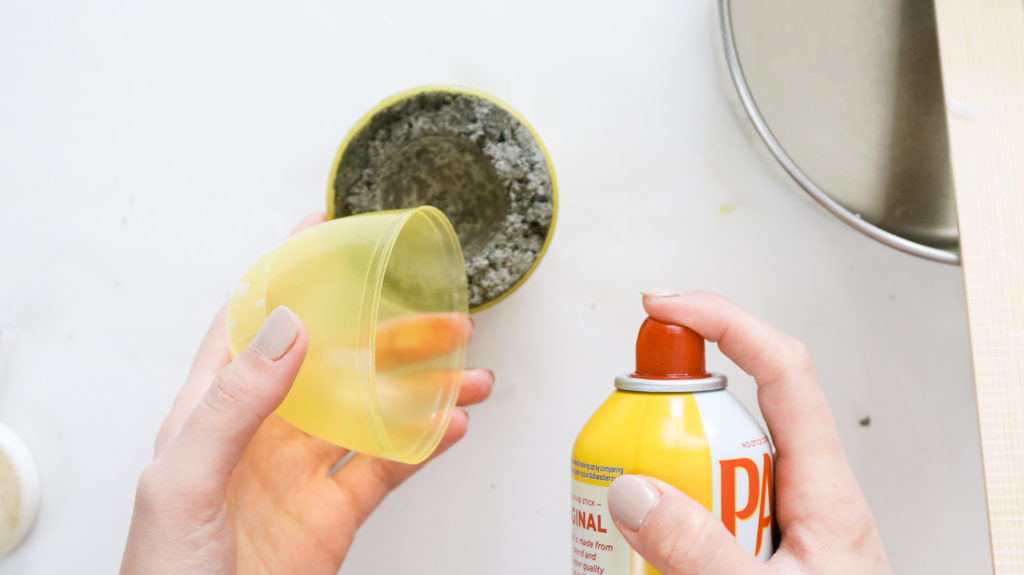
Spray the inside of your egg with PAM. This will help the plastic egg come off later. Than fill the bottom half of your egg with concrete mix and insert your small plastic egg in the center. If you do not plan to use the concrete base as a ring dish you can skip this step. You can also add some small rocks to help weigh the small egg down a bit. It tends to float up. What ever you do DO NOT fill it with concrete. LESSON LEARNED that hard way. I tried this and couldn’t get the egg out. 🙁 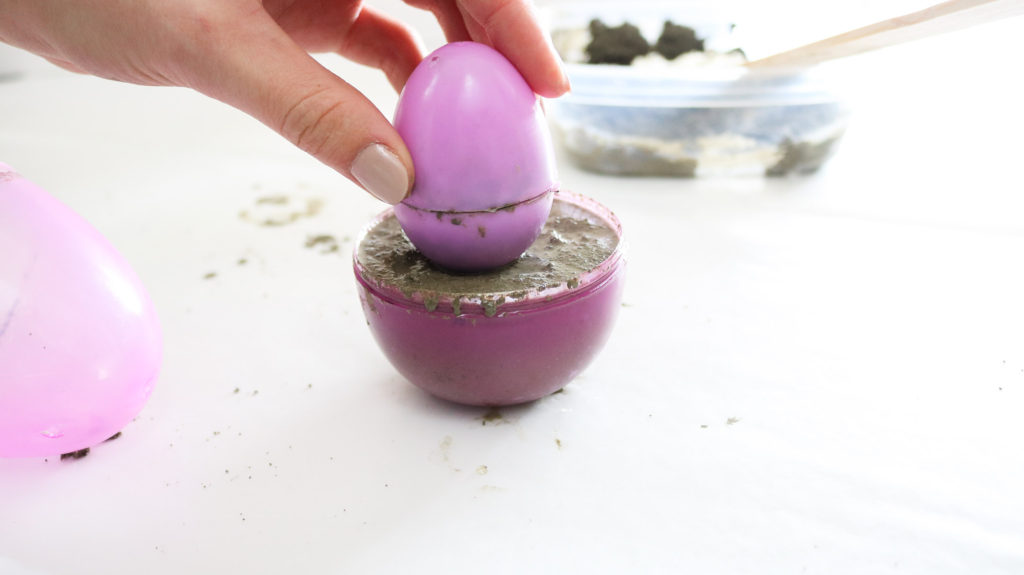
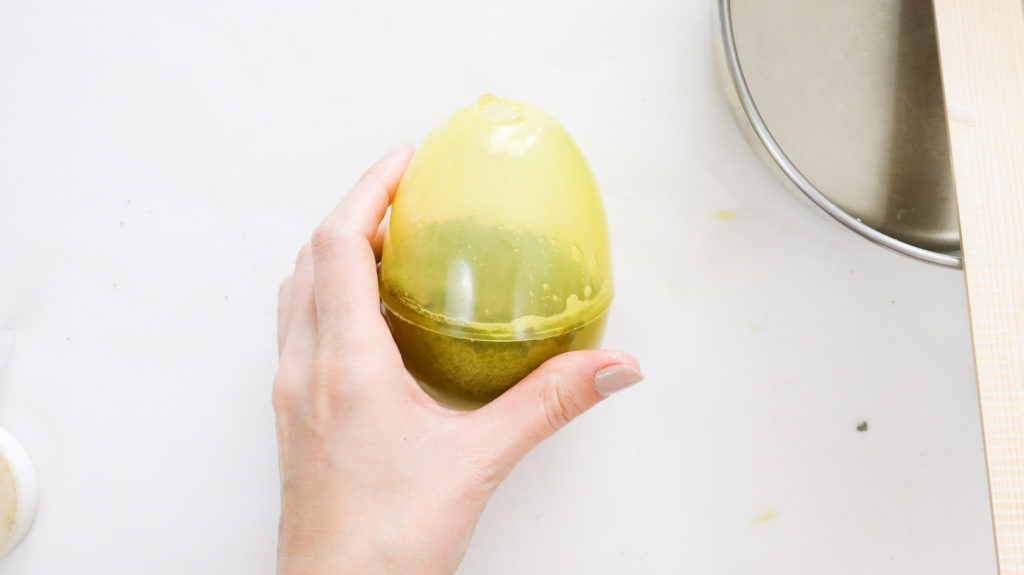
Attach the top half of your plastic egg. Wipe it clean and tape the crease to make sure it’s secure and doesn’t come apart while setting. Then lay it slightly on the side and let it set for 24 hours. 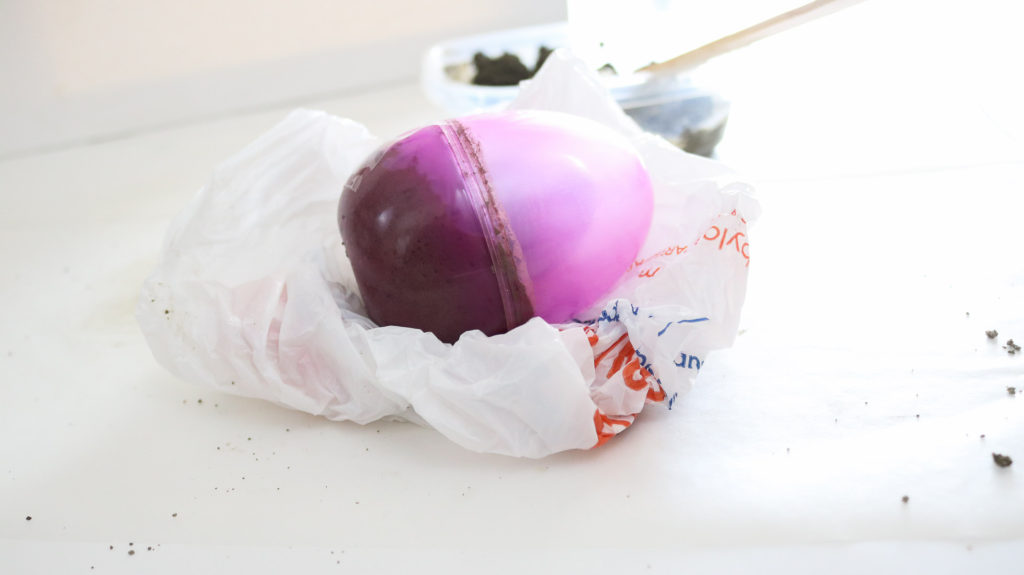
Prepping Your Egg for the Candle!
I made a few eggs at at time and tested with thicker (drier) and more runnier concrete mixes. ( The photo below with the yellow egg is showing thicker version of concrete mix) I personally prefer the look of the more runnier concrete mix as shown in the photo above ( filling the pink egg ). However if you’re wanting to try a drier mix it works just as good and is just as strong. Keep in mind you will get a more textured look vs a smoother look with the runnier version concrete.
Okay once your concrete has set remove the top of your (plastic) egg and twist your small egg that’s inside your concrete. It should slide right out. 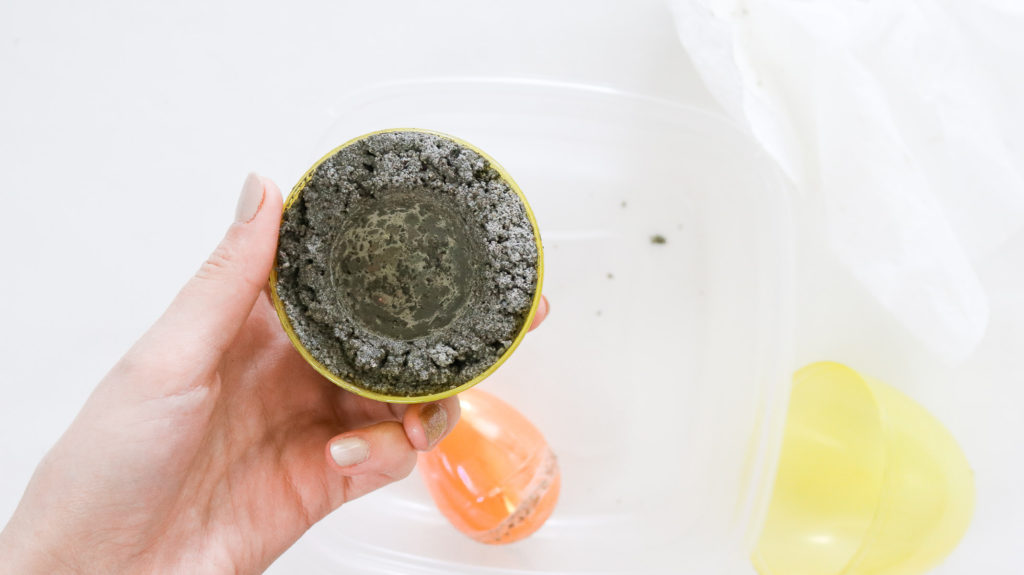 Following that wipe clean the top half of the inside of your plastic egg and use a brush to remove any loose concrete on the bottom half of your egg.
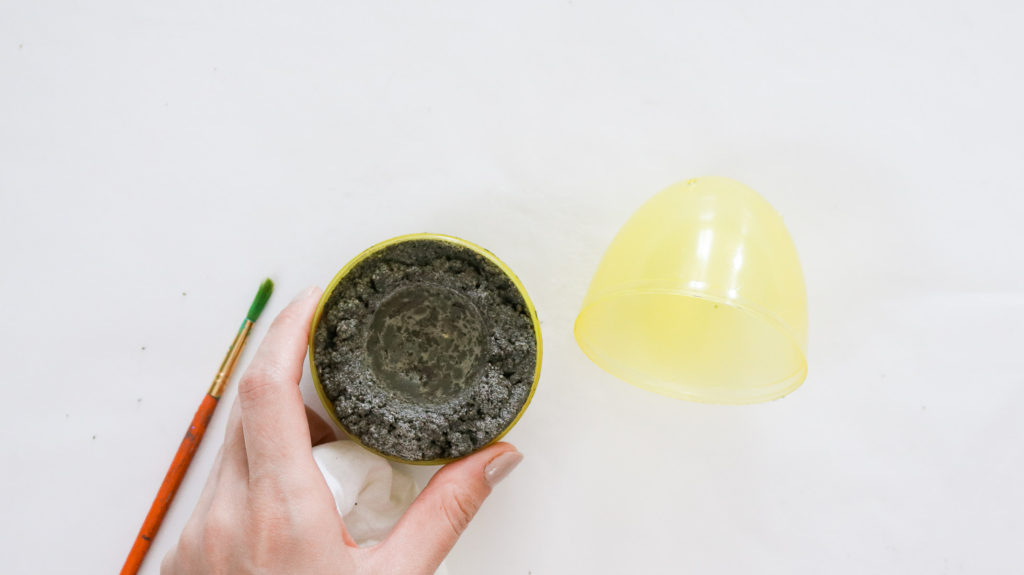
Than use a lighter to melt the tip of your egg to create a small hole (for pouring your melted wax). 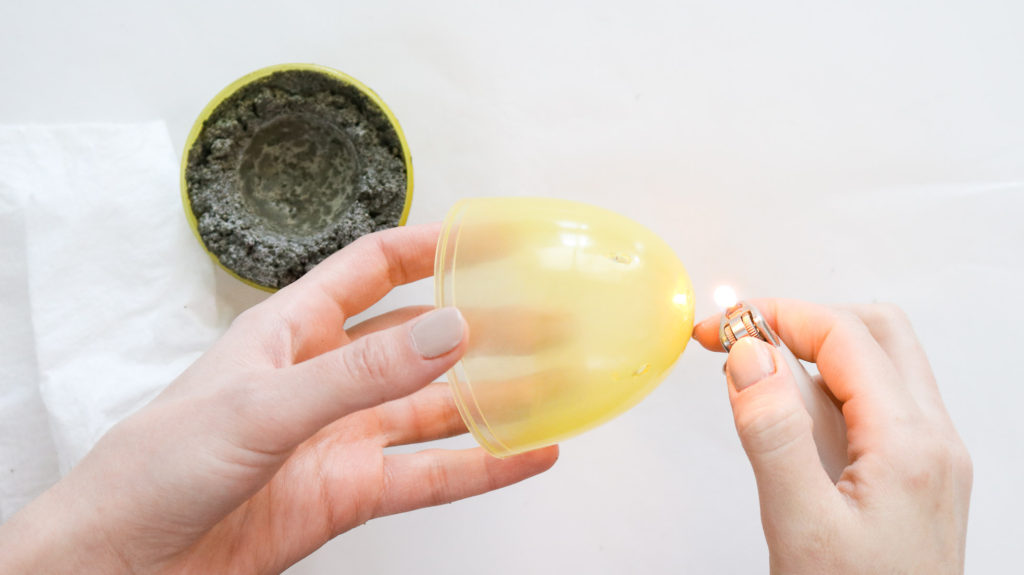
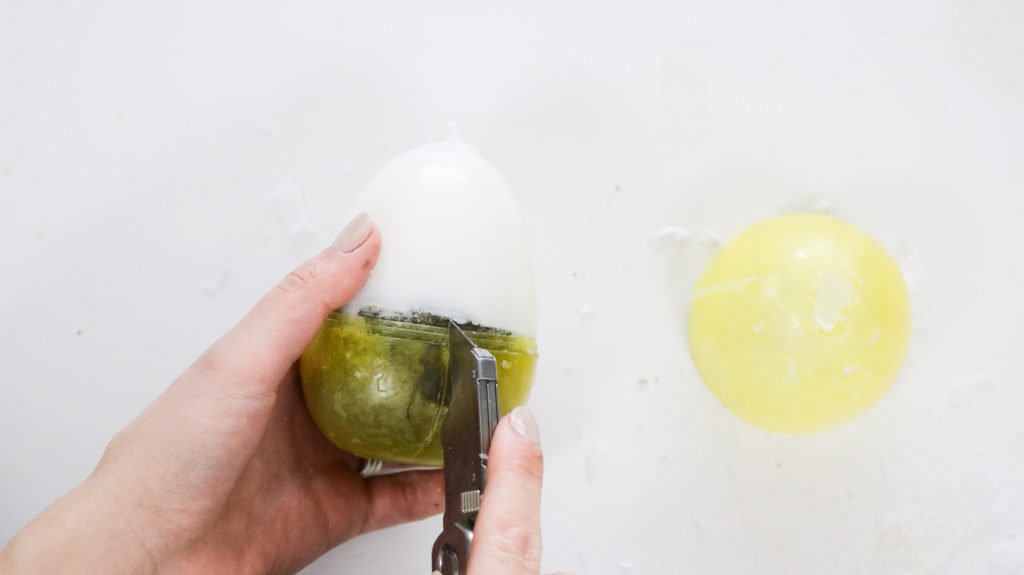
Once you’ve melted a hole use a knife to remove the melted plastic. You can also clean up the edges a bit with some scissors. 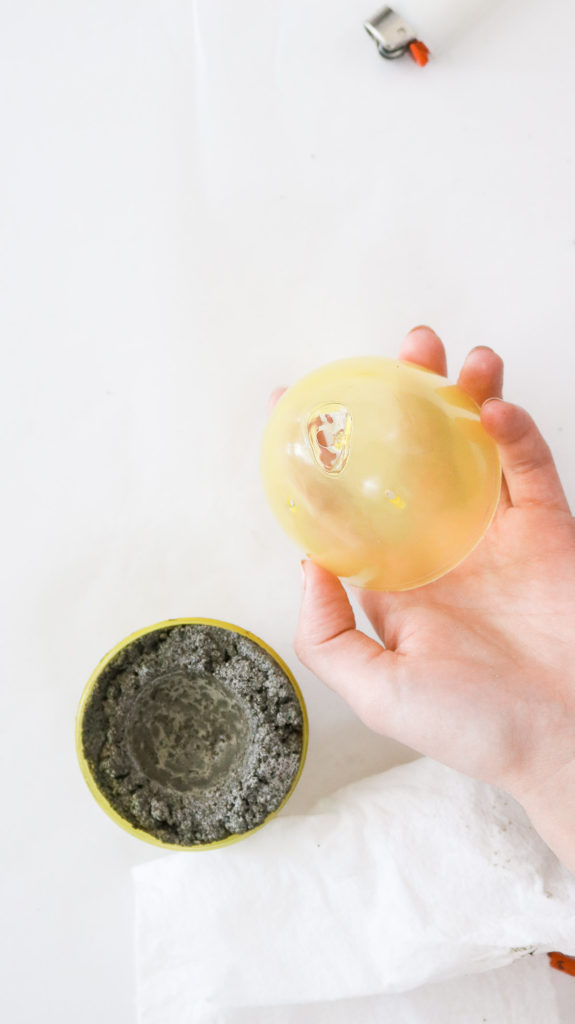
To avoid your candle wax from seeping out cover any holes in the top half of your egg. Make sure your egg doesn’t have snags on the inside as well (so your wax doesn’t get stuck to it once it sets) 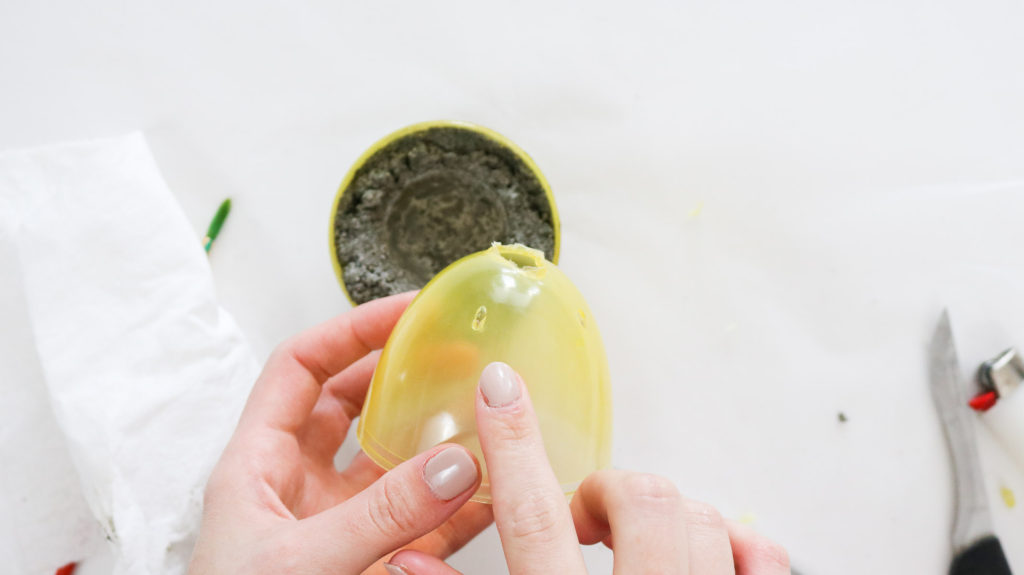
Here’s how I taped my holes on the outside of the egg.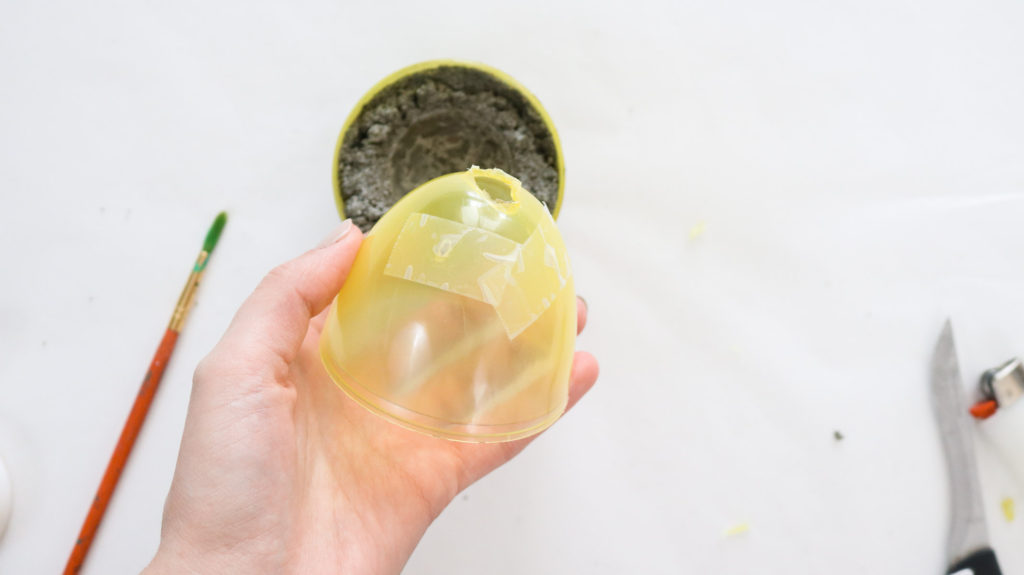
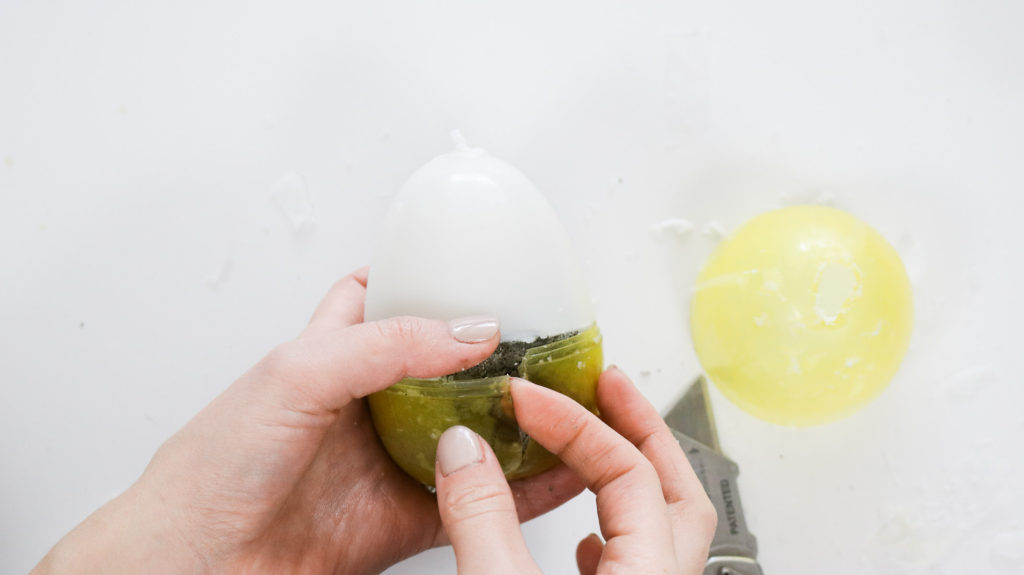
Okay once again spray the inside of your egg with PAM and secure it together.
Melting and Pouring your candle!
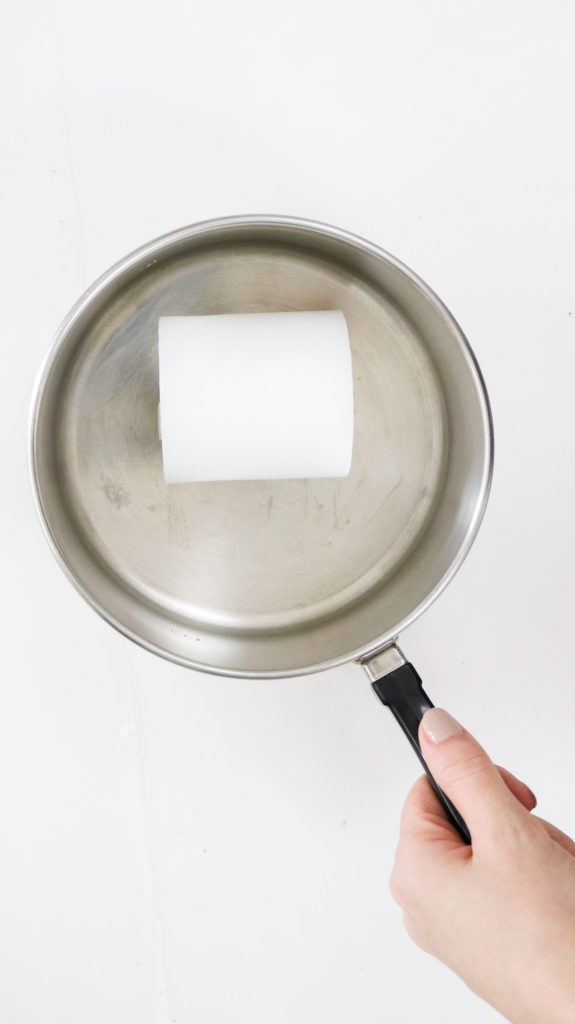
I simply used an old pot I had to melt the candle. I know, I know🙈! Google says melting candles like this is a recipe for disaster however, I’ve tried this at least 4 times already and it hasn’t failed me. Cook the candle on medium heat for about 10 minutes and it should completely melt.
Remove your wick and set it aside.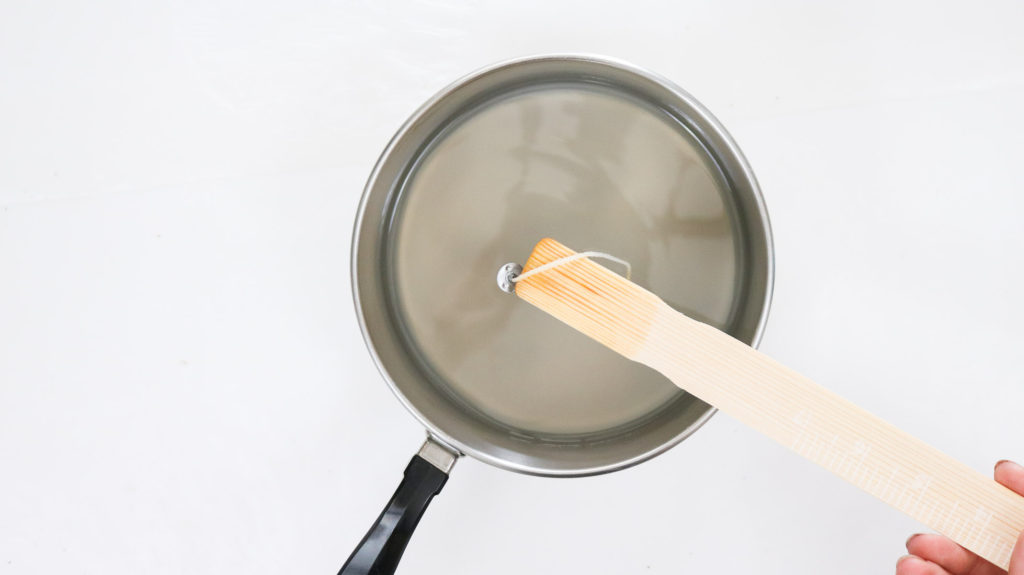
Let your candle wax cool off a bit and pour it into your prepped egg. 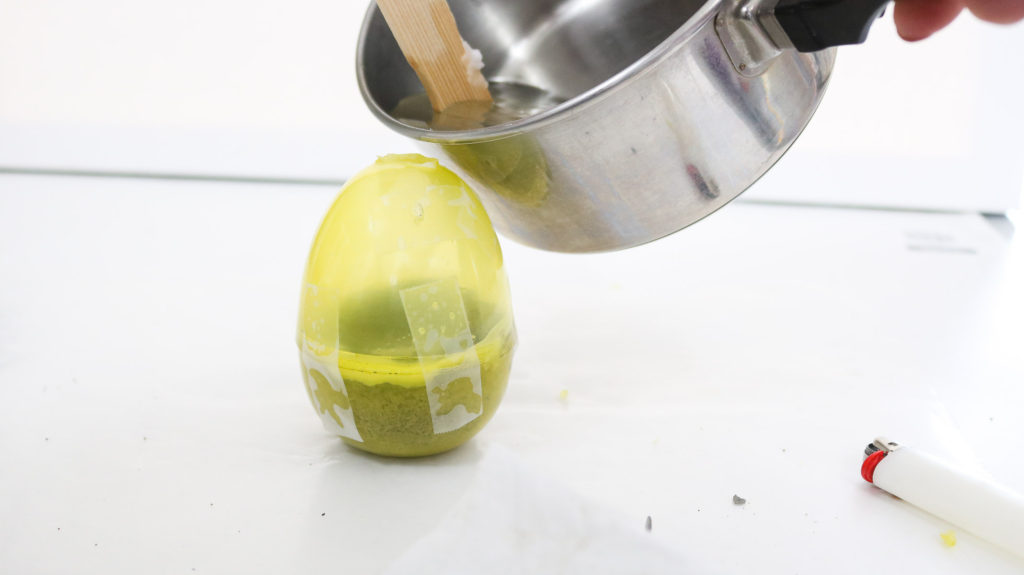
Than attach a bobby pin to the tip of your wick and insert it into the candle egg. 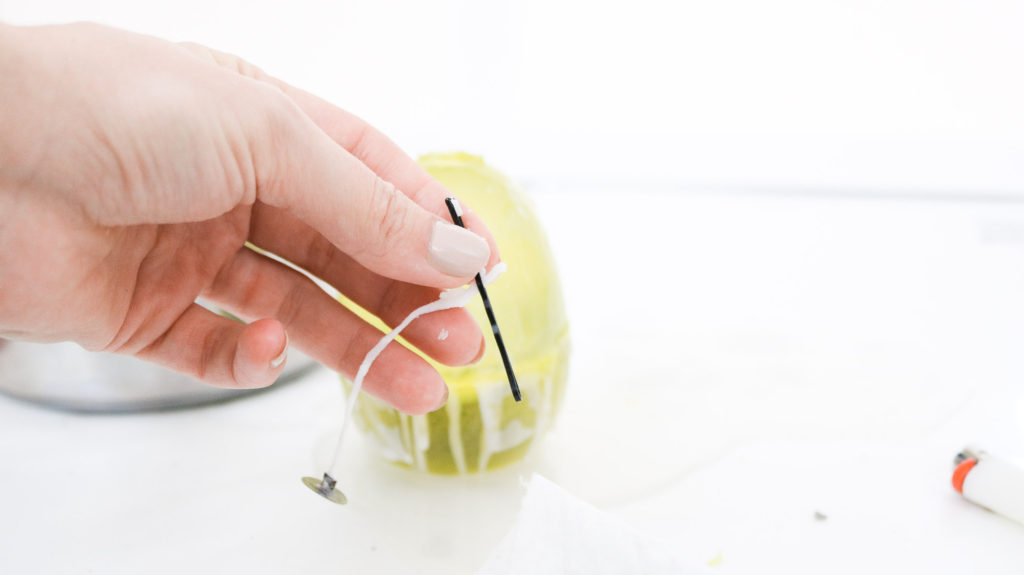
Like this! 😀 You might need to add more wax as the candle starts setting. At least I had too. 😀 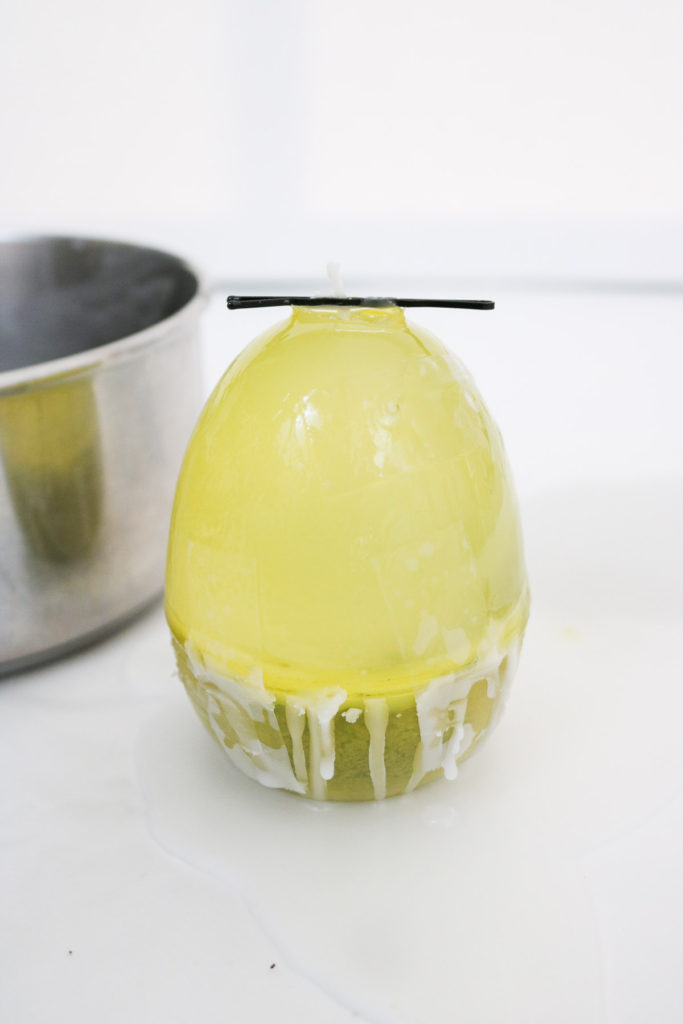
Removing Your Plastic Egg!
Okay so the top of your plastic candle should slide right off if you twist it. You can always warm it up a bit with your lighter if it’s not budging.
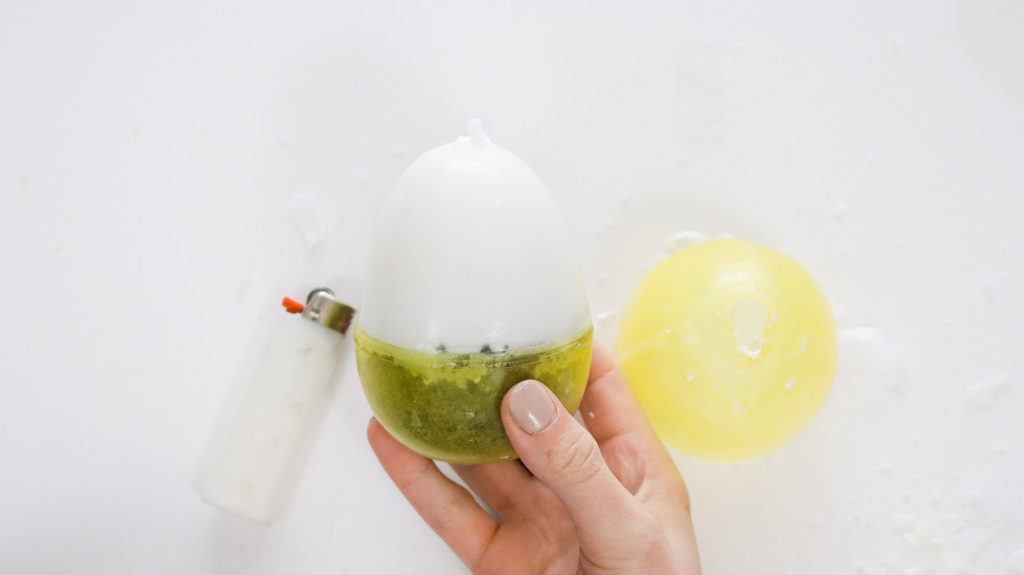
The bottom half of your plastic egg might be a bit harder to remove. You can try twisting it to remove it but, if it’s not moving try this.
Melt an area of the plastic egg where there is concrete and cut into it lightly with a knife. I would not do this without melting the plastic first. This plastic is pretty thick and you would need to push down with your knife pretty hard to cut into it. ALSO since the egg is round it’s really easy to slip and cut yourself so, to make the plastic cut like butter melt the plastic. (BE CAREFUL! ) 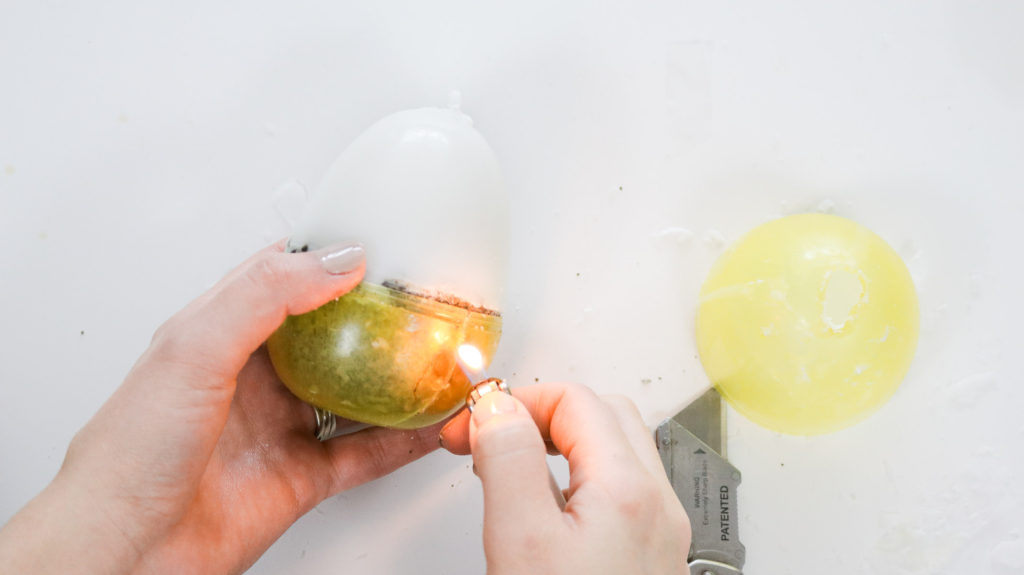
Once you’ve cut into it simply pry one of the edges up and the plastic egg should slide right off. That’s it!
Here’s a quick video version of this DIY!
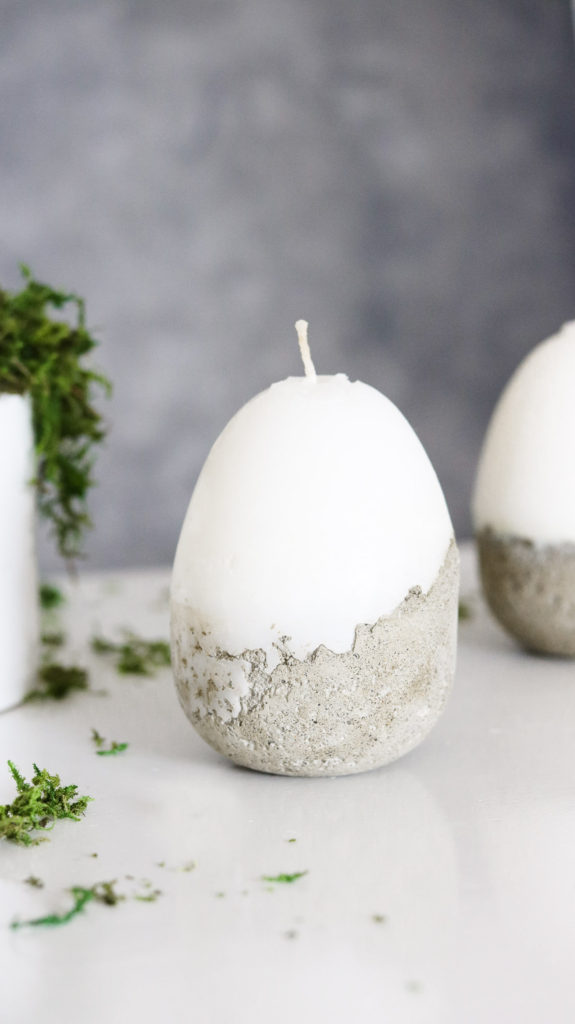
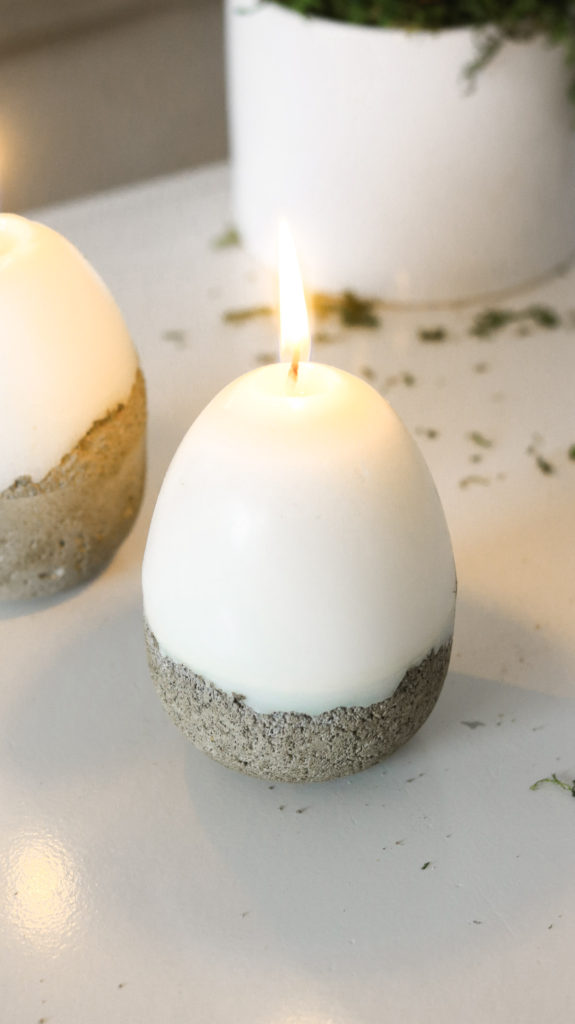
Okay! Here’s it is! This one had a runnier mix of concrete. That’s why the concrete has more of a visible diagonal look to it.
Here’s a photo showing the thicker concrete mix ( the egg in front – photo below). As you can see the texture looks more rough as well compared to the other one.
And here’s the ring dish ( also showing the drier concrete mix) I can’t wait to burn out the other candle to see how smooth the runnier mix looks. 😀 😀
That’s it! I hope this inspires you to decorate for Easter! Happy crafting everyone! I’ll see you next time!
Xo,
Lily-
This is SUCH a genius idea!
Thank you girl! 😀 😀
What size were your egg moulds please?
I think these were the 3 inch eggs.
nice but I’m too lazy. Really good look though!
LOL!! Love it! I know what you mean I get run down with DIY’s sometimes and get to a point where I just need a brake and feel lazy! 😀 Glad you liked them 😀
Lily, I read a lot of DIY blog posts and just wanted to say thanks for being so specific. Often details are overlooked and can be the difference in success and total failure. A project like this, both time and labor intensive could cause a novice crafter to give up if not for the encouragement and details you offer. Excellent job!
Thank you so much Bethany! I’m delighted to hear you liked the extra details. I always try to be very specific. Gosh most of my DIY’s go through a lot of trial an error, I would hate for you to have to go through that to get the DIY right!! That’s why I love sharing DIYs on this blog!!
Thank you, xo lily-
Hi Lily, well you’ve done it again, you little talented darling !!😁😍 These would also make beautiful gifts ! So I’m inspired, as usual by you. Hope all is well with you and hope you have a lucky St. Patrick’s day and a beautiful Easter. Thanks Lily, you’re the best !
AWE Thank you Diena, I am ssso happy to hear this was inspiring. It’s been good. Spring is finally hear and I can finally get started on bigger projects. I can’t wait!! I hope you had a great st.patricks day and Happy Easter. Thank you Diena you’re the sweetest!!
I love this! I first thought it was a way to ask your true love for their hand in marriage. The timing would be unpredictable, but when the candle burns down it would reveal a package containing the rings. You could do the same thing with a gender reveal. Hmm… Got my wheels turning.
OMG HAHAHAHA I love that! That would be awesome! Would of never thought of that! Give them the candle and let fate do it’s part! HAHA
I read a lot of DIY blog posts and just wanted to say thanks for being so specific. This idea is great!
Thank you 😀 Sure! I’m glad this was helpful! So happy to hear you like this idea! 😀
How do you eliminate the seam line between the top and bottom of the egg?
I tried to make sure the majority of the seam line was where the wax would be. It can easily be rubbed off if it falls on the concrete you can lightly sand it off.
i would like to replace our bathroom lighting with light emitting diodes to save electricity;