
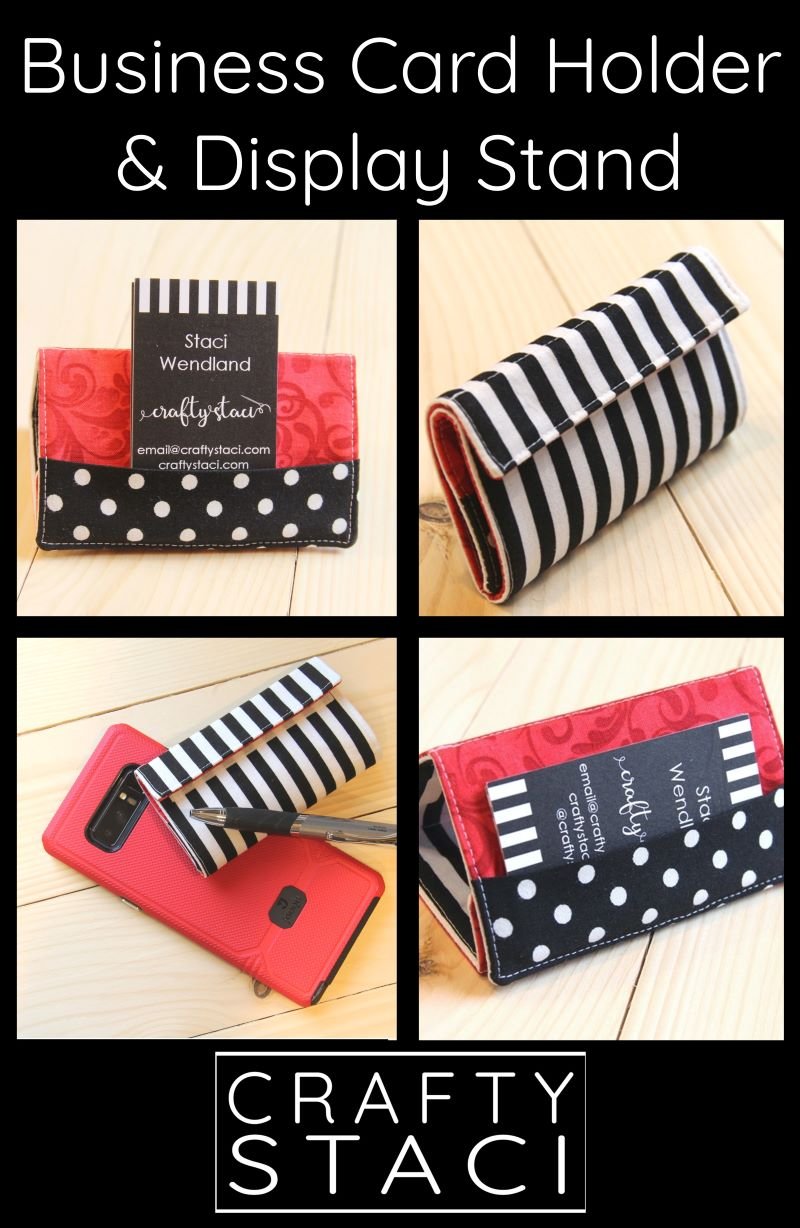
Do you need a business card holder that can transform into a display stand? I have just the thing!
I finally made a thing that’s been in my idea file for YEARS. It’s so simple, I’m not sure what the hold up was.
Luckily, it turned out just the way I imagined, because otherwise that would have been the saddest build-up ever.
I made this business card display stand with craft show vendors in mind. They have to set up a table, and take it all down at the end, so having a stand that you can fold up flat and throw in a bag is handy.
However, they aren’t the only ones who could use this handy holder. Anyone who needs to carry and display cards, this is for you.
This post contains affiliate links. For my full disclosure policy and point of view, click here.
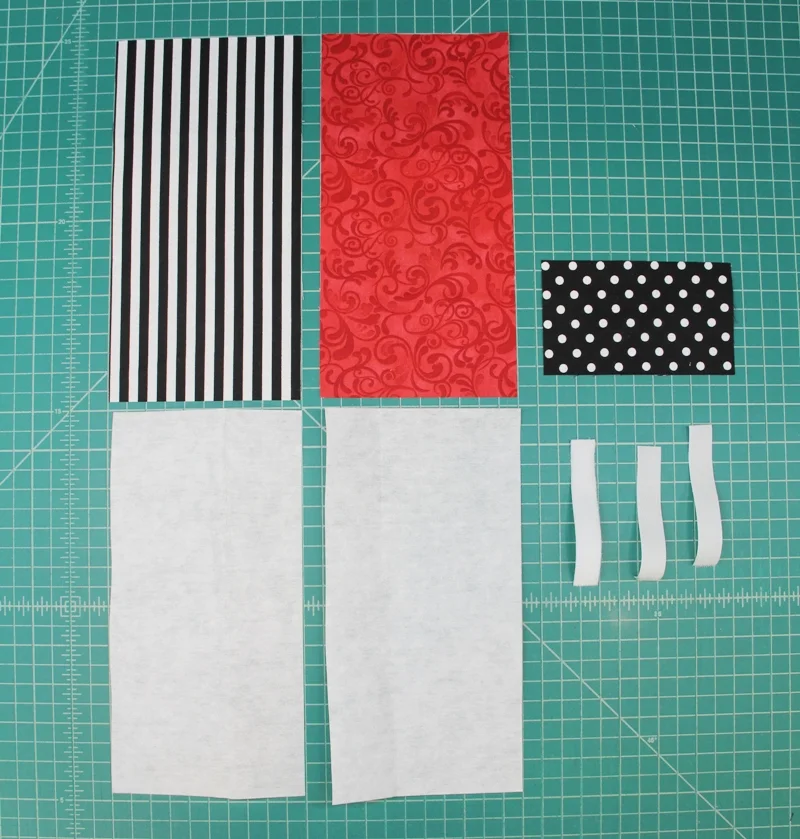
To make this business card holder/display stand you’ll need:
outside fabric, 5” x 9 3/4”
inside fabric, 5” x 9 3/4”
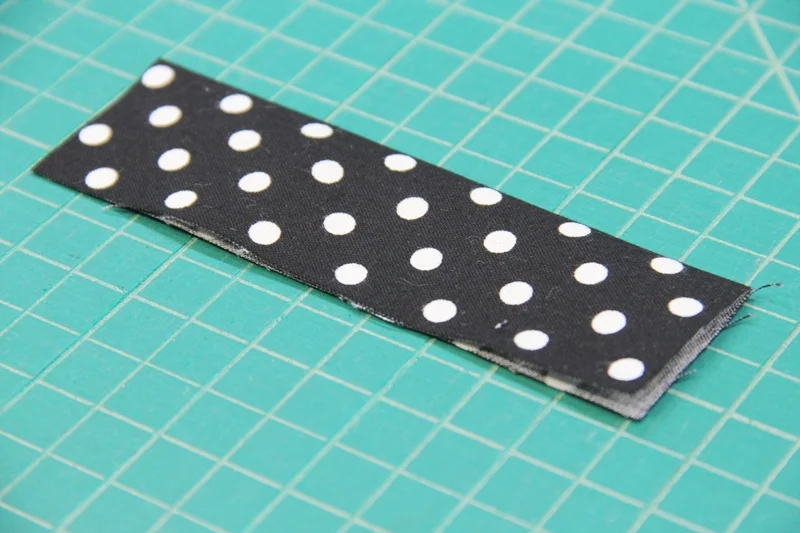
pocket fabric, 5” x 3”
fusible interfacing, 5” x 9 3/4” (2) - I used Pellon 808 Craft Fuse, which is heavy but still workable
Velcro, (1) loop side 5/8” x 4” (2) hook side 5/8” x 4”- I like the softer variety, especially when using longer strips like this
On a side note, if you’re worried about wasting that 4” of loop Velcro, make a second holder and reverse the hook and loop pieces (one hook, two loop) to even it up!
Apply the interfacing to the wrong side of the outside and inside fabric pieces.
Lay out the outside fabric piece. Pin one hook Velcro strip 7/16” from the bottom edge, centered side to side. Sew in place.
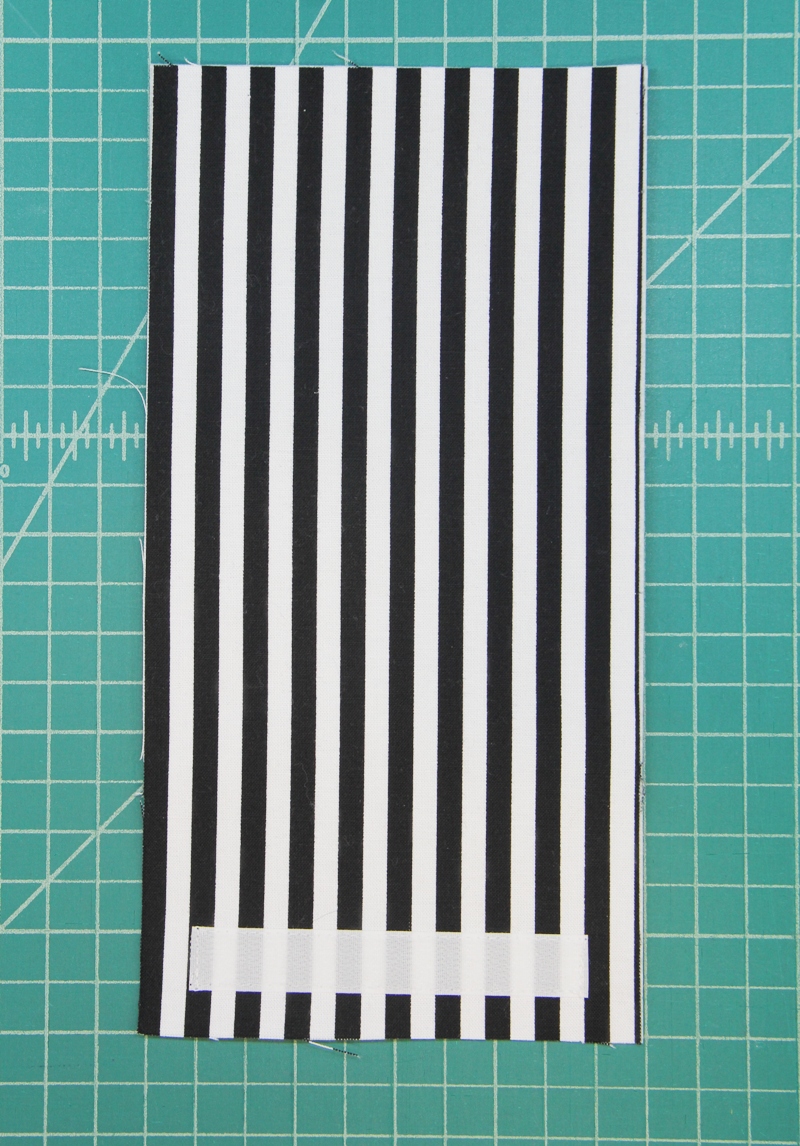
Stitch on the second hook Velcro strip in the same manner, 3 3/16” from the bottom edge.

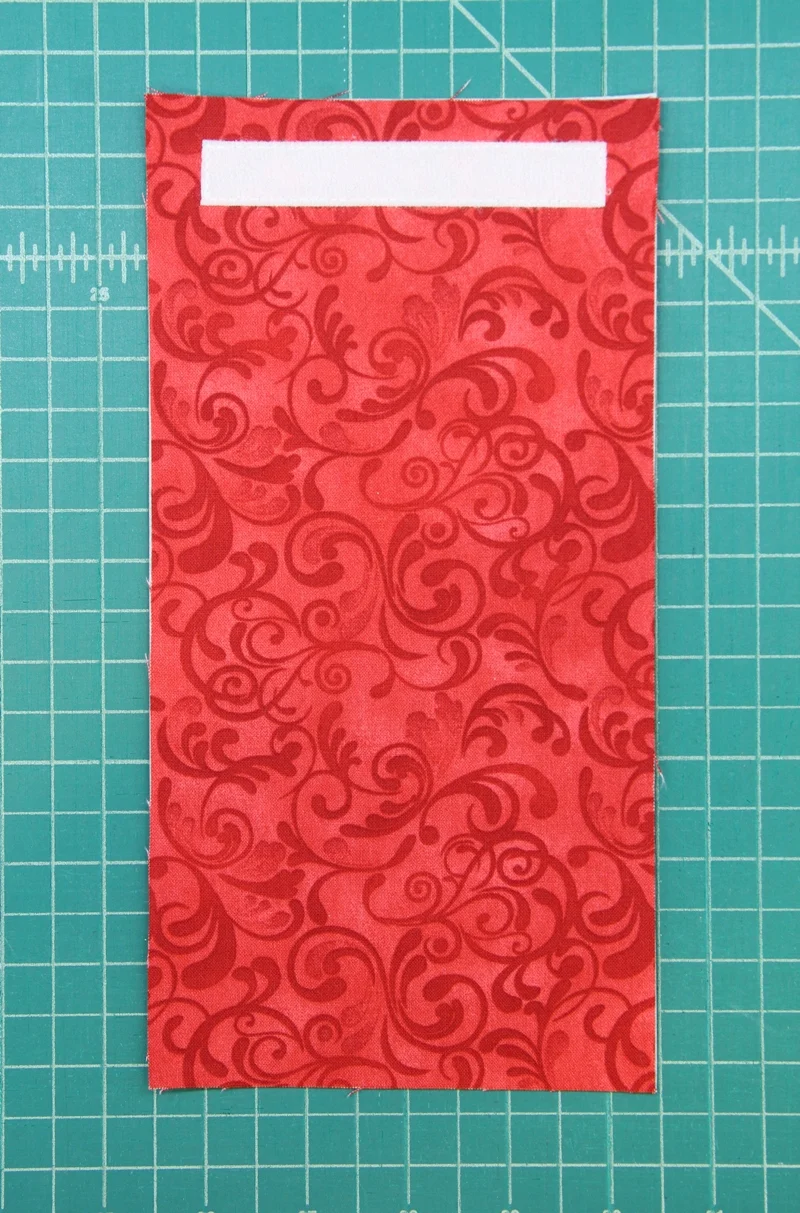
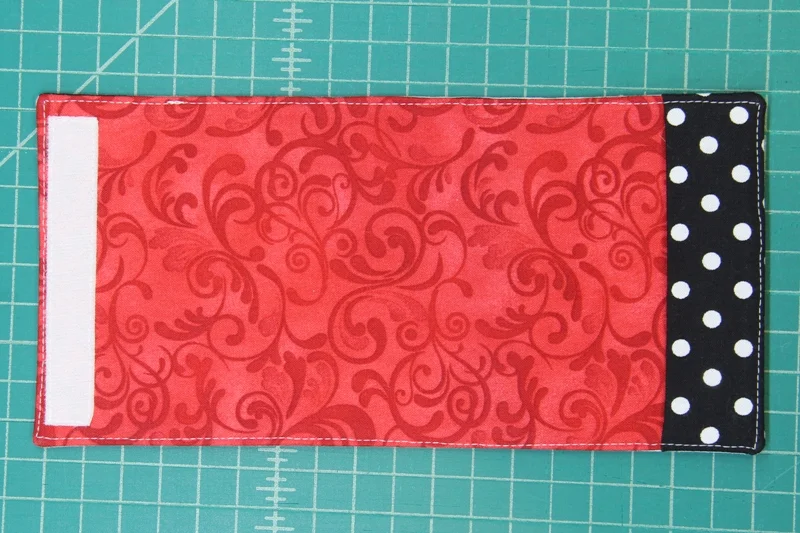
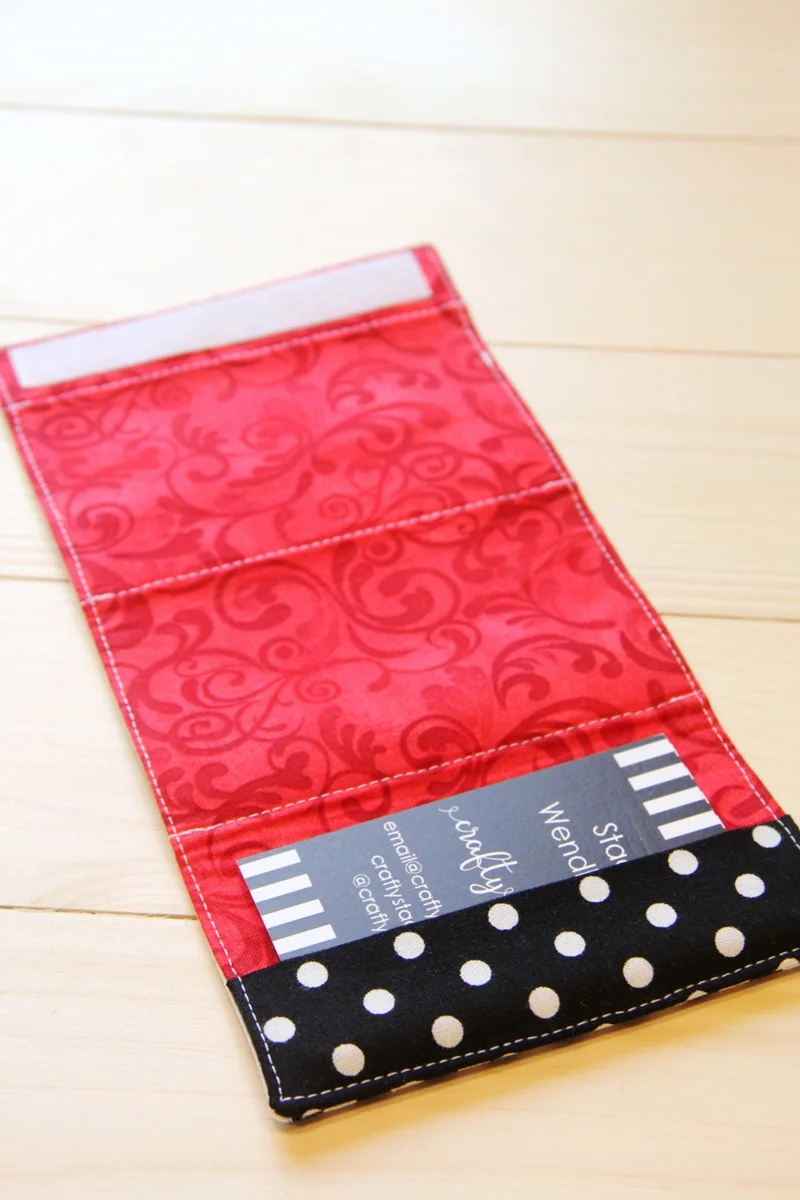
Lay out the inside fabric piece, right side up. Stitch the Velcro loop strip 7/16” from the upper edge, centered side to side.
Fold the pocket wrong sides together and press, so it measures 1 1/2 x 5”.
Lay out the inside fabric, right side up, with the Velcro near the top. Line up the raw edges of the pocket with the bottom edge.

Lay the outside fabric piece over the top, right side down, with the Velcro near the bottom. Pin the layers together.
Stitch a 1/4” seam around the edge, leaving 3” open on the side above the pocket. Clip the corners.

Turn right side out. Press, turning in the opening.
Topstitch all the way around, close to the edge.
With the inside layer up, starting from the end with the Velcro, draw lines at the following distances from that end:
1”
3 3/4”
6 1/2”
I used a Frixion pen, which I highly recommend because you can iron the line away when you’re finished with it. Just be aware that it will sometimes leave a light-colored line. If you’re sewing over it you can’t really see it, but if you misplace a mark you’ll notice it.
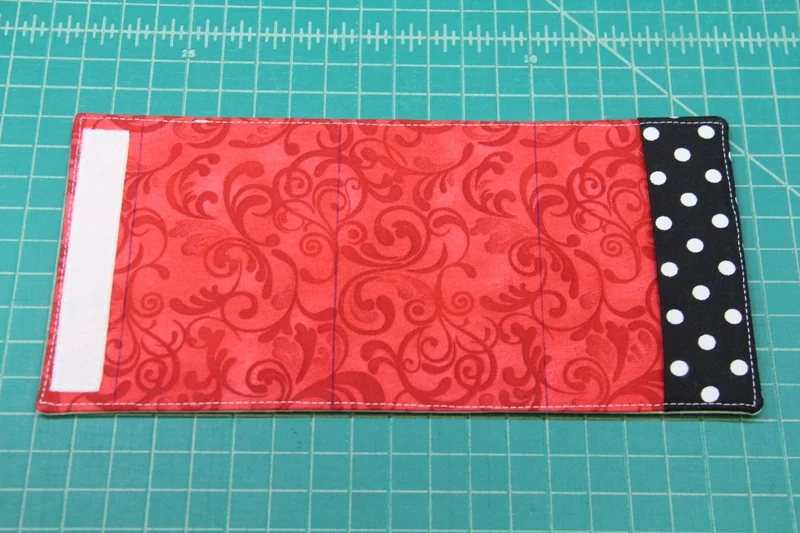
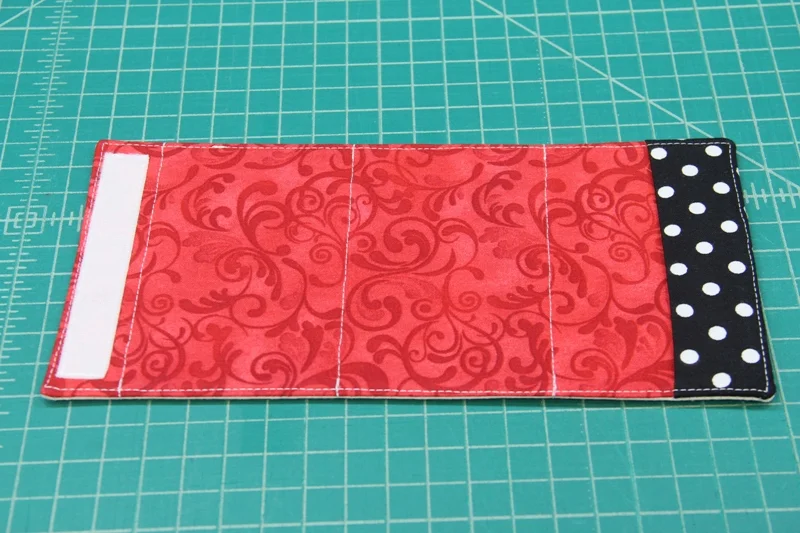
Stitch along each pen line.
Fold at the stitch lines and attach the loop Velcro to the hook behind the pocket to use as a stand.

To flatten it for travel, unhook the Velcro, fold the flap forward over the pocket and wrap around until the loop reaches the other hook strip.

If you happen to have vertical cards, like I do, just turn them upright while they’re in the stand.
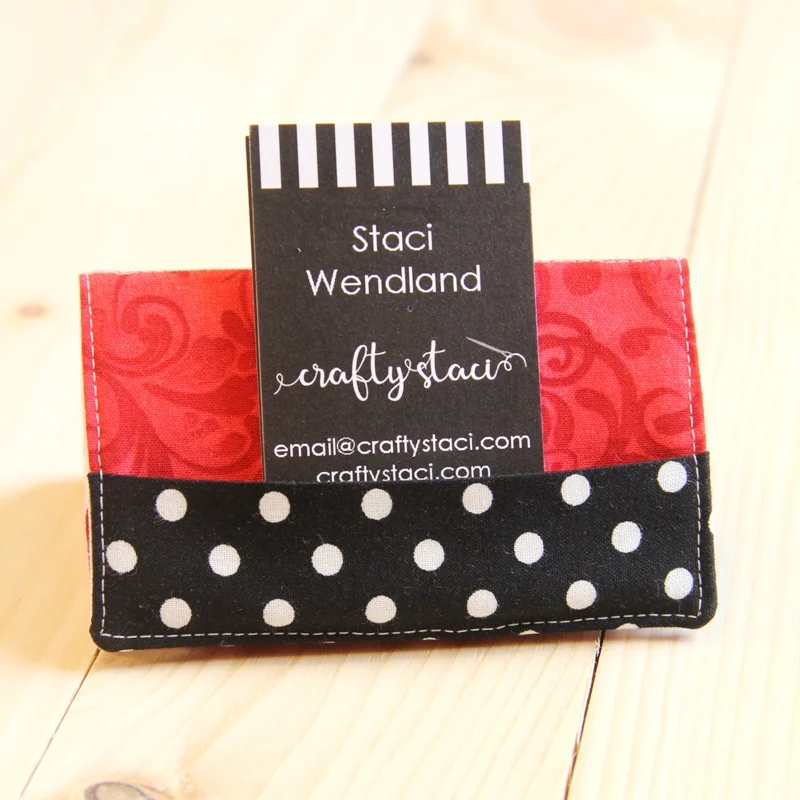
Make it to match your brand colors, and you’re all set to hand out your business cards anywhere you go!
If you’re a craft show vendor, check out my other tutorials and posts to help get you organized:
