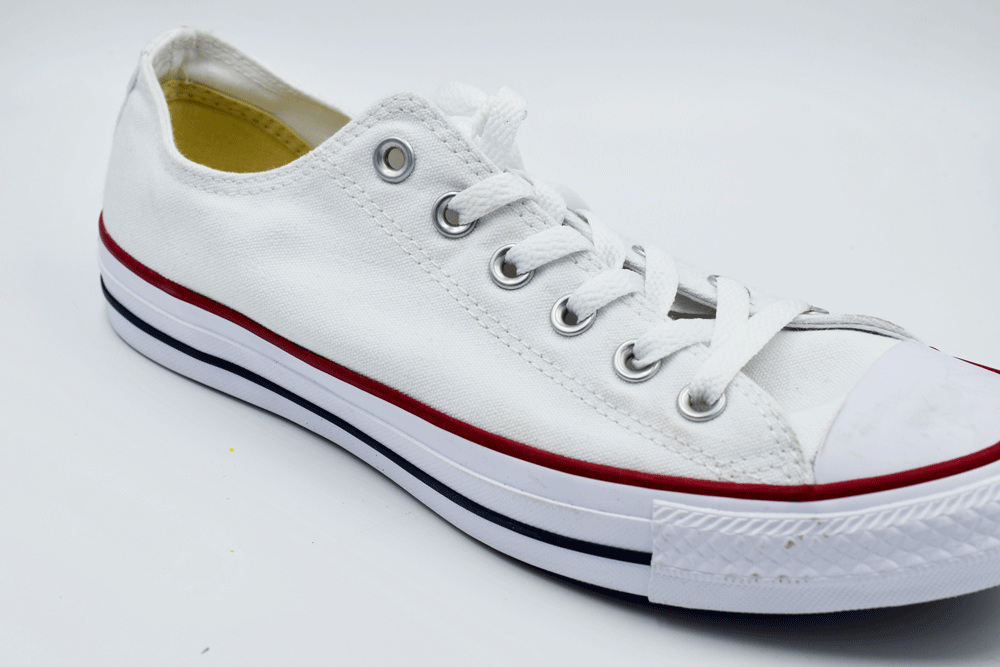
Whenever I see something that is white I think of it as a blank canvas inviting me to decorate it. Guess I will never be minimalist, as much as I admire that style. I can’t fight my “more is more” tendencies so why not just go with it?
Enter: Exhibit A. Plain white sneakers.
Find some small designs to use. This design I used was from my LOVESTITCHERY shop. Click HERE to see this listing. It is a printable PDF pattern that comes in two different size choices.
I used a mechanical pencil to trace the pattern onto a piece of stabilizer which can then be attached to the sneaker for sewing.
This is the stabilizer I like to use. It has a paper backing. You can also print patterns right from your printer onto this stabilizer if you don’t feel like tracing which is a pretty cool option.
Find just the right spot for your design. I tried to find areas in the sneaker that were a little thinner. The canvas can be rather hard to sew through but there are softer areas that are a little easier to sew. The heel had thick areas but the sides underneath the seams were nice and soft.
For more designs where you want more detail, use a single thread. I used one strand of black cotton DMC thread for the above design.
I even like the way it looks on the inside.
I think a whole shoe of little black and white designs would be cool but I couldn’t help splashing a little color on there. I added some tiny roses from my Mother’s Day PDF pattern (You can see the listing HERE.) Then I added some stitching to the shoe laces. I used a variegated thread and just made some simple straight and cross stitches. Super fun and relaxing. My fingers were definitely hurting a bit after stitching through the tough canvas so I came up with an alternative method which was a lot easier on the digits.
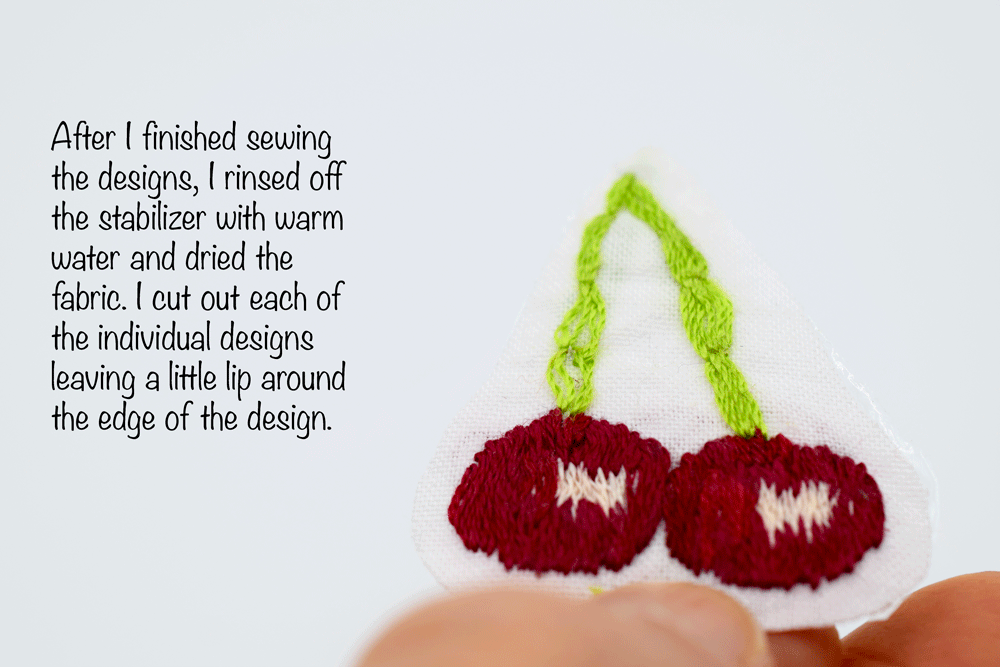
For this alternative method, I traced some designs onto the same soluble stabilizer mentioned above then stuck it on white fabric. I sewed the designs onto the fabric which was much easier and enabled me to add more details and color.
Next I applied heat and bond to the back of the design. Place your design right side up, wrong side facing the shiny side of the heat and bond. Cut the adhesive to match the design then iron it on the the back of the design.
Here are the designs ironed on to the sneaker. I placed the side of the sneaker on the narrowest part of my ironing board and ran the iron over the design until it it was firmly attached.
I finished by stitching around the edge of the designs with a black thread. I thought the black shoe laces were a fun twist.
I am going to have to fight the urge to cover every inch of these with tiny embroideries. So much fun. Now I just have to find something fun to wear them with!
*This post contains affiliate links.
Hope you enjoyed following along.
Make a pair, I dare you!
Thanks for stopping by!
Warmly,
Pam


