

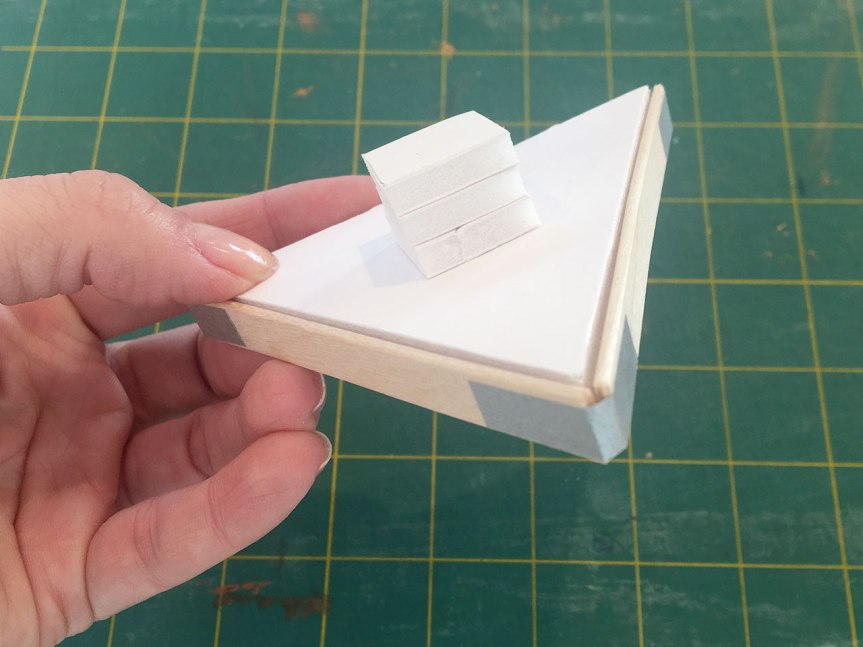
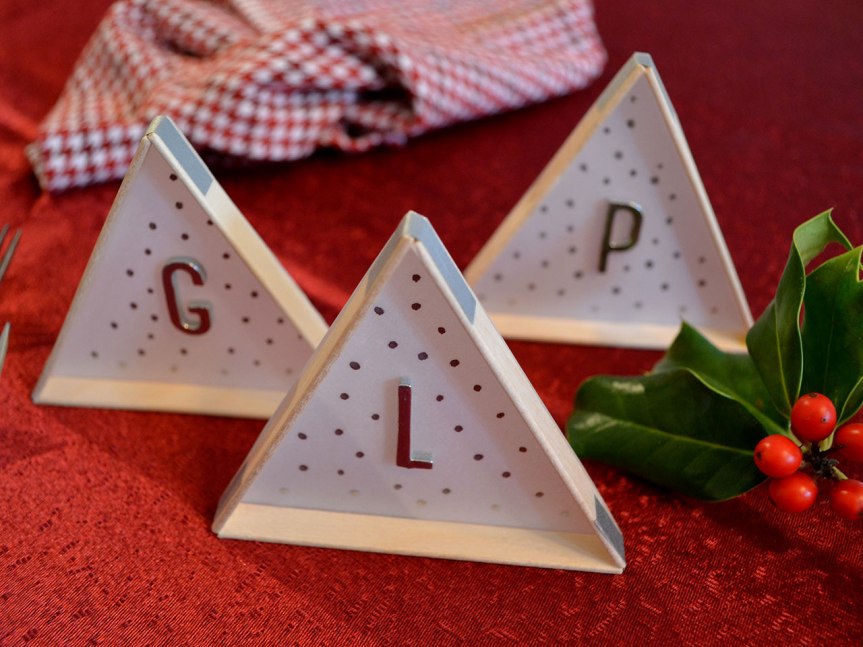
The Mugs are hosting Christmas dinner and we will be having 9 people at our table. I thought it would be a festive touch to add place cards to our setting. The design is a modern interpretation of a tree – with accents of silver and wood.
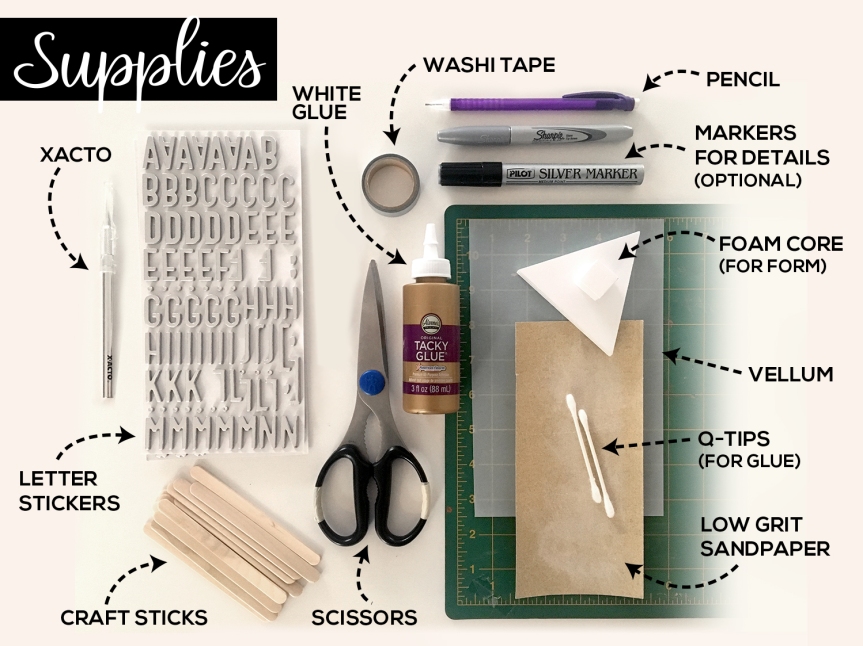
* Not pictured – a ruler to measure the length of your sticks
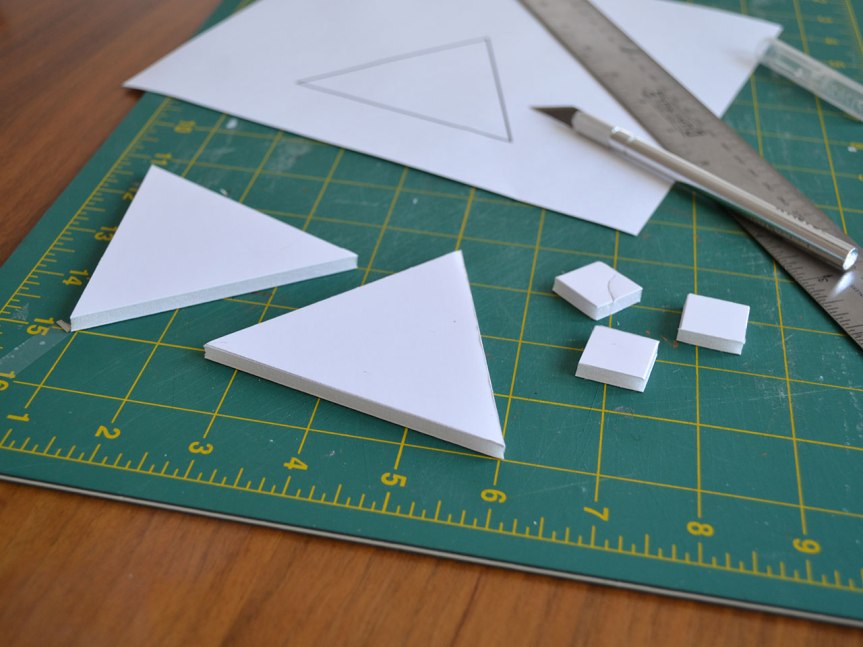
Because I am making 9 of these, I decided to make a form that would make assembling the triangles quicker. I used foam core and the template below.
triangle guide.pdf
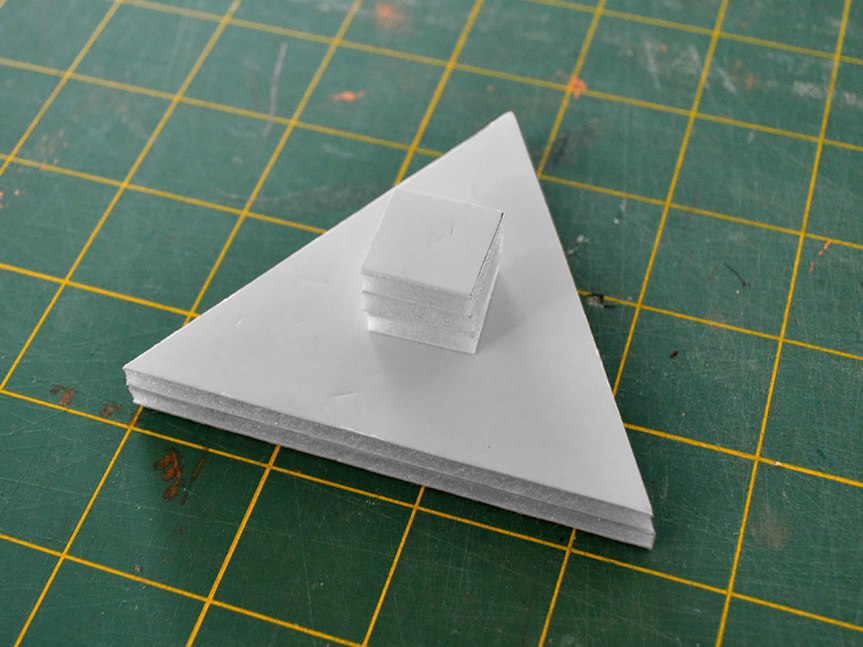
I cut 2 triangles and a few small squares for the handle, then glued them together.
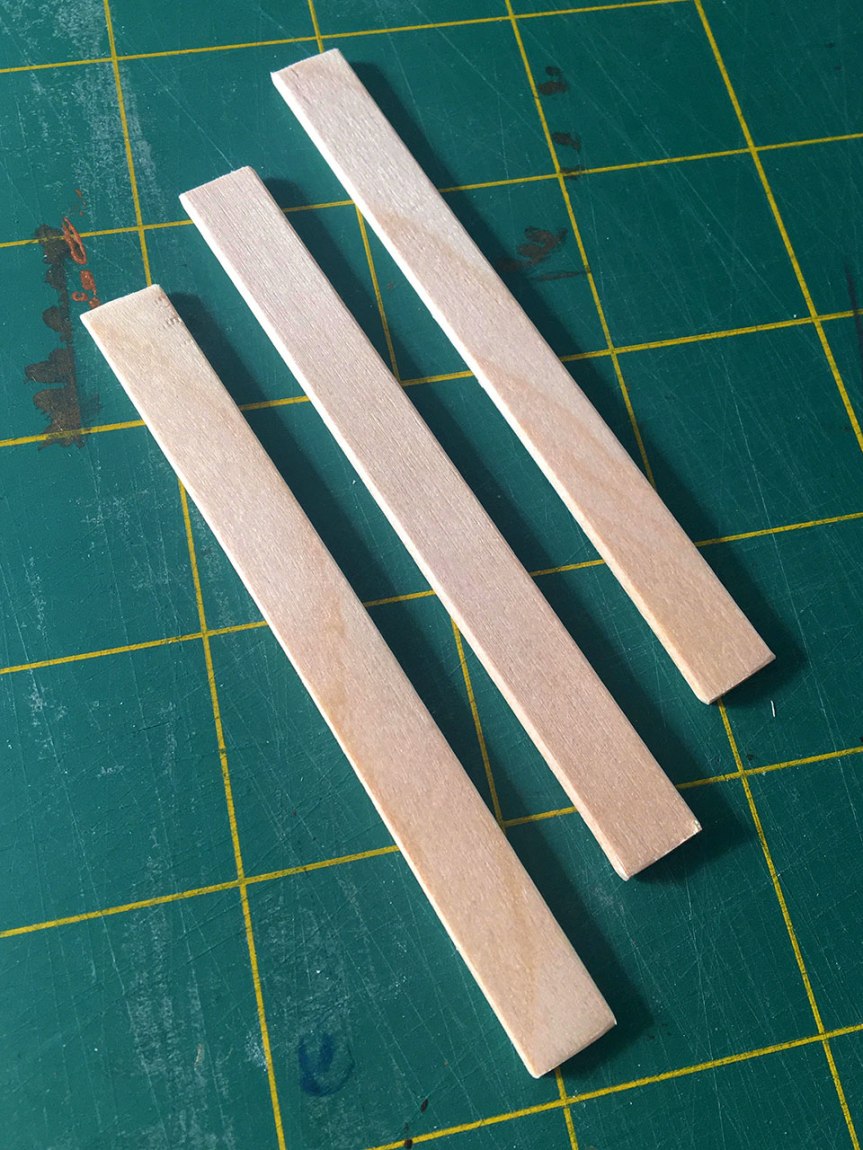
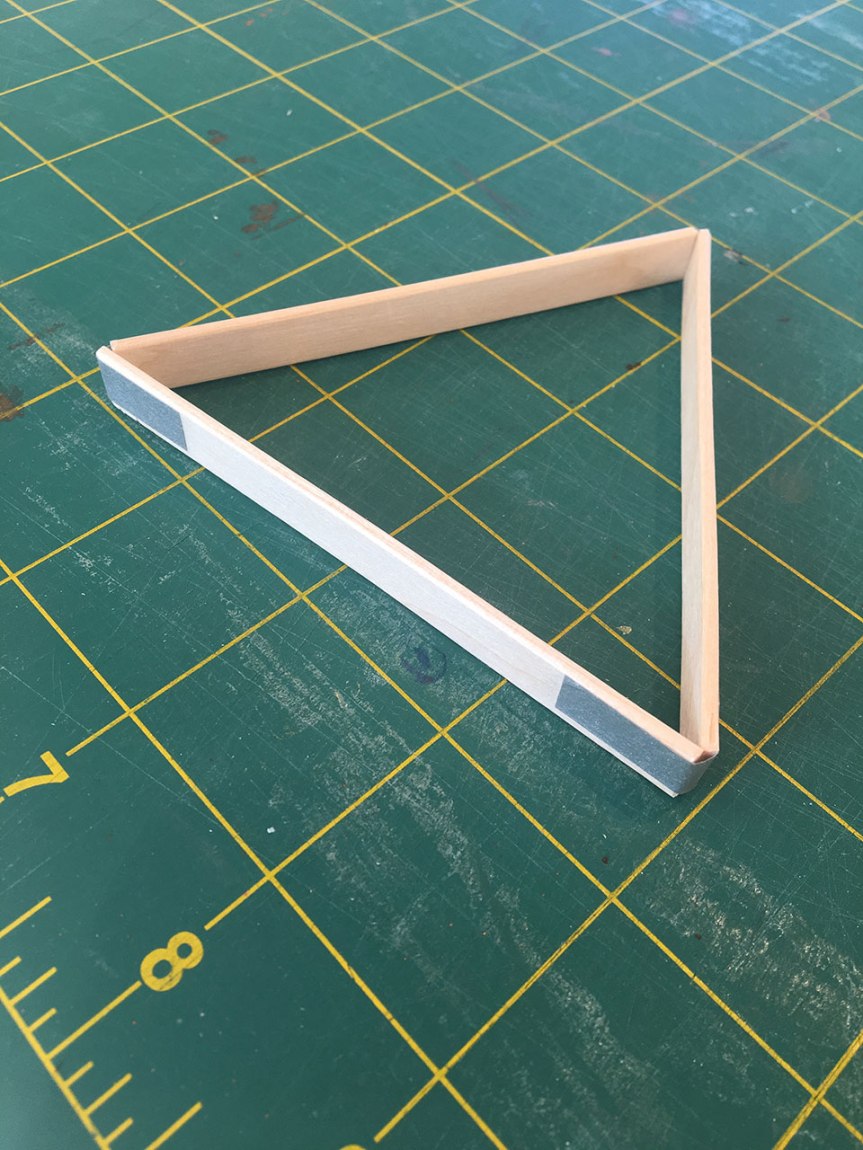
For each placard, you’ll need 3 sticks. I cut mine all at once, after 27 my hand wasn’t very happy with me but I found it easier to get them done in bulk.
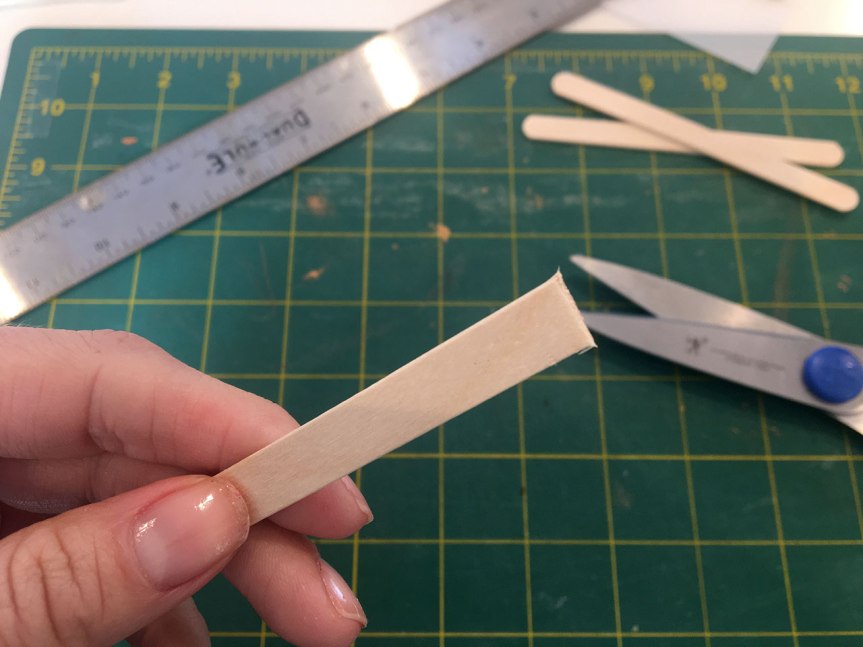
First you’ll cut the rounded edge off each stick. I used a pair of old kitchen scissors that are strong (meant to cut through small bones, etc). You’ll want to chose scissors that have some power to them. You can also use your xacto knife against a ruler, scoring lightly and repeated until you’ve cut through your stick.
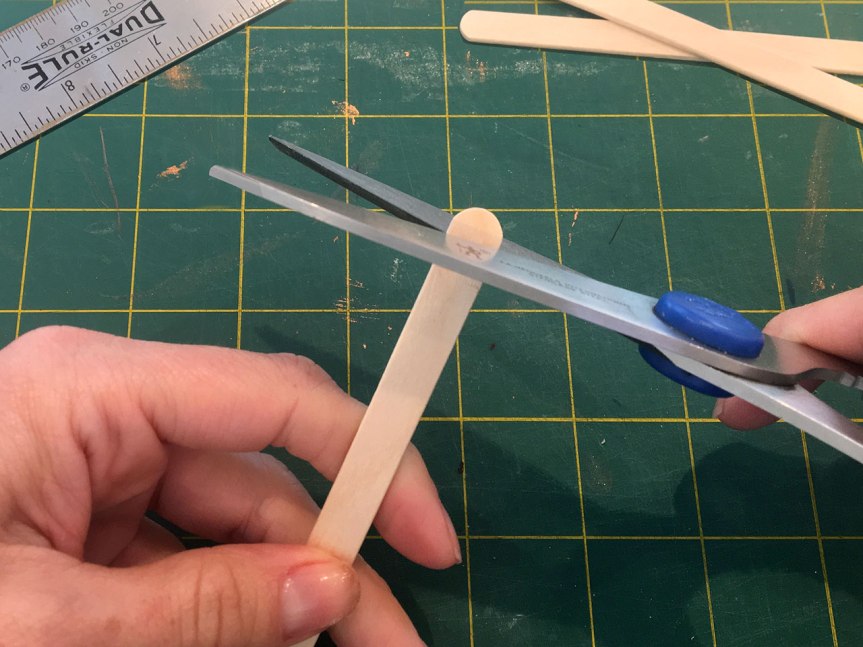
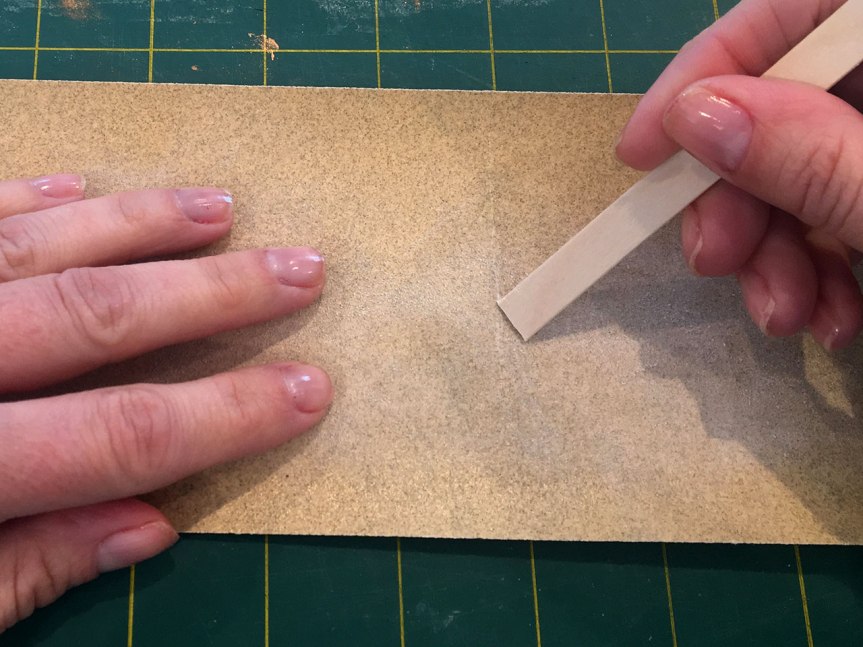
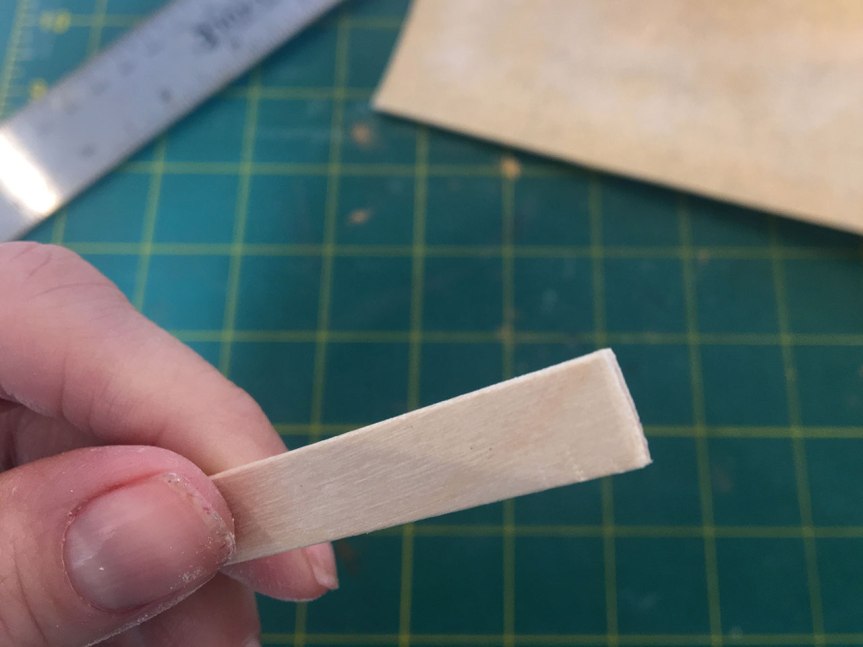
Rub the cut edge along your sandpaper a few times just to smooth out the end.
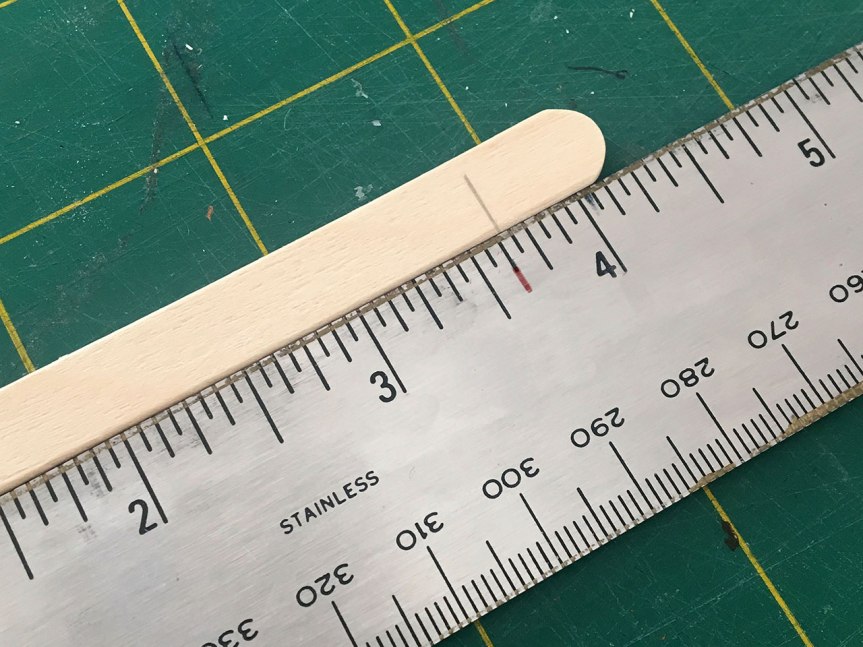
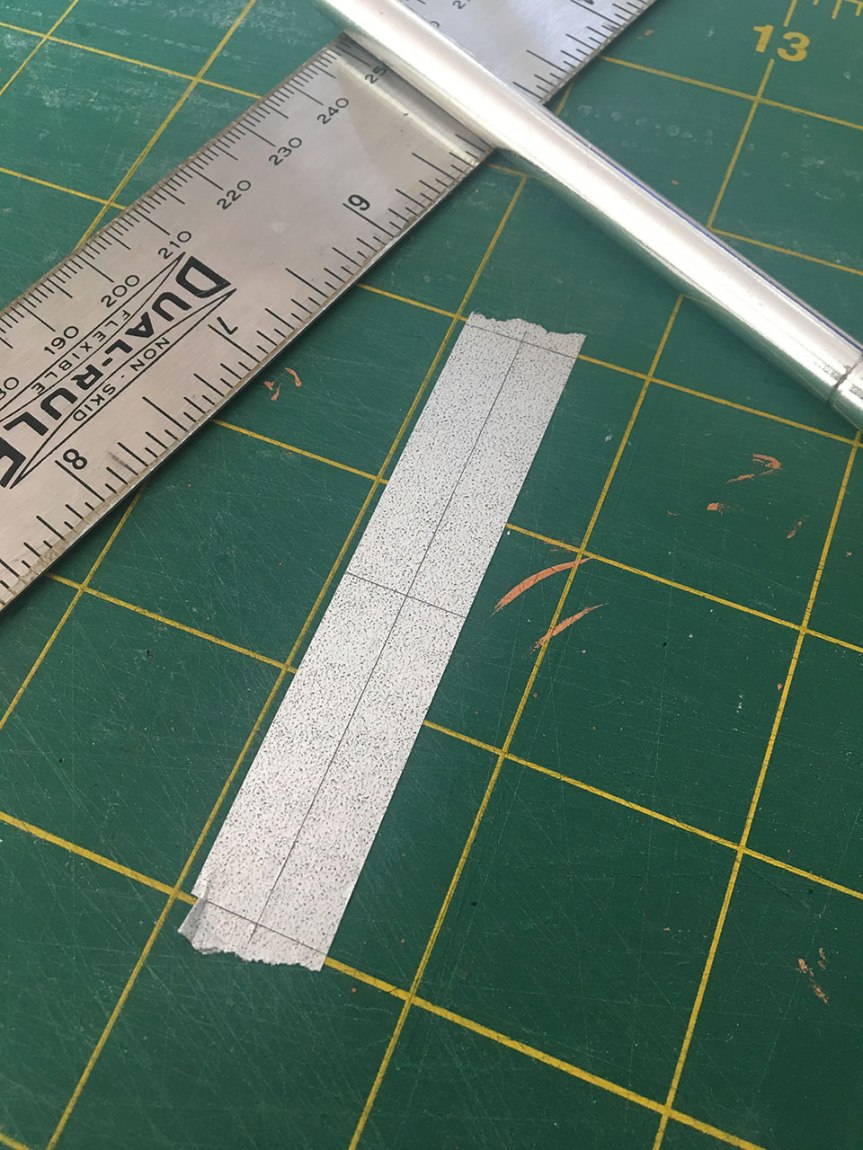
Using your ruler, make at mark at the 3-5/8 inch mark. This is the length that will work with the foam core form from the template above.
Cut and sand your edges as you did before.
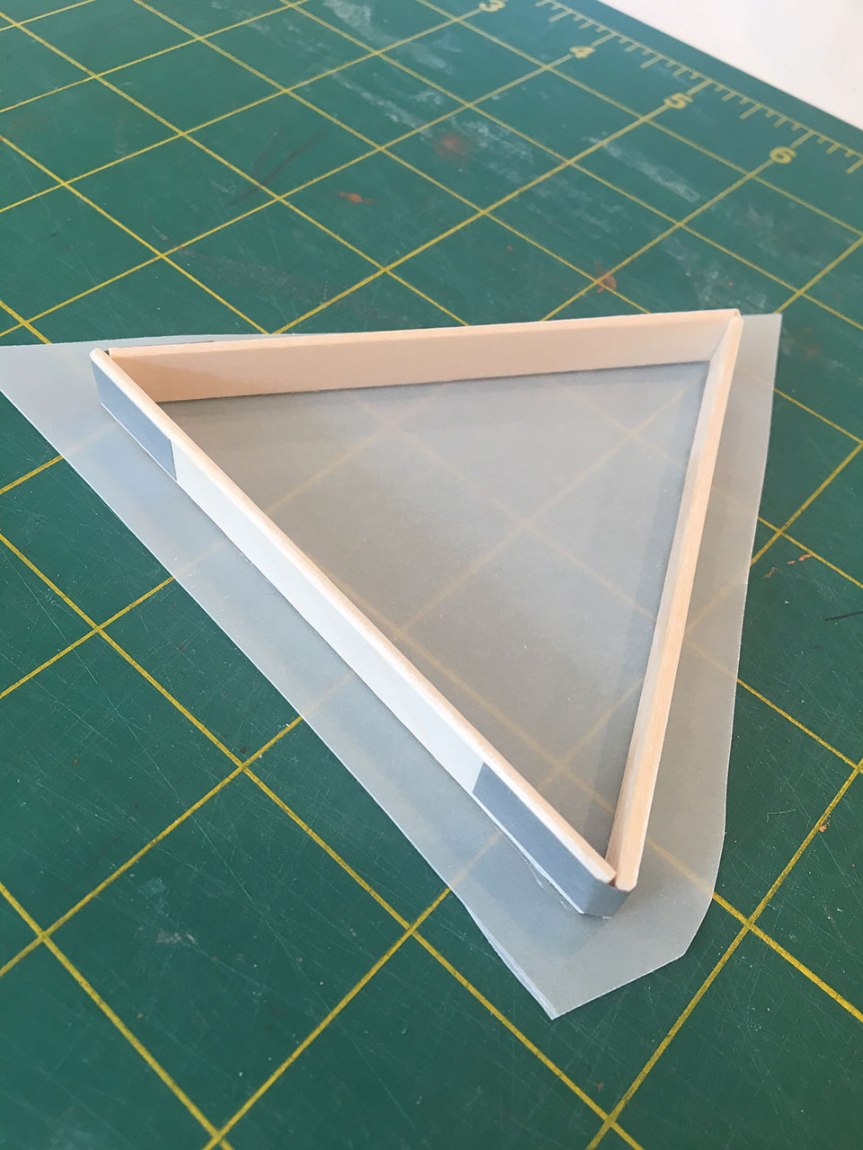
To assemble the triangle use pieces of the washi tape. I cut my tape in half width wise and then in 1-1/2 inch lengths.
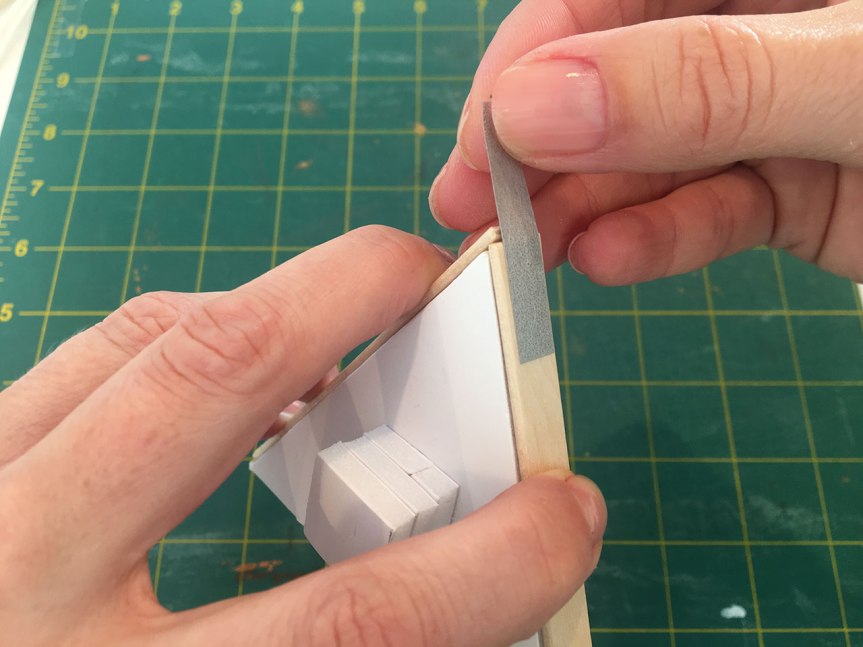
Continue this on all 3 joints to complete the triangle.

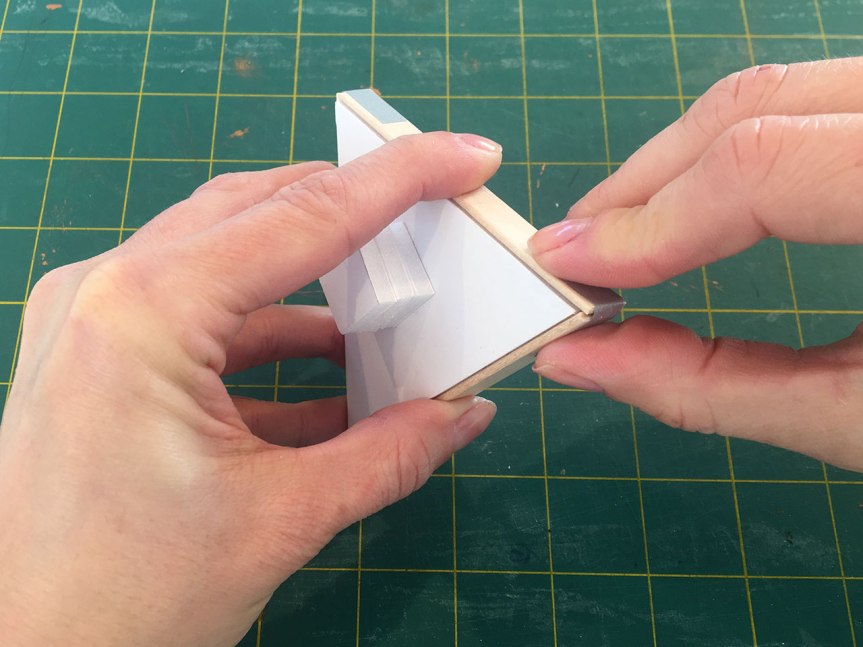
Then gently remove the foam form using the handle.

Using a Q-tip, apply a thin layer of the white glue and set it upon the vellum.
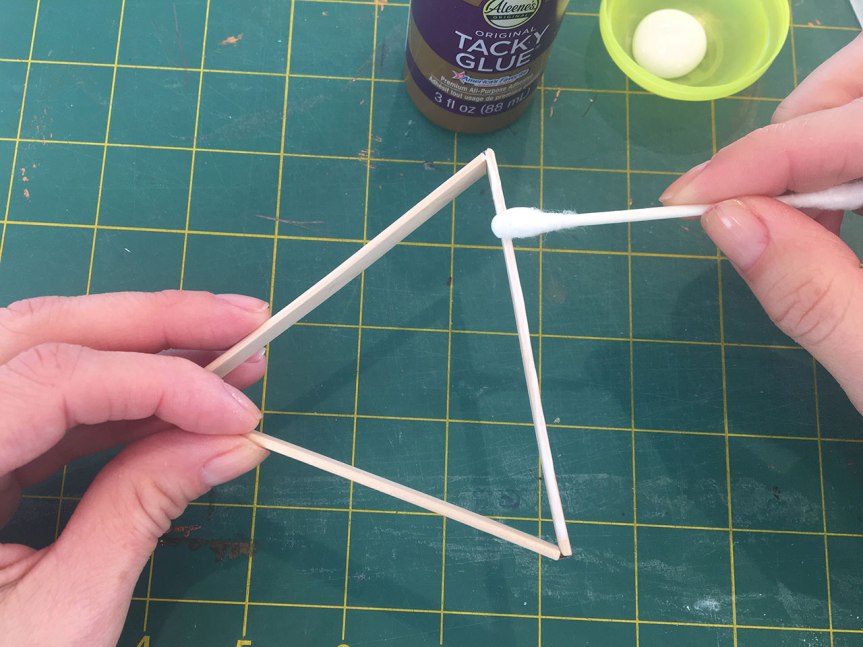
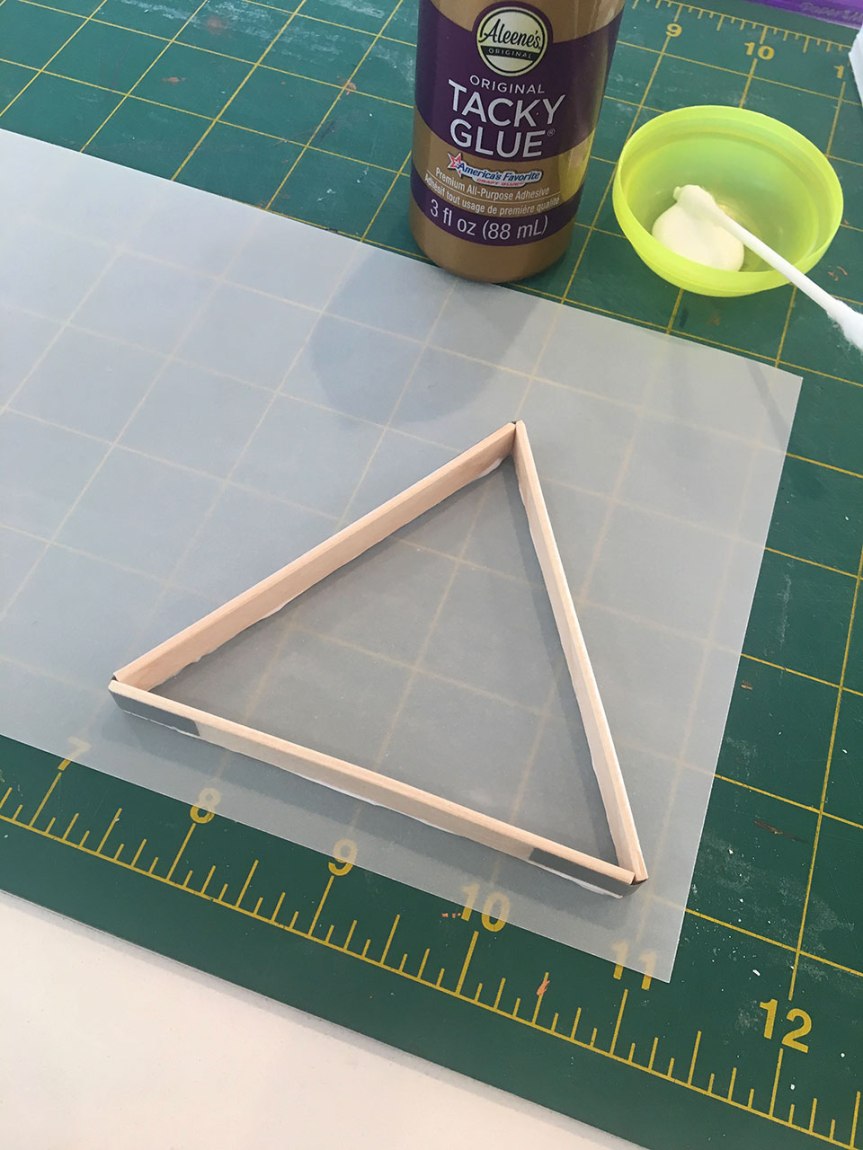
I set a book on top while it dried to make sure the contact between the frame and the vellum was there.
After a couple of hours, you can remove the book. I found that a few of my washi edges came up, which isn’t surprising, considering washi tape isn’t very sticky.
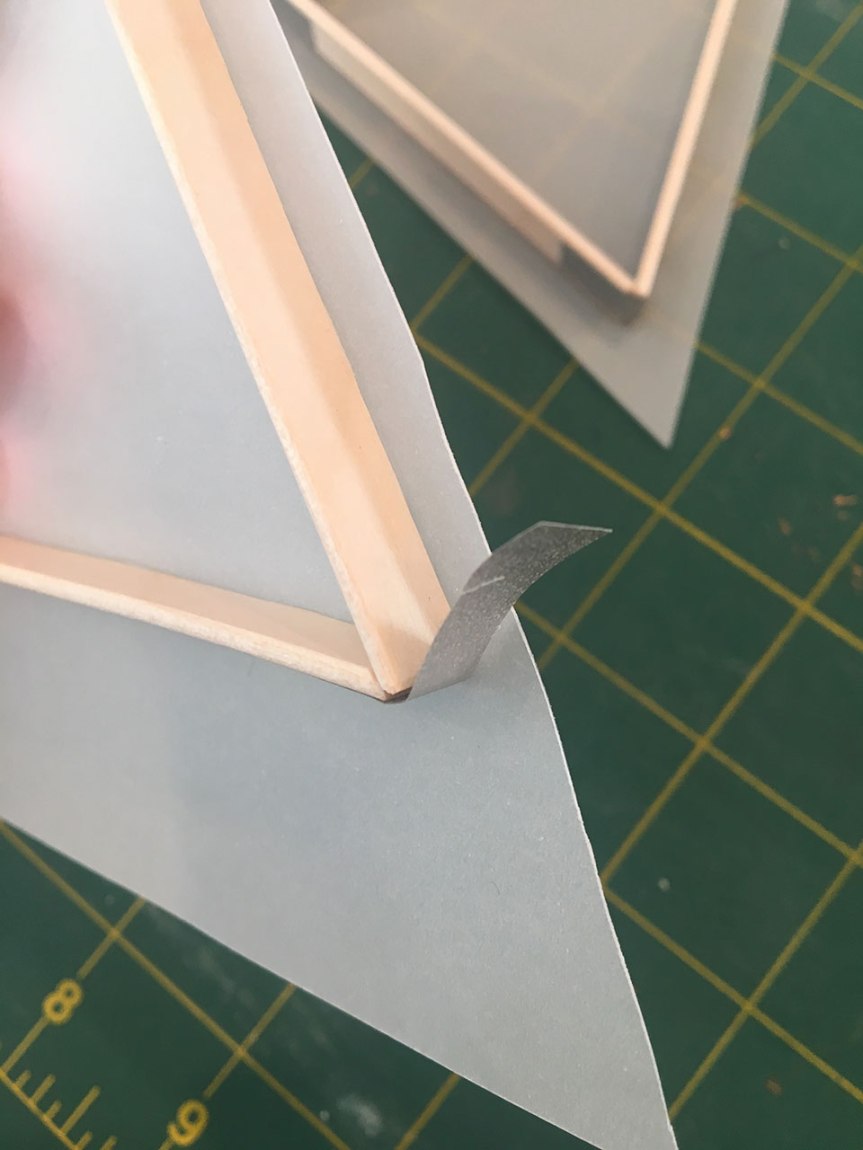
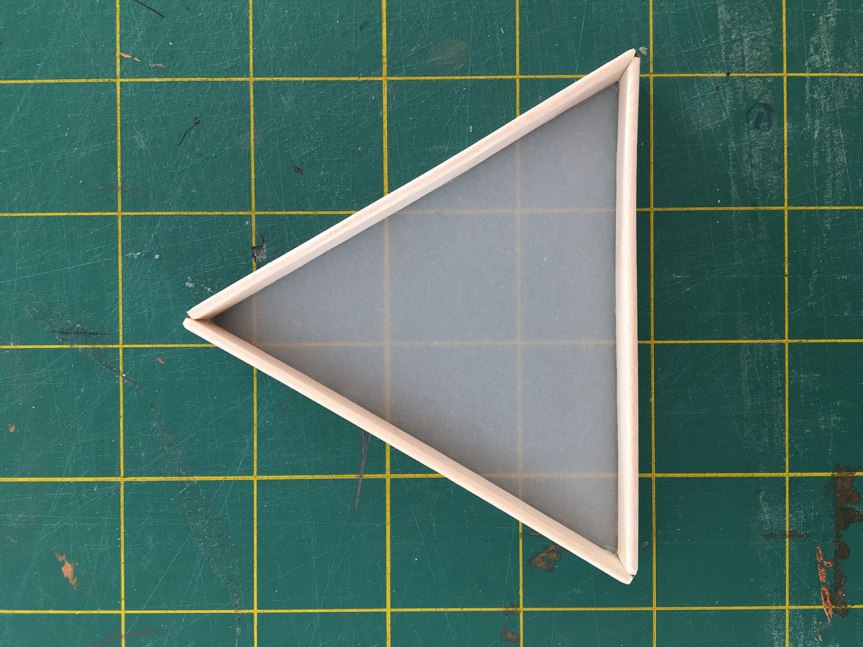
Just use a bit more white glue to fasten the edge down and then you are ready to trim.
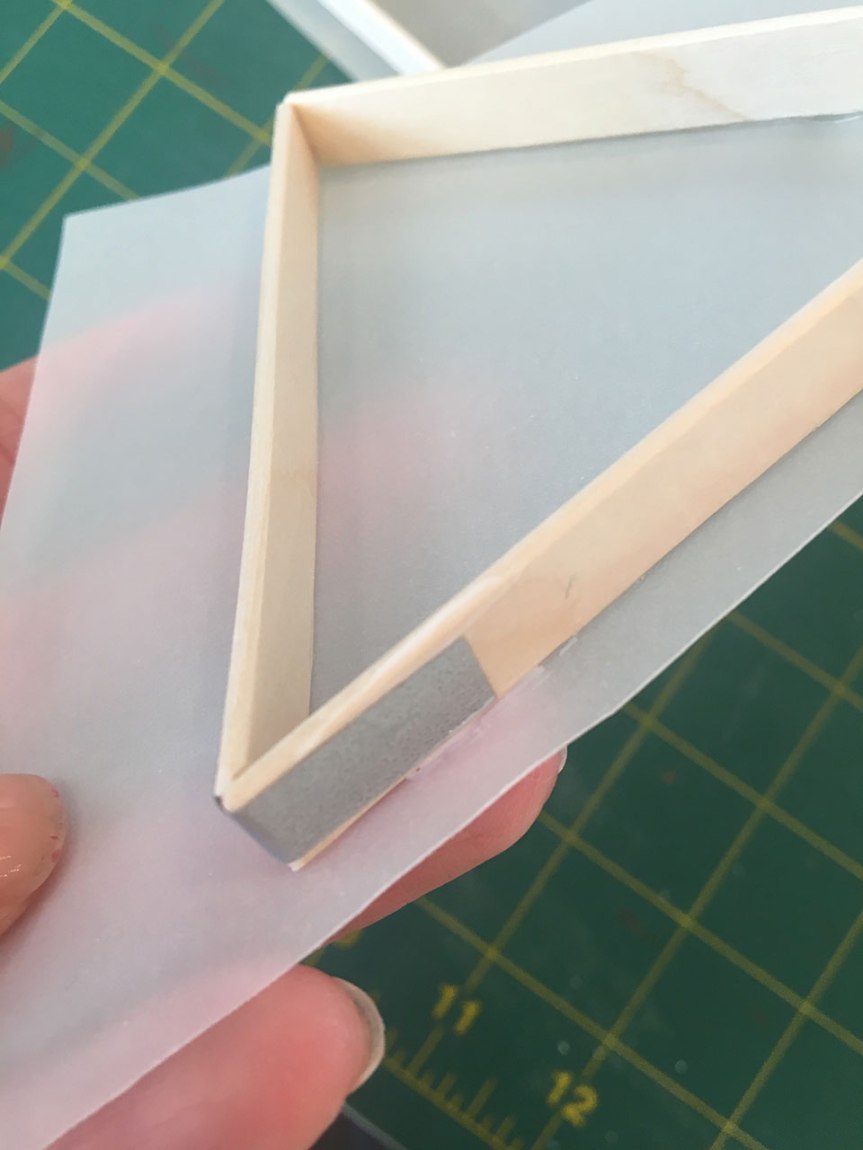
To trim away the excess vellum, get your scissors as close to the wood frame as possible.
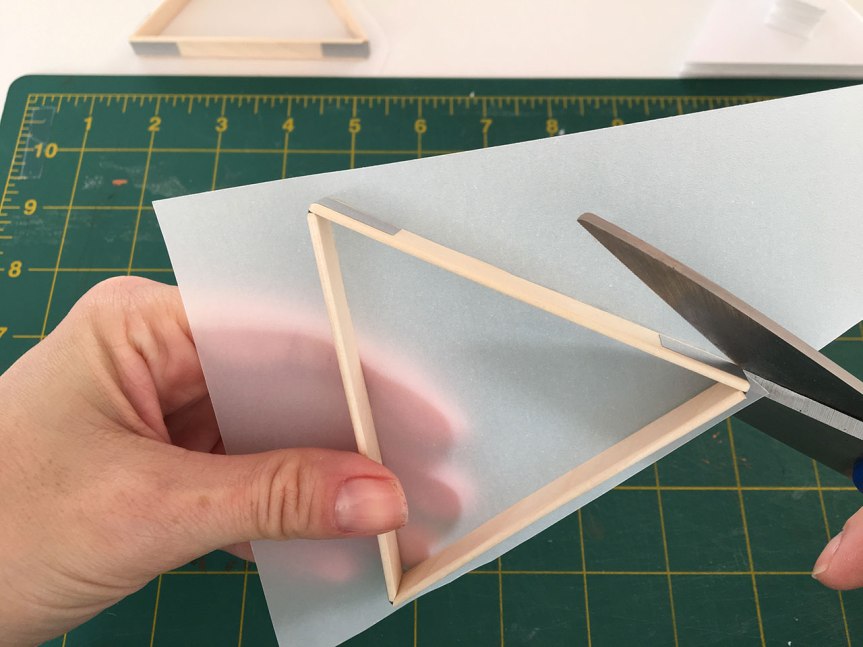
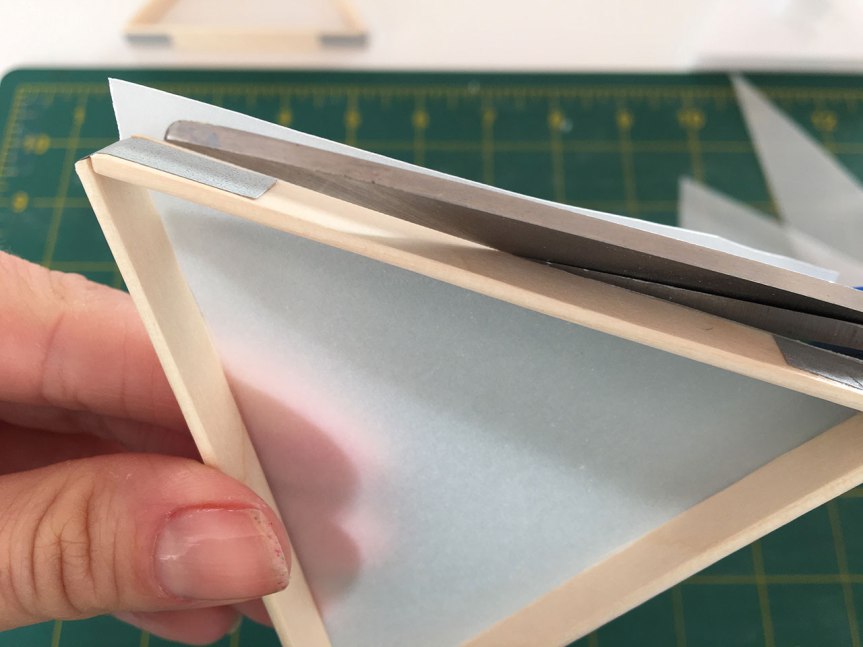
I found that angling the scissors a bit helped.
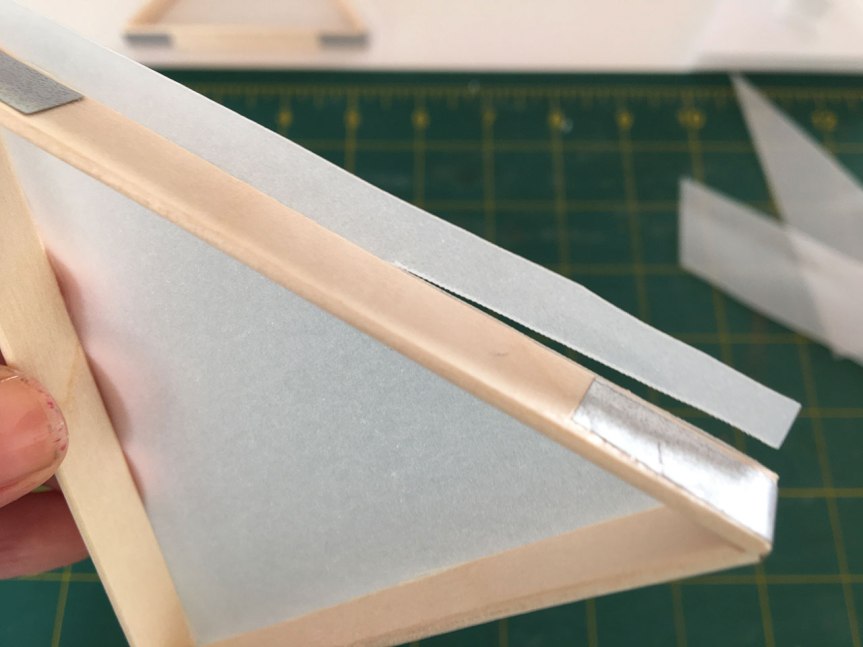
Trimming from the backside also helped me get as close as I could.
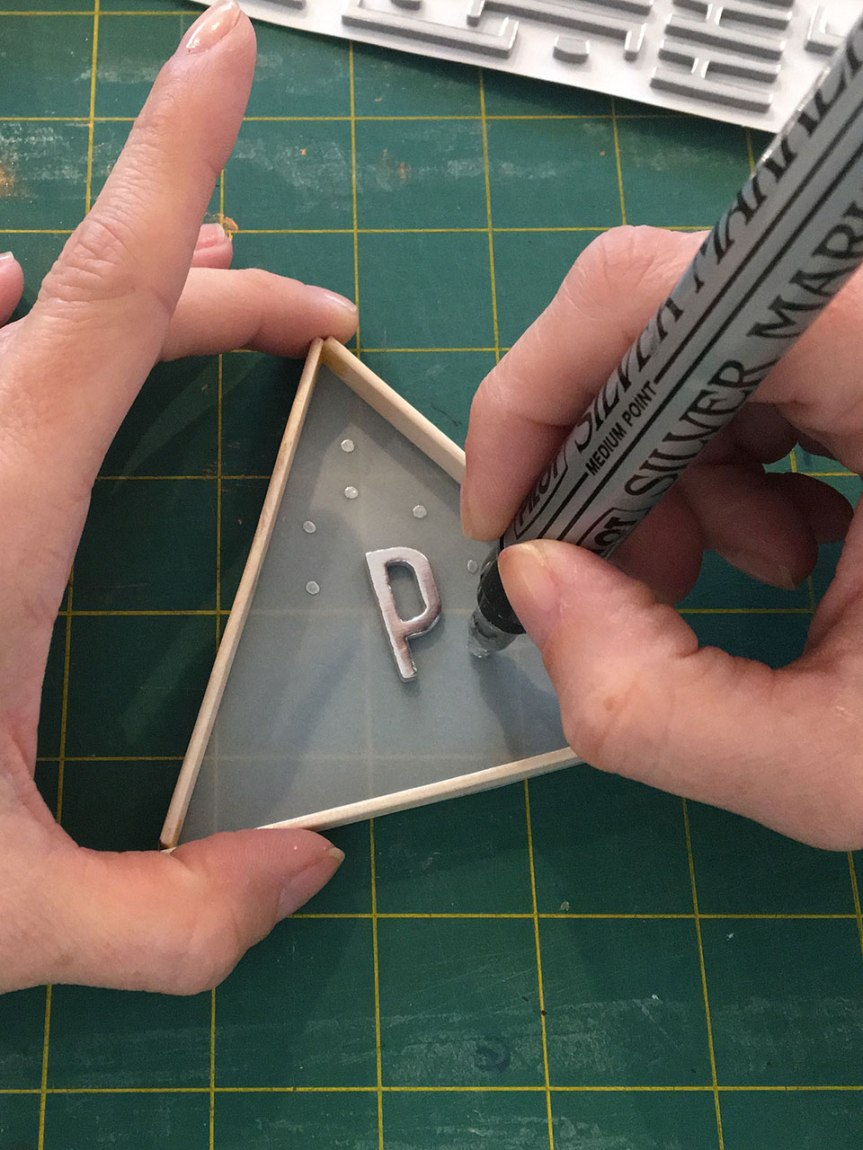
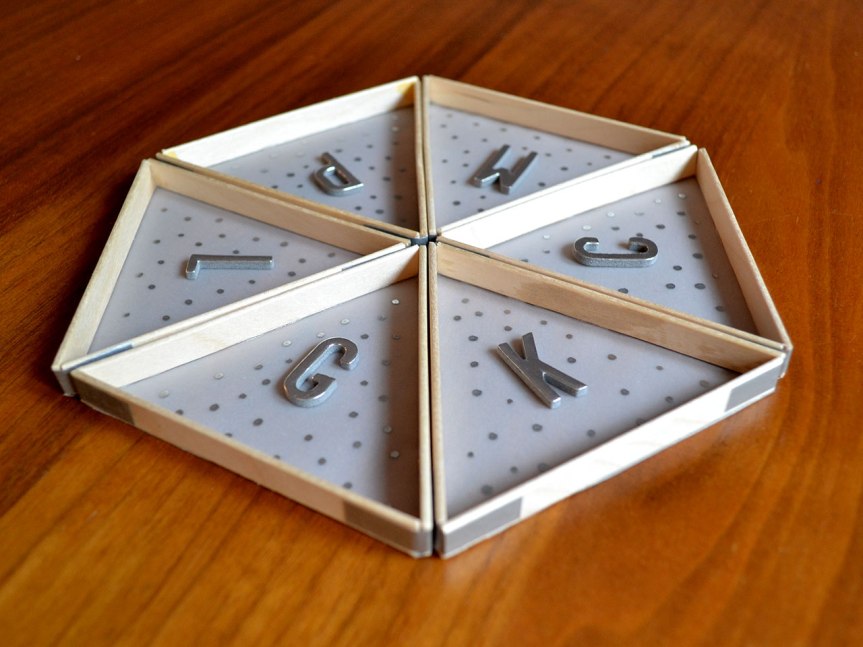
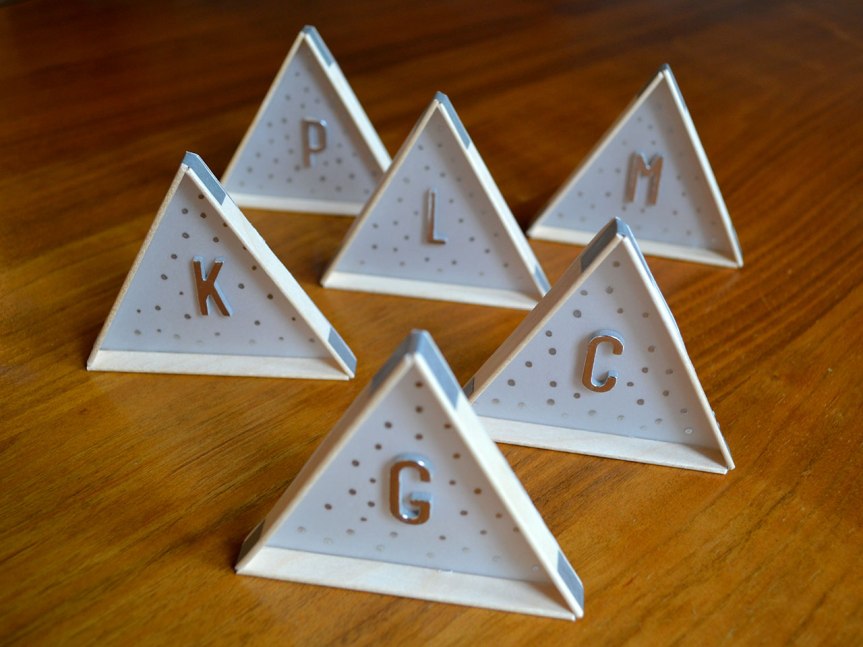
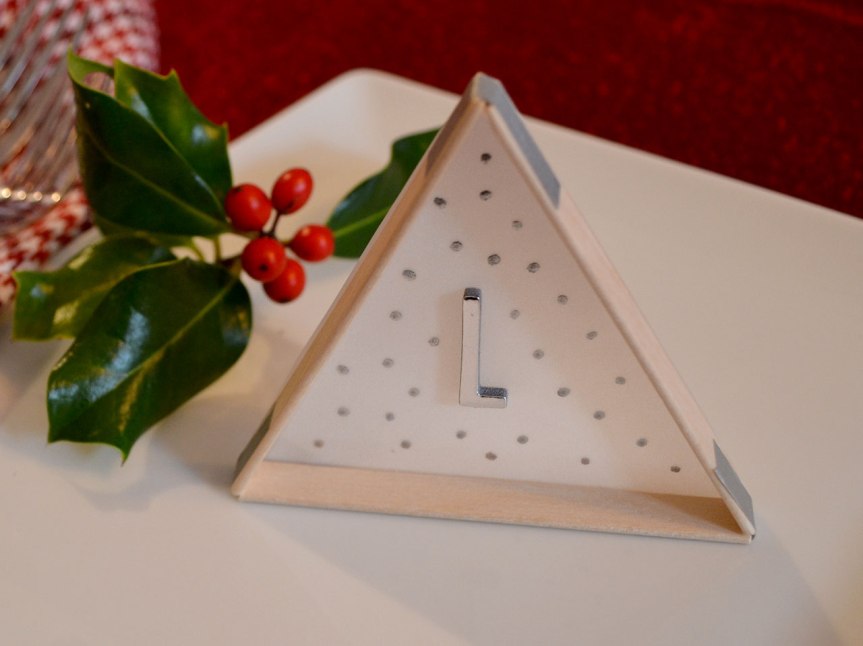
Now for our final steps – adding our letters and some decorative detail.
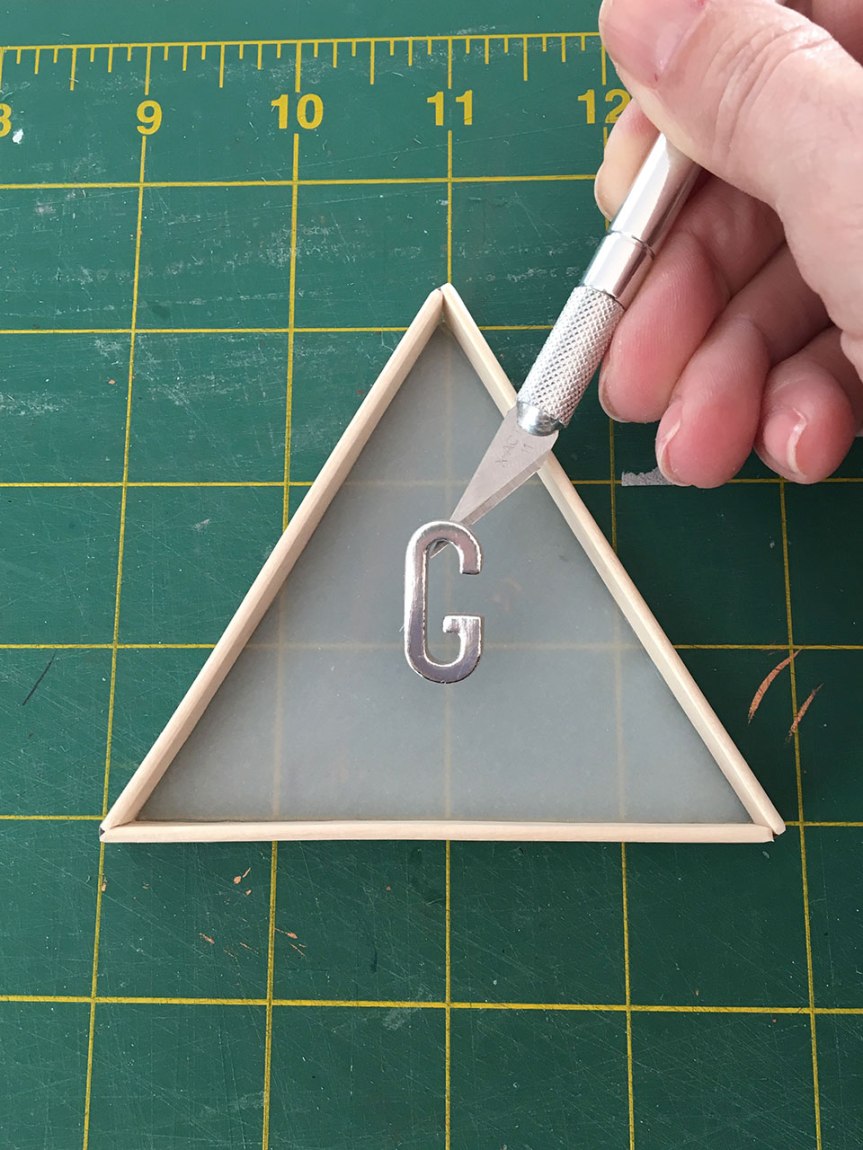
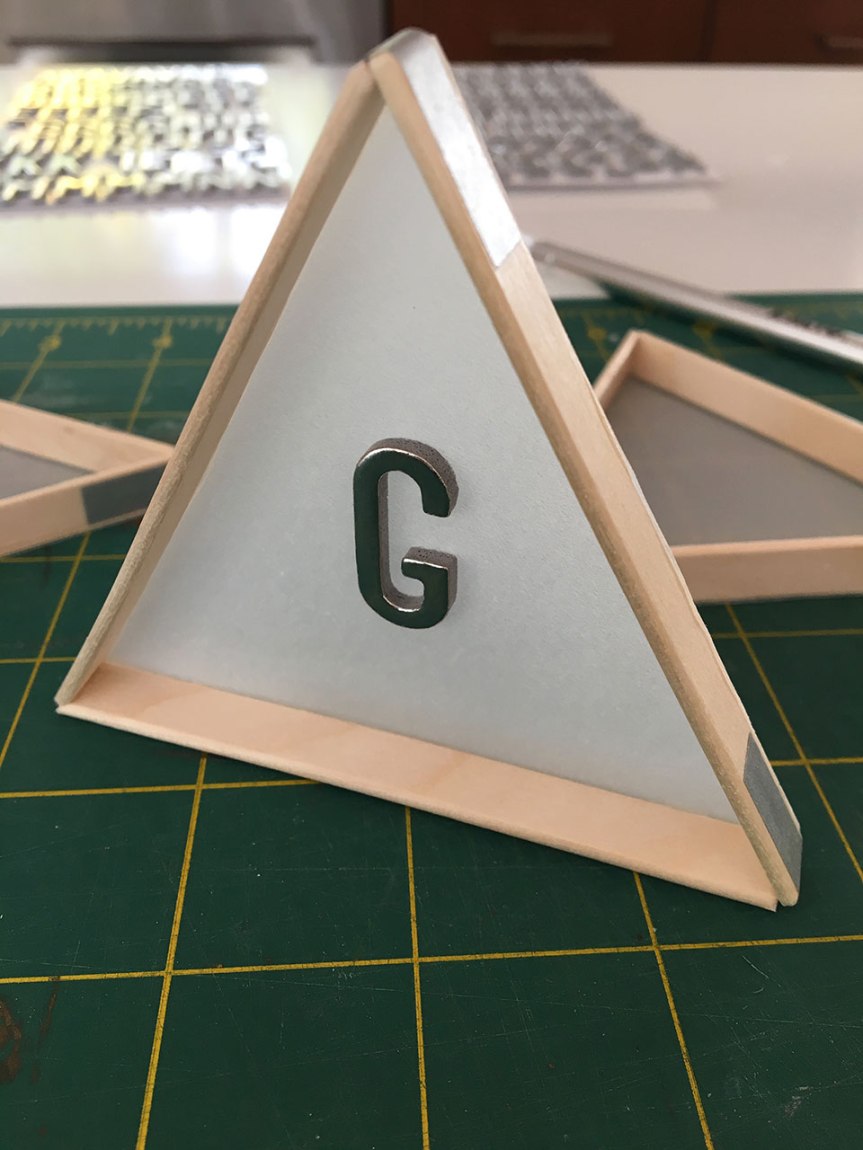
And a few silver dots = some festive snow.

Once complete, they are ready to adorn your table and help your guests find their seats when the dinner bell rings.
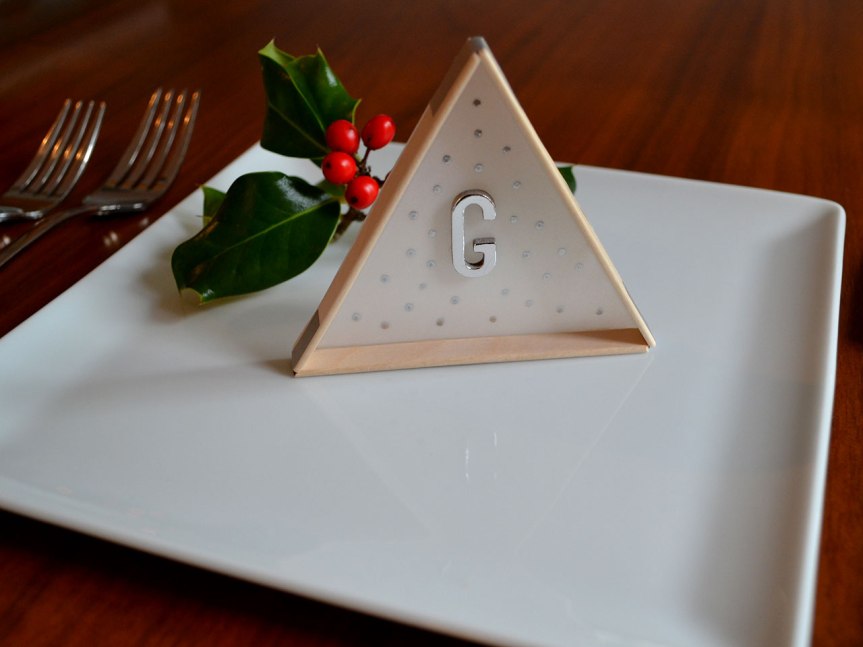
You can encourage your guests to take them home. Poking a hole at the top of the vellum and inserting an ornament hook can give it a spot on their tree!

One thought on “Mug Makes! Place Cards”