
Gingerbread Tree Ornament Tutorial
By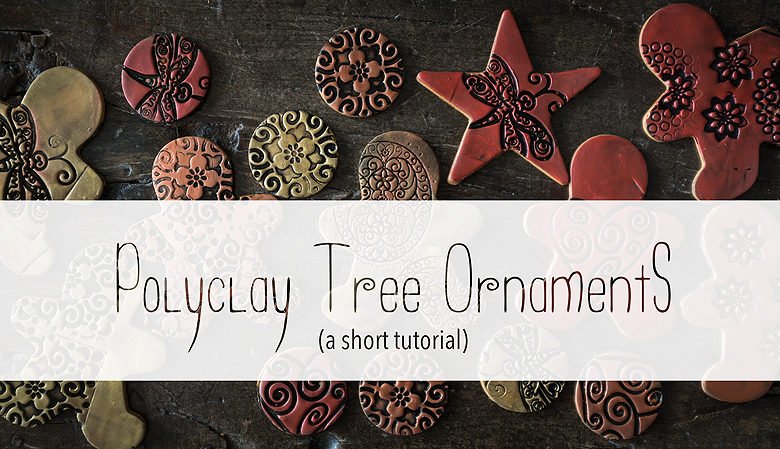
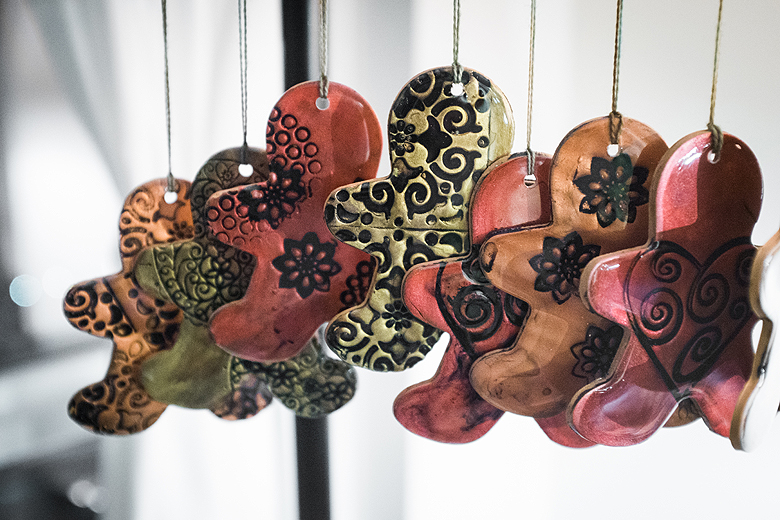
Today I wanted to share a super simple technique for producing gingerbread men tree ornaments! Tito and I will be giving these to our friends as stocking stuffers this Christmas, but they also make very cute gift tags.
You will need:
- Polymer clay (I’m using Sculpey III, colour ‘gold’)*
- Talcum powder
- Cookie cutters
- Inka Gold Metallic Rub (optional)
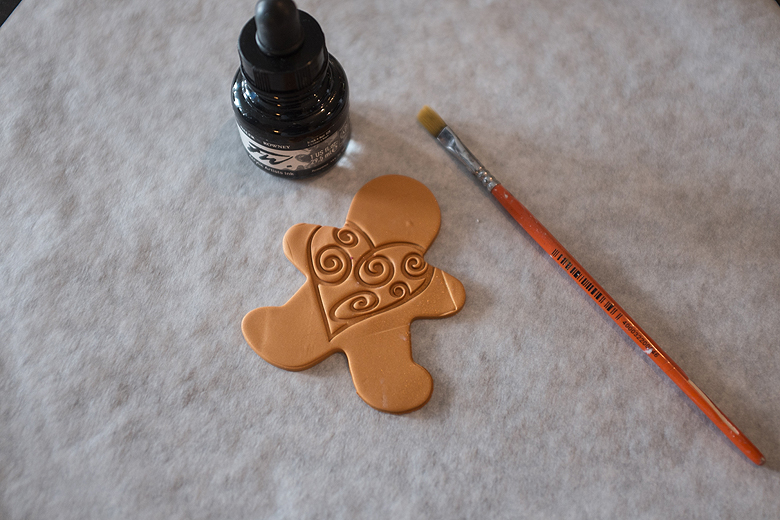
- Acrylic Ink, and a small paintbrush
- Something for making impressions in the clay (I’m using soap molds and dollar store jewellery)
- Either a pasta machine or an acrylic roller to roll out the clay
- Resin (optional)
- Drinking straw
- Wax paper
*A quick note on polymer clays:
Sculpey is more brittle than fimo when cured. Fimo is stiffer and harder to work with when not cured. I prefer Sculpey, but to add strength and gloss to my pieces I add a coat of resin at the end. If you are skipping the resin stage, I recommend making your gingerbread pieces at least a quarter inch thick to make sure they won’t break easily.

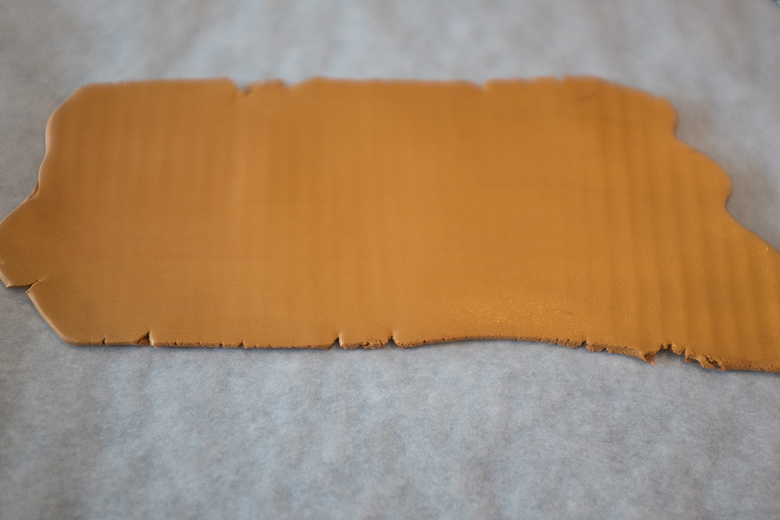
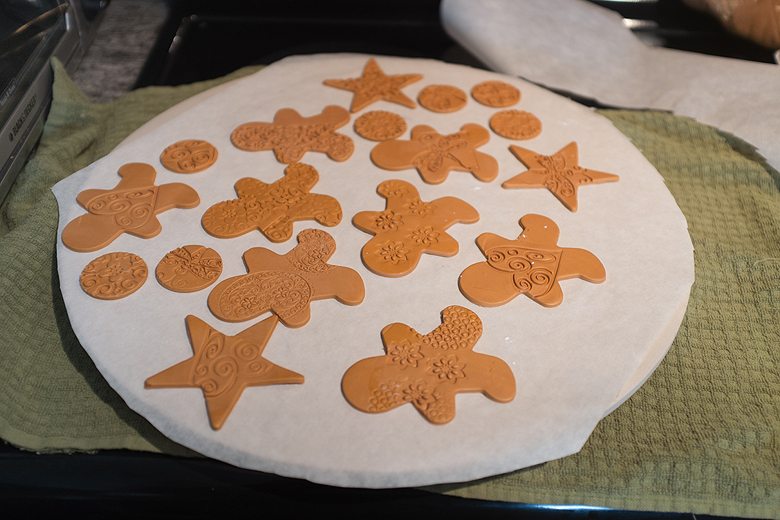
1. Protect your working surface with a sheet of wax paper. Roll out a length of clay, larger than your cookie cutter
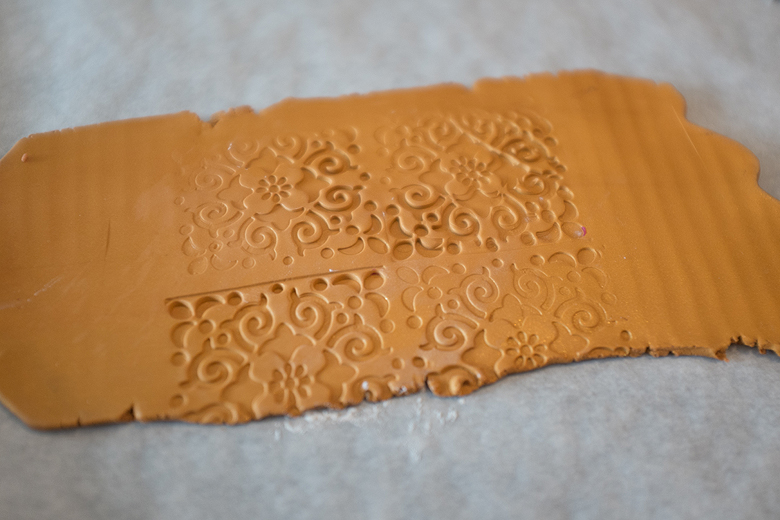
2. Dust some talc powder on the clay. This will prevent your molds from sticking.

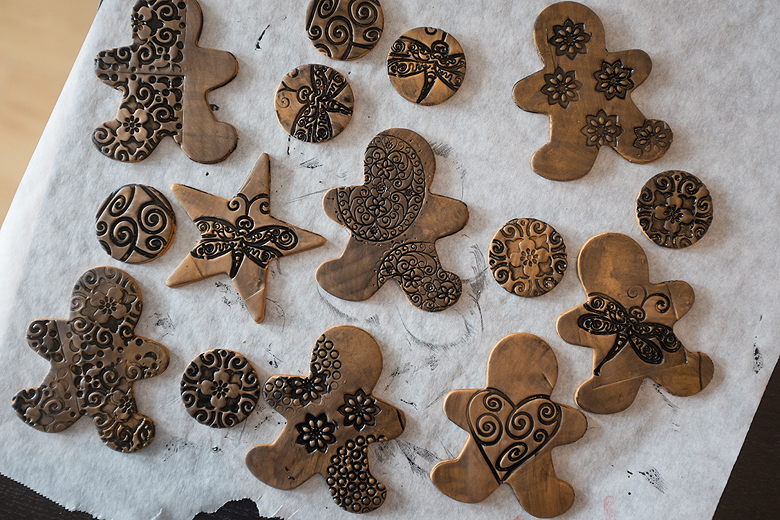
3. Use your molds to make impressions in the clay. The impressions need to be deep enough to allow ink to pool in them, but not so deep that they create thin, fragile areas in your clay.
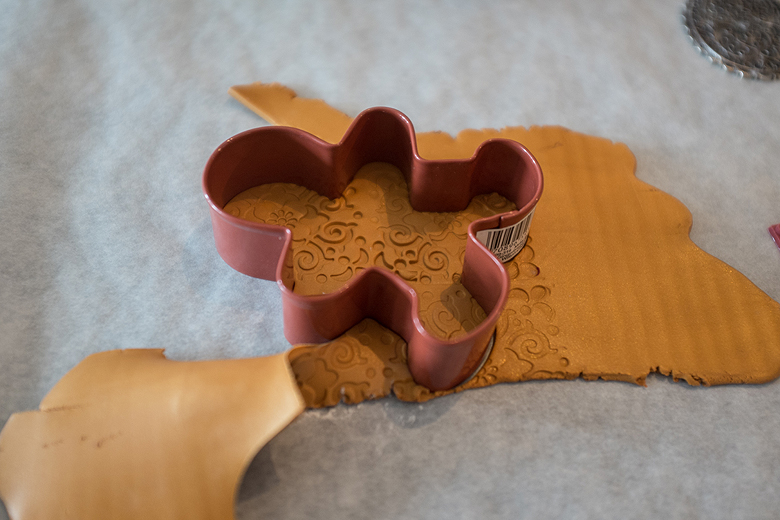
4. Press your cookie cutter down and remove the clay outside of the cutter. If possible, remove the cutter without peeling the clay away from the working surface, to minimize distortion. If you are skipping the resin stage, use your drinking straw as a punch to create a hole for hanging. If you are using resin, I prefer to wait until the piece is cured and drill the holes instead.
5. I like to pull my entire wax sheet onto a pizza stone for baking, but you can also use a cookie sheet. Try to minimize handling the pieces so they don’t distort.
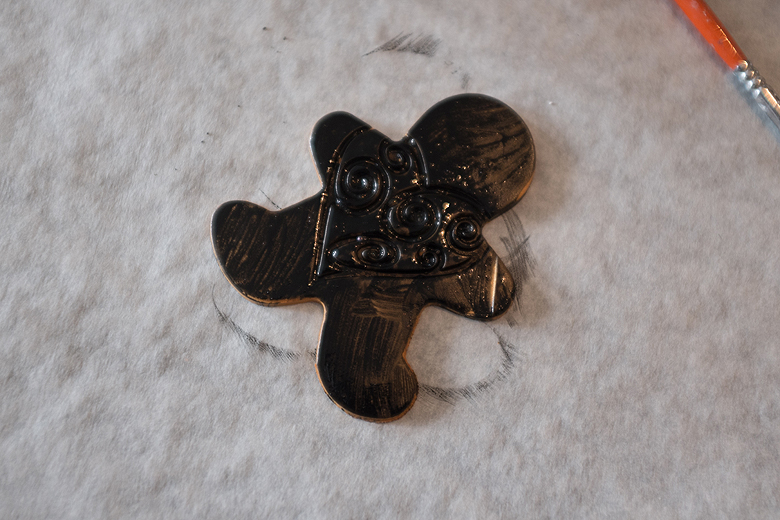
6. Once your pieces are cured, and dry, paint a thin coat of black acrylic ink onto the entire piece. Give the ink at least 15 minutes to dry.
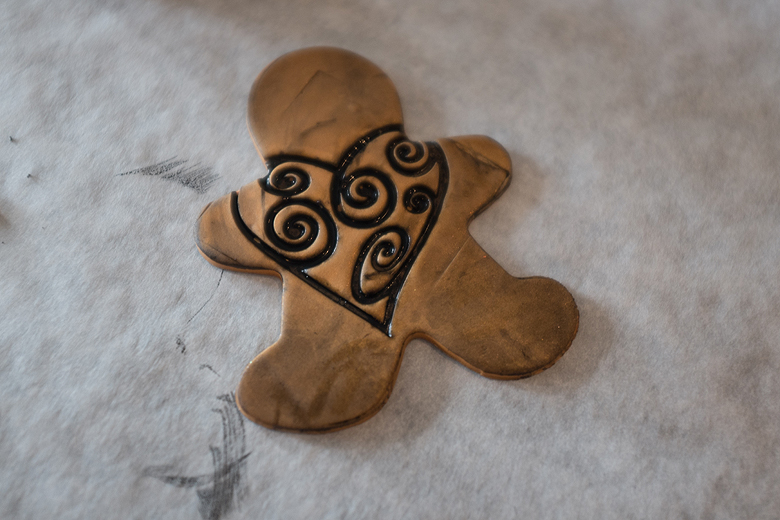
7. Using a damp paper towel, wipe off the excess ink, leaving ink pooled in the recessed areas of your design.
8. These look lovely just the way they are, but if you wish to take it further, open up the Inka Gold Metallic Rub and, using your fingers, gently rub the metallic finish onto your piece. It takes very little to cover a large area.
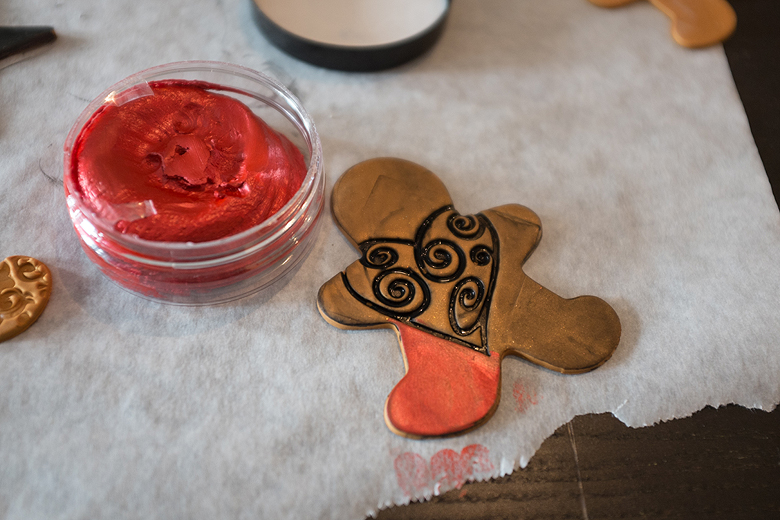
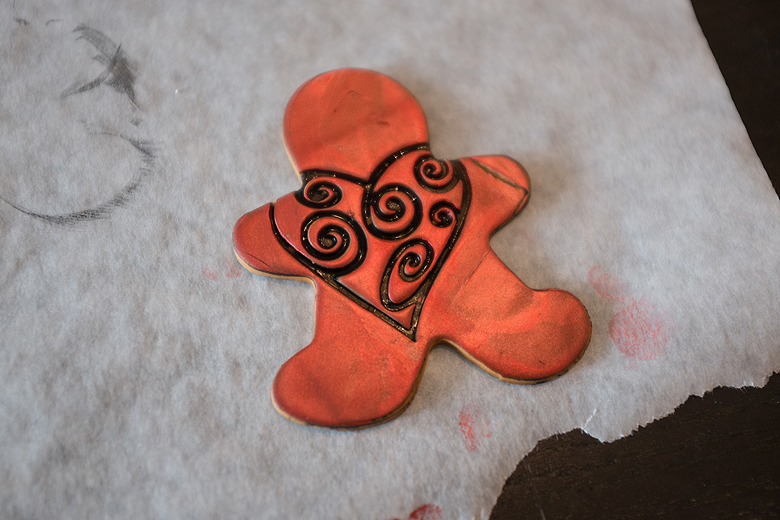
9. Let the metallic rub lay undisturbed for a few hours before hanging. If you wish to add a coat of resin, this is the time to do it! Resin will protect your design, add strength to the final piece and create a lovely glossy finish.
10. Once your piece is completely cured, run a piece of ribbon, yarn or string through to complete! Give them away this Christmas, or hang them on your tree :)
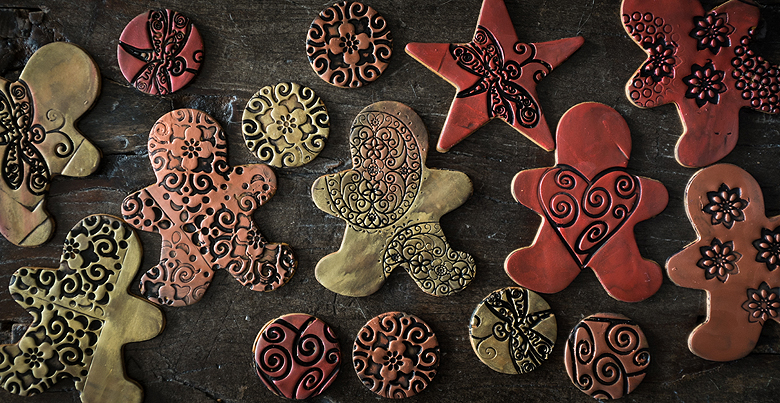

Oh wow, they’re gorgeous!
LikeLike
Reblogged this on j9sopinion and commented:
A simple DIY Ornament Project, with a maximum beauty for result. Click through to see the Tutorial for these lovely holiday ornaments. Happy Holidays!
Jay-Nine ;)
LikeLike
So incredibly stunning! I Had to reblog I hope this is ok with you ;D Happy holidays & I have followed your blog too ;)
LikeLike
I appreciate the reblog Jeanine! Thanks a ton, and Happy Holidays to you as well! Off to check out your blog now :)
LikeLike