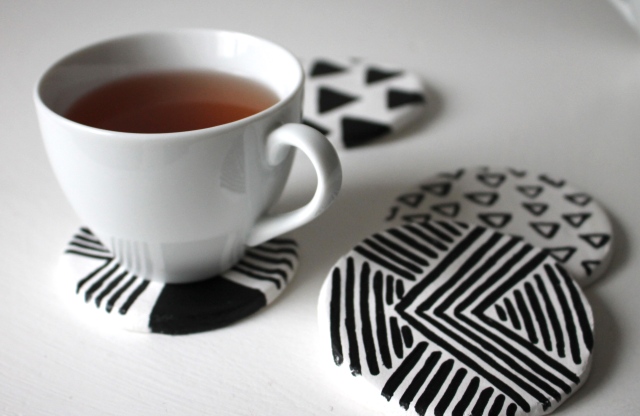
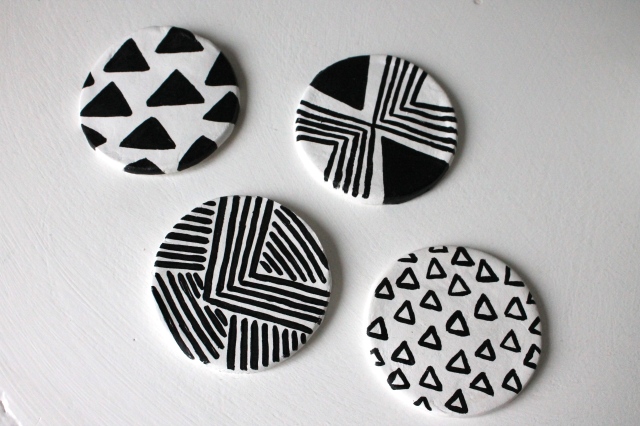
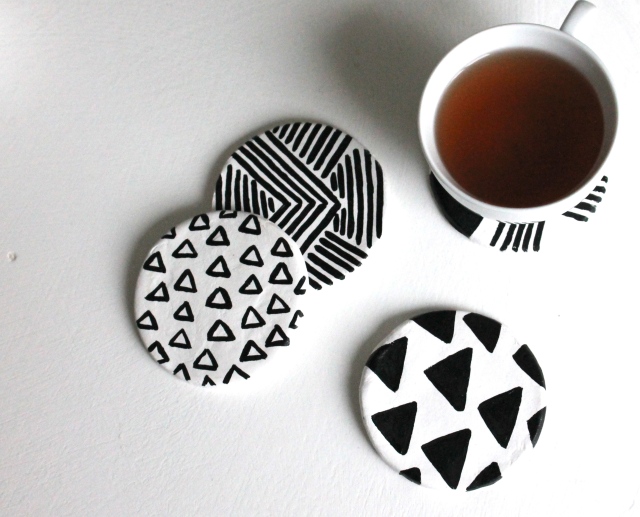
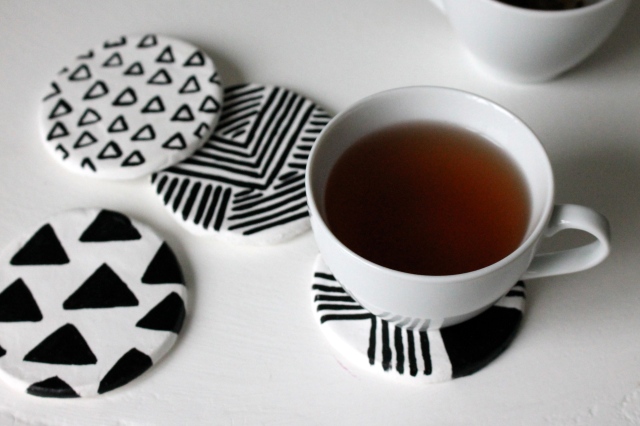
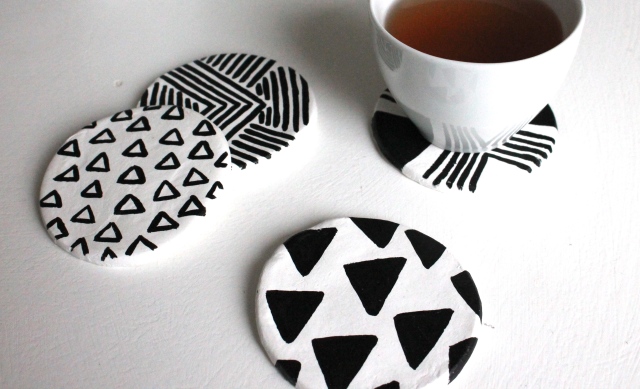
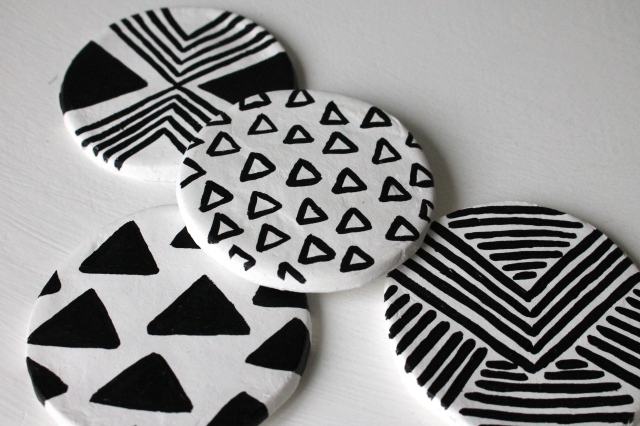
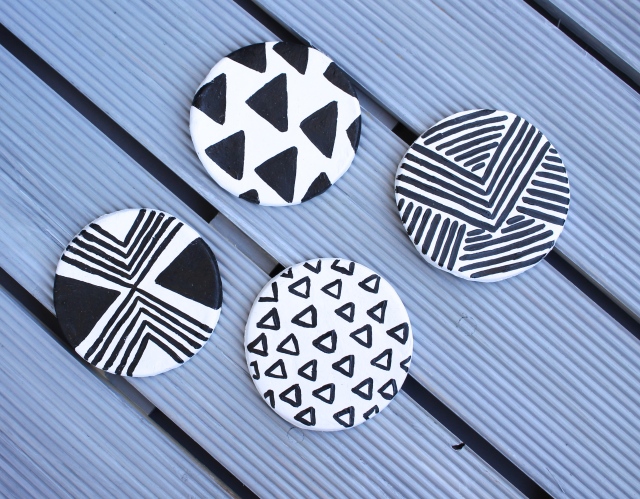
It’s been almost a week since I posted and I really hate it, to have no time for blogging at all! So I am really looking forward to the weekend :) There are a lot of crafty projects planned for this saturday. Yay! But now I want to show you this geometric coasters, I made a little while ago.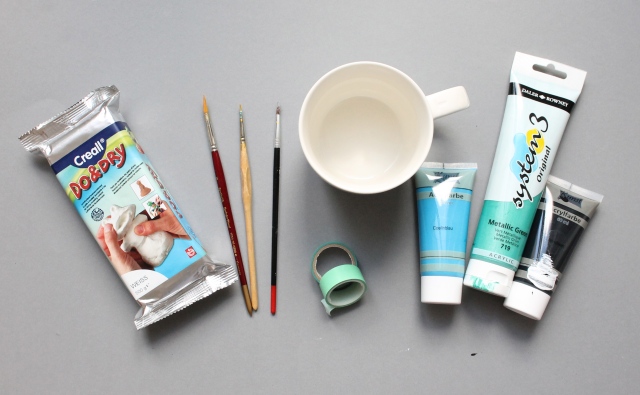
When I started this diy project I wasn’t sure how I want to paint my coasters, that is why you see a few more colors in the picture. But for these black & white geometric clay coasters, all you need is:
- air dry clay (white)
- a mug or any circled item
- black acrylic paint, paintbrush
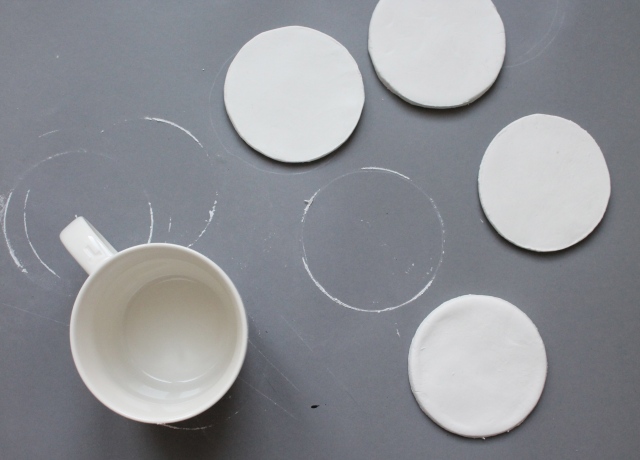
Start with roll out your air dry clay until you have a smooth surface and the height you want your coasters to be. Mine are about 0.39 inches (1cm). Then cut out the coasters with a big mug (upside down) or any other circled item. Make sure the circle is bigger than most of your mugs, cups and glasses, so these will fit easily on your new geometric coasters.
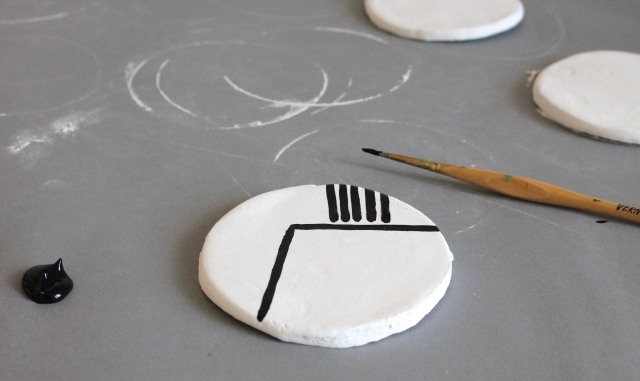
Let the clay dry for a day. Then you can start painting it!
I decided to go for a simple black and white geometric pattern. (I am way to much into geometric patterns these days!) And I am really happy with the result. But anyway, you can paint your coasters in any colors and patterns you like. This is really a fun and easy diy project! :)
I had so much fun creating these coasters and hopefully you’ll enjoy it too :)

This is just the kind of thing Elisa would love (just because its black and white). Friend gift idea :-) thanks!!
Thanks a lot :)
Very cute! I love the minimalistic design! Especially the one in the very left corner on the last pic! I am looking forward to the weekend, too, so I get to see some more of your nice ideas ;-)
Best
Liska
Pingback: Mete las manos en la masa con estos 10 proyectos | La Vida en Craft