Knitted Polymer Clay Bracelet – photo tutorial
ByI’m still taking my shaky steps in polymer clay. Sometimes I like it, sometimes I loathe it, but I always learn something. I was talking to some artist friends about being a process vs product artist. I vary; when it comes to knitting for example, I’m both. I want a product at the end of it, but I enjoy the process of knitting enough for a project to take forever, and for that to be ok.
Polymer clay on the other hand… I try and I try to be process oriented. To enjoy playing with the clay and learning new techniques. However, I’ve got to fess up. If I’m going to spend a night setting up my clay workspace and spending hours with sticky hands, well, I want something to show for it. Last night I had an idea, and spent the evening giving it a shot. I’m not 100% thrilled with the final product, but I did learn a lot and I photographed every step, so for anyone who wants to give something similar a try, here they are.
For my own work – I see potential in the technique, now it’s just practice.
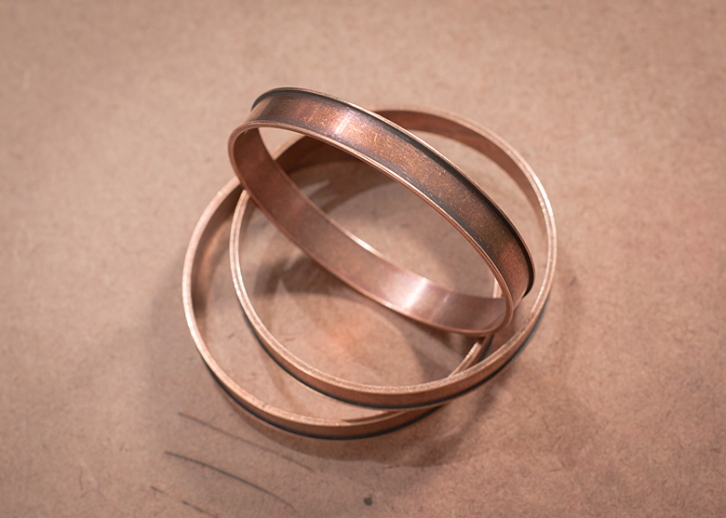
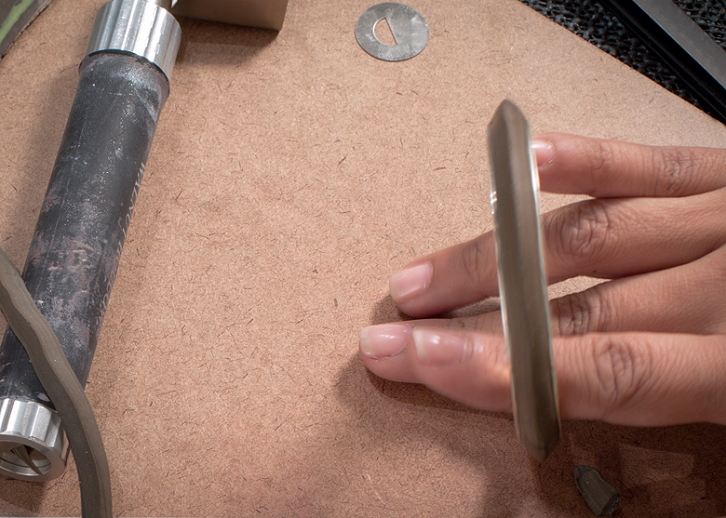
Step 1 – Get some channel bangles. I got mine from artbeads.com
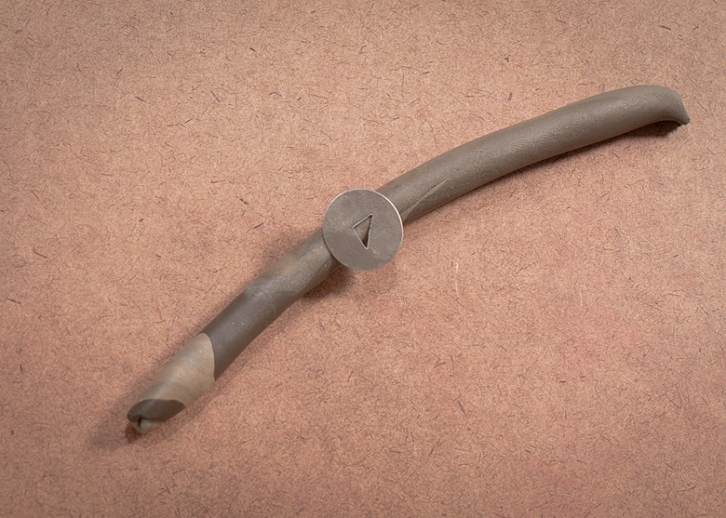
Step 2 – I got some old, muddy-coloured clay and ran it through my extruder with the triangular shaped hole. I ran enough to cover the bracelet twice over.
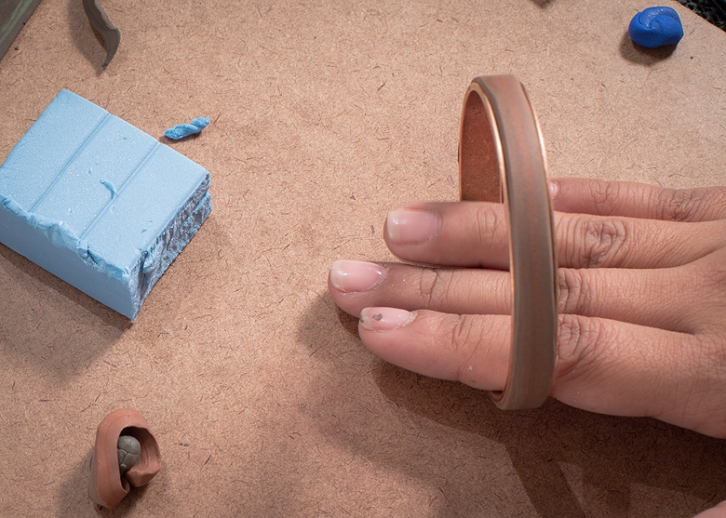
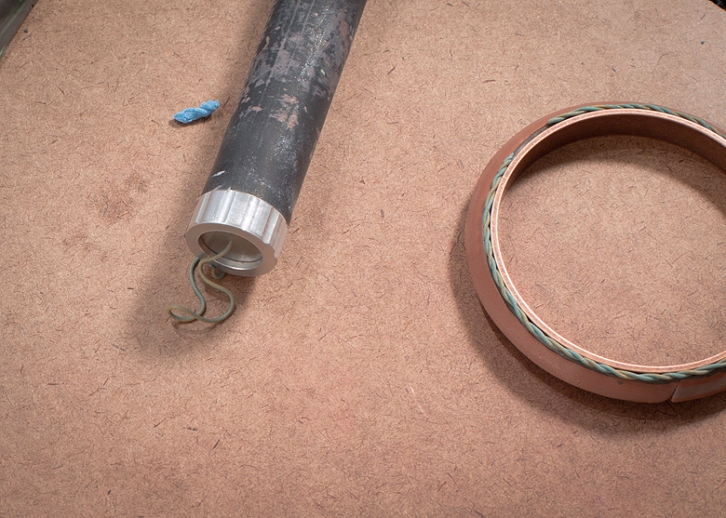
Step 3- I covered the bangle with the first round of the extruded clay. I put my hand through the bangle, and applying a very light pressure, rolled the bangle along my board to flatten out the first layer and make sure it fills the channel completely.
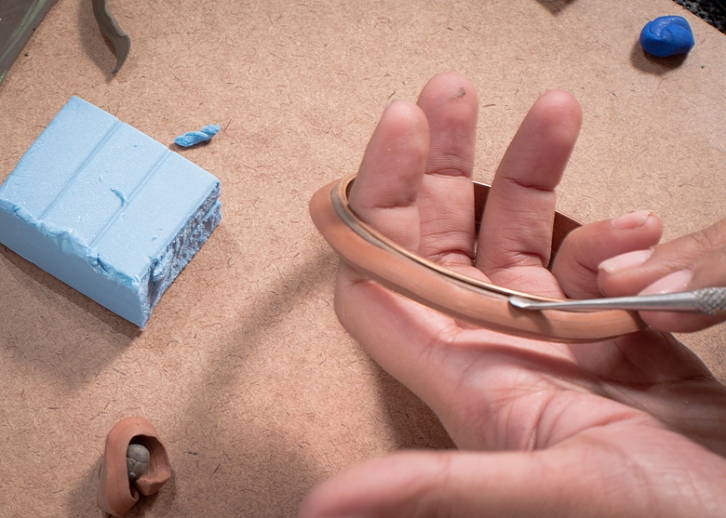
Step 4 – I took the second half of my extruded clay and carefully applied it on top of my first layer. This layer I did not flatten, I just smoothed it over with my fingers to make sure it was joined.
Step 5 – I took a flat tool and ran it along the edges, to make sure no clay was overlaying the edge of the channel, and also to seal the join between layers 1 and 2.
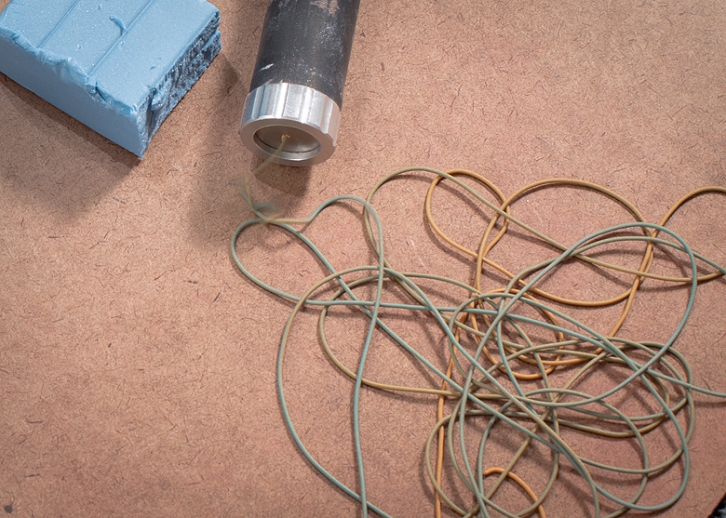
Step 6 – I created this colour array to fit into my extruder. This time I used the smallest possible circle.
Step 7 – I didn’t extrude all of it at once, just gave myself a yard or so to work with.
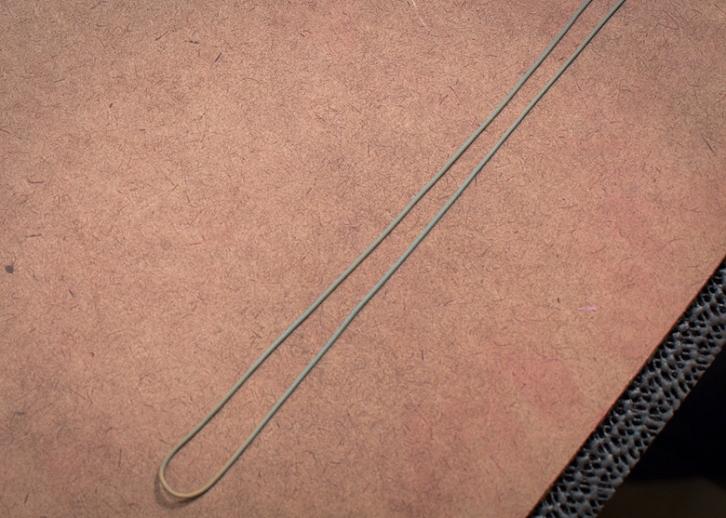
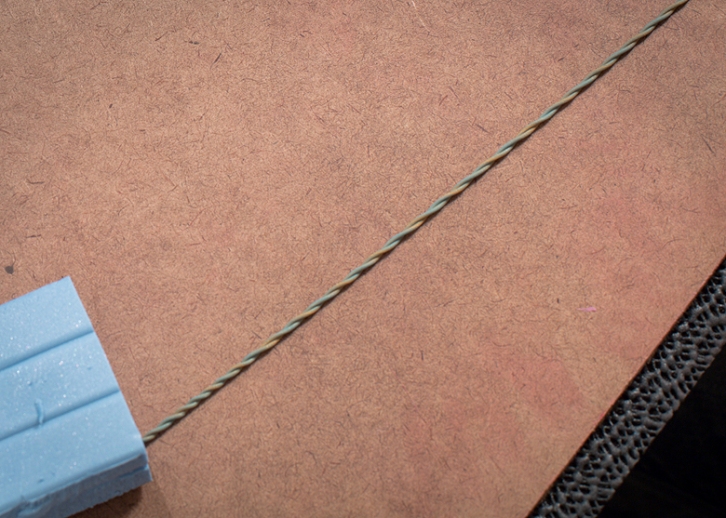
Step 8 – I took a length that was about 1.5 times the circumference of the bangle, and doubled it.
Step 9 – I twisted it, clockwise. I’m just a rookie at this, but I did my best to make sure the twist was evenly distributed.
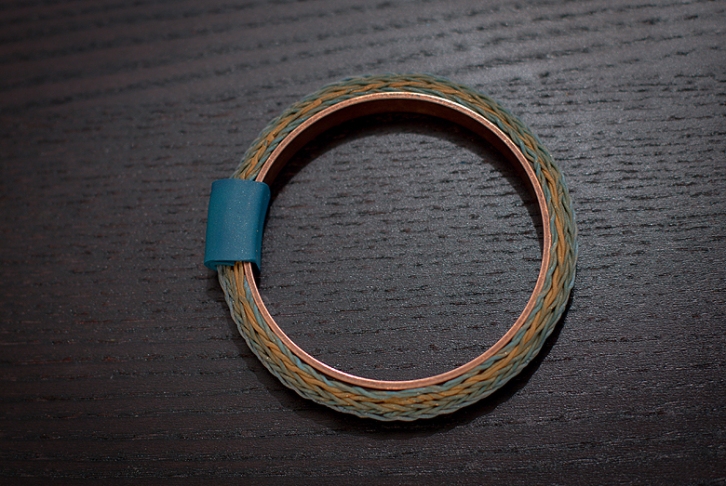
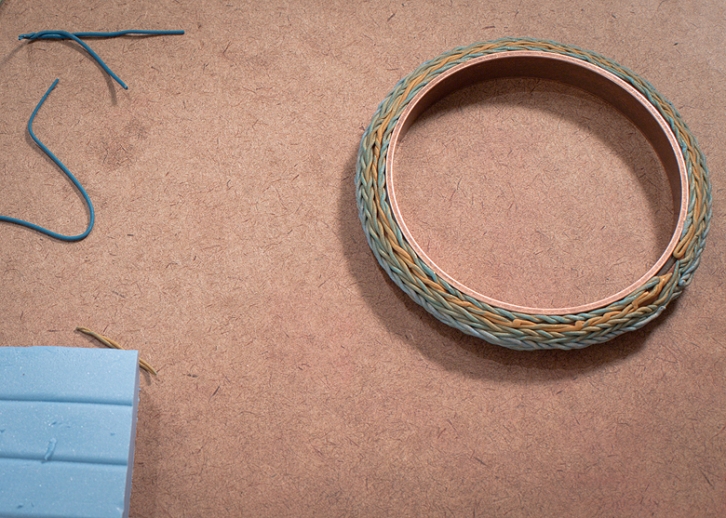
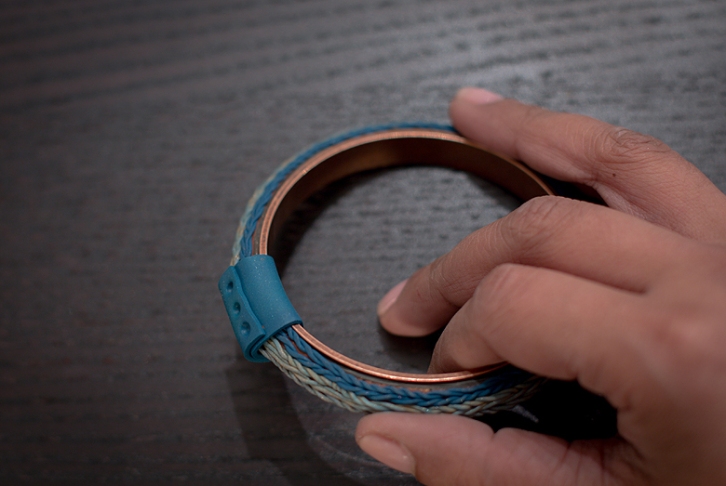
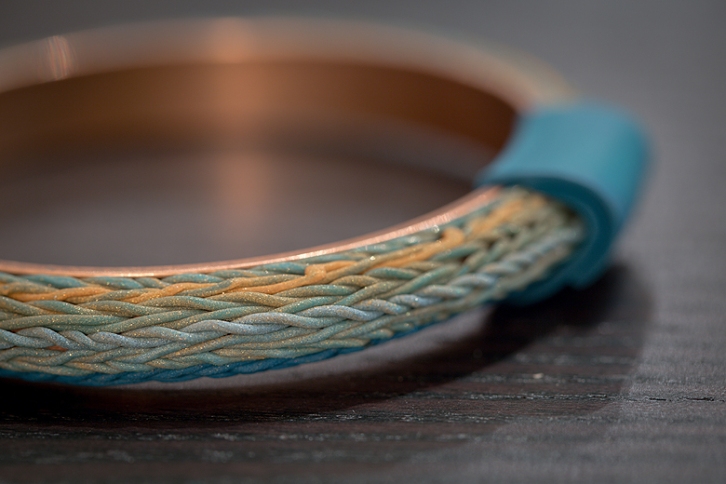
Step 10 – I carefully wrapped this twist around my bangle. I made another twist, but my second one was twisted counter-clockwise. I added this twist to the bracelet as well. I kept building it up in this way, slowly covering all the brown clay with ‘faux knitting’ by alternating clockwise and counter-clockwise twisted ropes of clay. I made sure that all my strands started and ended in the same spot so I could keep the messy looking part of the bangle localized.
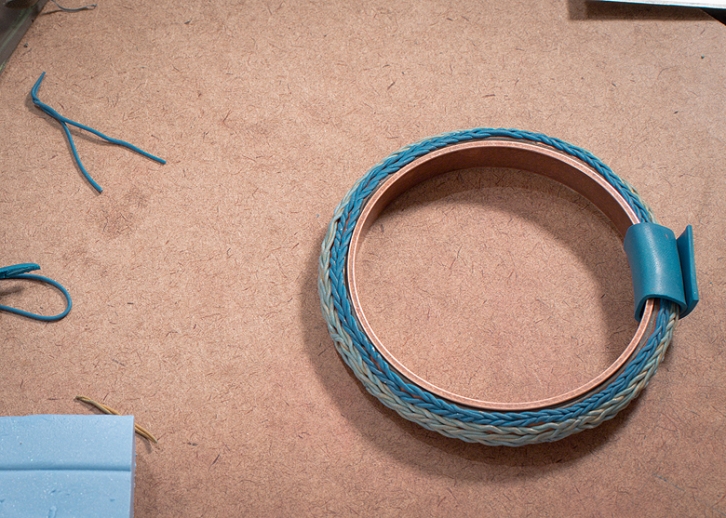
Step 11 – When it was totally covered I wrapped a piece of clay around the area where the joins were. I covered up the joins and then used a small ball-head tool to push in 3 dents to seal that connection.
And that’s it! Other than baking of course – there’s my first go at turning a thin channel bangle into a 3 dimensional knitted bangle. It’s definitely got potential, and I’ll be making more!


It is beautiful and finely crafted. Good job done!!!
LikeLike
[…] out with the clay but I think she’s doing some decent work despite the new factor. She shares a recent project that combines the clay and a knitting motif into an interesting channel […]
LikeLike
Love it and what a good idea to use the triangle to reshape the bracelet
LikeLike
[…] 3. Faux-knitting polymer clay bangle. […]
LikeLike
Great job! and your blog looks really nice.
LikeLike
LOVE this, must Pin it’s beauty ASAP!!
LikeLike
LOVE it, must Pin it’s beauty ASAP!!
LikeLike
I’ve just come across this tutorial on The Beading Gems blog today Shireen and I have no idea how I missed it! By the date you posted I see it was during my back surgery recovery so that is probably how.
That being said – it’s a wonderful tutorial and I love the muted colours and how you finished it off and of course the photography!
I left a comment as well over on Pearl’s blog – of course.
I’m saying it again – I’m a Shireen Nadir groupie…..
LikeLike
[…] Blue Brick has this Knitted Polymer Clay Bracelet photo tutorial on their blog. Shireen used our Nunn Design Channel Bangle to create these great […]
LikeLike
Great idea and a very good tutorial. Shared in fb on my wall.Dita Basu
LikeLike