Happy Monday! If you’re here for the first time and you came from Craftgawker or Pinterest (or anywhere else for that matter), I’m so glad you’re here. I know people always write that. But really. Being artsy-fartsy (a la Pam Beasley, according to Roy on the Booze Cruise.. any other Office people out there?!) is so much fun and so is sharing ideas and making new friends. So welcome. I really am glad you’re here! And if you’re a returning friend, I’m glad you came back!
Nothing like getting cozy inside during a freak spring snowstorm to get you in the crafty mood. Speaking of snow in the spring.. does anyone else feel a little conflicted about this? We live in Virginia. This isn’t supposed to happen. It’s kinda like Christmas music before Thanksgiving. You love Christmas music, but something feels a little off about reindeer before turkey, you know? I love snow, but snow covering my daffodil (yes, there’s just one) feels a little off.
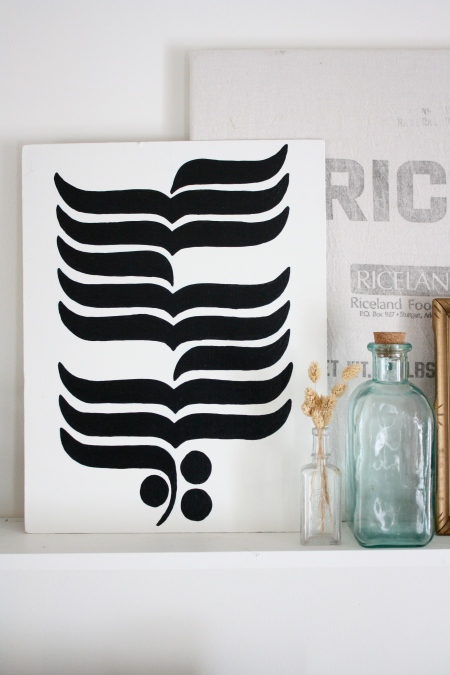
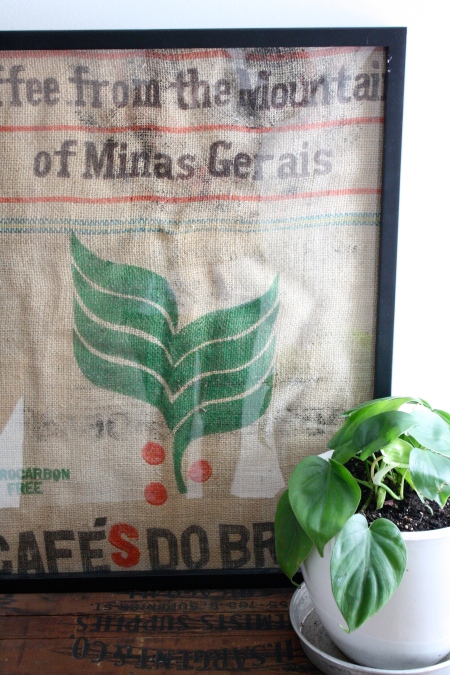
Anyway, while we sat inside near the fire, watching The Tigger Movie for the first, nope, make that second, time yesterday afternoon (it happens when the kid figures out how to use the Roku remote), I got an urge to make something. I wanted to add some black accents/black and white art/something graphic to the shelf above our bed. I love the pattern that’s seen on burlap coffee sacks. (And if you saw this post, you know my affinity for burlap coffee sacks!) So yesterday, I set out to make some simple art using that pattern, while singing along to “Everybody wants to be a Tigger…”
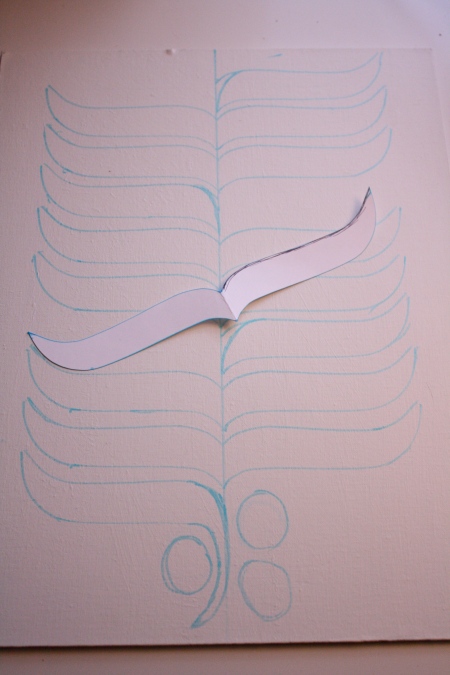
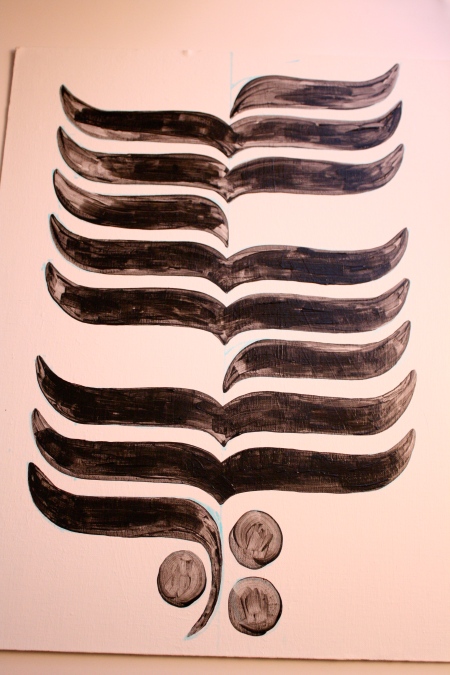
It took some trial and error to get the stencil right for the pattern. To save you some time so you can sip your coffee and browse my little blog, there’s a link to a pdf file with the stencil below!
A canvas (mine is 14×18 inches)
The stencil and scissors (click the link below for the pdf file of the stencil)
A pencil or erasable marker
Paint and a brush
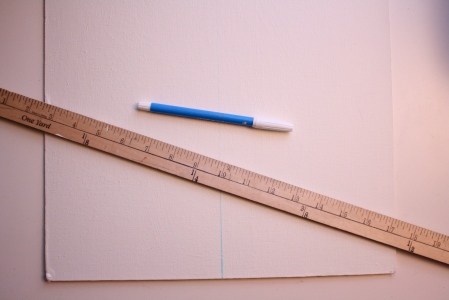
A ruler/yardstick
(A side note on the canvas- I often find mine at thrift stores. They’re really cheap. I feel a little bad painting over someone else’s art. But it was, after-all, donated to a thrift store. Since I’m reusing a canvas, I also needed some white paint to give my canvas a fresh, new life.)
What You Do:
1. If your canvas isn’t white already, paint it white. Or you could paint it whatever color you want for the background.
2. I used a yardstick to measure and then draw a line down the center of the canvas. It was a guide to make sure the pattern was straight.
3. Then I started tracing the stencil. You’ll notice I started with half the stencil at the top. I traced half the stencil and then when I was painting, rounded it off. You can do your pattern however you want. I traced until the bottom, then drew three circles. (My pattern was half stencil on the right, two full stencils, half on the left, two full stencils etc etc.)
4. To get the bottom ‘leaf’ I traced half the stencil, and then eye balled it and made a little ‘tail’. Then drew three circles.
5. Start painting. It took a couple coats of paint to fill it in.
A side note about tracing the stencil… I used my erasable fabric marker. I recommend using something you can erase!
Once it dries, you have a nice new piece of art for your home, or to give as a gift!
(The pattern inspiration)
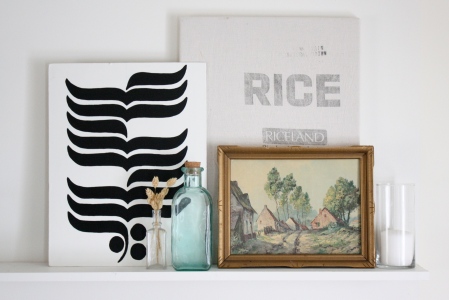
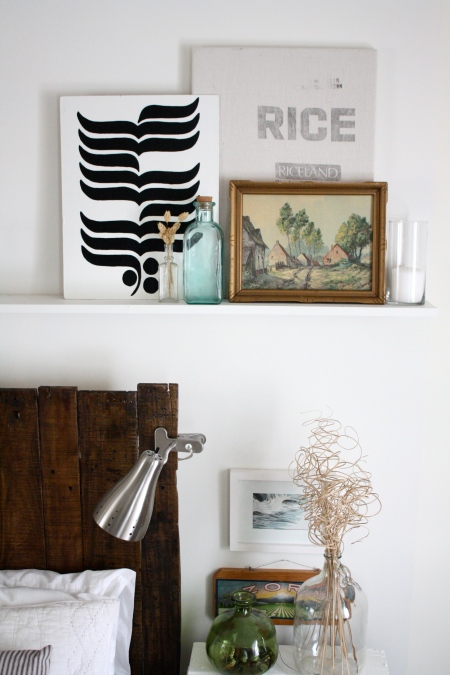
Looking all lovely and graphic on the shelf above our bed! To see how we made our headboard, check out this post.
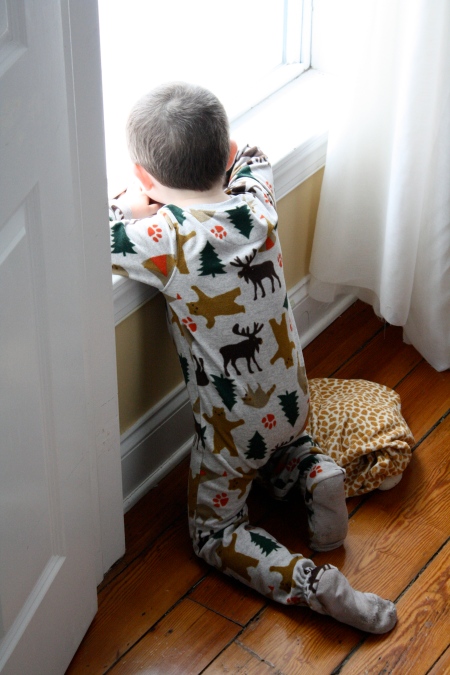
This guy isn’t conflicted about the snow at all. He loves it and sat gazing out the window while I took pictures this morning. “Mommy! My snow came back!”
Have you made any art lately? I’d love to see it! Leave a comment below.. or you can always email me at ricedesignblog (at) gmail (dot) com. I really do like to hear from you!

Beautiful photos. ~M.
Thank you!